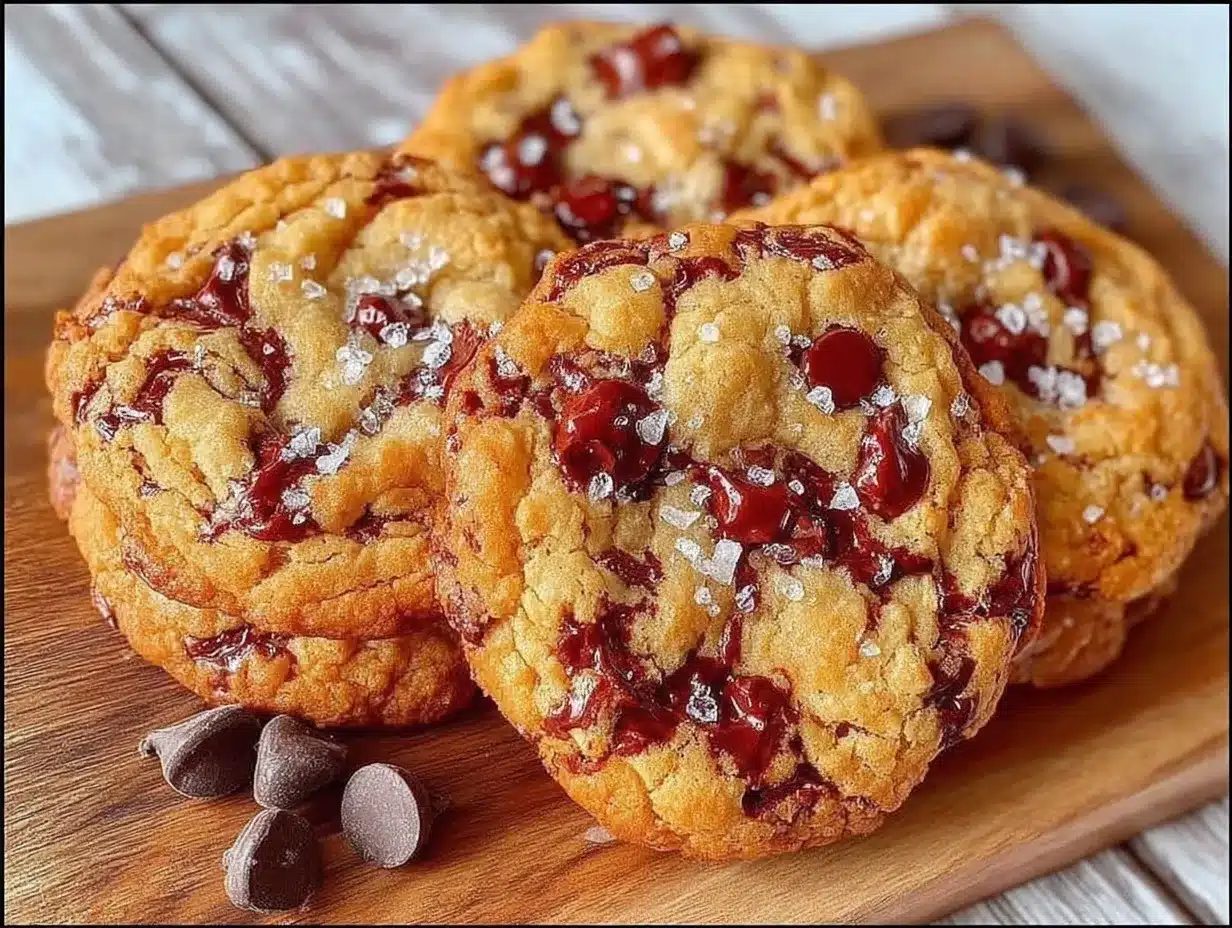
Crackly, crinkled tops, and the way the edges snap just right — that’s what I made these Crispy Best-Ever Chocolate Chip Cookies with Chewy Centers for — everything else is secondary. When I first pulled a tray from the oven, the sight of those golden-brown rims hugging the soft, glossy centers stopped me cold. You know that moment when a cookie looks so tactile, so inviting, it almost begs for a touch? The slightly rough, cracked surface contrasted with the tender middle was like a tactile invitation. Honestly, I found myself pressing my fingertips against one before a bite, marveling at the contrast.
These cookies aren’t just about the obvious chocolate chips — though those melty pockets of rich sweetness are a big part of the charm. It’s the interplay of textures that hooked me: that crisp edge that shatters with a satisfying snap, then the chewy, almost fudge-like core that lingers on your tongue. It’s a cookie that tastes like comfort but feels like a little indulgent adventure with every bite.
Getting the texture right took a few rounds of trial and error, tweaking baking times and ingredient ratios — because, let’s face it, the difference between a cookie that’s too crunchy or just right is razor-thin. The final recipe locks in that magic balance, and it’s been a quiet staple in my kitchen ever since. I remember bringing a batch to a friend’s brunch, and the way everyone disappeared the cookies fast told me this wasn’t just my imagination.
So if you’re after a cookie that’s as much about how it feels in your hand as it is about how it tastes, these Crispy Best-Ever Chocolate Chip Cookies with Chewy Centers might just become your new go-to. They’ve got the texture obsession down to a science with a little soul sprinkled in. And honestly, isn’t that what the best cookies are all about?
Why You’ll Love This Recipe
From my years of baking and countless cookie experiments, this recipe stands out because it’s been tested and approved by my toughest critics — from family to friends who swear by these cookies. Here’s why this Crispy Best-Ever Chocolate Chip Cookies recipe is a winner:
- Quick & Easy: Comes together in under 30 minutes, so you can satisfy cookie cravings without a long wait.
- Simple Ingredients: Uses pantry staples — no fancy or hard-to-find items — making baking stress-free and straightforward.
- Perfect for Any Occasion: Whether it’s a casual afternoon snack, a cozy evening treat, or a crowd-pleaser at gatherings, these cookies deliver.
- Crowd-Pleaser: Kids, adults, picky eaters — everyone nods approvingly at these with their perfect edge-to-center texture contrast.
- Unbelievably Delicious: The crispy edges and chewy centers create a texture combo that feels indulgent but just right.
- Special Technique: The secret to this recipe’s texture is chilling the dough before baking, which controls the spread and locks in chewiness without sacrificing crispness.
This isn’t just another chocolate chip cookie recipe—it’s the one where you close your eyes after the first bite, savoring the way the crispness gives way to that chewy heart. It’s a texture-driven experience that made me rethink what a cookie can be, and I think you’ll find it’s a little game-changer too.
What Ingredients You Will Need
This recipe uses simple, wholesome ingredients to deliver bold flavor and satisfying texture without the fuss. Most are pantry staples, and a few straightforward tips will help you get the best results.
- Unsalted butter, softened (use high-quality for richer flavor)
- Granulated sugar (adds crispness to edges)
- Brown sugar, packed (for moisture and that chewy center)
- Large eggs, room temperature (helps bind and adds richness)
- Pure vanilla extract (never sub with imitation—you want the real deal for flavor depth)
- All-purpose flour (for structure; I recommend sifting for a lighter texture)
- Baking soda (for that perfect rise and spread)
- Salt (balances sweetness and enhances chocolate flavor)
- Chocolate chips, semi-sweet or mix of semi-sweet and dark (I use Ghirardelli for best melt and taste)
Substitution tips: You can swap all-purpose flour for a gluten-free blend if needed, but the texture will vary slightly. For dairy-free, replace butter with vegan butter sticks of equal measure. If you want a twist, try adding chopped nuts or swapping in white chocolate chips.
When selecting ingredients, I always recommend letting the dough chill overnight if you have time — it makes a huge difference in how the cookies bake. If you’re short on time, a quick chill for 30 minutes works too.
Equipment Needed
- Mixing bowls (preferably one large and one medium)
- Electric mixer or sturdy wooden spoon (electric makes it easier but hand mixing works fine)
- Measuring cups and spoons (accurate measurements are key!)
- Baking sheets (non-stick or lined with parchment paper)
- Cooling racks (for cookies to cool evenly and keep crisp edges)
- Cookie scoop or tablespoon (for uniform cookie sizes and even baking)
If you don’t have a cookie scoop, using two spoons to shape the dough works perfectly fine — I’ve done it more times than I can count. For budget-friendly baking sheets, you can line any flat tray with parchment or a silicone baking mat to prevent sticking and help with even baking.
Preparation Method
- Preheat your oven to 350°F (175°C). Line two baking sheets with parchment paper or silicone mats to ensure easy cookie removal and even baking.
- Cream the butter and sugars: In a large bowl, beat 1 cup (227g) softened unsalted butter with 3/4 cup (150g) granulated sugar and 3/4 cup (165g) packed brown sugar until light and fluffy, about 3-4 minutes. This step is crucial for that crisp edge texture.
- Add eggs and vanilla: Beat in 2 large eggs, one at a time, making sure each is fully incorporated before adding the next. Stir in 2 teaspoons pure vanilla extract for full flavor.
- Mix dry ingredients: In a separate bowl, whisk together 2 1/4 cups (280g) all-purpose flour, 1 teaspoon baking soda, and 1 teaspoon salt. This ensures even distribution of leavening agents and salt.
- Combine wet and dry: Gradually add the dry ingredients to the butter mixture, mixing on low speed or stirring just until combined. Avoid overmixing to keep the centers chewy.
- Fold in chocolate chips: Gently stir in 2 cups (340g) semi-sweet chocolate chips until evenly distributed.
- Chill the dough: Cover the bowl with plastic wrap and refrigerate for at least 30 minutes, ideally 1-2 hours. This step lets the dough firm up, preventing excessive spreading and locking in the chewy centers.
- Scoop dough onto baking sheets: Using a cookie scoop or tablespoon, drop dough balls about 2 inches apart to allow for spreading.
- Bake: Bake for 10-12 minutes. Look for golden edges and slightly soft centers — the cookies will firm up as they cool. Overbaking will make them dry, so keep a close eye starting at minute 10.
- Cool: Let the cookies cool on the baking sheet for 5 minutes before transferring to a wire rack. This helps maintain the crisp edges while the centers set chewy.
Tip: If your kitchen is warm, chilling the dough longer prevents cookies from flattening too much. Also, rotating your baking sheets halfway through baking helps ensure even browning.
Cooking Tips & Techniques
Perfecting this cookie’s texture was a bit of a science project in my kitchen, and here’s what I learned:
- Butter temperature matters: Use softened, not melted butter. Too warm and the dough spreads too fast, losing that chewy center.
- Don’t skip chilling: The dough needs rest. Chilling firms up fats and allows flour to hydrate, both critical for texture contrast.
- Watch your baking time carefully: Cookies often look underdone when taken out but finish cooking on the hot sheet. Pull them at golden edges and slightly shiny center.
- Use a cookie scoop: Uniform dough balls bake evenly. I prefer a 1.5-tablespoon scoop for cookie size that’s just right — big enough for melty chocolate pockets, small enough to crisp edges.
- Don’t overmix your dough: Once flour is added, mixing too much develops gluten, making cookies tough, not chewy.
- Rotate trays: Oven temperatures vary, so swapping baking sheets halfway helps avoid burnt edges.
Once, I let my dough sit overnight and baked the next day — the cookies turned out even better, with a richer flavor and more distinct texture layers. So if you can plan ahead, it’s worth the wait.
Variations & Adaptations
This cookie recipe is a blank canvas for tweaking to your taste or dietary needs:
- Nutty Boost: Add 1 cup chopped walnuts or pecans for crunch and a toasty note.
- Chewy Oatmeal Chocolate Chip: Substitute 1 cup of flour with rolled oats for a heartier, chewier cookie.
- Gluten-Free Version: Use a 1:1 gluten-free flour blend and add 1/4 teaspoon xanthan gum if your blend doesn’t contain it.
- Dairy-Free: Swap butter for a plant-based butter stick and use dairy-free chocolate chips.
- Flavor Twist: Stir in 1 teaspoon cinnamon or a pinch of espresso powder to deepen the chocolate flavor.
I once tried swapping in chunks of dark chocolate-covered strawberries for a party — a bit decadent but oh-so-good!
Serving & Storage Suggestions
These cookies are best enjoyed warm or at room temperature to appreciate the crisp-chewy contrast fully. Serve them with a cold glass of milk or a cup of coffee for a classic combo. For a fun twist, pair with fresh fruit or even a scoop of vanilla ice cream.
Store leftover cookies in an airtight container at room temperature for up to 5 days. To retain crisp edges, layer parchment paper between cookies and avoid sealing them while still warm (which traps moisture). For longer storage, freeze cookies in a sealed container for up to 3 months.
Reheat frozen cookies briefly in a 300°F (150°C) oven for 5 minutes to bring back that fresh-baked texture. The flavors tend to deepen after a day, so if you can resist, waiting a bit before digging in can be rewarding.
Nutritional Information & Benefits
Each cookie (based on 24 cookies per batch) contains approximately:
| Calories | 190 |
|---|---|
| Fat | 10g |
| Saturated Fat | 6g |
| Carbohydrates | 24g |
| Sugars | 16g |
| Protein | 2g |
| Fiber | 1g |
Key ingredients like butter and eggs provide richness and essential fats. The chocolate chips add antioxidants from cocoa, while the brown sugar helps retain moisture for chewiness. This recipe is naturally gluten-containing but can be adapted for gluten-free needs. Those with dairy allergies can swap butter and chocolate for non-dairy alternatives.
From a wellness standpoint, the recipe strikes a balance between indulgence and portion control — baking your own cookies means you can avoid preservatives and adjust sweetness to your preference.
Conclusion
This Crispy Best-Ever Chocolate Chip Cookies recipe with chewy centers is the kind of baking that rewards you with pure textural joy and familiar comfort. It’s a recipe worth trying because it nails that cookie sweet spot — crisp edges paired with a tender, chewy heart. You can tweak it to fit your pantry or dietary needs, and it always turns out reliably delicious.
Personally, these cookies remind me why I keep coming back to baking — the simple pleasure of that perfect snap, the warm chocolate melting on your tongue, and the little moments shared over a batch. If you give these a try, I’d love to hear how you customize them or what memories they bring to your table.
FAQs About Crispy Best-Ever Chocolate Chip Cookies with Chewy Centers
How do I make sure my cookies have crispy edges but chewy centers?
Chill your dough before baking and watch your baking time closely — pull cookies out when edges are golden but centers still look slightly soft.
Can I use other types of chocolate instead of semi-sweet chips?
Absolutely! Try dark chocolate chunks, milk chocolate, or even white chocolate for different flavor profiles.
Why should I use both brown and granulated sugar?
Brown sugar adds moisture and chewiness, while granulated sugar helps create crispy edges — the combo is key to the texture balance.
Can I freeze the cookie dough?
Yes, cookie dough freezes well. Portion it into balls before freezing for easy baking later. Thaw slightly before baking.
What’s the best way to store these cookies to keep them fresh?
Store in an airtight container at room temperature with parchment layers between cookies. For extended storage, freeze them!
Pin This Recipe!
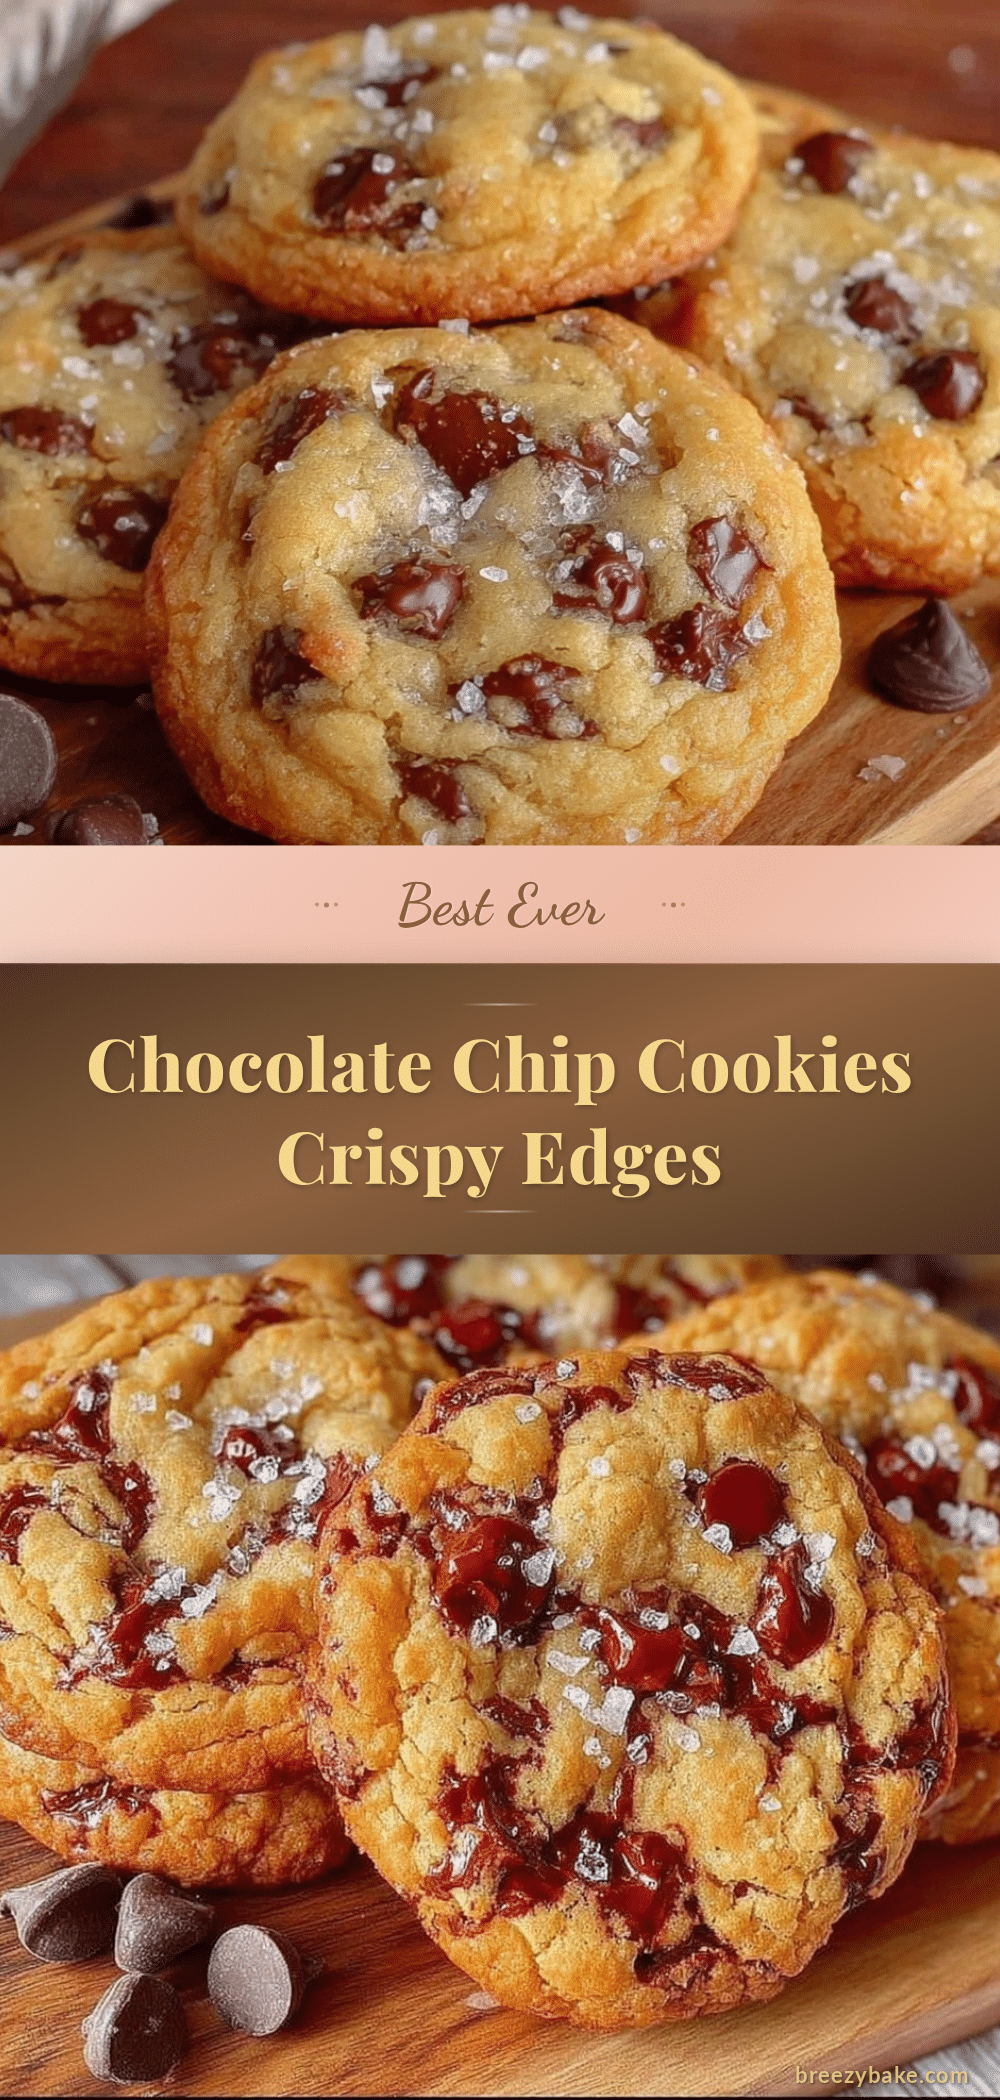
Crispy Best-Ever Chocolate Chip Cookies with Chewy Centers

These cookies feature crackly, crinkled tops with crispy edges and chewy, fudge-like centers, delivering a perfect texture contrast and rich chocolate flavor.
- Prep Time: 15 minutes
- Cook Time: 12 minutes
- Total Time: 27 minutes
- Yield: 24 cookies 1x
- Category: Dessert
- Cuisine: American
Ingredients
- 1 cup (227g) unsalted butter, softened
- 3/4 cup (150g) granulated sugar
- 3/4 cup (165g) packed brown sugar
- 2 large eggs, room temperature
- 2 teaspoons pure vanilla extract
- 2 1/4 cups (280g) all-purpose flour
- 1 teaspoon baking soda
- 1 teaspoon salt
- 2 cups (340g) semi-sweet chocolate chips
Instructions
- Preheat your oven to 350°F (175°C). Line two baking sheets with parchment paper or silicone mats.
- In a large bowl, beat the softened butter with granulated sugar and brown sugar until light and fluffy, about 3-4 minutes.
- Beat in the eggs one at a time, ensuring each is fully incorporated before adding the next. Stir in vanilla extract.
- In a separate bowl, whisk together the flour, baking soda, and salt.
- Gradually add the dry ingredients to the butter mixture, mixing on low speed or stirring just until combined. Avoid overmixing.
- Fold in the chocolate chips until evenly distributed.
- Cover the dough with plastic wrap and refrigerate for at least 30 minutes, ideally 1-2 hours.
- Using a cookie scoop or tablespoon, drop dough balls about 2 inches apart on the prepared baking sheets.
- Bake for 10-12 minutes until edges are golden and centers are slightly soft. Remove from oven and let cool on the baking sheet for 5 minutes.
- Transfer cookies to a wire rack to cool completely.
Notes
Use softened, not melted butter to maintain chewy centers. Chill dough for at least 30 minutes to control spread and texture. Rotate baking sheets halfway through baking for even browning. Avoid overmixing once flour is added to prevent tough cookies. For best flavor and texture, chill dough overnight if possible.
Nutrition
- Serving Size: 1 cookie
- Calories: 190
- Sugar: 16
- Sodium: 0.15
- Fat: 10
- Saturated Fat: 6
- Carbohydrates: 24
- Fiber: 1
- Protein: 2
Keywords: chocolate chip cookies, crispy edges, chewy centers, easy cookies, homemade cookies, best chocolate chip cookies


