I watched my husband eat three of these in a row without saying a word. That’s honestly how I knew I’d finally nailed it. He’s not one for dramatic food reactions, but the silence—punctuated only by the occasional crumb hitting the counter—told me everything I needed to know. This recipe for perfect small-batch chocolate chip cookies wasn’t born from a childhood memory or a family heirloom. It came from a Tuesday night craving when I wanted something warm, something sweet, but absolutely did not want a dozen cookies staring at me from the counter for the rest of the week. You know that feeling, right? When you just want one or two perfect cookies, not an entire bakery’s worth? That’s exactly where this recipe started.
The first batch was good, but not great. The second was closer. By the third try, my husband had stopped talking altogether and just kept reaching for another. The edges were crisp, the centers were soft, and that signature crackly top was exactly what I’d been chasing. Honestly, I think the secret is in the resting time and a little trick with the butter temperature that most recipes don’t bother with. These aren’t your average cookies—they’re the kind that make you close your eyes after the first bite, even if you’re just standing in your kitchen in sweatpants. And isn’t that what a really good cookie should do?
Why You’ll Love This Recipe
Let me tell you why this recipe is different from every other chocolate chip cookie recipe you’ve tried. I’ve tested this thing more times than I care to admit, and here’s what I’ve learned along the way.
- Quick & Easy: From start to finish, you’re looking at about 30 minutes of active time plus a short chill. Perfect for those random Tuesday night cravings when you need something sweet, fast.
- Simple Ingredients: No weird specialty flours or obscure extracts. You probably have everything in your pantry right now, minus maybe the chocolate chips.
- Perfect for Small Households: This recipe makes exactly six cookies. No more, no less. It’s ideal for couples, singles, or anyone who doesn’t need a week’s worth of cookies hanging around.
- Crowd-Pleaser: Every single person I’ve shared these with has asked for the recipe. They’re that good.
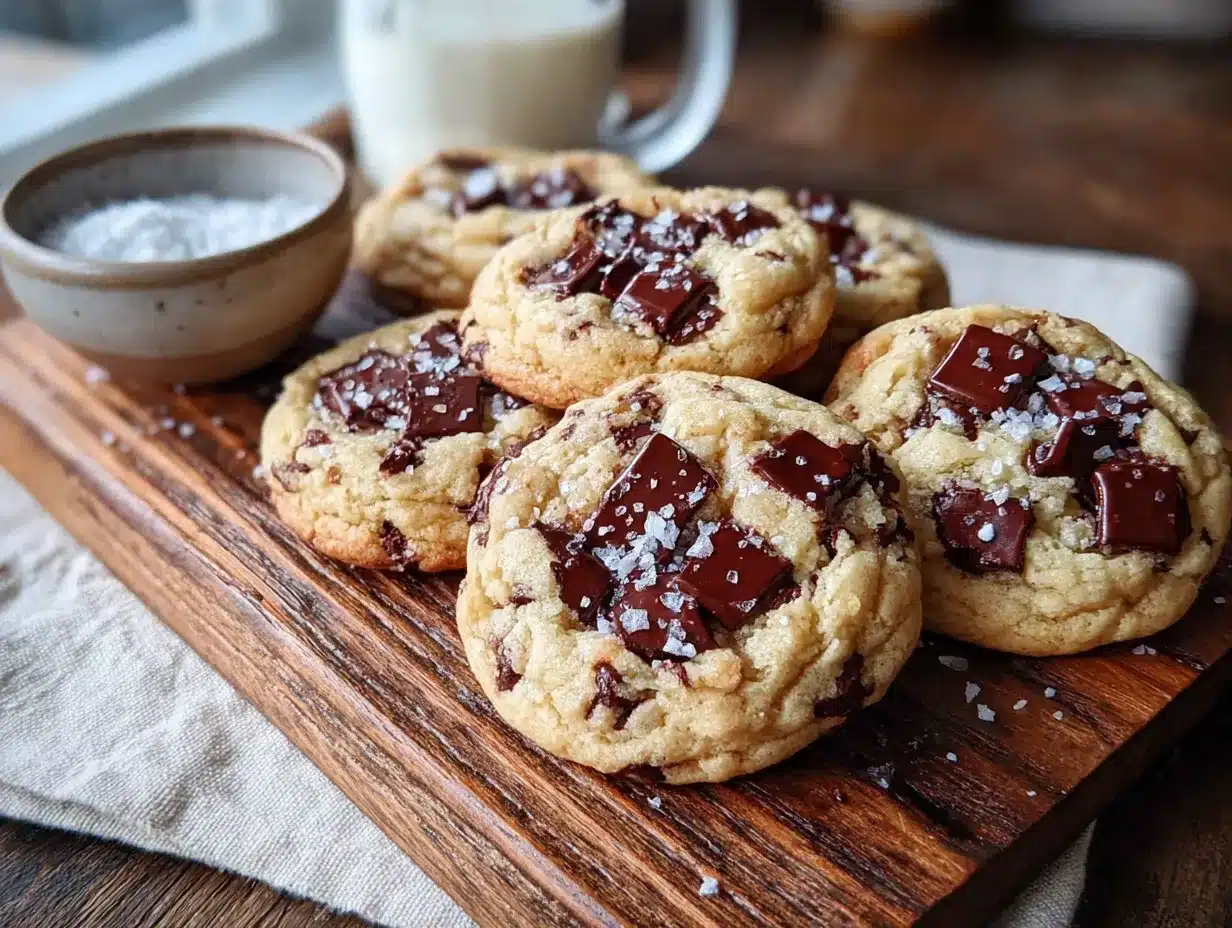
- Unbelievably Delicious: The texture is what gets people. Crispy edges, chewy centers, and that beautiful crinkly top that makes a cookie look like it came from a bakery.
What makes these cookies stand out from the rest? It’s the technique, honestly. Most small-batch recipes just scale down a full batch, but they don’t adjust for the fact that smaller quantities behave differently. I developed this recipe specifically for six cookies, which means the ratios are dialed in perfectly. The butter-to-flour ratio, the resting time, the baking temperature—all of it is calibrated for a small batch. This isn’t just another version of chocolate chip cookies. This is the version you’ll come back to again and again, especially when you want something warm without committing to 36 cookies.
What Ingredients You Will Need
This recipe uses simple, everyday ingredients that work together to create something truly special. No fancy stuff here, just good quality basics that you probably already have in your kitchen.
- Unsalted butter, softened (4 tablespoons, or 56g) – I use salted butter sometimes and just reduce the added salt, but unsalted gives you more control. Let it sit out for about 30 minutes, but don’t let it get too soft. You want it pliable, not melty.
- Granulated sugar (3 tablespoons, or 36g) – Regular white sugar. Nothing fancy here.
- Brown sugar, packed (2 tablespoons, or 24g) – Light brown sugar works best. Dark brown will give a deeper molasses flavor if that’s your thing. I’ve used both and honestly, light brown is my preference for these cookies.
- Large egg yolk (1 yolk) – Just the yolk, not the whole egg. This is key for the right texture. Save the white for scrambled eggs tomorrow morning.
- Vanilla extract (½ teaspoon) – Pure vanilla extract makes a difference, but imitation works in a pinch. I like Nielsen-Massey for the real stuff.
- All-purpose flour (½ cup plus 1 tablespoon, or 75g) – Spoon and level your flour. Don’t scoop directly from the bag or you’ll end up with dry cookies.
- Baking soda (¼ teaspoon) – Make sure it’s fresh. Old baking soda won’t give you that nice spread.
- Salt (¼ teaspoon) – I use fine sea salt. If you’re using kosher salt, you might need a bit more.
- Chocolate chips (⅓ cup, or 60g) – I’m partial to Ghirardelli semi-sweet chips, but use whatever you love. Chopped chocolate bars work great too and give you those nice pools of chocolate.
- Flaky sea salt for topping (optional, but highly recommended) – A little sprinkle right when they come out of the oven takes these to another level.
A quick note on the chocolate: I’ve tested this with milk chocolate, dark chocolate, and even a mix of both. Semi-sweet is my sweet spot because it balances the sweetness of the dough perfectly. If you’re a dark chocolate person, go for 60% cacao chips. And if you’re feeling fancy, chop up a good quality chocolate bar instead of using chips—the irregular pieces create these gorgeous chocolate puddles throughout the cookie.
Equipment Needed
You don’t need much for this recipe, which is part of why I love it. Here’s what you’ll need:
- Mixing bowls – One medium bowl for the dry ingredients, one small bowl for the wet ingredients. Nothing fancy needed.
- Whisk – For mixing the dry ingredients together.
- Rubber spatula or wooden spoon – For mixing the dough. I prefer a spatula because it scrapes the bowl better.
- Baking sheet – A standard half-sheet pan works perfectly. No need for anything special.
- Parchment paper or silicone baking mat – Parchment paper is my go-to. It’s cheap, disposable, and gives consistent results. Silicone mats work too, but I find cookies spread slightly more on them.
- Cookie scoop or tablespoon – A 1.5-tablespoon scoop makes perfectly sized cookies. If you don’t have one, just use a regular tablespoon and eyeball it.
- Cooling rack – Letting cookies cool on a rack prevents soggy bottoms.
I’ve made these cookies with nothing but a fork and a bowl before, and they still turned out great. The scoop is nice to have, but definitely not necessary. Honestly, the most important piece of equipment is a good oven that holds its temperature. If your oven runs hot, check the cookies a minute early.
Preparation Method
- Preheat your oven to 350°F (175°C) and line a baking sheet with parchment paper. Give the oven a full 15-20 minutes to come to temperature. I’ve learned the hard way that rushing this step leads to uneven baking.
- In a small bowl, whisk together ½ cup plus 1 tablespoon all-purpose flour (75g), ¼ teaspoon baking soda, and ¼ teaspoon salt. Set this aside. Make sure there are no lumps—nobody wants a pocket of baking soda in their cookie.
- In a medium bowl, beat together 4 tablespoons softened unsalted butter (56g), 3 tablespoons granulated sugar (36g), and 2 tablespoons packed brown sugar (24g). Beat until light and fluffy, about 2 minutes with a hand mixer or 3 minutes by hand. You’re looking for a pale, creamy mixture. Scrape down the sides halfway through.
- Add 1 large egg yolk and ½ teaspoon vanilla extract to the butter mixture. Beat until combined, about 30 seconds. The mixture might look a little curdled at this point—that’s totally normal. Don’t panic.
- Add the dry ingredients to the wet ingredients and mix with a rubber spatula until just combined. You want to see a few streaks of flour remaining. Overmixing at this stage develops gluten and makes tough cookies, so stop when it’s almost there.
- Fold in ⅓ cup chocolate chips (60g) with a few gentle strokes. The dough will be soft and slightly sticky. That’s exactly what you want. If it feels too sticky to handle, pop it in the fridge for 10 minutes.
- Cover the bowl with plastic wrap and refrigerate for at least 30 minutes, or up to 48 hours. This step is non-negotiable in my kitchen. Chilling the dough allows the flour to fully hydrate, the flavors to meld, and the butter to firm up, which prevents the cookies from spreading into flat discs. Trust me on this one.
- When you’re ready to bake, scoop the dough into 6 equal portions, about 1.5 tablespoons each. Roll them into balls and place them on the prepared baking sheet, spaced about 3 inches apart. Don’t flatten them—they’ll spread on their own.
- Bake for 10-12 minutes, or until the edges are golden brown and the centers look slightly underdone. The tops should be cracked and the cookies should be puffed up. They’ll continue baking on the hot sheet after you pull them out, so err on the side of underdone. I usually pull mine at 10 minutes for soft centers.
- Let the cookies cool on the baking sheet for 5 minutes, then transfer to a wire rack. If you’re using flaky sea salt, sprinkle it on right when they come out of the oven while the tops are still soft. The salt sticks better that way.
A few things I’ve learned from making these over and over: the dough will look a little dry after chilling, but that’s okay. Just let it sit at room temperature for 5 minutes before scooping if it’s too firm. Also, if you’re baking just one or two cookies and saving the rest of the dough, portion the dough into balls first, then freeze them on a baking sheet. Once frozen solid, transfer to a freezer bag. You can bake them straight from frozen—just add 2 minutes to the baking time.
Cooking Tips & Techniques
I’ve messed up this recipe more times than I’ve gotten it right, honestly. Here’s what I’ve learned from all those failures.
The butter temperature is everything. The first time I made these, I used melted butter because I was impatient. The cookies spread into thin, greasy discs. Not good. The second time, I used butter that was too cold, and the dough was impossible to mix. You want butter that’s softened to the point where you can press it with your finger and it leaves an indent without sinking in. That sweet spot makes all the difference.
Don’t skip the chill time. I know, I know, you want cookies now. But the chill time isn’t just about convenience—it’s about chemistry. Chilling the dough allows the butter to solidify again, which means the cookies spread slower and bake up thicker. It also gives the flour time to absorb moisture, which develops flavor and creates that perfect chewy texture. If you bake them immediately, you’ll get flat, greasy cookies. I learned this the hard way on a desperate cookie night.
Use a cookie scoop for even sizing. This is one of those small things that makes a big difference. When all your dough balls are the same size, they bake evenly. No more burnt edges on one cookie while another is still raw in the middle. If you don’t have a scoop, use a measuring spoon and level it off.
The underbake trick. Pull the cookies out when the edges are set but the centers still look slightly wet and puffy. They’ll continue baking on the hot sheet for another 2-3 minutes, which gives you that perfect contrast between crispy edges and soft, gooey centers. Overbaked cookies are sad cookies.
Room temperature ingredients matter. That egg yolk needs to be at room temperature to incorporate smoothly into the butter. If you forgot to take it out ahead of time, place the whole egg in a bowl of warm water for 5 minutes, then separate it. Works like a charm.
Variations & Adaptations
One of the best things about this recipe is how easy it is to adapt. Here are some variations I’ve tried and loved:
Double Chocolate Chip Cookies: Replace 1 tablespoon of flour with 1 tablespoon of unsweetened cocoa powder. Use dark chocolate chips instead of semi-sweet. The result is a rich, fudgy cookie that tastes like a brownie and a cookie had a baby. I made these for a friend who claims she doesn’t like chocolate chip cookies, and she ate three.
Gluten-Free Version: Substitute the all-purpose flour with a good quality 1:1 gluten-free flour blend that contains xanthan gum. I’ve tested this with King Arthur Measure for Measure and Cup4Cup, and both work well. The texture is slightly more delicate, so handle the dough gently. Let the dough rest for 10 minutes after mixing to allow the gluten-free flour to hydrate fully.
Vegan Adaptation: Use vegan butter (I like Miyoko’s or Country Crock Plant Butter) and replace the egg yolk with 1 tablespoon of aquafaba (the liquid from a can of chickpeas) mixed with ½ teaspoon of cornstarch. The texture won’t be exactly the same, but it’s surprisingly close. I tested this for a friend with a dairy allergy, and she couldn’t tell the difference.
Add-In Variations: Swap the chocolate chips for white chocolate and dried cranberries for a festive twist. Or try chopped pecans and butterscotch chips. My personal favorite is using chopped Reese’s cups instead of chocolate chips—the peanut butter melts into the dough and creates these amazing pockets of flavor. For a fun twist, you could even try the decadent Valentine’s chocolate strawberry cloud tartlets approach with some freeze-dried strawberry powder mixed into the dough.
Serving & Storage Suggestions
These cookies are best served warm, about 5-10 minutes after they come out of the oven. That’s when the edges are perfectly crisp and the centers are still soft and gooey. A glass of cold milk is the classic pairing, but I’ve also enjoyed them with a scoop of vanilla ice cream sandwiched between two cookies for an impromptu ice cream sandwich.
If you’re serving these for a gathering, arrange them on a nice plate with some fresh berries on the side. The contrast of colors makes them look even more inviting. They’re also great crumbled over a bowl of vanilla ice cream or used as the base for a quick dessert board alongside some decadent chocolate-dipped strawberry coconut bars.
Storage: Keep baked cookies in an airtight container at room temperature for up to 3 days. Place a slice of bread in the container to keep them soft—the cookies will absorb moisture from the bread and stay chewy. Replace the bread slice every day if needed.
Freezing: You can freeze the baked cookies for up to 3 months. Wrap each cookie individually in plastic wrap, then place them in a freezer bag. Thaw at room temperature for about 30 minutes, then warm in a 300°F oven for 5 minutes. Or, freeze the dough balls instead. Place them on a baking sheet and freeze until solid, then transfer to a freezer bag. Bake from frozen, adding 2 minutes to the baking time.
Reheating: The microwave works in a pinch (10-15 seconds), but for the best texture, reheat in a 300°F oven for 3-5 minutes. The edges get crispy again while the centers stay soft. Honestly, the flavors actually develop more after a day or two, so don’t be afraid to save some for later.
Nutritional Information & Benefits
Let’s be real—these are cookies, not health food. But here’s the nutritional breakdown per cookie (based on 6 cookies per batch):
- Calories: approximately 220
- Fat: 12g
- Carbohydrates: 27g
- Protein: 3g
- Sugar: 16g
- Sodium: 150mg
That said, there are some redeeming qualities. The butter contains vitamin A and healthy fats. The egg yolk provides choline, which is important for brain health. And dark chocolate is actually a decent source of antioxidants—the darker the chocolate, the more antioxidants you get. So if you use dark chocolate chips, you’re basically eating a superfood. Sort of.
These cookies are vegetarian-friendly and can be made gluten-free or vegan with the substitutions mentioned above. They contain dairy, eggs, and gluten in their standard form, so keep that in mind if you’re baking for someone with allergies. I personally love that this recipe lets me enjoy a treat without feeling like I have to eat cookies for a week. Portion control is built right in.
Conclusion
These perfect small-batch chocolate chip cookies have become my go-to for those nights when I need something warm, sweet, and comforting without the commitment of a full batch. They’re quick enough for a weeknight craving, but good enough to serve to guests who’ll think you spent hours in the kitchen. The best part? You get exactly six cookies, which means you can eat two, share two, and still have two left for tomorrow. That’s what I call perfect planning.
I’d love to hear how these turn out for you. Did you try any of the variations? Did you add something fun to the dough? Drop a comment below and let me know—I read every single one and I’m always looking for new ideas to test. And if you’re in the mood for more sweet treats, don’t miss our decadent chocolate-dipped strawberry shortcake minis or those creamy St. Patrick’s mint chip cream cheese bars for another small-batch dessert option. Happy baking, friends!
Frequently Asked Questions
Can I make these cookies without chilling the dough?
Technically yes, but I wouldn’t recommend it. The cookies will spread more and won’t have that perfect chewy texture. If you’re in a huge hurry, chill for at least 15 minutes in the freezer instead of 30 in the fridge. It’s not ideal, but it’s better than nothing.
Why did my cookies turn out flat?
Flat cookies usually mean the butter was too soft or melted, the dough wasn’t chilled long enough, or the baking soda is old. Make sure your butter is softened but not melted, and always chill the dough. Also, check your baking soda’s expiration date—it loses potency after about 6 months.
Can I double this recipe?
Absolutely! Just double all the ingredients. The baking time and temperature stay the same. You’ll get 12 cookies instead of 6. I often double the recipe and freeze half the dough for later.
What’s the best way to measure flour for this recipe?
Spoon the flour into your measuring cup, then level it off with a straight edge. Don’t scoop directly from the bag with the measuring cup—that packs the flour and gives you too much, which leads to dry, crumbly cookies. If you have a kitchen scale, 75g is even more accurate.
Can I use margarine instead of butter?
I don’t recommend it. Margarine has a higher water content than butter, which affects the texture and spread of the cookies. If you need a dairy-free option, use a good quality vegan butter stick (not the spreadable tub kind). Miyoko’s and Country Crock Plant Butter work well in this recipe.
Pin This Recipe!
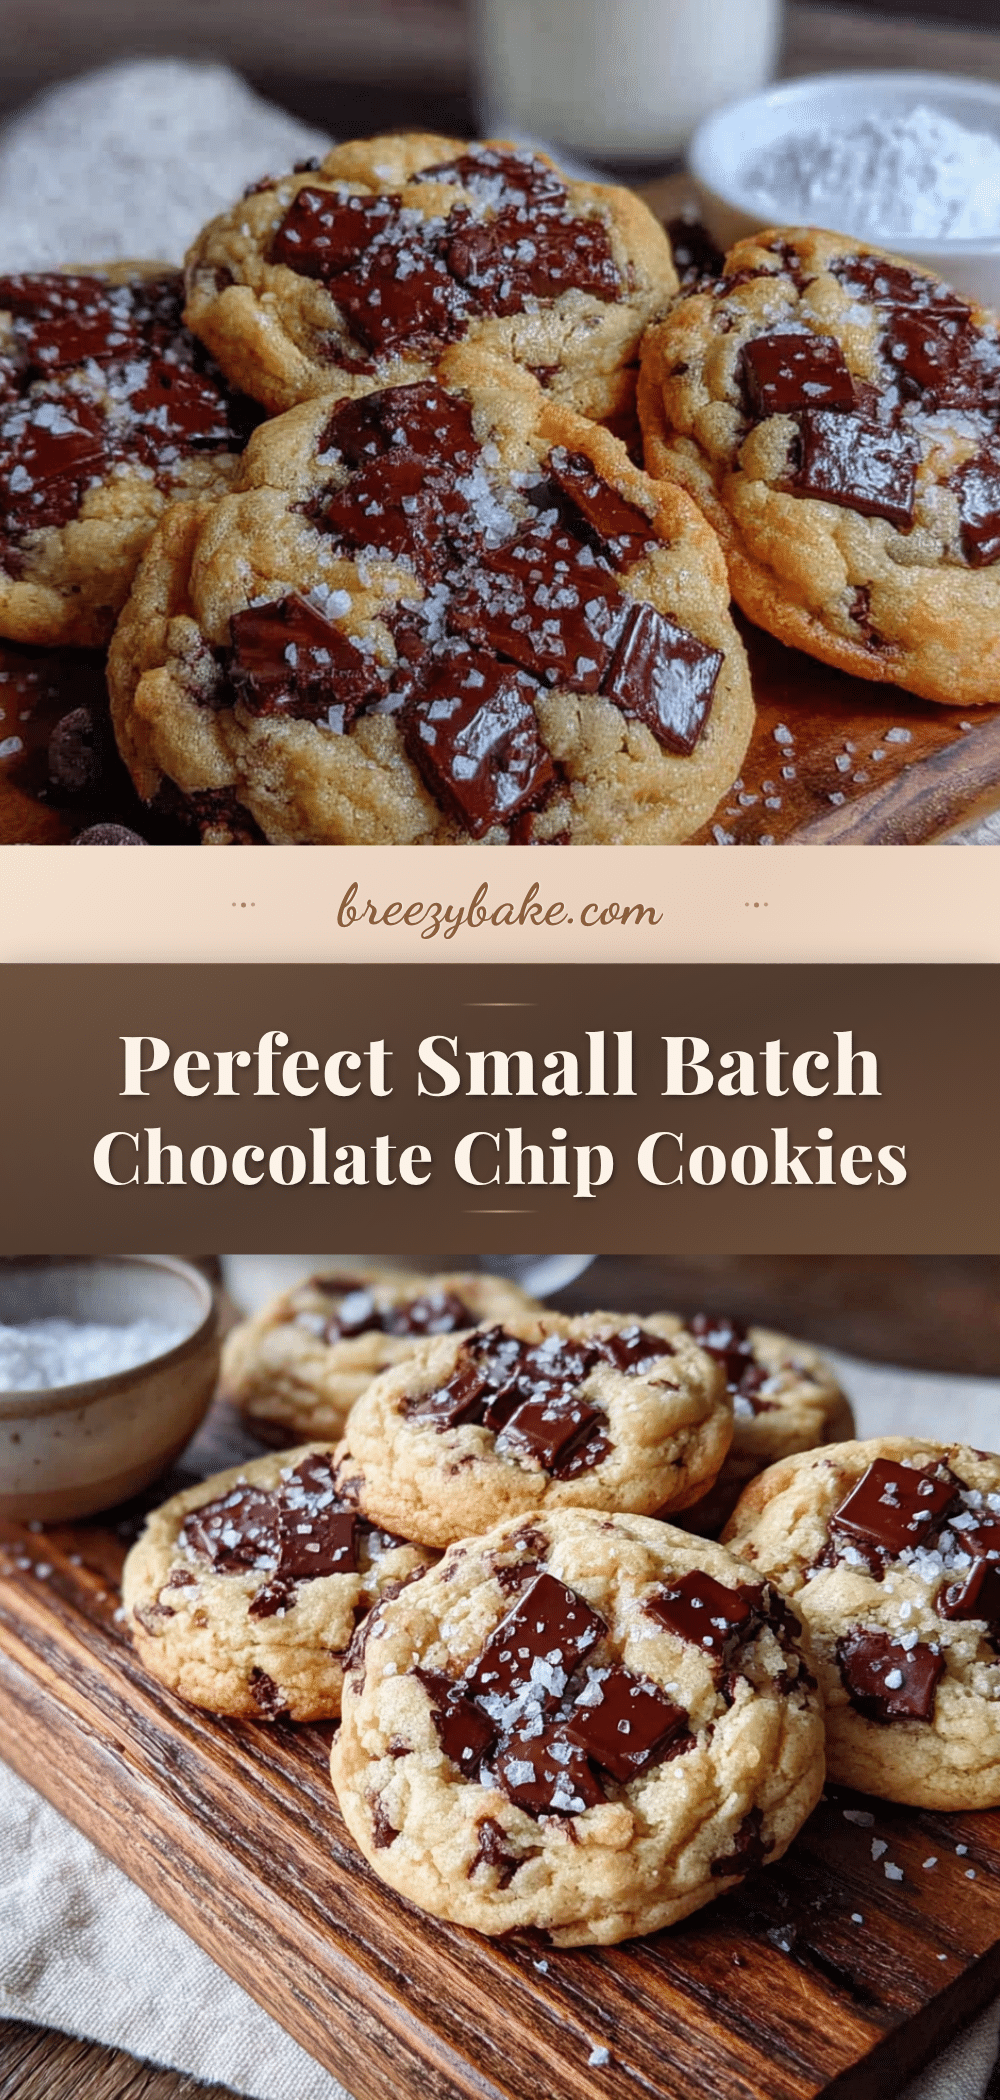
Perfect Small-Batch Chocolate Chip Cookies

These perfect small-batch chocolate chip cookies are quick, easy, and made with simple ingredients. They yield exactly six cookies with crispy edges, chewy centers, and a beautiful crinkly top.
- Prep Time: 15 minutes
- Cook Time: 12 minutes
- Total Time: 57 minutes
- Yield: 6 cookies 1x
- Category: Dessert
- Cuisine: American
Ingredients
- 4 tablespoons unsalted butter, softened (56g)
- 3 tablespoons granulated sugar (36g)
- 2 tablespoons packed light brown sugar (24g)
- 1 large egg yolk
- 1/2 teaspoon vanilla extract
- 1/2 cup plus 1 tablespoon all-purpose flour (75g)
- 1/4 teaspoon baking soda
- 1/4 teaspoon salt
- 1/3 cup semi-sweet chocolate chips (60g)
- Flaky sea salt for topping (optional)
Instructions
- Preheat your oven to 350°F (175°C) and line a baking sheet with parchment paper.
- In a small bowl, whisk together 1/2 cup plus 1 tablespoon all-purpose flour (75g), 1/4 teaspoon baking soda, and 1/4 teaspoon salt. Set aside.
- In a medium bowl, beat together 4 tablespoons softened unsalted butter (56g), 3 tablespoons granulated sugar (36g), and 2 tablespoons packed brown sugar (24g) until light and fluffy, about 2 minutes with a hand mixer or 3 minutes by hand.
- Add 1 large egg yolk and 1/2 teaspoon vanilla extract to the butter mixture. Beat until combined, about 30 seconds.
- Add the dry ingredients to the wet ingredients and mix with a rubber spatula until just combined. A few streaks of flour should remain.
- Fold in 1/3 cup chocolate chips (60g) with a few gentle strokes.
- Cover the bowl with plastic wrap and refrigerate for at least 30 minutes, or up to 48 hours.
- When ready to bake, scoop the dough into 6 equal portions, about 1.5 tablespoons each. Roll into balls and place on the prepared baking sheet, spaced about 3 inches apart. Do not flatten.
- Bake for 10-12 minutes, or until the edges are golden brown and the centers look slightly underdone.
- Let the cookies cool on the baking sheet for 5 minutes, then transfer to a wire rack. If using flaky sea salt, sprinkle it on right when they come out of the oven.
Notes
Chilling the dough is non-negotiable for best texture. Butter should be softened but not melted. For even baking, use a cookie scoop. Pull cookies when edges are set but centers still look slightly underdone; they will continue baking on the hot sheet.
Nutrition
- Serving Size: 1 cookie
- Calories: 220
- Sugar: 16
- Sodium: 150
- Fat: 12
- Saturated Fat: 7
- Carbohydrates: 27
- Fiber: 1
- Protein: 3
Keywords: small-batch chocolate chip cookies, easy chocolate chip cookies, 6 cookies, quick dessert, homemade cookies


