My first batch of elderberry syrup tasted like cough medicine mixed with regret. I had used too many cloves, not enough honey, and the whole thing had a weird, bitter edge that made my face scrunch up every time I took a spoonful. For a while, I just accepted that homemade immune support wasn’t going to taste like anything you’d actually look forward to taking. Store-bought versions were either loaded with sugar or priced like liquid gold, and the ones that worked always seemed to have a short shelf life or a funky aftertaste. I kept making it anyway, because the alternative was getting sick every time my kid brought home a new sniffle from school. That first winter, we went through three different recipes, and honestly, none of them felt right.
Then I started paying attention to what actually made a difference—not just in the flavor, but in how the syrup worked. I realized the problem wasn’t the elderberries themselves. It was the ratio of water to berries, the simmering time, and the way I was adding the honey. (Turns out, pouring it in while the liquid is still boiling destroys a lot of the good stuff.) I started tweaking, testing, and taking notes like a mad scientist in my tiny kitchen. I added cinnamon for warmth, ginger for a little kick, and just enough clove to round it out without overwhelming everything else. The result was this syrup—the one that finally made my family stop making faces and start asking for it on their morning yogurt.
This homemade elderberry syrup for immune support is the version I’ve been making for three winters now. It’s the one I trust when I feel that scratchy throat coming on, and the one I give to my kids without hesitation. It’s not fancy or complicated, but it works. And it actually tastes good.
Why You’ll Love This Recipe
This isn’t just another herbal syrup recipe you’ll try once and forget about. It’s the one that sticks, the one you’ll find yourself making on repeat every cold season. Here’s why it’s earned a permanent spot in my kitchen:
- Simple Ingredients: You only need a handful of pantry-friendly items—dried elderberries, a few spices, raw honey, and water. No weird extracts or hard-to-find herbs.
- Quick to Make: The active prep time is about 10 minutes. The rest is just simmering and cooling. You can have a batch ready before your morning coffee is gone.
- Actually Tastes Good: Unlike the store-bought stuff that tastes like a chemistry experiment, this syrup is warm, spiced, and naturally sweet. My kids take it without complaint.
- Cost-Effective: One batch costs a fraction of what you’d pay for a bottle at the health food store. And you control exactly what goes into it.
- Immune Support You Can Trust: Elderberries are packed with antioxidants and vitamins that help your body do its thing. This recipe preserves those benefits without overcooking or over-processing them.
What makes this version different from the others I tried? It’s the balance. The ginger adds a gentle warmth, the cinnamon brings sweetness without sugar, and the honey is added at the right temperature to keep its beneficial properties intact. It’s comfort in a spoonful—the kind of thing you reach for when you feel a cold creeping in, or when you just want to stay ahead of the season. It’s also the kind of recipe that pairs beautifully with a cozy morning routine. If you’re looking for another way to start your day on a healthy note, these healthy chicken veggie breakfast bake cups are a great companion for a nourishing breakfast.
What Ingredients You Will Need
This recipe uses simple, wholesome ingredients that work together to create a syrup that’s both effective and delicious. Most of these are probably already in your pantry or spice rack. Here’s what you’ll need:
- Dried Elderberries (1 cup / 140g): These are the star of the show. Look for organic dried elderberries from a trusted brand like Starwest Botanicals or Frontier Co-op. They should be dark purple, almost black, and smell slightly sweet and earthy. Avoid fresh elderberries—they’re toxic raw and need to be cooked differently.
- Water (4 cups / 960ml): Filtered water works best. Tap water with a strong chlorine taste can affect the final flavor.
- Raw Honey (1 cup / 340g): This is where the magic happens. Raw, unfiltered honey adds sweetness and its own immune-supporting properties. Don’t use pasteurized honey—it lacks the beneficial enzymes. Local honey is a bonus if you can find it.
- Cinnamon Sticks (2-3): They add warmth and a natural sweetness that balances the tartness of the elderberries. Ceylon cinnamon is milder and more floral, but Cassia works fine too.
- Fresh Ginger (1-inch piece, sliced): Ginger adds a gentle spicy kick and is known for its anti-inflammatory properties. You can leave the skin on—just give it a good wash.
- Whole Cloves (3-4): A little goes a long way. Cloves add depth and a hint of warmth, but too many can make the syrup taste medicinal. Stick to 3 or 4 max.
- Optional: Orange Peel (1 strip): I sometimes add a strip of dried orange peel for a bright, citrusy note. It’s not essential, but it’s nice.
When selecting your elderberries, look for berries that are plump and uniform in color. Avoid bags with lots of stems or debris. If you’re using a different brand, just check the aroma—good elderberries should smell fruity, not musty. For the honey, I recommend a local raw honey if you can get it. It adds a unique flavor that varies by region, and it’s great for seasonal allergies too.
Equipment Needed
You don’t need any fancy equipment to make this syrup. Most of what you need is probably already in your kitchen:
- Medium Saucepan (3-4 quart): A stainless steel or enamel-coated pot works best. Avoid aluminum, which can react with the acidic berries.
- Fine-Mesh Strainer or Cheesecloth: For straining out the berries and spices. A nut milk bag works great too.
- Glass Measuring Cup (2-cup): For measuring liquids and honey. The honey will slide out easier if you lightly grease the cup with a drop of oil.
- Wooden Spoon or Silicone Spatula: For stirring. Metal can scratch your pot, and you don’t want that.
- Glass Jar or Bottle (16-20 oz): For storing the finished syrup. A swing-top bottle is ideal, but a mason jar works perfectly too.
- Funnel (optional but helpful): For transferring the syrup into the jar without making a mess.
If you don’t have a fine-mesh strainer, you can use a regular colander lined with a clean kitchen towel. Just make sure the towel is lint-free. I’ve used an old cotton napkin in a pinch, and it worked fine. For the jar, make sure it’s thoroughly cleaned and dried before you pour in the syrup. A quick run through the dishwasher on the sanitize cycle does the trick.
Preparation Method
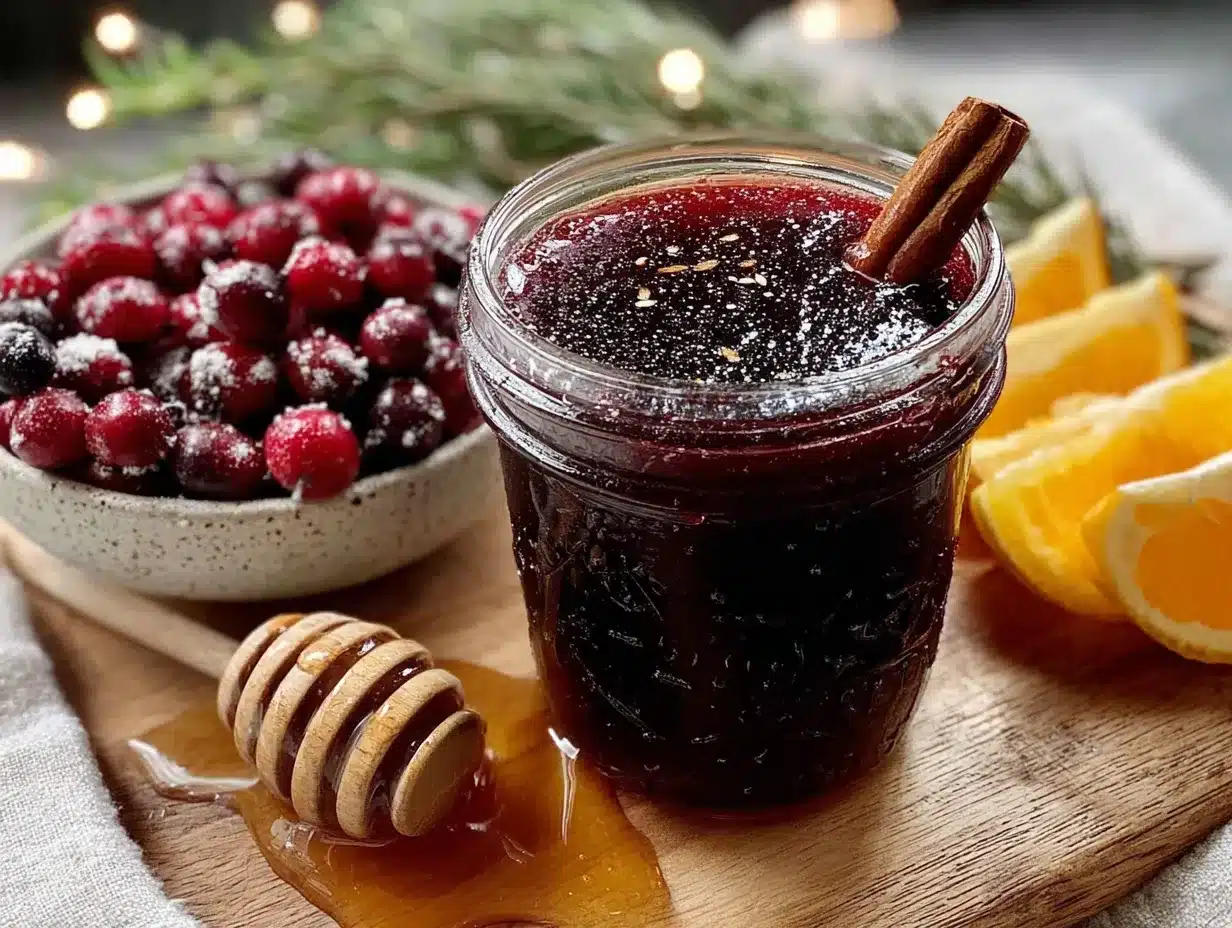
Making this syrup is surprisingly simple. The hardest part is waiting for it to cool. Here’s how to do it:
- Combine the berries and water. Add the dried elderberries and 4 cups of filtered water to your saucepan. Give them a quick stir. The berries will float at first, and that’s totally normal.
- Add the spices. Toss in the cinnamon sticks, sliced ginger, and whole cloves. If you’re using orange peel, add it now. Don’t worry if the ginger floats—it’ll infuse just fine.
- Bring to a boil. Set the pot over medium-high heat and bring the mixture to a gentle boil. This should take about 5-7 minutes. Keep an eye on it—you don’t want it to boil over.
- Reduce to a simmer. Once it’s boiling, lower the heat to medium-low so the liquid is just barely bubbling. Cover the pot with a lid, slightly ajar to let steam escape, and let it simmer for 45 minutes. The liquid will reduce by about half, and the kitchen will start smelling amazing.
- Mash the berries. After 45 minutes, use the back of your wooden spoon to gently mash the berries against the side of the pot. This releases more of their goodness. Don’t go crazy—just a few gentle presses.
- Simmer for 15 more minutes. Let it continue simmering, uncovered, for another 15 minutes. The liquid should be dark purple and fragrant.
- Strain the mixture. Place your fine-mesh strainer or cheesecloth over a large bowl or measuring cup. Carefully pour the mixture through the strainer. Let it drain for a few minutes, then gently press on the solids with the back of a spoon to extract every last drop. Discard the solids.
- Cool the liquid. Let the strained liquid cool for about 20-30 minutes. It should be warm but not hot—around 110°F (43°C) is ideal. If it’s too hot, it will damage the beneficial properties of the honey.
- Add the honey. Once the liquid has cooled, pour in the raw honey and stir gently until it’s fully dissolved. Don’t whisk vigorously—you don’t want to incorporate air bubbles. Just a gentle, steady stir.
- Transfer to a jar. Use a funnel to pour the syrup into your clean glass jar or bottle. Seal it tightly and let it cool completely at room temperature before refrigerating.
The syrup will look thin when it’s warm, but it will thicken slightly as it cools. Don’t worry if it’s not as thick as store-bought versions—that’s a good sign. It means you haven’t overcooked it.
Cooking Tips & Techniques
Over the years, I’ve made plenty of mistakes with this recipe so you don’t have to. Here are the lessons I learned the hard way:
Don’t boil the honey. This is the most important tip. If you add honey while the liquid is still hot, you destroy the beneficial enzymes and probiotics that make raw honey so good for you. Always let the liquid cool to warm before adding it. I once got impatient and added it too early—the syrup was still tasty, but I knew I’d lost some of the good stuff.
Watch your simmer time. Simmering for too long can make the syrup bitter and destroy some of the antioxidants in the elderberries. Set a timer. I use my phone and check it every 15 minutes. The total simmer time is 1 hour, and that’s plenty.
Don’t skip the mashing step. That gentle press at the 45-minute mark makes a real difference. It helps release the pectin and nutrients from the berries, giving you a richer, more effective syrup. Just don’t overdo it—you don’t want berry bits floating in your final product.
Use a wide pot. A wider surface area helps the liquid reduce more evenly. I use a 4-quart saucepan, and it works perfectly. If your pot is too narrow, the liquid won’t reduce as much, and you’ll end up with a thinner syrup.
Let it cool completely before refrigerating. I know it’s tempting to pop it in the fridge right away, but letting it cool at room temperature first prevents condensation from forming inside the jar. That extra moisture can lead to mold over time. Patience pays off here.
If you’re looking for other ways to support your immune system through food, this healthy low-cal ranch chicken skillet is packed with lean protein and veggies that keep you feeling strong all week long.
Variations & Adaptations
This recipe is flexible, and I’ve tried several variations over the years. Here are some of my favorites:
- Alcohol-Free Version: This recipe is already alcohol-free, which makes it safe for kids. If you want a longer shelf life, you can add 1-2 tablespoons of vodka or brandy after the syrup has cooled. It acts as a natural preservative.
- Spicy Kick: Add an extra 1/2 teaspoon of dried ginger or a small pinch of cayenne pepper for a warming, sinus-clearing effect. I do this when I feel a cold coming on and want something that really clears me out.
- Herbal Boost: Add a sprig of fresh rosemary or a few slices of dried astragalus root during the simmering stage. Both are known for their immune-supporting properties. Just remember to strain them out with the berries.
- Low-Sugar Option: If you’re watching your sugar intake, you can reduce the honey to 1/2 cup. The syrup will be thinner and less sweet, but it will still work. You can also use a sugar-free honey substitute, though the flavor will be different.
- Berry Blend: Replace half the elderberries with dried blackberries or blueberries. It changes the flavor profile slightly, but it’s delicious and adds even more antioxidants.
I once tried a version with star anise instead of cloves, and it was surprisingly good—very warming and slightly licorice-like. Not for everyone, but worth experimenting with if you’re feeling adventurous.
Serving & Storage Suggestions
This syrup is incredibly versatile. Here’s how to use it and keep it fresh:
Serving: For daily immune support, take 1 tablespoon for adults and 1 teaspoon for children (ages 1 and up) once a day. If you feel a cold coming on, you can increase to 3-4 tablespoons per day for adults. I like to take mine straight off a spoon, but you can also stir it into warm tea, drizzle it over yogurt or oatmeal, or mix it into a smoothie. It’s also lovely in sparkling water with a squeeze of lemon for a refreshing immune-boosting drink.
Storage: Keep the syrup in a sealed glass jar in the refrigerator. It will stay fresh for up to 3 months. I usually make a double batch at the beginning of cold season and it lasts us through the winter. If you see any mold, bubbles, or off smells, toss it and make a fresh batch.
Freezing: You can freeze the syrup in ice cube trays for individual portions. Once frozen, pop the cubes out and store them in a freezer bag. They’ll keep for up to 6 months. Just thaw a cube in the fridge overnight or drop it directly into a warm drink.
Reheating: If you want to add the syrup to hot tea, let the tea cool for a minute first so you don’t damage the honey’s beneficial properties. The syrup itself doesn’t need reheating—it’s ready to use straight from the fridge.
The flavors actually deepen after a few days in the fridge. The spices meld together, and the honey becomes more integrated. It’s at its best after about 48 hours.
Nutritional Information & Benefits
While I’m not a nutritionist, I can share what I’ve learned from researching this recipe and using it for years. Here’s the approximate nutritional breakdown per 1-tablespoon serving (15ml):
- Calories: 45
- Carbohydrates: 12g
- Sugars: 11g (from honey)
- Vitamin C: 2mg (2% DV)
- Iron: 0.2mg (1% DV)
Elderberries are rich in antioxidants called anthocyanins, which give them their deep purple color. These compounds help support the immune system by fighting oxidative stress. The raw honey adds its own antibacterial and anti-inflammatory properties, while ginger and cinnamon offer additional immune-boosting and anti-inflammatory benefits.
This recipe is naturally gluten-free, dairy-free, and vegan (if you use a plant-based sweetener instead of honey). It’s safe for children over 1 year old (honey isn’t recommended for infants under 12 months). If you have diabetes or are watching your sugar intake, be mindful of the honey content and consider the low-sugar variation.
For another way to pack in nutrients during cold season, try these healthy air fryer BBQ chicken lettuce wraps—they’re light, fresh, and full of protein to keep your energy up.
Conclusion
This homemade elderberry syrup for immune support has become a staple in our home, and I honestly can’t imagine going through another cold season without it. It’s simple enough to make on a Sunday afternoon, affordable enough to keep in regular rotation, and effective enough that I actually notice a difference when we take it consistently. The flavor is warm and comforting—nothing like the harsh, medicinal syrups you find at the store.
What I love most about this recipe is how customizable it is. You can adjust the spices, tweak the sweetness, or add your own herbal touches. It’s forgiving, and it rewards a little experimentation. If you’ve never made your own immune syrup before, this is a great place to start. And if you’re a seasoned pro, I hope this version becomes a new favorite.
I’d love to hear how yours turns out. Did you add any extra spices? Do you take it straight or mix it into something? Drop a comment below and let me know—I read every single one. And if you found this helpful, share it with someone who could use a little immune support this season. Stay well, friends.
Frequently Asked Questions
Can I use fresh elderberries instead of dried?
No, you should not use fresh elderberries in this recipe. Fresh elderberries are toxic when raw and need to be cooked differently. Always use dried elderberries, which are safe and widely available online or at health food stores.
How long does homemade elderberry syrup last?
Stored in a sealed glass jar in the refrigerator, this syrup will stay fresh for up to 3 months. If you see any mold, bubbles, or off smells, discard it and make a fresh batch.
Can I give this syrup to my kids?
Yes, but only for children over 1 year old due to the raw honey. For children ages 1 and up, give 1 teaspoon per day for maintenance. Always consult your pediatrician before introducing new supplements to your child’s routine.
Can I make this syrup without honey?
Yes, you can replace the honey with maple syrup, agave nectar, or another liquid sweetener. Keep in mind that the immune-boosting properties of raw honey will be lost, but the elderberries and spices will still provide benefits.
Can I freeze this syrup?
Absolutely. Pour the syrup into ice cube trays, freeze until solid, then transfer the cubes to a freezer bag. They’ll keep for up to 6 months. Thaw a cube in the fridge overnight or drop it directly into a warm drink.
Pin This Recipe!
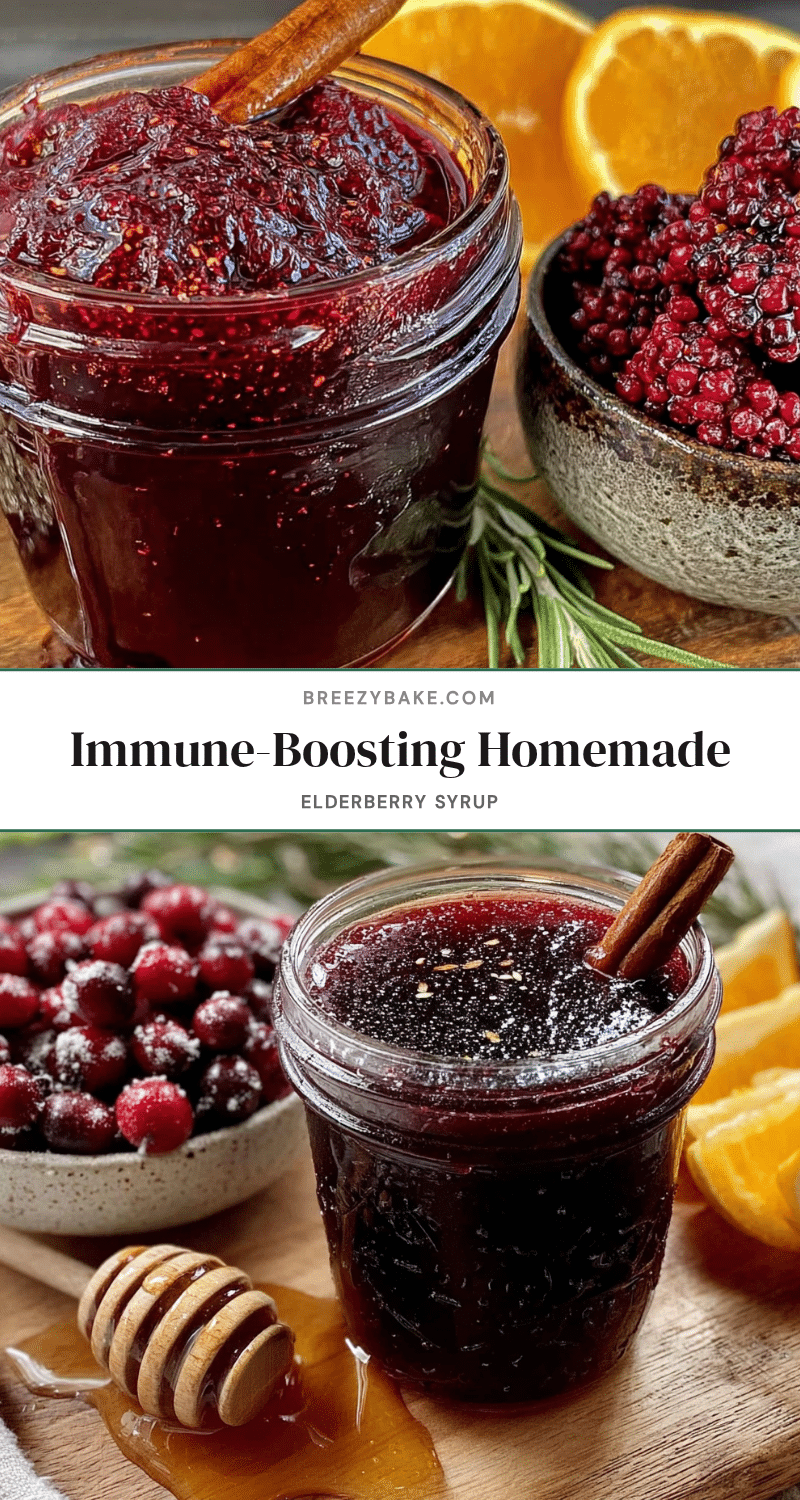
Homemade Elderberry Syrup: The Best Immune Support Recipe
This homemade elderberry syrup is warm, spiced, and naturally sweet—a comforting immune support remedy that actually tastes good. Made with simple ingredients like dried elderberries, raw honey, and warming spices, it’s easy to prepare and cost-effective.
- Prep Time: 10 minutes
- Cook Time: 1 hour
- Total Time: 1 hour 10 minutes
- Yield: 4 servings 1x
- Category: Beverage
- Cuisine: American
Ingredients
- 1 cup (140g) dried elderberries
- 4 cups (960ml) filtered water
- 1 cup (340g) raw honey
- 2–3 cinnamon sticks
- 1-inch piece fresh ginger, sliced
- 3–4 whole cloves
- 1 strip dried orange peel (optional)
Instructions
- Combine the dried elderberries and 4 cups of filtered water in a medium saucepan. Stir briefly.
- Add the cinnamon sticks, sliced ginger, whole cloves, and optional orange peel.
- Bring the mixture to a gentle boil over medium-high heat, about 5-7 minutes.
- Reduce heat to medium-low, cover the pot with the lid slightly ajar, and simmer for 45 minutes.
- After 45 minutes, gently mash the berries against the side of the pot with the back of a wooden spoon.
- Simmer uncovered for another 15 minutes.
- Strain the mixture through a fine-mesh strainer or cheesecloth into a large bowl or measuring cup. Press on the solids to extract all liquid. Discard solids.
- Let the strained liquid cool for 20-30 minutes until warm (about 110°F / 43°C).
- Stir in the raw honey gently until fully dissolved.
- Pour the syrup into a clean glass jar or bottle using a funnel. Seal tightly and let cool completely at room temperature before refrigerating.
Notes
Do not add honey while the liquid is hot; let it cool to warm first to preserve beneficial enzymes. Simmer for exactly 1 hour total to avoid bitterness. Let syrup cool completely at room temperature before refrigerating to prevent condensation and mold. Store in the refrigerator for up to 3 months. For children over 1 year, give 1 teaspoon daily; for adults, 1 tablespoon daily for maintenance, up to 3-4 tablespoons if feeling a cold coming on.
Nutrition
- Serving Size: 1 tablespoon (15ml)
- Calories: 45
- Sugar: 11
- Carbohydrates: 12
Keywords: elderberry syrup, immune support, homemade syrup, elderberry recipe, natural remedy, cold season, honey syrup


