I ruined pumpkin pie for myself three years ago. Not the first time I made one, or even the second — it was the third, when I spent four hours wrestling with a crust that refused to cooperate, cracked in three places, and somehow still tasted like cardboard. I sat there staring at this sad, lopsided thing on my counter and thought, there has to be a better way. That night, I threw pumpkin puree, cream cheese, and spices into a bowl, layered it in a jar, and ate it with a spoon while standing in my kitchen. No oven. No stress. And honestly? It was better than any pie I’d ever made. These easy no-bake pumpkin pie parfaits in a jar became my fall obsession, and I’ve never looked back.
The thing about this recipe is it started as a lazy night solution and turned into the dessert I actually look forward to making for Thanksgiving. People ask for it now — specifically this, not the fancy pie with the lattice crust. There is something about eating pumpkin pie out of a jar that feels both indulgent and totally relaxed. No slicing, no plating anxiety, no worrying if the crust held up. Just grab a spoon and dig in.
If you’ve ever wanted pumpkin pie without the oven drama, this one is for you. It takes about fifteen minutes of actual work, then the fridge does the rest. And the first time you taste that creamy, spiced filling against the buttery crumb crust, you will understand why I stopped making the real thing entirely.
Why You’ll Love This Recipe
I have tested this recipe at least a dozen times with different filling ratios, crust options, and chilling times. What I am sharing today is the version that consistently gets the best feedback — from my family, from friends, and from folks who swore they “didn’t like pumpkin desserts.” Let me tell you why this one works.
- No oven required — This might be my favorite part. You don’t even need to turn on the stove. Perfect for those warm fall days when you want pumpkin flavor but not the heat.
- Takes 15 minutes to assemble — Seriously. Mix the filling, crush the cookies, layer everything in jars, and you are done. The fridge does the rest.
- Perfect for meal prep — Make these on Sunday and they are ready for the whole week. They actually taste better after a day or two when the flavors meld together.
- Great for parties and gatherings — Individual servings mean no slicing, no mess, and everyone gets their own cute jar. I brought these to a Friendsgiving and they disappeared before the actual pie.
- Customizable for dietary needs — I have made gluten-free and dairy-free versions that taste just as good. The recipe is forgiving.
- Tastes like real pumpkin pie — This is not one of those “healthy alternative” desserts that leaves you disappointed. It is rich, creamy, spiced perfectly, and satisfies that deep pumpkin craving every time.
What makes this different from other no-bake pumpkin recipes I have tried is the texture. Most versions turn out either too runny or too dense. This one hits that sweet spot — light enough to feel like a mousse but sturdy enough to hold its shape when you scoop it. The secret is how you treat the cream cheese and the ratio of pumpkin to whipped topping. I figured it out after a few failed batches that ended up more like pumpkin soup, and I promise this version works every time.
What Ingredients You Will Need
This recipe uses simple, everyday ingredients that come together to create something genuinely special. Most of these are pantry staples during fall, and you might already have everything on hand.
For the Pumpkin Filling
- 1 can (15 oz) pumpkin puree — Not pumpkin pie filling. Make sure you grab pure pumpkin puree. I prefer Libby’s for its consistent texture and flavor, but store brands work fine too.
- 8 oz cream cheese, softened — Full-fat cream cheese gives the best creamy texture and richest flavor. Let it sit on the counter for about 30 minutes before you start so it blends smoothly without lumps.
- 1 cup powdered sugar — Adds sweetness without the graininess of granulated sugar. Sift it if you have time, though I have skipped this step many times and it still worked.
- 1 teaspoon vanilla extract — Pure vanilla extract makes a difference here. The imitation stuff has a chemical aftertaste that stands out in a simple recipe like this.
- 1 ½ teaspoons pumpkin pie spice — You can use store-bought or make your own with cinnamon, nutmeg, ginger, and allspice. I usually make my own because I like controlling the cinnamon ratio.
- ½ teaspoon ground cinnamon — Extra cinnamon because I think pumpkin desserts need it. Feel free to adjust based on your preference.
- ¼ teaspoon salt — Sounds weird in a dessert, but salt balances the sweetness and makes the pumpkin flavor pop. Do not skip it.
- 2 cups frozen whipped topping, thawed — Cool Whip or any store brand works. Let it thaw in the fridge for a few hours before using. You can also whip your own heavy cream with a little sugar if you prefer homemade.
For the Crust Layer
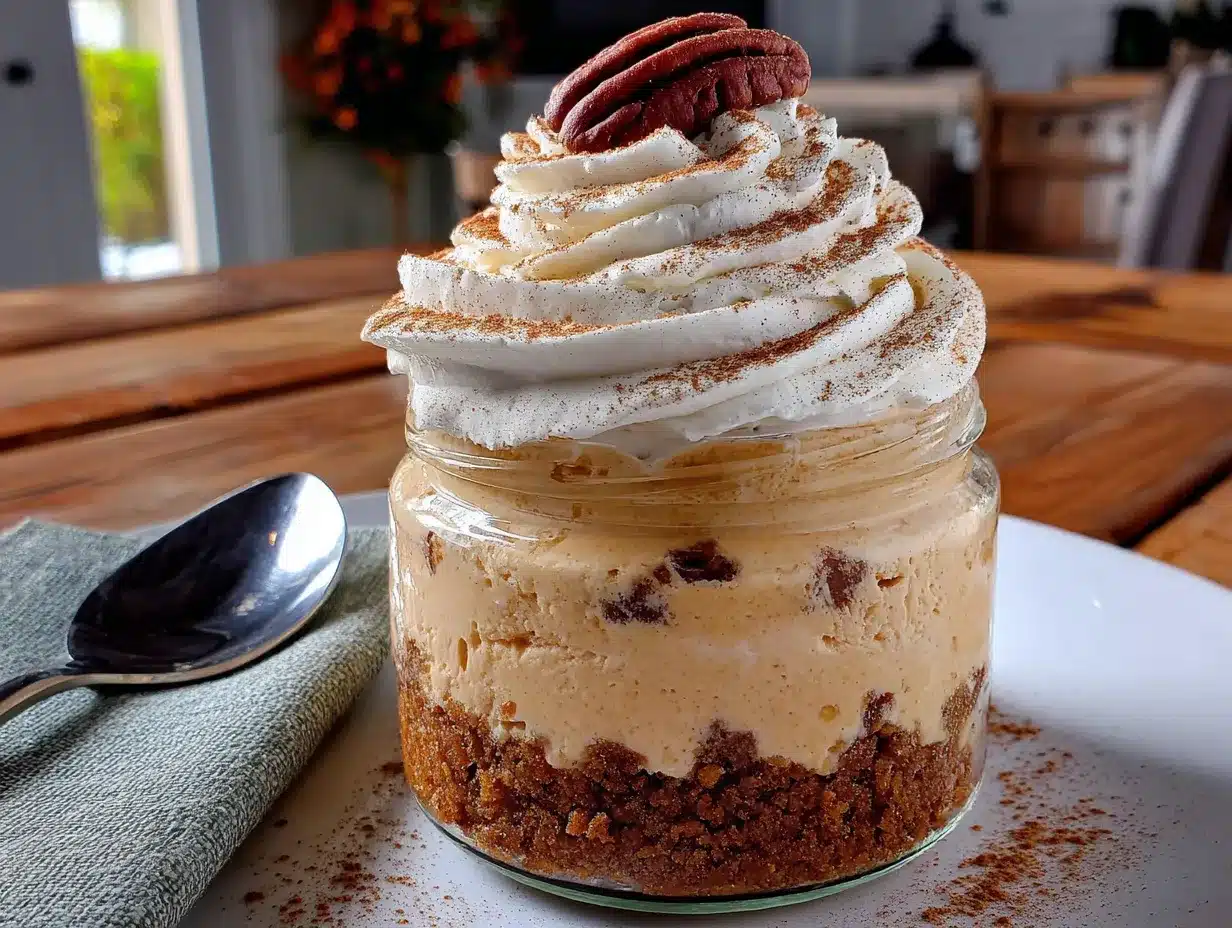
- 1 ½ cups crushed graham crackers or shortbread cookies — I have used both and honestly prefer shortbread cookies for a richer, buttery flavor. Graham crackers give a more traditional pie crust taste. Both are excellent.
- ¼ cup melted butter — Salted or unsalted, just adjust the added salt in the filling if you use salted. I use salted butter and reduce the salt in the filling to ⅛ teaspoon.
- 2 tablespoons brown sugar — Adds a deeper sweetness and helps the crust hold together. Light or dark brown sugar both work.
For the Topping
- Additional whipped topping — For the top layer. About 1 cup should be enough for 6 jars.
- Optional garnishes — A sprinkle of cinnamon, crushed pecans, a drizzle of caramel sauce, or even a few mini marshmallows. I usually do a light dusting of cinnamon and a drizzle of caramel because it looks pretty and tastes amazing.
Ingredient substitution notes: For a dairy-free version, use dairy-free cream cheese and coconut whipped topping. For gluten-free, use gluten-free graham crackers or cookies. I have tested both substitutions and they work well, though the texture of the filling will be slightly less creamy with dairy-free cream cheese. For a lower sugar option, use a sugar substitute like Swerve in place of the powdered sugar, and use sugar-free cookies for the crust. The flavor will still be great, just a little less indulgent.
Equipment Needed
You do not need anything fancy for this recipe, which is part of the appeal. Here is what you will need:
- 6 half-pint mason jars or small jars — Wide-mouth jars are easier to layer and eat from. I use 8-ounce jars, but 4-ounce jars work for smaller portions. You can also use small glass cups or even ramekins.
- Electric hand mixer or stand mixer — A hand mixer works perfectly for this. You can also mix by hand with a whisk if you have strong arms and patience, but the cream cheese needs to be really smooth.
- Mixing bowls — One medium bowl for the filling and one small bowl for the crust mixture.
- Ziploc bag or rolling pin — For crushing the cookies or graham crackers. I put them in a ziploc bag and go at it with a rolling pin. It is oddly satisfying.
- Spatula — For scraping every bit of filling into the jars. Do not waste any of this stuff.
- Measuring cups and spoons — Standard set will do.
If you do not have mason jars, do not worry. I have made these in small glass bowls, plastic cups, and even a large trifle dish when I wanted a single big dessert. The jar presentation is cute, but the taste is the same no matter what you use.
Preparation Method
Let me walk you through this step by step. I have included all the little details I wish someone had told me the first time I made these.
- Make the crust mixture. Place your cookies or graham crackers in a ziploc bag and crush them with a rolling pin until you have fine crumbs. You want them mostly uniform, but a few slightly larger pieces are fine and add texture. In a small bowl, combine the crumbs with melted butter and brown sugar. Stir until everything is moistened and looks like wet sand. Set aside.
- Prepare the cream cheese base. In a medium mixing bowl, beat the softened cream cheese with an electric mixer on medium speed until it is completely smooth and fluffy. This takes about 2 minutes. Make sure there are no lumps — I learned this the hard way when I rushed and ended up with cream cheese chunks in my filling. Scrape down the sides of the bowl halfway through.
- Add the sugar and spices. Add the powdered sugar, vanilla extract, pumpkin pie spice, cinnamon, and salt to the cream cheese. Beat on low speed first to avoid a powdered sugar cloud, then increase to medium and mix until everything is fully combined and smooth. The mixture will be thick and smell amazing at this point.
- Incorporate the pumpkin puree. Add the pumpkin puree to the cream cheese mixture. Beat on medium speed until the filling is uniform in color and completely smooth. Scrape the sides and bottom of the bowl to make sure no streaks of cream cheese remain. The filling should be a beautiful orange color and smell like fall in a bowl.
- Fold in the whipped topping. Add the thawed whipped topping to the pumpkin mixture. Use a spatula to gently fold it in until no white streaks remain. Do not overmix — you want to keep the airiness that the whipped topping brings. The filling will become light and mousse-like. Taste it here and adjust spices if needed. I always sneak a little taste at this stage.
- Layer the parfaits. Grab your jars. Start with a layer of the crust mixture — about 2 tablespoons per jar. Press it down gently with the back of a spoon or the bottom of a small glass to create an even base. Next, add a layer of the pumpkin filling — about ¼ cup per jar, depending on jar size. Smooth it out. Add another thin layer of crust crumbs if you want, then another layer of filling. I usually do two layers of each, ending with filling on top.
- Top with whipped topping. Add a generous dollop of whipped topping to each jar. Spread it gently to cover the filling. This is the crown jewel of your parfait.
- Chill. Place the jars in the refrigerator for at least 4 hours, but overnight is better. The filling needs time to set and the flavors need time to meld. I know it is hard to wait, but trust me — these taste significantly better after a full night in the fridge.
- Garnish and serve. Right before serving, add your garnishes. A sprinkle of cinnamon, a drizzle of caramel sauce, some crushed pecans, or even a few mini marshmallows. Serve cold straight from the fridge.
Sensory cues to watch for: When you fold the whipped topping into the pumpkin mixture, the color should lighten to a creamy orange. The texture should be thick but scoopable — not runny at all. When you press the crust into the jars, it should hold together when lightly pressed, not crumble apart. After chilling, the filling should be firm enough that you can insert a spoon and it holds its shape.
Cooking Tips & Techniques
I have made these parfaits more times than I can count, and I have made every mistake in the book. Here is what I have learned so you do not have to repeat my errors.
Let the cream cheese soften properly. This is non-negotiable. Cold cream cheese will leave lumps in your filling that no amount of mixing will fix. I take mine out of the fridge about 30 to 45 minutes before starting. If you forget, cut it into small cubes and microwave it for 10 seconds at a time until it is soft but not melted.
Do not overmix after adding the whipped topping. I ruined my first batch by being too enthusiastic with the mixer. The filling turned out dense and almost gluey. Fold gently with a spatula until just combined. A few tiny streaks of white are fine — they will disappear as the parfait chills.
Chill time matters more than you think. I have tried these after 2 hours, 4 hours, and overnight. The 2-hour version was okay but loose. The 4-hour version was good. The overnight version was perfect — firm, creamy, and the flavors had deepened beautifully. Plan ahead if you can.
Press the crust firmly. If the crust layer is too loose, it will mix into the filling when you eat it and you will lose that distinct crust texture. Use the bottom of a shot glass or a small spice jar to press it down firmly and evenly.
Make extra crust mixture. I always make a little more than I think I need. Having extra crumbs to sprinkle on top adds a nice crunch. Plus, if you accidentally eat some of the crust mixture (which I definitely do not do), you still have enough.
Variations & Adaptations
One of the best things about this recipe is how easy it is to change up. Here are some variations I have tried and loved.
Gluten-Free Version
Use gluten-free graham crackers or gluten-free shortbread cookies for the crust. I have tried several brands and Schär’s gluten-free shortbread cookies work beautifully. The filling is naturally gluten-free, so this is an easy swap.
Vegan Version
Use dairy-free cream cheese, such as Kite Hill or Violife. Use coconut whipped topping instead of regular. For the crust, use vegan butter or coconut oil. I made this for a vegan friend last year and she said it was the best pumpkin dessert she had had in years. The coconut flavor from the whipped topping actually complements the pumpkin nicely.
Pumpkin Cheesecake Version
Add an extra 2 ounces of cream cheese and reduce the pumpkin puree by ¼ cup. The filling becomes denser and more cheesecake-like. Top with a drizzle of melted white chocolate for extra indulgence.
Spiced Pecan Version
Toast some pecans with a little butter, brown sugar, and cinnamon, then chop them up and sprinkle them between the layers and on top. The crunch and nutty flavor take these parfaits to another level. I did this for a Thanksgiving potluck and people went crazy for it.
Low-Sugar Version
Use a sugar substitute like Swerve or monk fruit sweetener in place of the powdered sugar. Use sugar-free cookies for the crust and sugar-free whipped topping. The texture will be slightly different, but the flavor is still really good. I have made this for my dad who is diabetic, and he requests it regularly now.
If you enjoy creating desserts in jars, you might also like these mint chocolate cake jar parfaits for a completely different flavor profile that uses the same layering technique.
Serving & Storage Suggestions
These parfaits are best served cold, straight from the fridge. I like to take them out about 10 minutes before serving so they soften slightly, but that is personal preference. They hold up well at room temperature for about 30 minutes if you are serving them at a party or gathering.
Presentation ideas: Tie a small piece of twine or ribbon around each jar with a cinnamon stick tucked in for a rustic fall look. You can also attach a small tag with the flavor written on it if you are giving them as gifts. I have brought these to Friendsgiving dinners and they always get compliments on the presentation alone.
What to serve with them: These parfaits are rich enough to stand alone, but they pair beautifully with a cup of hot coffee, spiced apple cider, or a warm chai latte. For a dessert spread, serve them alongside a cookie crumble dessert board for variety.
Storage instructions: Keep the parfaits covered in the refrigerator for up to 5 days. I recommend using jars with lids, or covering tightly with plastic wrap. The crust will soften over time, but that is actually part of the charm — it becomes more like a traditional pie crust texture after a day or two.
Freezing instructions: You can freeze these parfaits for up to 2 months. Make them without the whipped topping, freeze the jars, then add fresh whipped topping after thawing. Thaw in the refrigerator overnight. The texture of the filling holds up surprisingly well.
How flavors develop over time: Day 1 is good. Day 2 is better. Day 3 is when the magic happens. The spices meld with the pumpkin and cream cheese, and the whole thing becomes more cohesive. If you can make these a day ahead, do it.
Nutritional Information & Benefits
Here is the approximate nutritional breakdown for one parfait (based on 6 servings using standard ingredients):
| Nutrient | Amount per Serving |
|---|---|
| Calories | 320 |
| Total Fat | 18g |
| Saturated Fat | 11g |
| Cholesterol | 45mg |
| Sodium | 280mg |
| Total Carbohydrates | 37g |
| Dietary Fiber | 3g |
| Sugars | 26g |
| Protein | 4g |
Health benefits of key ingredients: Pumpkin puree is packed with vitamin A, fiber, and antioxidants. It is also low in calories and naturally sweet, which means you do not need as much added sugar. Cream cheese provides calcium and protein, though it is higher in fat. The cinnamon in the spice blend has anti-inflammatory properties and can help regulate blood sugar. Not bad for a dessert that tastes this indulgent.
Dietary considerations: This recipe contains dairy and gluten in its standard form, but both can be substituted as noted in the variations section. It is vegetarian. For a lighter option, use reduced-fat cream cheese and light whipped topping — the texture will be slightly less creamy but still very good.
Personal wellness perspective: I am not someone who believes dessert needs to be “healthy” to be worth eating. But I do appreciate that this recipe uses real ingredients and gives me a serving of pumpkin, which is actually good for you. It feels like a win-win.
Conclusion
These easy no-bake pumpkin pie parfaits in a jar are the dessert I turn to again and again every fall. They are simple enough for a random Tuesday night when you are craving something sweet, but impressive enough for Thanksgiving dinner or a holiday party. No oven required, no stress, and the result is genuinely better than most pumpkin pies I have eaten.
I love that this recipe lets me enjoy pumpkin season without the pressure of making a perfect pie crust or worrying about baking times. It is forgiving, adaptable, and always delivers. The first time you take a spoonful of that creamy, spiced filling with the buttery crust, you will understand why I stopped making traditional pumpkin pie.
Try this recipe and make it your own. Add extra cinnamon, swap the crust, pile on the toppings. That is the beauty of a parfait — it is built for customization. I would love to hear how yours turn out. Leave a comment below and tell me what variations you tried, or share a photo of your jars. Tag me so I can see your beautiful creations. Happy fall baking, friends!
Frequently Asked Questions
Can I use fresh pumpkin instead of canned?
Yes, you can use fresh pumpkin puree. Just make sure it is well-drained and not too watery. Fresh pumpkin tends to have more moisture than canned, which can make the filling runny. I recommend roasting the pumpkin, blending it, then letting it sit in a cheesecloth-lined strainer for about an hour to remove excess liquid.
How long do these parfaits need to chill?
At least 4 hours, but overnight is best. The filling needs time to set and the flavors need to meld together. If you try to eat them too soon, the texture will be loose and the spices will taste separate rather than blended. Patience pays off here.
Can I make these parfaits in advance for a party?
Absolutely. In fact, I recommend it. Make them 1 to 2 days ahead of time and keep them covered in the refrigerator. Add the garnishes right before serving so they stay fresh and pretty. This is my go-to strategy for holiday entertaining — one less thing to worry about on the day of the event.
Can I use Greek yogurt instead of cream cheese?
You can, but the texture will be different. Greek yogurt makes the filling lighter and tangier, but it will not be as rich or creamy. If you want a healthier version, use half cream cheese and half Greek yogurt. I have tried this and it works well — just make sure to use full-fat Greek yogurt for the best texture.
What if I do not have pumpkin pie spice?
No problem. Make your own by combining 1 teaspoon cinnamon, ½ teaspoon nutmeg, ½ teaspoon ginger, and ¼ teaspoon allspice or cloves. This is actually what I do most of the time because I like controlling the cinnamon ratio. Feel free to adjust the spices to your taste.
Pin This Recipe!
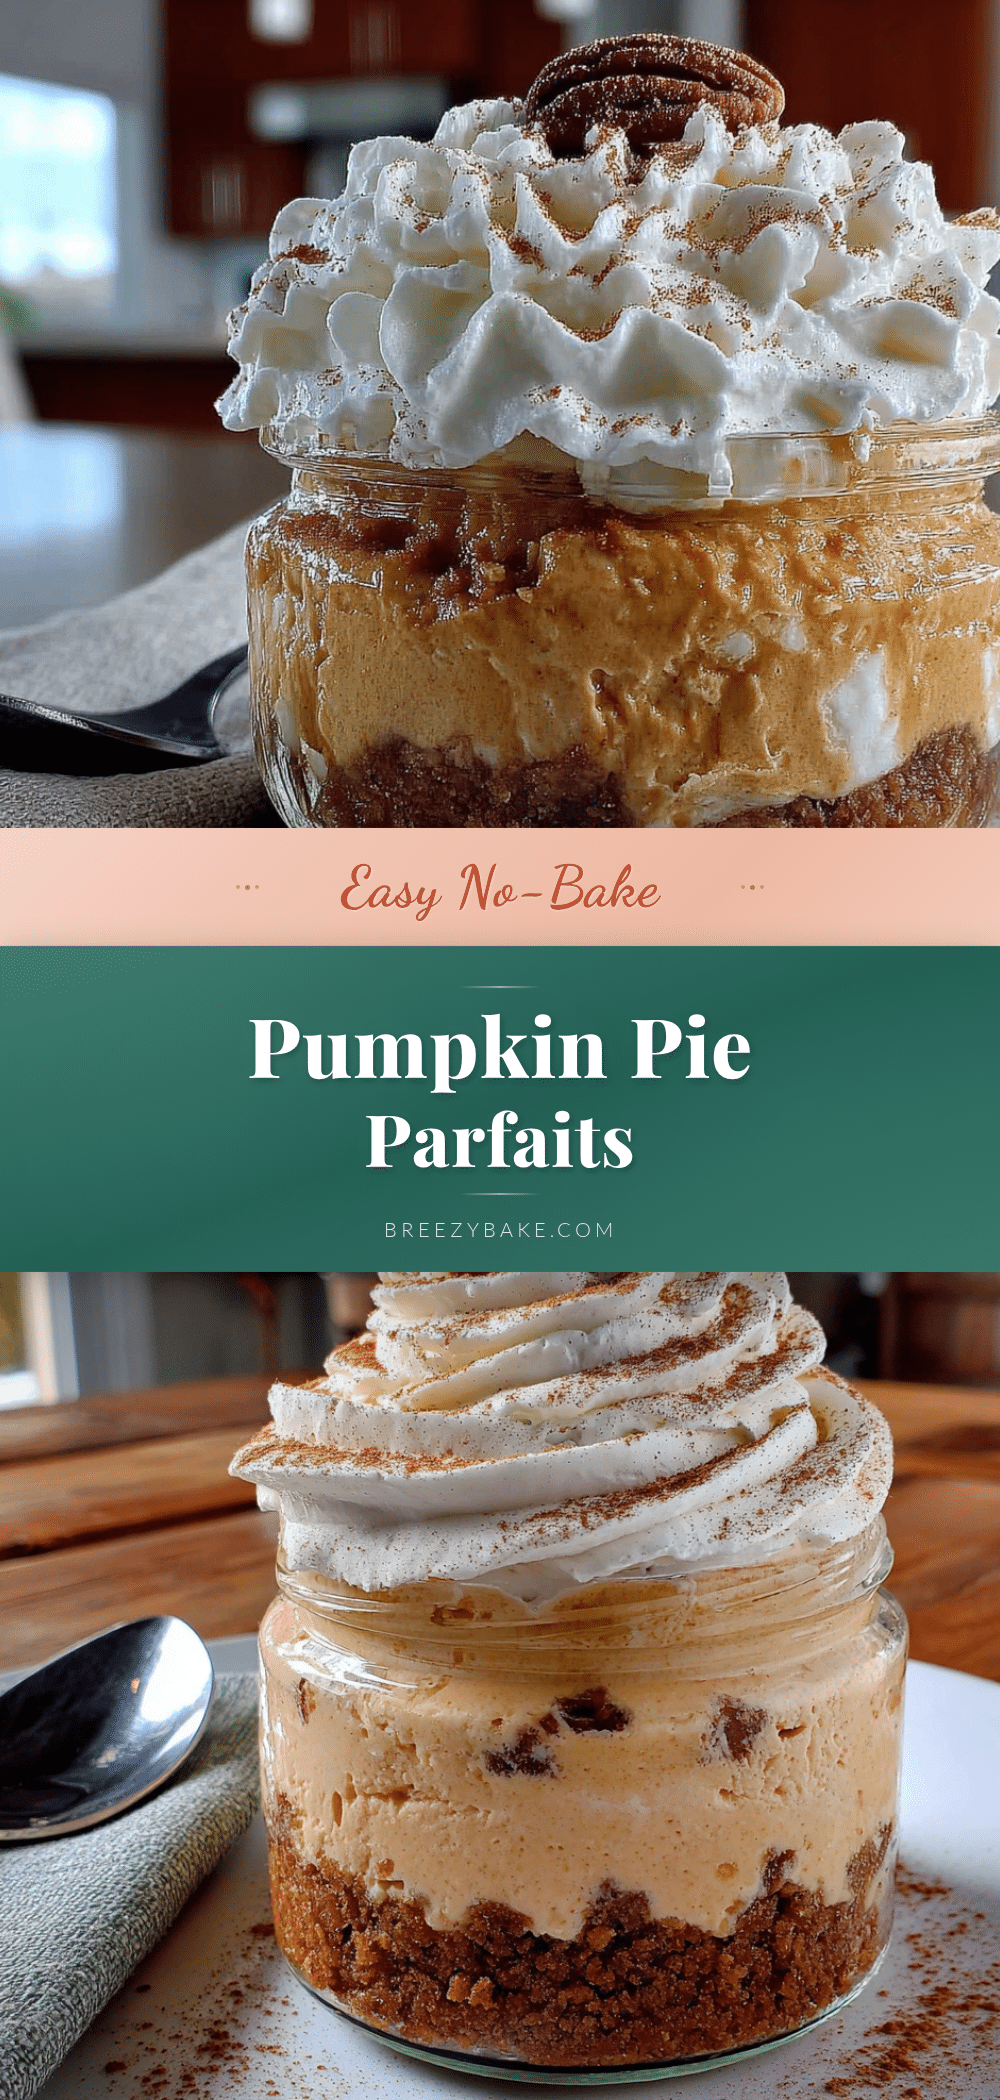
Easy No-Bake Pumpkin Pie Parfaits in a Jar: Best Fall Dessert
These easy no-bake pumpkin pie parfaits in a jar are the perfect fall dessert. No oven required, takes 15 minutes to assemble, and tastes better than traditional pumpkin pie.
- Prep Time: 15 minutes
- Cook Time: 0 minutes
- Total Time: 4 hours 15 minutes (includes chilling)
- Yield: 6 servings 1x
- Category: Dessert
- Cuisine: American
Ingredients
- 1 can (15 oz) pumpkin puree
- 8 oz cream cheese, softened
- 1 cup powdered sugar
- 1 teaspoon vanilla extract
- 1 ½ teaspoons pumpkin pie spice
- ½ teaspoon ground cinnamon
- ¼ teaspoon salt
- 2 cups frozen whipped topping, thawed
- 1 ½ cups crushed graham crackers or shortbread cookies
- ¼ cup melted butter
- 2 tablespoons brown sugar
- Additional whipped topping for garnish
- Optional garnishes: cinnamon, crushed pecans, caramel sauce, mini marshmallows
Instructions
- Make the crust mixture: Place cookies or graham crackers in a ziploc bag and crush with a rolling pin until fine crumbs. In a small bowl, combine crumbs with melted butter and brown sugar. Stir until moistened like wet sand. Set aside.
- Prepare the cream cheese base: In a medium mixing bowl, beat softened cream cheese with an electric mixer on medium speed until smooth and fluffy, about 2 minutes. Scrape down sides halfway through.
- Add the sugar and spices: Add powdered sugar, vanilla extract, pumpkin pie spice, cinnamon, and salt. Beat on low speed first, then medium until fully combined and smooth.
- Incorporate the pumpkin puree: Add pumpkin puree and beat on medium speed until uniform in color and completely smooth. Scrape sides and bottom.
- Fold in the whipped topping: Add thawed whipped topping to the pumpkin mixture. Gently fold with a spatula until no white streaks remain. Do not overmix.
- Layer the parfaits: In each jar, add about 2 tablespoons crust mixture and press down gently. Add about ¼ cup pumpkin filling. Repeat layers if desired, ending with filling on top.
- Top with whipped topping: Add a generous dollop of whipped topping to each jar and spread gently.
- Chill: Refrigerate for at least 4 hours, preferably overnight.
- Garnish and serve: Before serving, add garnishes like cinnamon, caramel sauce, or crushed pecans. Serve cold.
Notes
Let cream cheese soften properly for smooth filling. Do not overmix after adding whipped topping. Chill overnight for best flavor and texture. Press crust firmly to prevent mixing into filling. Make extra crust mixture for topping.
Nutrition
- Serving Size: 1 parfait
- Calories: 320
- Sugar: 26
- Sodium: 280
- Fat: 18
- Saturated Fat: 11
- Carbohydrates: 37
- Fiber: 3
- Protein: 4
Keywords: no-bake pumpkin pie, pumpkin parfait, fall dessert, easy pumpkin dessert, pumpkin pie in a jar, no oven dessert


