I figured a chili bar would be the easiest way to feed a crowd at our annual Halloween block party. You know, just throw some meat and beans in a pot, set out a few bowls of toppings, and call it a night. It took about ten minutes of watching people hover awkwardly around a single slow cooker for that plan to fall apart completely. Honestly, I had underestimated the chaos of thirty neighbors all trying to spoon chili into tiny paper cups at the same time. It wasn’t just a traffic jam—it was a full-on culinary bottleneck, complete with spilled sour cream and a rogue jalapeño rolling under the table. The next year, I decided to rethink the whole thing. Instead of one pot, I set up a proper station. That’s when this Easy Halloween Potluck Chili Bar was born, and let me tell you, it turned the whole vibe around. It’s not just about having enough food; it’s about creating a spread that feels like an event. And for a Halloween party, that’s exactly what you need.
Why You’ll Love This Easy Halloween Potluck Chili Bar
This isn’t just another chili recipe—it’s a full-on interactive experience that makes hosting a breeze. I’ve tested this setup at everything from casual family dinners to full-blown holiday bashes, and it never fails to get people talking (and eating). Here’s why it’s become my go-to for any gathering:
- Super Simple Setup: You can prep almost everything the day before. Just reheat the chili in your slow cookers, lay out the toppings, and you’re done. No last-minute stress.
- Perfect for a Crowd: This bar scales up effortlessly. Whether you’re feeding 10 or 30 people, everyone can build a bowl exactly the way they like it.
- Guaranteed Crowd-Pleaser: I’ve seen picky eaters load up on cheese and Fritos, while spice lovers pile on the jalapeños. There’s truly something for everyone.
- Fun & Festive: Adding a few spooky decorations—like a plastic cauldron for the chili or spider rings on the topping spoons—makes it feel like a Halloween party centerpiece, not just a weeknight dinner.
- Unbelievably Delicious: The chili itself is rich, smoky, and perfectly seasoned. It’s the kind of hearty meal that makes you go back for seconds, even after you’ve tried every single topping combination.
What makes this chili bar different from the rest is the balance. It’s not just about dumping ingredients in a bowl. I’ve perfected the spice blend so it’s warm and complex without being overwhelming, and I’ve tested the toppings to find the ones that add crunch, creaminess, and a little bit of heat. This isn’t just another version of chili—it’s my best version, built for parties. It’s comfort food reimagined for a crowd, with the same soul-soothing satisfaction you get from a bowl on a cold night, but way more fun.
What Ingredients You Will Need
This recipe uses simple, hearty ingredients to build deep, layered flavor without any complicated steps. Most of these are pantry staples, which makes this a perfect last-minute party plan. Here’s what you’ll need to gather:
For the Chili Base (Makes about 12-14 servings)
- 2 pounds ground beef (80/20 works great for flavor; you can also use ground turkey or a plant-based crumble)
- 1 large yellow onion, diced (about 2 cups)
- 1 green bell pepper, diced (adds a bit of sweetness and texture)
- 4 cloves garlic, minced (fresh is best, but jarred works in a pinch)
- 2 tablespoons chili powder (I prefer McCormick for a consistent, balanced heat)
- 1 tablespoon ground cumin (this is the secret to that warm, smoky depth)
- 1 teaspoon smoked paprika (adds a subtle campfire flavor)
- 1 teaspoon dried oregano
- 1/2 teaspoon cayenne pepper (optional, for extra heat)
- Salt and black pepper to taste
- 1 can (15 ounces) fire-roasted diced tomatoes, undrained (I love Muir Glen for the smoky flavor)
- 1 can (15 ounces) tomato sauce
- 1 can (15 ounces) kidney beans, drained and rinsed
- 1 can (15 ounces) black beans, drained and rinsed
- 1 cup beef broth (or chicken broth, or even water)
- 2 tablespoons tomato paste (adds richness and helps thicken)
For the Chili Bar Toppings
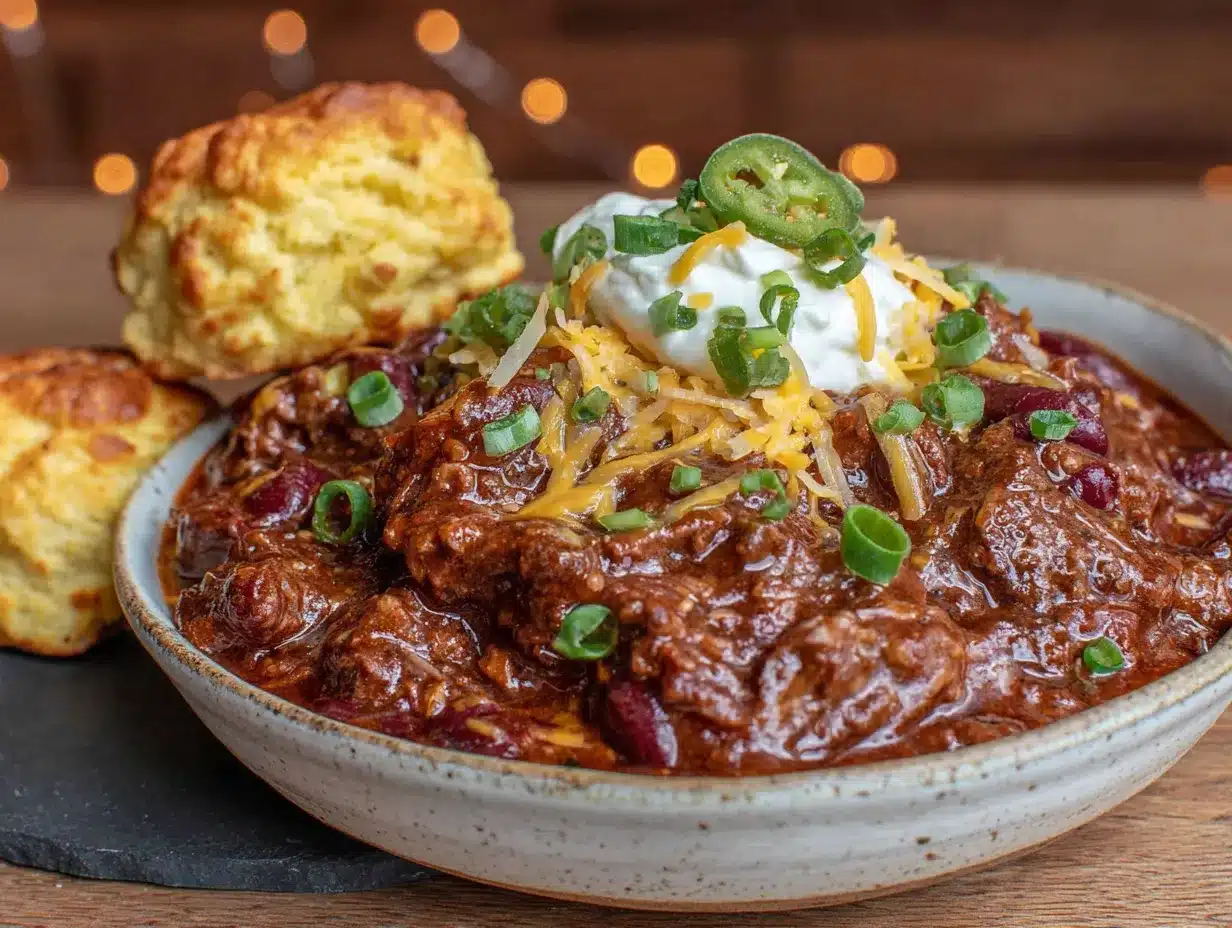
This is where the fun really begins. Set out small bowls of the following:
- Shredded cheddar cheese (mild or sharp, your call)
- Sour cream (or Greek yogurt for a lighter option)
- Diced red onion
- Fresh jalapeños, sliced (remove seeds for less heat)
- Fritos or tortilla chips (for that essential crunch)
- Fresh cilantro, chopped
- Lime wedges (a squeeze of lime brightens everything up)
- Hot sauce (I set out Cholula and Tabasco for variety)
- Diced avocado (adds a creamy, cool element)
- Pickled jalapeños (for a tangy kick)
Substitution Tip: If you’re feeding a crowd with dietary restrictions, this bar is super flexible. Use ground turkey or a plant-based crumble for a lighter or vegetarian option. For a gluten-free version, just skip the Fritos and use corn tortilla chips. You can even offer a “white chicken chili” option on the side for variety—it’s a great way to please everyone without extra work.
Equipment Needed
You don’t need a ton of fancy gear to pull this off. Here’s what I use:
- A large Dutch oven or heavy-bottomed pot (at least 6 quarts) for cooking the chili. I swear by my Le Creuset, but any sturdy pot works.
- Two slow cookers (4-6 quarts each) to keep the chili warm during the party. If you only have one, just keep it on the “warm” setting and refresh it as needed.
- Small serving bowls for the toppings. I use a mix of ramekins and small ceramic bowls—anything that looks a little spooky works!
- Ladles for serving the chili.
- Serving spoons for the toppings.
- Small paper cups or bowls for guests to build their creations.
- Plastic cauldron or large decorative bowl (optional, but so fun for the Halloween theme).
Budget-Friendly Tip: Don’t have two slow cookers? You can make the chili a day ahead and reheat it in one large slow cooker. Or, use a chafing dish with a fuel canister to keep it warm. I’ve done both, and they work perfectly.
Preparation Method
Let’s get cooking! This process is straightforward, but I’ll walk you through every step so you feel confident.
- Brown the Beef (10 minutes): Heat your Dutch oven over medium-high heat. Add the ground beef and cook, breaking it up with a spoon, until it’s no longer pink. This usually takes about 8-10 minutes. Don’t drain all the fat—leave a tablespoon or two for flavor. If you’re using leaner meat, add a drizzle of olive oil to the pot first.
- Sauté the Aromatics (5 minutes): Add the diced onion and bell pepper to the pot with the beef. Cook for about 4-5 minutes, stirring occasionally, until the vegetables start to soften. Then, add the minced garlic and cook for another 30 seconds until it smells amazing. Pro tip: If the garlic burns, it gets bitter, so keep it moving!
- Bloom the Spices (1 minute): Sprinkle the chili powder, cumin, smoked paprika, oregano, and cayenne (if using) over the meat and veggies. Stir everything together and let it cook for about a minute. This “blooming” step wakes up the spices and makes their flavor way more intense. Your kitchen will smell like a cozy chili joint at this point.
- Build the Sauce (5 minutes): Stir in the tomato paste and let it cook for about a minute, scraping up any browned bits from the bottom of the pot. Then, pour in the fire-roasted tomatoes, tomato sauce, and beef broth. Stir well to combine.
- Simmer the Chili (45 minutes to 1 hour): Bring the chili to a gentle boil, then reduce the heat to low. Cover the pot and let it simmer for at least 45 minutes, stirring occasionally. The longer it simmers, the deeper the flavor. I like to let it go for a full hour. The chili should be thick and rich, not watery. If it looks too thick, add a splash more broth.
- Add the Beans (5 minutes before serving): Stir in the drained kidney beans and black beans. Let them heat through for about 5 minutes. Adding them late keeps them from getting mushy. Taste the chili and adjust the salt and pepper. I usually add about a teaspoon of salt and half a teaspoon of pepper, but start with less and add more to your liking.
- Set Up the Bar (10 minutes): While the chili simmers, get your toppings ready. Chop the onion, slice the jalapeños, shred the cheese, and arrange everything in small bowls. When the chili is done, transfer it to your slow cookers set on “warm.” If you’re using a single slow cooker, just pour it all in.
- Spookify the Setup (5 minutes): This is the fun part! I like to put a plastic spider on the ladle handle, use a cauldron-shaped bowl for the chili, and add some fake cobwebs around the table. It takes two minutes but makes the whole thing feel festive.
Cooking Tips & Techniques
I’ve made this chili bar more times than I can count, and I’ve definitely learned a few things the hard way. Here are my best tips:
- Don’t skip the spice bloom. I once forgot to toast the spices before adding the liquid, and the chili tasted flat and dusty. That one minute of cooking makes a world of difference.
- Low and slow is your friend. Chili isn’t a dish to rush. Even if you’re short on time, let it simmer for at least 30 minutes. The flavors need time to meld. I’ve made it in a pressure cooker before, and while it’s faster, the stovetop version is always richer.
- Watch your heat level. Cayenne pepper can be sneaky. I add just half a teaspoon for a mild warmth, but if you’re serving a crowd, it’s safer to start with less and let people add hot sauce at the table. I learned this the hard way when I made a batch that was too spicy for my kids.
- Prep ahead for sanity. The chili actually tastes better the next day, so I always make it a day in advance. I also chop all my toppings the night before and store them in airtight containers in the fridge. On party day, all I do is reheat and set up.
- Keep the toppings cold. Sour cream and avocado can get warm sitting out. I set the topping bowls on a bed of ice in a larger tray, or just put them out right before guests arrive.
Variations & Adaptations
One of the best things about this chili bar is how easy it is to customize. Here are some ideas I’ve tried and loved:
- Vegetarian Version: Swap the ground beef for two cans of pinto beans or a plant-based crumble. I’ve done this for a friend who doesn’t eat meat, and she said it was the best chili she’d ever had. Just add a little extra cumin and smoked paprika to make up for the missing beefy flavor.
- White Chicken Chili: For a fun twist, offer a second chili option. Use shredded cooked chicken, white beans, chicken broth, and green chiles instead of the traditional red chili. It’s a lighter, tangier alternative that pairs perfectly with the same toppings.
- Spicy Lover’s Edition: Add a diced chipotle pepper in adobo sauce along with the spices. This gives the chili a smoky, intense heat that chili heads will obsess over. I’ve done this for a game day party, and it was a hit.
- Low-Carb Adaptation: Skip the beans and use extra ground beef or turkey. Serve the chili over a bed of shredded lettuce or cauliflower rice instead of with chips. It’s still incredibly satisfying.
- Seasonal Toppings: In the fall, I add roasted pumpkin seeds or pomegranate seeds for a pop of color and crunch. In the summer, fresh corn kernels or diced mango are amazing.
Serving & Storage Suggestions
This chili bar is designed to be a self-serve station, which makes it perfect for parties. Here’s how to get the most out of it:
- Serving Temperature: Keep the chili hot in your slow cooker on the “warm” setting. The toppings should be cold or at room temperature. I recommend setting out the sour cream and avocado right before guests arrive so they stay fresh.
- Presentation: Arrange the toppings in a logical order—start with the chili, then cheese, then wetter toppings like sour cream, and finish with crunchy items like Fritos. It helps guests build a balanced bowl without a mess.
- Storage: Leftover chili keeps beautifully in the fridge for up to 5 days. Store it in an airtight container. The toppings are best stored separately. The chili also freezes well for up to 3 months—just thaw it in the fridge overnight and reheat on the stove.
- Reheating: The chili thickens as it sits, so add a splash of broth or water when reheating to bring it back to the right consistency. I usually reheat it in a pot on the stove over medium-low heat, stirring occasionally.
- Flavor Development: Honestly, this chili tastes even better the next day. The flavors have more time to meld, and the texture gets even richer. If you’re making it for a party, I highly recommend making it a day ahead.
Nutritional Information & Benefits
While this is definitely a comfort food dish, it does have some surprising health benefits. Here’s a rough estimate per serving (about 1.5 cups of chili, without toppings):
- Calories: 380
- Protein: 28g
- Fat: 18g
- Carbohydrates: 28g
- Fiber: 8g
- Sugar: 8g
Health Benefits: The beans are packed with fiber and plant-based protein, which helps keep you full and supports healthy digestion. The tomatoes are rich in lycopene, a powerful antioxidant. And the spices—like cumin and chili powder—have anti-inflammatory properties. Of course, the toppings add extra calories, but that’s the beauty of a bar—you control your own bowl. I love that this meal feels indulgent but is actually pretty balanced, especially if you load up on veggies and go easy on the cheese.
Dietary Considerations: This chili is naturally gluten-free (just skip the Fritos or use corn chips). For a low-carb option, omit the beans and serve over lettuce. It can also be made dairy-free by skipping the cheese and sour cream.
Conclusion
This Easy Halloween Potluck Chili Bar has honestly become my secret weapon for hosting. It takes the stress out of feeding a crowd, lets guests get creative, and always leaves people asking for the recipe. I love that I can prep it in advance, set it out in minutes, and spend the whole party actually enjoying myself instead of being stuck in the kitchen. Whether you’re hosting a spooky costume party, a casual game day gathering, or just a cozy night in with friends, this chili bar is the way to go. I’d love to hear how you customize yours—drop a comment below and tell me your favorite topping combination! And if you try this recipe, please share a photo and tag me—I can’t wait to see your spooky spreads.
Frequently Asked Questions
Can I make this chili bar vegetarian?
Absolutely! Just swap the ground beef for a plant-based crumble or two extra cans of beans. The flavor is still amazing.
How far in advance can I prep the chili?
You can make the chili up to 2 days ahead. Store it in the fridge, then reheat it in your slow cooker on the day of the party.
What if I don’t have two slow cookers?
No problem! Just use one large slow cooker or a chafing dish. You can also keep the chili warm in a large pot on the stove on low heat.
Can I freeze the leftover chili?
Yes! Freeze it in an airtight container for up to 3 months. Thaw it overnight in the fridge and reheat with a splash of broth.
What are the best toppings for a Halloween party?
Go with classic chili toppings, but add a spooky twist! Use a plastic cauldron for the chili, add fake spiders to the topping bowls, and serve with “witches’ fingers” (breadsticks) on the side.
Pin This Recipe!
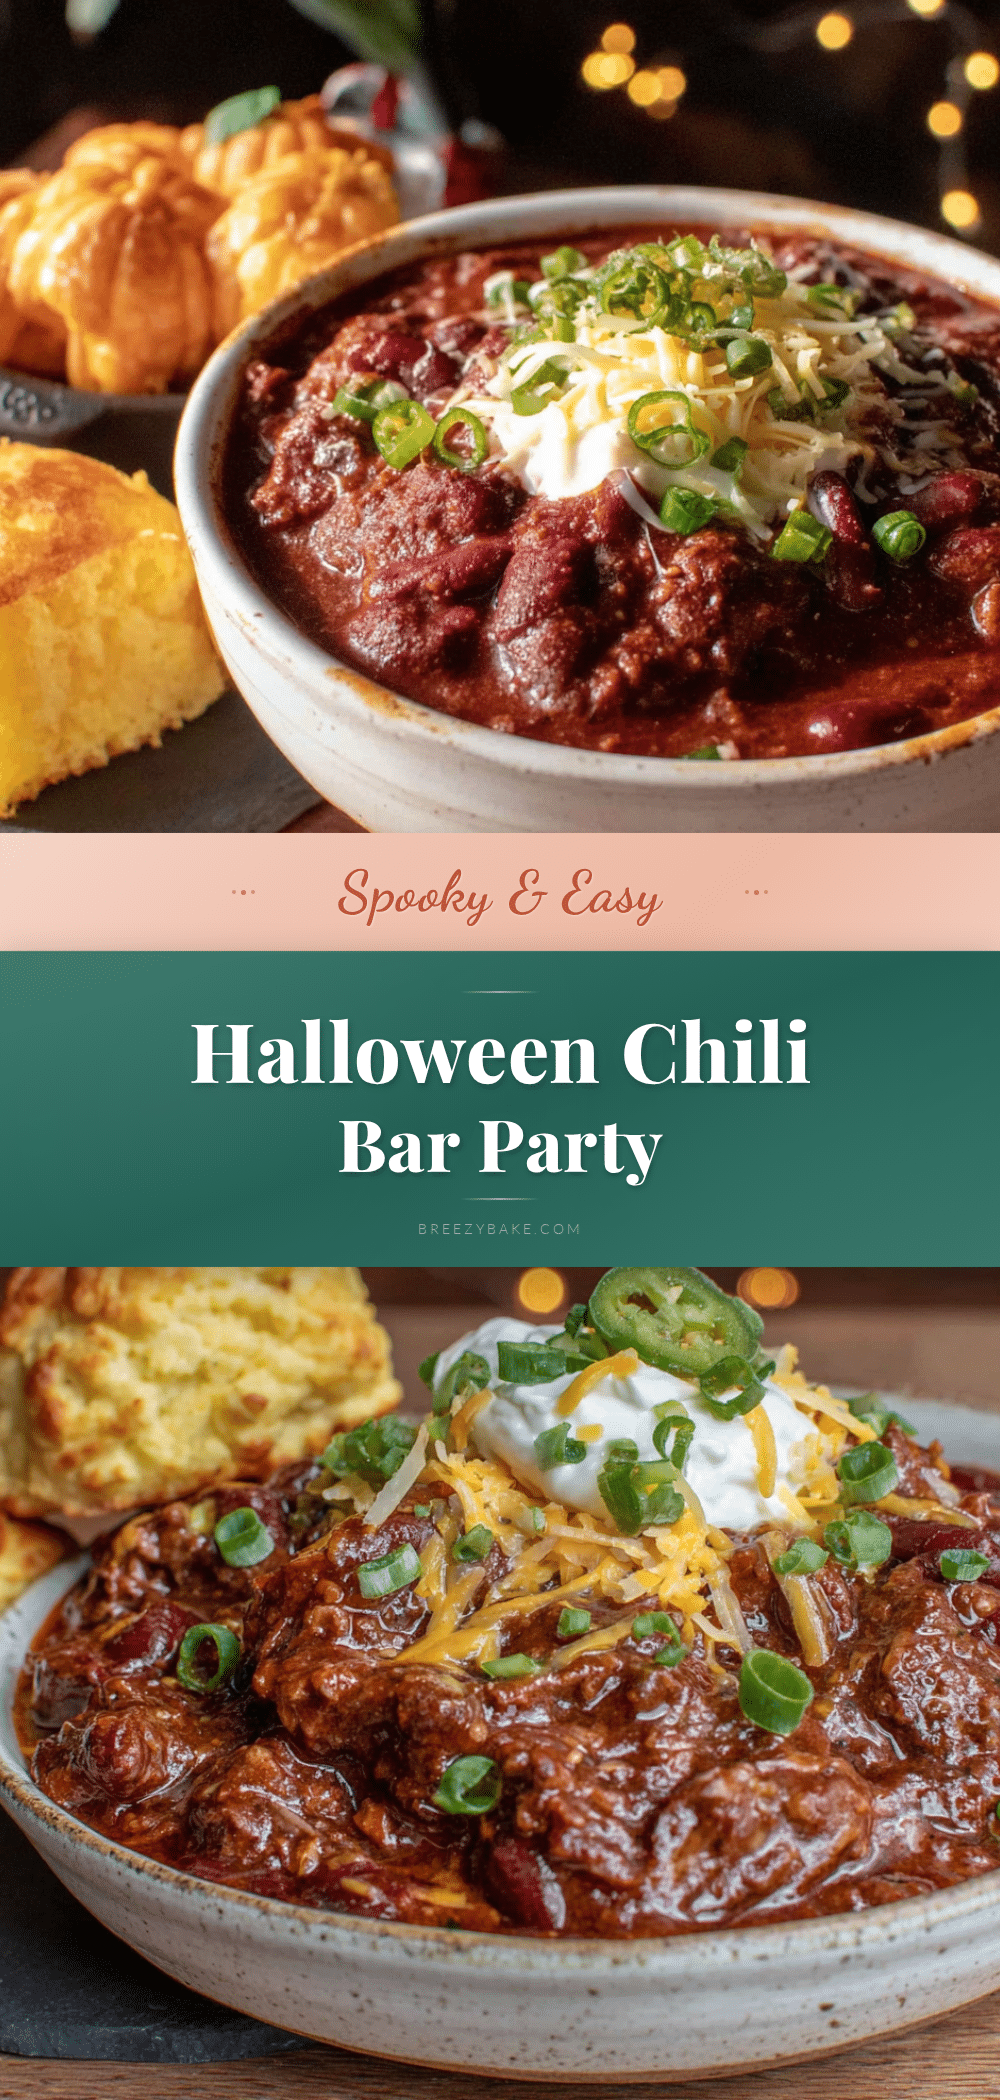
Easy Halloween Potluck Chili Bar: Best Party Recipe
This interactive chili bar is the ultimate crowd-pleaser for Halloween parties. With a rich, smoky chili and a variety of toppings, guests can build their perfect bowl.
- Prep Time: 15 minutes
- Cook Time: 1 hour
- Total Time: 1 hour 15 minutes
- Yield: 12-14 servings 1x
- Category: Main Course
- Cuisine: American
Ingredients
- 2 pounds ground beef (80/20)
- 1 large yellow onion, diced (about 2 cups)
- 1 green bell pepper, diced
- 4 cloves garlic, minced
- 2 tablespoons chili powder
- 1 tablespoon ground cumin
- 1 teaspoon smoked paprika
- 1 teaspoon dried oregano
- 1/2 teaspoon cayenne pepper (optional)
- Salt and black pepper to taste
- 1 can (15 ounces) fire-roasted diced tomatoes, undrained
- 1 can (15 ounces) tomato sauce
- 1 can (15 ounces) kidney beans, drained and rinsed
- 1 can (15 ounces) black beans, drained and rinsed
- 1 cup beef broth
- 2 tablespoons tomato paste
- Shredded cheddar cheese (for topping)
- Sour cream (for topping)
- Diced red onion (for topping)
- Fresh jalapeños, sliced (for topping)
- Fritos or tortilla chips (for topping)
- Fresh cilantro, chopped (for topping)
- Lime wedges (for topping)
- Hot sauce (for topping)
- Diced avocado (for topping)
- Pickled jalapeños (for topping)
Instructions
- Brown the beef in a large Dutch oven over medium-high heat for 8-10 minutes, leaving a tablespoon or two of fat.
- Add diced onion and bell pepper; cook for 4-5 minutes until softened. Add minced garlic and cook for 30 seconds.
- Sprinkle chili powder, cumin, smoked paprika, oregano, and cayenne (if using) over the meat and veggies. Stir and cook for 1 minute to bloom the spices.
- Stir in tomato paste and cook for 1 minute, scraping up browned bits. Add fire-roasted tomatoes, tomato sauce, and beef broth. Stir well.
- Bring to a gentle boil, then reduce heat to low. Cover and simmer for 45 minutes to 1 hour, stirring occasionally.
- Stir in drained kidney beans and black beans; heat through for 5 minutes. Season with salt and pepper to taste.
- While chili simmers, prepare toppings: chop onion, slice jalapeños, shred cheese, and arrange everything in small bowls.
- Transfer chili to slow cookers set on ‘warm’. Set up the chili bar with toppings and festive decorations.
Notes
Chili tastes even better the next day. Prep toppings the night before. Keep sour cream and avocado cold by setting bowls on ice. For a vegetarian version, swap ground beef for plant-based crumble or extra beans.
Nutrition
- Serving Size: 1.5 cups chili (with
- Calories: 380
- Sugar: 8
- Sodium: 800
- Fat: 18
- Saturated Fat: 6
- Carbohydrates: 28
- Fiber: 8
- Protein: 28
Keywords: Halloween, chili bar, potluck, party recipe, ground beef, slow cooker, easy


