The clatter of a single fork hitting the tile floor at 6:47 AM. That’s the sound that started it all. Not a grand culinary revelation, not a family heirloom recipe passed down through generations—just the unmistakable noise of yet another morning where I was losing the battle against the clock. I was standing there, bleary-eyed, staring into the fridge, and the silence from the other room told me everything I needed to know. The kids were hungry, the bus was coming, and I had absolutely nothing ready. That morning, I grabbed a tortilla, scrambled some eggs, threw in whatever cheese was within reach, and rolled it up. It wasn’t pretty, but it worked. And somewhere between that frantic wrap and the first bite of silence from the backseat, I knew I was onto something. These Easy Freezer-Friendly Breakfast Burritos were born from chaos, not calm. And honestly, that’s why they work so well.
I started making them in bulk on Sundays. The first batch was a mess—some were too wet, some fell apart, and one mysteriously disappeared (I think the dog got it). But I kept tweaking. I learned that the secret isn’t just in the filling, but in how you wrap them and what you leave out. Too much moisture and you get a soggy mess after reheating. Too little seasoning and you get a bland, sad breakfast. These burritos hit that sweet spot where freezer convenience meets actual flavor. They’re the kind of thing you make once and then wonder how you ever survived without them.
This recipe is my tried-and-true version after dozens of trials. It’s the one that makes weekday mornings feel almost luxurious. You grab one from the freezer, zap it, and suddenly you’re eating a hot, satisfying breakfast that didn’t require you to wash a single pan. It’s not fancy, but it’s honest. And it might just save your mornings too.
Why You’ll Love This Recipe
Let’s be real for a second. Mornings are hard enough without adding “prepare a gourmet breakfast” to the list. These burritos are designed for the real world—the one where you’re running late, the coffee hasn’t kicked in yet, and you just need something good to eat without the drama. Here’s why they’ve become a staple in my house:
- Quick & Easy: The prep takes about 30 minutes on a weekend, and then you have breakfast ready for weeks. We’re talking 5 minutes from freezer to plate on a busy morning. That’s faster than the drive-thru.
- Simple Ingredients: Nothing fancy here. Eggs, tortillas, cheese, sausage or bacon, potatoes, and a few seasonings. You probably have most of it in your kitchen right now. No special trips to the store needed.
- Perfect for Meal Prep: This is the ultimate make-ahead breakfast. Wrap them individually, toss them in a freezer bag, and you’re set for a month of stress-free mornings. Great for busy families, overnight shifts, or anyone who values their sleep.
- Crowd-Pleaser: Kids love them, adults love them, and even picky eaters usually come around. You can customize each burrito to match different tastes, so everyone gets exactly what they want.
- Unbelievably Delicious: I know “freezer-friendly” sometimes means “sacrifices flavor.” Not here. The texture stays right, the filling stays flavorful, and the tortilla doesn’t turn into a soggy mess. It took some trial and error, but this version is legitimately good—not just “good for frozen food.”
What makes this recipe different from the dozens of others out there? It’s the little things. I drain the excess fat from the meat so the burritos don’t get greasy. I let the filling cool completely before wrapping—this step is non-negotiable if you want to avoid soggy tortillas. And I use a specific wrapping technique that keeps everything tight and secure, even after weeks in the freezer. These aren’t just breakfast burritos; they’re carefully engineered morning-saving devices.
This is the recipe that makes you feel like you have your life together, even when you don’t. It’s comfort food that works on your schedule, not the other way around.
What Ingredients You Will Need
This recipe uses simple, wholesome ingredients that come together to create a filling that’s savory, satisfying, and freezer-friendly. The key is choosing ingredients that hold up well after freezing and reheating without becoming watery or bland. Here’s everything you’ll need:
For the Filling
- 1 pound breakfast sausage or bacon (I prefer Jimmy Dean’s sage sausage for flavor, but any brand works. For a lighter option, use turkey sausage.)
- 12 large eggs, beaten (room temperature helps them cook more evenly)
- 1/4 cup milk or cream (adds richness and keeps the eggs tender. I use whole milk, but any dairy or unsweetened almond milk works)
- 2 cups frozen shredded hash browns (thawed and patted dry—this is crucial to avoid extra moisture. I like Ore-Ida brand)
- 2 cups shredded cheddar cheese (sharp cheddar gives the best flavor, but a Mexican blend or pepper jack works great too)
- 1/2 cup diced onion (yellow or white onion, finely chopped)
- 1/2 cup diced bell pepper (any color works; red adds a bit of sweetness)
- 1 teaspoon salt
- 1/2 teaspoon black pepper
- 1/2 teaspoon garlic powder
- 1/2 teaspoon smoked paprika (optional but adds a nice depth of flavor)
For Assembly
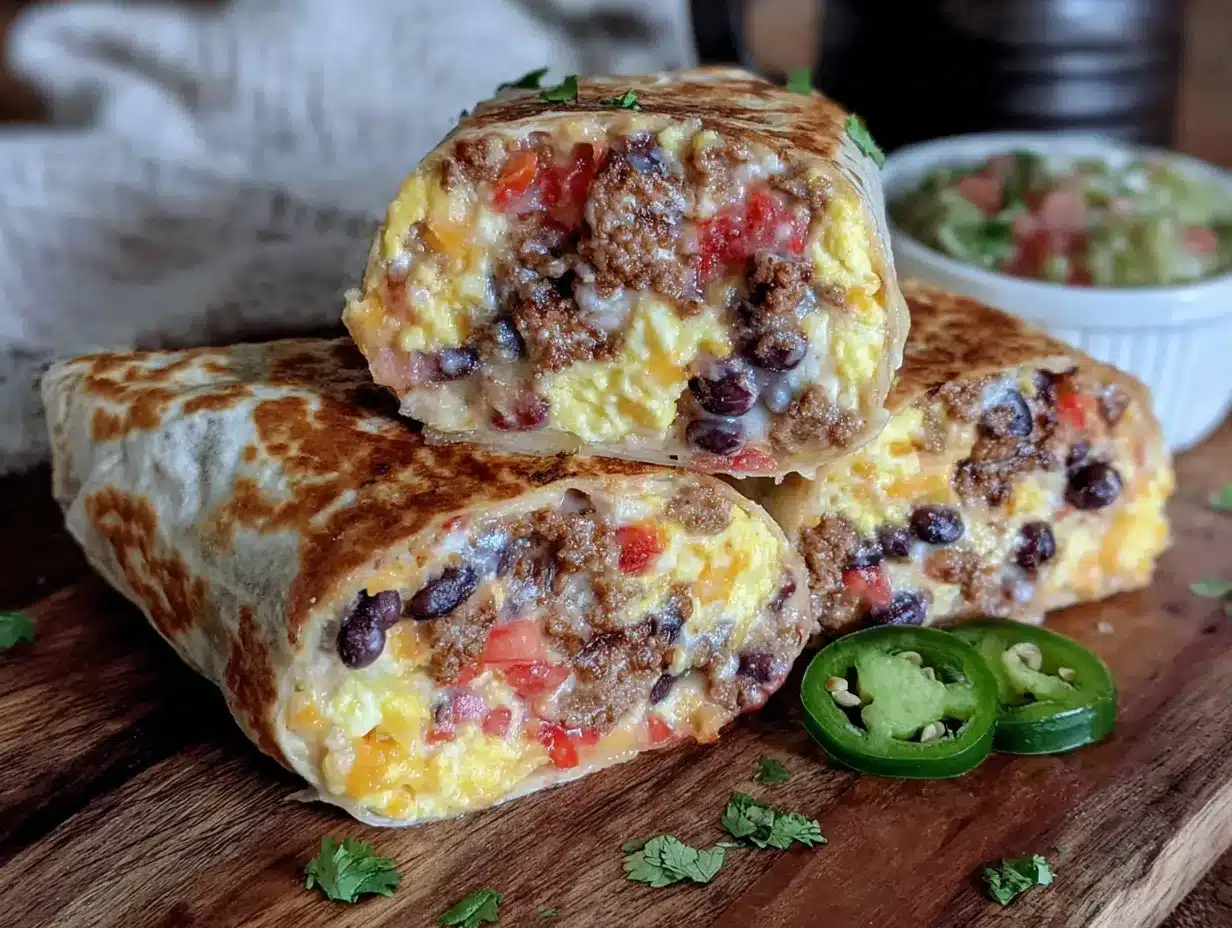
- 10-12 large flour tortillas (burrito size, 10-inch. Look for ones that are pliable and not too thin. I recommend Mission brand or homemade if you’re ambitious)
- Optional: salsa, hot sauce, sour cream, or avocado for serving (add these fresh after reheating, not before freezing)
Ingredient Selection Tips: For the best texture, avoid using pre-cooked bacon bits or flavored sausage that might have added sugars—they can make the filling too sweet or cause it to burn during reheating. If you’re using bacon, cook it until crispy, then crumble it. The fat rendered from the meat adds flavor, but make sure to drain it well. Too much grease in the filling will make the tortillas soggy when reheated.
Substitution Guidance: Need a vegetarian version? Swap the meat for 1 can of black beans (rinsed and drained) plus 1 cup of sautéed mushrooms. For a low-carb option, use low-carb tortillas or serve the filling in lettuce wraps. You can also swap the cheddar for dairy-free cheese if needed, just know it might not melt as smoothly. And if you don’t have hash browns, you can use 2 cups of cooked and diced potatoes instead.
Equipment Needed
You don’t need a fancy kitchen to make these burritos, but a few specific tools will make the process smoother. Here’s what I use:
- Large skillet or frying pan (12-inch works best for cooking the filling without overcrowding)
- Mixing bowls (one large for the filling, one small for beating the eggs)
- Whisk or fork for beating the eggs
- Spatula for scrambling
- Paper towels or clean kitchen towel for draining hash browns and drying tortillas
- Baking sheet (to place assembled burritos on before freezing—prevents them from sticking together)
- Parchment paper or wax paper (to wrap burritos individually for freezing)
- Freezer-safe zip-top bags or containers for storage
- Sharp knife and cutting board for dicing veggies
If you don’t have a large skillet, you can cook the filling in batches. Just make sure not to overcrowd the pan, or the ingredients will steam instead of browning. A cast-iron skillet works beautifully here because it holds heat evenly. For the baking sheet, any rimmed one will do—just make sure it fits in your freezer. And honestly, if you don’t have parchment paper, you can use aluminum foil to wrap the burritos. It works just as well, though you’ll need to label them with a marker since foil doesn’t stick to tape as well.
One tip: invest in good freezer bags. The cheap ones can develop leaks over time, and nobody wants to deal with a frostbitten burrito. I use Ziploc freezer bags, and they’ve never let me down.
Preparation Method
This is where the magic happens. Follow these steps carefully, and you’ll have a month’s worth of breakfasts ready to go. The key is to work efficiently and let things cool properly—rushing this process is the #1 reason freezer burritos fail.
- Cook the meat. Heat your large skillet over medium-high heat. Add the sausage or bacon and cook until browned and cooked through, breaking it up with your spatula as it cooks. For sausage, this takes about 6-8 minutes. For bacon, cook until crispy, about 8-10 minutes. Once done, use a slotted spoon to transfer the meat to a paper towel-lined plate to drain. Don’t skip the draining step—excess grease is your enemy here. Set aside to cool slightly.
- Cook the vegetables. In the same skillet (with about 1 tablespoon of the rendered fat still in it—don’t wipe it clean), add the diced onion and bell pepper. Sauté over medium heat for 3-4 minutes until softened and slightly golden. The residual fat from the meat adds flavor, so this step is worth it. Remove the veggies and set aside with the meat.
- Cook the hash browns. Add the thawed and patted-dry hash browns to the skillet. Spread them in an even layer and let them cook without moving for 3-4 minutes, until the bottom is golden and crispy. Flip and cook another 2-3 minutes. This step is crucial—crispy hash browns add texture and prevent sogginess. Remove from heat and let cool.
- Scramble the eggs. In a medium bowl, whisk together the eggs, milk, salt, pepper, garlic powder, and smoked paprika until well combined. Reduce the skillet heat to medium-low. Pour in the egg mixture and let it sit for about 30 seconds before gently stirring with a spatula. Continue cooking, stirring occasionally, until the eggs are just set but still soft and fluffy—about 3-4 minutes. Don’t overcook them; they’ll continue cooking slightly as they cool. Remove from heat immediately.
- Combine the filling. In a large mixing bowl, combine the cooked meat, sautéed vegetables, crispy hash browns, and scrambled eggs. Stir gently to mix everything evenly. Let the mixture cool completely at room temperature—this usually takes about 15-20 minutes. I cannot stress this enough: do not assemble while the filling is warm. Warm filling creates steam, which leads to soggy tortillas after freezing.
- Prepare your assembly station. While the filling cools, lay out your tortillas on a clean work surface. Have your shredded cheese ready. Place a baking sheet lined with parchment paper nearby. This is your assembly line.
- Assemble the burritos. Once the filling is completely cool, it’s time to roll. Place a tortilla on your work surface. Spoon about 1/2 cup of the filling mixture into the center of the tortilla, spreading it into a rough rectangle shape. Top with about 2 tablespoons of shredded cheese. Don’t overfill—it’s better to make 12 smaller burritos than 8 bursting ones.
- Wrap it tight. Fold the sides of the tortilla inward over the filling. Then fold the bottom edge up and over the filling, tucking it snugly. Roll the burrito away from you, keeping it tight, until the seam is on the bottom. The tortilla should be snug but not stretched to the point of tearing. Practice makes perfect here—the first one might be a bit loose, but you’ll get the hang of it.
- Flash freeze. Place each assembled burrito seam-side down on the parchment-lined baking sheet. Make sure they’re not touching each other. Pop the baking sheet into the freezer for 1-2 hours, until the burritos are firm to the touch. This step prevents them from sticking together when you store them.
- Package for long-term storage. Once flash-frozen, wrap each burrito individually in parchment paper or wax paper. Then place them all in a large freezer-safe zip-top bag. Squeeze out as much air as possible before sealing. Label the bag with the date and contents—trust me, you won’t remember what’s in there in two months. Store for up to 3 months.
Total prep time: About 30 minutes active, plus 1-2 hours for freezing. Yield: 10-12 burritos.
Cooking Tips & Techniques
I’ve made plenty of mistakes with these burritos so you don’t have to. Here are the lessons I learned the hard way:
The moisture trap. My first batch was a disaster. I didn’t drain the hash browns well enough, and the filling was watery. After freezing, the tortillas were soggy and the eggs had a weird texture. Now I always thaw the hash browns overnight in the fridge, then press them between paper towels to get as much moisture out as possible. Same goes for any veggies you add—sauté them first to cook off the water.
The wrapping technique. A loose burrito is a sad burrito. When you roll, think of it like wrapping a gift. You want it tight enough that nothing falls out, but not so tight that the tortilla tears. The “tuck and roll” method works best: fold the sides in, tuck the bottom flap over the filling, then roll firmly. If your tortillas are cracking, try warming them in the microwave for 10-15 seconds to make them more pliable.
Timing is everything. I learned to cook the components in the right order. Start with the meat (it takes longest), then the veggies, then the hash browns, and finish with the eggs. This way, everything is done around the same time, and you can mix it all together while it’s still warm—just let it cool before assembling. Multitasking is your friend here: while the meat cooks, chop the veggies. While the hash browns crisp, beat the eggs.
Consistency tips. For perfectly fluffy eggs, don’t overcook them. They should look slightly underdone when you take them off the heat—they’ll finish cooking from residual heat. And always taste the filling before assembling. You can adjust salt and pepper at this stage. I once forgot to season the eggs, and the whole batch was bland. Learn from my mistake.
Reheating like a pro. The best way to reheat is in the microwave. Remove the parchment paper, wrap the burrito in a damp paper towel, and microwave for 1-2 minutes, flipping halfway through. The damp towel creates steam that keeps the tortilla soft. If you have more time, you can reheat in a skillet over medium heat for 3-4 minutes per side for a crispy exterior. For air fryer fans: 350°F for 5-6 minutes works beautifully.
Variations & Adaptations
One of the best things about this recipe is how customizable it is. Here are some variations I’ve tried and loved:
Southwest Style: Add 1/2 cup canned black beans (rinsed and drained), 1/4 cup corn kernels, and 1 teaspoon cumin to the filling. Top with pepper jack cheese instead of cheddar. This version is heartier and has a nice smoky kick. I made these for a road trip, and they were a hit.
Veggie Lover’s: Skip the meat entirely and double up on the veggies. Sauté 1 cup of mushrooms, 1 cup of spinach, and 1/2 cup of zucchini along with the onions and peppers. Add a can of drained black beans for protein. This version freezes just as well and is perfect for Meatless Mondays.
Spicy Chorizo: Swap the breakfast sausage for Mexican chorizo. Cook it the same way, but drain it very well—chorizo releases a lot of fat. Add a diced jalapeño to the veggies and use pepper jack cheese. These are my personal favorite when I want something with a kick.
Low-Carb/Keto: Use low-carb tortillas and swap the hash browns for 1 cup of cooked cauliflower rice (squeeze out the moisture well). Add extra cheese and some diced avocado on top after reheating. The texture is a bit different, but it satisfies that burrito craving without the carbs.
Breakfast Bowl Version: Not in the mood for a tortilla? Serve the filling over a bed of greens or rice, topped with salsa and avocado. This is great for meal prep lunches too. I’ve done this when I ran out of tortillas, and honestly, it was just as good.
Feel free to mix and match. The base recipe is forgiving, so don’t be afraid to experiment. Just remember the golden rule: keep moisture under control, and you’ll be fine.
Serving & Storage Suggestions
These burritos are designed to be eaten straight from the freezer, but there are a few ways to make them even better. Here’s how I serve and store mine:
Serving Temperature: Heat them until the center is hot—about 165°F. The easiest way is the microwave method I mentioned earlier. If you’re serving a crowd, you can reheat multiple burritos on a baking sheet in a 350°F oven for 10-12 minutes. They’ll come out crispy on the outside and steamy on the inside. Serve with salsa, sour cream, hot sauce, or sliced avocado on the side. A squeeze of lime juice right before eating brightens everything up.
Complementary Dishes: These burritos are a complete meal on their own, but if you’re serving them for brunch, pair them with a Fresh Galentine’s Berry Parfait Mini Platter for a sweet contrast. Or if you’re feeling extra, serve them alongside a simple fruit salad and some crispy hash browns on the side.
Storage Instructions: After flash freezing and packaging, store the burritos in the freezer for up to 3 months. For best quality, use them within 2 months. The flavor stays great, but the tortilla texture can start to degrade after that. Always label your bags with the date so you know which batch is oldest.
Reheating Methods: Microwave (1-2 minutes, wrapped in damp paper towel), oven (350°F for 10-12 minutes), air fryer (350°F for 5-6 minutes), or skillet (medium heat for 3-4 minutes per side). Each method gives a slightly different texture. The microwave is fastest, but the skillet gives you that crispy exterior. I usually go with the microwave on busy mornings and the skillet on weekends when I have an extra minute.
Flavor Development: Here’s a secret: the burritos actually taste better after a few days in the freezer. The flavors meld together, and the filling becomes more cohesive. I’ve had burritos that were a month old and tasted even better than the fresh ones. So don’t worry about losing flavor—you’re actually gaining it.
Nutritional Information & Benefits
Here’s the approximate nutritional breakdown for one burrito (based on 12 servings, using pork sausage and cheddar cheese):
| Nutrient | Amount Per Burrito |
|---|---|
| Calories | 380-420 |
| Protein | 22g |
| Fat | 22g |
| Carbohydrates | 28g |
| Fiber | 3g |
| Sugar | 3g |
| Sodium | 650mg |
Health Benefits: These burritos pack a solid protein punch from the eggs and meat, which helps keep you full and satisfied until lunch. The eggs provide choline, which supports brain health, while the veggies add fiber and vitamins. If you use turkey sausage or lean bacon, you can reduce the fat content significantly. For a lower-sodium version, use low-sodium cheese and skip the added salt in the eggs—the meat usually provides enough.
Dietary Considerations: This recipe can be made gluten-free by using gluten-free tortillas. It’s naturally low in sugar and can be adapted to be low-carb, keto, or vegetarian. The main allergens are eggs, dairy (cheese), and gluten (tortillas). For a dairy-free version, use vegan cheese or skip it entirely—the burritos are still flavorful without it.
Personal Perspective: I don’t pretend these are health food, but they’re a balanced breakfast that beats a sugary cereal bar or a drive-thru sandwich any day. The protein and fiber keep your blood sugar stable, and the portion size is reasonable. Plus, knowing exactly what’s in them gives me peace of mind. That’s a win in my book.
Conclusion
These Easy Freezer-Friendly Breakfast Burritos have genuinely changed my mornings. What started as a desperate scramble on a chaotic Tuesday has become a weekly ritual that saves me time, money, and stress. They’re proof that you don’t need complicated recipes or fancy ingredients to eat well—you just need a little planning and a willingness to learn from your mistakes.
I love that this recipe is forgiving. You can swap ingredients, adjust the seasoning, or change up the fillings based on what you have in your fridge. It’s a template, not a rigid rulebook. And that’s what makes it so valuable. Whether you’re feeding a family of five or just yourself, these burritos work. They’re the kind of recipe that makes you feel like you’ve got your act together, even when life feels chaotic.
So go ahead and give them a try. Make a batch this weekend, stash them in your freezer, and thank yourself on those busy mornings when breakfast is ready in five minutes flat. If you come up with your own variation—maybe a Healthy Chicken Veggie Skillet Wrap twist, or a spicy Southwestern version—I’d love to hear about it. Drop a comment below and share your creation. Happy cooking, and here’s to better mornings!
Frequently Asked Questions
Can I freeze breakfast burritos with raw eggs?
No, you should always cook the eggs fully before assembling and freezing. Raw eggs don’t freeze well in this context and can create a watery, unsafe texture when reheated. Scramble them until just set, then let them cool completely before wrapping.
How long do freezer breakfast burritos last?
Properly stored in an airtight freezer bag, these burritos stay fresh for up to 3 months. For the best flavor and texture, I recommend using them within 2 months. After that, the tortilla can start to dry out or develop freezer burn.
Can I use corn tortillas instead of flour?
You can, but corn tortillas are smaller and more prone to cracking when frozen and reheated. If you use corn, warm them before wrapping and be extra gentle during assembly. Flour tortillas are more pliable and hold up much better in the freezer.
Do I need to thaw the burritos before reheating?
No, you can reheat them straight from the freezer. That’s the beauty of this recipe. Just remove the wrapping, wrap in a damp paper towel, and microwave for 1-2 minutes. If using an oven or air fryer, you can reheat from frozen as well—just add a few extra minutes.
Can I add avocado to the burritos before freezing?
I don’t recommend it. Avocado turns brown and mushy when frozen and thawed. It’s much better to add fresh avocado after reheating. If you want that creamy element, add a dollop of sour cream or guacamole right before eating.
Pin This Recipe!
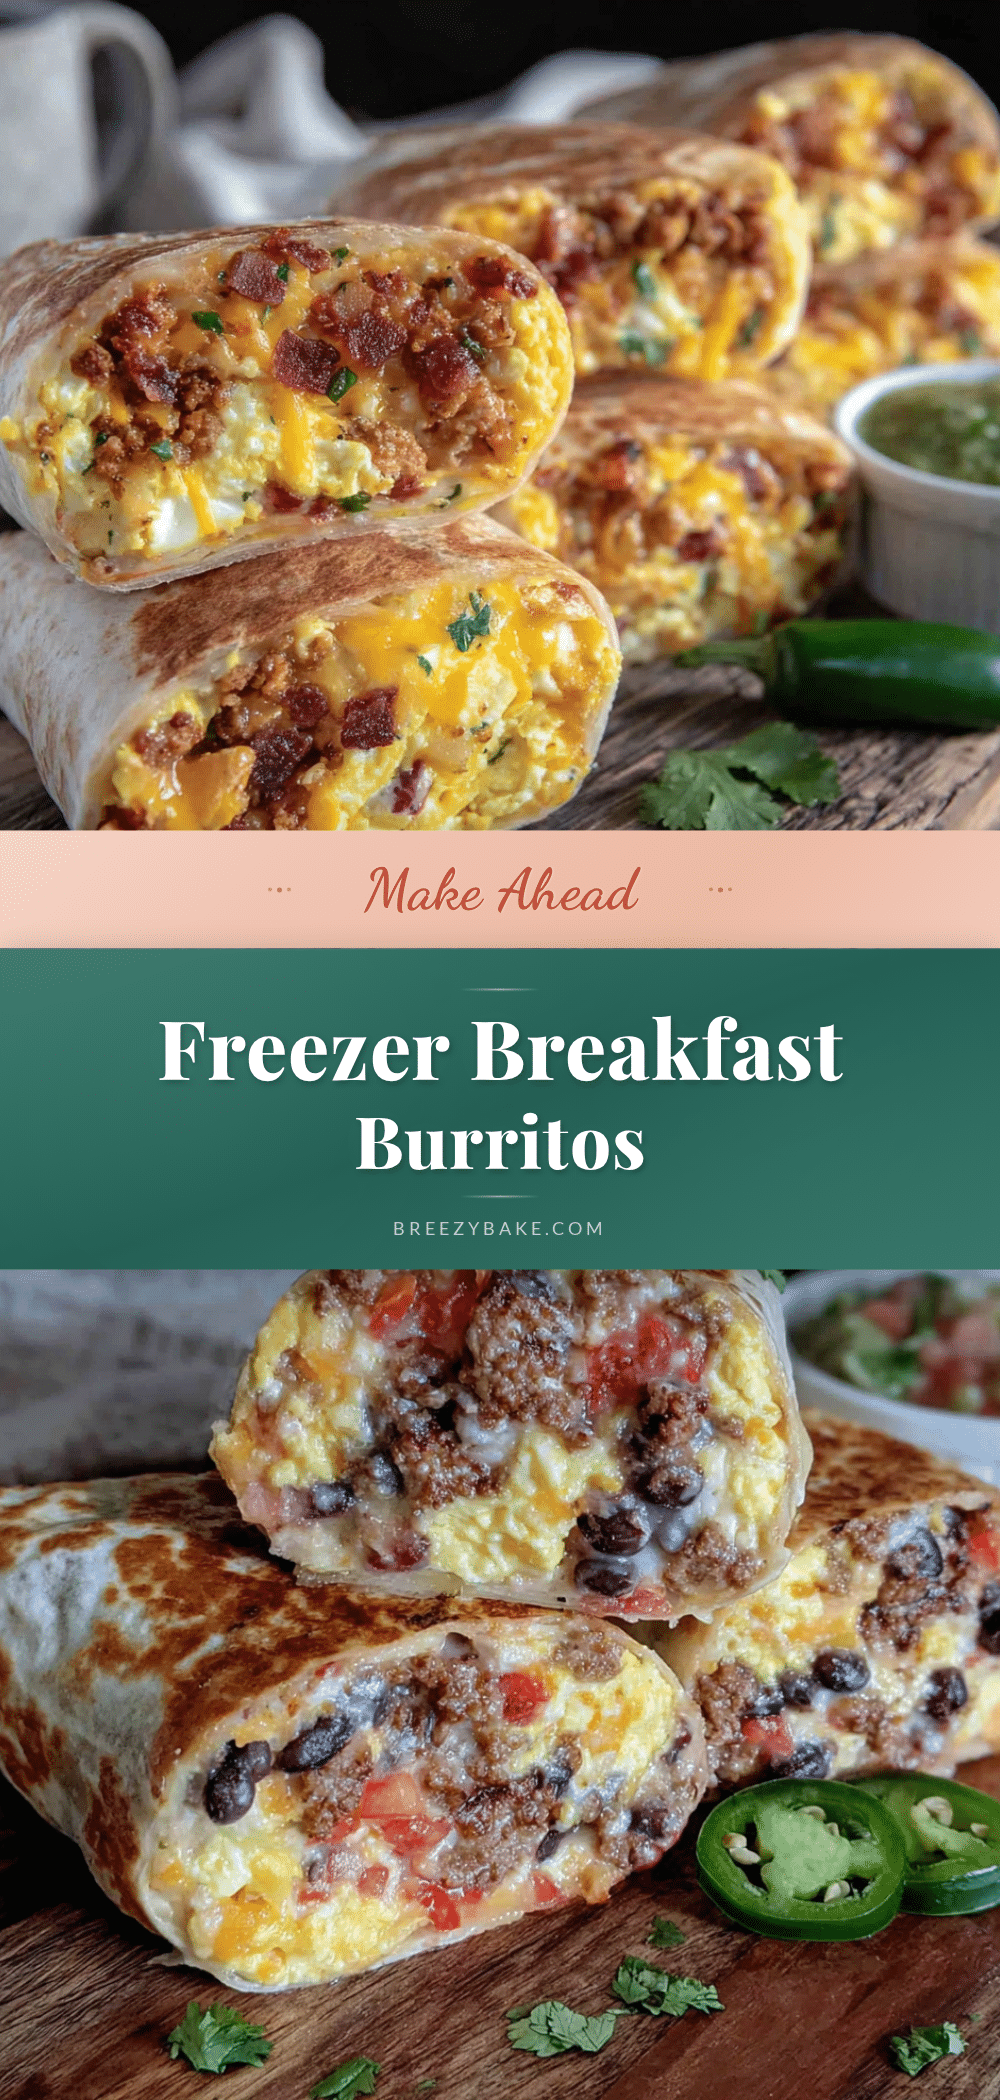
Easy Freezer-Friendly Breakfast Burritos: 5-Minute Prep

These Easy Freezer-Friendly Breakfast Burritos are the ultimate make-ahead breakfast, designed for busy mornings. With simple ingredients and a foolproof method, you can have a hot, satisfying breakfast in just 5 minutes from freezer to plate.
- Prep Time: 30 minutes
- Cook Time: 20 minutes
- Total Time: 50 minutes (plus 1-2 hours freezing)
- Yield: 10-12 burritos 1x
- Category: Breakfast
- Cuisine: American
Ingredients
- 1 pound breakfast sausage or bacon
- 12 large eggs, beaten
- 1/4 cup milk or cream
- 2 cups frozen shredded hash browns, thawed and patted dry
- 2 cups shredded cheddar cheese
- 1/2 cup diced onion
- 1/2 cup diced bell pepper
- 1 teaspoon salt
- 1/2 teaspoon black pepper
- 1/2 teaspoon garlic powder
- 1/2 teaspoon smoked paprika (optional)
- 10–12 large flour tortillas (burrito size, 10-inch)
- Optional: salsa, hot sauce, sour cream, or avocado for serving
Instructions
- Cook the meat. Heat a large skillet over medium-high heat. Add the sausage or bacon and cook until browned and cooked through, breaking it up with a spatula. For sausage, cook 6-8 minutes; for bacon, cook until crispy, 8-10 minutes. Transfer to a paper towel-lined plate to drain.
- Cook the vegetables. In the same skillet with about 1 tablespoon of rendered fat, add the diced onion and bell pepper. Sauté over medium heat for 3-4 minutes until softened and slightly golden. Remove and set aside with the meat.
- Cook the hash browns. Add the thawed and patted-dry hash browns to the skillet. Spread in an even layer and cook without moving for 3-4 minutes until golden and crispy. Flip and cook another 2-3 minutes. Remove from heat and let cool.
- Scramble the eggs. In a medium bowl, whisk together the eggs, milk, salt, pepper, garlic powder, and smoked paprika. Reduce skillet heat to medium-low. Pour in the egg mixture and let sit for 30 seconds before gently stirring. Cook until just set but still soft and fluffy, about 3-4 minutes. Remove from heat immediately.
- Combine the filling. In a large mixing bowl, combine the cooked meat, sautéed vegetables, crispy hash browns, and scrambled eggs. Stir gently to mix. Let the mixture cool completely at room temperature, about 15-20 minutes.
- Prepare your assembly station. Lay out tortillas on a clean work surface. Have shredded cheese ready. Place a baking sheet lined with parchment paper nearby.
- Assemble the burritos. Place a tortilla on your work surface. Spoon about 1/2 cup of the filling mixture into the center, spreading into a rough rectangle. Top with about 2 tablespoons of shredded cheese.
- Wrap it tight. Fold the sides of the tortilla inward over the filling. Fold the bottom edge up and over the filling, tucking snugly. Roll the burrito away from you, keeping it tight, until the seam is on the bottom.
- Flash freeze. Place each assembled burrito seam-side down on the parchment-lined baking sheet, not touching. Freeze for 1-2 hours until firm.
- Package for long-term storage. Once flash-frozen, wrap each burrito individually in parchment paper or wax paper. Place in a large freezer-safe zip-top bag, squeeze out air, and seal. Label with date and contents. Store for up to 3 months.
Notes
Let the filling cool completely before assembling to avoid soggy tortillas. Drain excess fat from meat and pat hash browns dry to control moisture. For best reheating, wrap burrito in a damp paper towel and microwave for 1-2 minutes, flipping halfway. Burritos taste even better after a few days in the freezer as flavors meld.
Nutrition
- Serving Size: 1 burrito
- Calories: 400
- Sugar: 3
- Sodium: 650
- Fat: 22
- Saturated Fat: 8
- Carbohydrates: 28
- Fiber: 3
- Protein: 22
Keywords: breakfast burritos, freezer-friendly, meal prep, make-ahead breakfast, easy breakfast, freezer burritos


