This was supposed to be a pumpkin pie. I mean, that was the plan. I had the can of pumpkin puree ready, the evaporated milk was sitting on the counter, and I was feeling pretty good about myself for finally getting my act together to bake something from scratch on a chilly Tuesday afternoon. But then my neighbor called to ask if I could watch her dog for an hour, and somewhere between the frantic search for a leash and the panicked realization that I’d already preheated the oven, I grabbed the wrong container of sugar. Brown sugar instead of white. And honestly? I didn’t even notice until the dough was already mixed.
There I was, staring at this deep amber-colored, fragrant blob of cookie dough that smelled more like a warm hug than a pie crust. The oven beeped. The dog whined. And I just thought, well, what’s the worst that could happen? I scooped the dough onto a baking sheet, rolled the balls in a cinnamon-sugar mixture I’d thrown together on a whim, and slid them in. Twenty minutes later, I pulled out something that was absolutely nothing like pumpkin pie—and so much better. Maybe you’ve been there, where a kitchen mishap turns into your new favorite thing. These cozy brown sugar pumpkin snickerdoodle cookies are proof that sometimes the best recipes come from the moments you least expect them.
Why You’ll Love This Recipe
Let me tell you, these cookies have become my fall baking secret weapon. I’ve tested this recipe at least seven times since that first accidental batch, tweaking the flour ratio and playing with the spice blend until every bite felt just right. Here’s why you’re going to fall hard for them too:
- Incredibly Soft & Chewy : The brown sugar and pumpkin work together to create a texture that stays tender for days. No dry, crumbly cookies here.
- Perfectly Spiced : Cinnamon, nutmeg, and cloves give that classic fall warmth without being overpowering. It’s like autumn in cookie form.
- No Chilling Required : I know, I know—most cookie recipes make you wait. These come together in under 30 minutes from start to finish.
- Simple Pantry Ingredients : You probably already have everything you need. No weird extracts or specialty flours.
- Family Approved : My picky-eating nephew asked for seconds, and my dad who “doesn’t like pumpkin things” ate four.
What makes these different from every other pumpkin cookie out there? It’s the brown sugar base. Most pumpkin cookies use white sugar and end up tasting flat or cakey. The molasses in the brown sugar deepens the flavor and creates this almost caramel-like richness that pairs perfectly with the pumpkin. Plus, that crackly cinnamon-sugar coating on the outside gives you that classic snickerdoodle texture we all crave. These cookies aren’t just good—they’re the kind that makes you close your eyes after the first bite and forget whatever else you were supposed to be doing.
What Ingredients You Will Need
This recipe uses simple, wholesome ingredients that come together to deliver bold fall flavor without any fuss. Most of these are pantry staples, so you might not even need a grocery run.
- Unsalted butter , softened (1 cup / 2 sticks) — I always use unsalted so I can control the salt level. Let it sit out for about 30 minutes before starting.
- Light brown sugar , packed (1 ½ cups / 300g) — This is the star of the show. The molasses in brown sugar gives these cookies their deep, cozy flavor and soft texture. I prefer C&H or Domino for consistent results.
- Pumpkin puree (¾ cup / 170g) — Make sure you grab pure pumpkin puree, not pumpkin pie filling. Libby’s is my go-to brand. Pat the puree with a paper towel to remove excess moisture (trust me on this one).
- Large egg (1) — Room temperature works best for even mixing.
- Vanilla extract (1 teaspoon) — Pure vanilla makes a difference, but imitation works in a pinch.
- All-purpose flour (2 ½ cups / 315g) — Spoon and level your flour for the most accurate measurement. Scooping directly can pack in too much flour and make the cookies dry.
- Baking soda (1 teaspoon) — Fresh baking soda is key for proper spread and lift.
- Baking powder (½ teaspoon) — This adds a little extra puffiness.
- Salt (½ teaspoon) — Don’t skip it! Salt balances the sweetness and enhances the spices.
- Ground cinnamon (2 teaspoons for dough, plus 2 tablespoons for coating) — I use McCormick for reliability, but any brand works.
- Ground nutmeg (½ teaspoon) — Freshly grated is amazing if you have it, but pre-ground is totally fine.
- Ground cloves (¼ teaspoon) — A little goes a long way. You can substitute with allspice if needed.
- Granulated sugar (¼ cup / 50g for coating) — This gets mixed with the cinnamon for rolling the dough balls.
Substitution Guidance: If you need a dairy-free option, use vegan butter sticks (I like Earth Balance) in place of regular butter. For a gluten-free version, swap the all-purpose flour with a 1:1 gluten-free baking blend. The texture will be slightly more delicate, but still delicious. If you’re out of pumpkin puree, sweet potato puree works surprisingly well here—just make sure it’s smooth and not stringy.
Equipment Needed
You don’t need a fancy kitchen to make these cookies. Here’s what you’ll actually use:
- Large mixing bowl (at least 3-quart capacity) — I’ve made these in both ceramic and glass bowls, and both work fine. Just make sure it’s big enough to hold all the dough without overflow.
- Electric hand mixer or stand mixer — You can mix by hand with a wooden spoon, but your arm will thank you for using a mixer. I’ve done both, and the mixer gives a fluffier result.
- Measuring cups and spoons — Accurate measurements matter, especially for the flour and brown sugar.
- Baking sheets (2) — Light-colored metal sheets work best for even browning. Dark sheets can cause the bottoms to burn.
- Parchment paper or silicone baking mat — Parchment paper is my preference because cleanup is a breeze. Silicone mats work too, but cookies might spread slightly more.
- Wire cooling rack — Essential for letting the cookies cool evenly without getting soggy bottoms.
- Small bowl (for the cinnamon-sugar coating)
- Cookie scoop (about 1.5 tablespoons) — Not required, but it makes uniform cookies and speeds up the process. A regular spoon works fine.
Budget-friendly tip: If you don’t have a cookie scoop, use two spoons to portion the dough. It takes a little longer, but the cookies will still taste amazing. And if you’re short on baking sheets, just bake in batches—let the sheet cool completely between rounds so the dough doesn’t start melting before it hits the oven.
Preparation Method
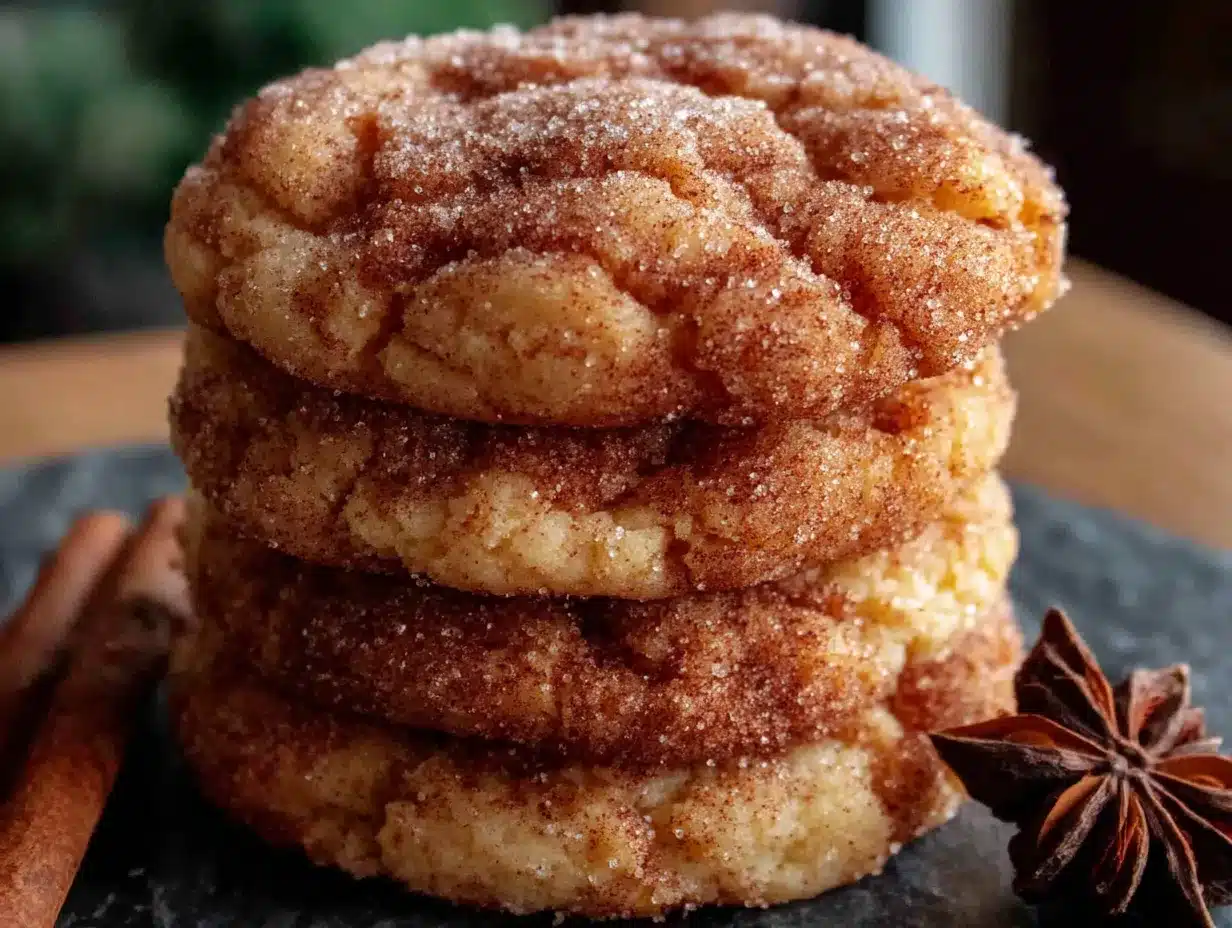
Alright, let’s get baking. These steps might look long, but I promise the actual hands-on time is only about 15 minutes. The rest is just waiting for the oven to do its thing.
- Preheat your oven to 350°F (175°C). Line two baking sheets with parchment paper. This is the kind of recipe where preheating matters—don’t rush it.
- Pat dry the pumpkin puree. Spread the ¾ cup of pumpkin puree on a plate lined with a few paper towels. Place another paper towel on top and gently press to absorb excess moisture. Let it sit while you prepare the other ingredients. This step prevents the cookies from turning out too wet or gummy.
- Cream the butter and brown sugar. In your large mixing bowl, beat the softened butter and packed brown sugar together on medium speed until light and fluffy, about 2-3 minutes. You’ll notice the mixture gets noticeably lighter in color and looks almost like wet sand. Scrape down the sides of the bowl once halfway through.
- Add the pumpkin, egg, and vanilla. Beat in the pumpkin puree, egg, and vanilla extract on low speed until just combined. The mixture might look slightly curdled at this point—don’t panic, that’s normal. It will come together once you add the dry ingredients.
- Whisk the dry ingredients together. In a separate medium bowl, whisk together the all-purpose flour, baking soda, baking powder, salt, 2 teaspoons cinnamon, nutmeg, and cloves. Whisking ensures everything is evenly distributed so you don’t end up with a pocket of baking soda in one cookie.
- Combine wet and dry ingredients. Gradually add the dry mixture to the wet mixture, mixing on low speed after each addition. Stop as soon as the flour disappears. Overmixing will make the cookies tough—you want to see a few streaks of flour remaining, then finish folding by hand with a spatula. The dough will be soft and slightly sticky, but it should hold together when pressed.
- Make the cinnamon-sugar coating. In a small bowl, stir together the ¼ cup granulated sugar and 2 tablespoons ground cinnamon. Set aside.
- Scoop and roll the dough. Using your cookie scoop or a spoon, portion out rounded tablespoons of dough (about 1.5 tablespoons each). Roll each portion into a smooth ball between your palms. Drop each ball into the cinnamon-sugar mixture and roll until completely coated. Place the coated dough balls on the prepared baking sheets, spacing them about 2 inches apart—these cookies spread, so give them room.
- Bake for 10-12 minutes. Bake one sheet at a time in the center of the oven. The cookies are done when the edges are set and lightly golden, but the centers still look slightly soft and puffy. They’ll continue to set as they cool. If you overbake them, they’ll lose that signature chewy texture.
- Cool on the baking sheet for 5 minutes. This is crucial. Let the cookies rest on the hot sheet before transferring them to a wire cooling rack. The residual heat finishes the baking process and helps the centers set properly. After 5 minutes, use a spatula to move them to the rack to cool completely.
Sensory cue check: When the cookies are done, your kitchen will smell like a fall candle factory exploded—warm cinnamon, nutmeg, and that deep brown sugar sweetness. The tops should look crackled and slightly domed, and the edges will be a shade darker than the centers.
Cooking Tips & Techniques
I’ve made plenty of mistakes so you don’t have to. Here’s what I’ve learned the hard way:
Don’t skip drying the pumpkin. I learned this one the messy way. My first batch (the accidental one) turned out fine, but my second batch—where I just dumped the pumpkin straight in—came out flat and gummy. Pumpkin has a lot of water, and that extra moisture throws off the whole cookie chemistry. A quick pat with a paper towel makes all the difference.
Measure your flour correctly. This is the number one mistake I see with cookie recipes. If you scoop your measuring cup directly into the flour bag, you can end up with 25% more flour than intended. Use a spoon to fluff the flour, then spoon it into your measuring cup and level it off with a knife. Your cookies will thank you.
Bake one sheet at a time. I know it’s tempting to cram both sheets in the oven to save time, but the heat circulates unevenly when the oven is crowded. One sheet bakes more evenly, and the extra 10 minutes is worth it for cookies that all bake at the same rate.
Watch the clock carefully. These cookies go from perfectly soft to overdone in about 60 seconds. Set a timer for 10 minutes, then check them. If the edges are golden but the centers still look slightly underdone, pull them out. The carryover heat will finish the job. I’ve pulled cookies that looked too soft and they were perfect after resting—trust the process.
Room temperature ingredients matter. Cold butter doesn’t cream properly with the sugar, which means your cookies won’t spread evenly. Cold egg can make the batter seize up. Set everything out on the counter 30 minutes before you start, and you’ll get a much better texture.
Variations & Adaptations
One of the best things about this recipe is how flexible it is. Here are a few ways I’ve played with it:
Pumpkin Chocolate Chip Snickerdoodles: Fold in 1 cup of semi-sweet chocolate chips after the flour is incorporated. The chocolate adds a rich counterpoint to the warm spices, and honestly, chocolate makes everything better. My kids voted this their favorite version.
Maple Glazed Variation: After the cookies cool, whisk together 1 cup powdered sugar, 2 tablespoons maple syrup, and 1 tablespoon milk (or water) until smooth. Drizzle over the cookies and let set for 15 minutes. The maple flavor doubles down on the cozy fall vibes and makes these feel extra special for holiday gatherings.
Vegan Adaptation: Substitute the butter with vegan butter sticks (not margarine, which has too much water) and use a flax egg (1 tablespoon ground flaxseed mixed with 3 tablespoons water, let sit for 5 minutes). The texture will be slightly less tender, but the flavor is still spot-on. I tested this for a friend’s vegan Thanksgiving, and nobody guessed the difference.
Spice It Up: If you like a bolder spice profile, add ¼ teaspoon ground ginger and ⅛ teaspoon ground cardamom to the dough. The ginger adds a little warmth, and the cardamom gives it an almost floral note that’s surprisingly lovely with the pumpkin.
Gluten-Free Option: Use a 1:1 gluten-free baking flour blend (I like King Arthur’s Measure for Measure). Add an extra tablespoon of flour to the dough, as gluten-free blends tend to absorb less liquid. The cookies will be a bit more delicate, so handle them gently when transferring to the cooling rack.
Serving & Storage Suggestions
These cookies are best enjoyed slightly warm, when the edges are still a bit soft and the cinnamon-sugar coating is at its crackliest. I like to serve them with a cold glass of milk or a hot mug of spiced chai tea. They’re also fantastic crumbled over vanilla ice cream for an impromptu sundae—just warm them in the microwave for 10 seconds first.
Room Temperature Storage: Keep the cookies in an airtight container at room temperature for up to 5 days. Place a slice of plain bread in the container to help maintain moisture—the bread absorbs excess air and keeps the cookies soft. Replace the bread slice every other day if the cookies last that long (they usually don’t in my house).
Freezer Instructions: These cookies freeze beautifully. Place cooled cookies in a single layer on a baking sheet and freeze for 1 hour, then transfer to a freezer-safe bag or container. They’ll keep for up to 3 months. To thaw, let them sit at room temperature for about 20 minutes, or microwave for 15 seconds for that fresh-baked warmth.
Freezing the Dough: You can also freeze the dough balls before baking. Roll and coat them in the cinnamon-sugar mixture, then place on a baking sheet and freeze until solid. Transfer to a freezer bag. When you’re ready to bake, place frozen dough balls on a lined baking sheet and add 2-3 minutes to the baking time. No need to thaw first—this is my favorite trick for having fresh cookies on demand.
Flavor Development: Here’s something interesting—these cookies actually taste better the day after baking. The spices have time to meld with the pumpkin and brown sugar, creating a deeper, more rounded flavor. If you can resist eating them all on day one, you’ll be rewarded on day two with cookies that taste even more like fall.
Nutritional Information & Benefits
Let’s be real—these are cookies, not health food. But they do have a few redeeming qualities worth mentioning. One cookie (based on the recipe making about 30 cookies) contains approximately:
- Calories: 145
- Total Fat: 7g
- Saturated Fat: 4g
- Carbohydrates: 20g
- Sugar: 12g
- Protein: 2g
- Fiber: 1g
- Sodium: 95mg
The pumpkin puree adds a dose of vitamin A (about 10% of your daily value per cookie) and some fiber, which is more than your average cookie offers. The brown sugar, while still sugar, has a slightly lower glycemic index than white sugar due to the molasses content, meaning it might cause a gentler blood sugar spike. That said, these are a treat, and I believe in enjoying treats without guilt. They’re perfect for a special fall afternoon or holiday gathering—just don’t tell yourself they’re a health food and you’ll enjoy them even more.
Dietary Considerations: This recipe contains dairy (butter) and gluten (wheat flour). For dairy-free or gluten-free options, see the variations section above. The cookies are egg-free if you use the flax egg substitution, making them suitable for those with egg allergies.
Conclusion
These cozy brown sugar pumpkin snickerdoodle cookies started as a complete accident, but they’ve become my most-requested fall recipe. There’s something about that combination of warm spices, deep brown sugar sweetness, and soft, chewy texture that just hits right when the weather turns cool. I’ve made them for Halloween parties, Thanksgiving dinners, and random Tuesday afternoons when I needed a little comfort, and they’ve never let me down.
I’d love to know how they turn out for you. Did you try any of the variations? Did your family fight over the last one like mine does? Drop a comment below and let me know—I read every single one, and honestly, hearing about your kitchen wins makes my day. If you snap a picture, tag me on Pinterest so I can see your beautiful cookies. Happy baking, friends! Here’s to happy accidents and the recipes that stick around long after the mistake is forgotten.
Frequently Asked Questions
Can I use canned pumpkin pie filling instead of pumpkin puree?
No, please don’t. Pumpkin pie filling already has sugar and spices added, which will throw off the balance of this recipe. Stick with 100% pure pumpkin puree for the best results. If you only have pie filling on hand, save it for making actual pumpkin pie.
Why did my cookies turn out flat?
Flat cookies usually mean one of three things: your butter was too soft (almost melted), you didn’t dry the pumpkin puree enough, or you used too much sugar. Make sure your butter is softened but still cool to the touch, and pat that pumpkin dry thoroughly. Also, check that your baking soda is fresh—old baking soda loses its power.
Can I make these cookies ahead of time?
Absolutely. You can bake them up to 3 days in advance and store them in an airtight container. Or better yet, freeze the dough balls and bake fresh whenever you want cookies. The dough freezes beautifully for up to 3 months.
How do I get that crackly top on my snickerdoodles?
The crackly top comes from rolling the dough balls in the cinnamon-sugar mixture and then baking at the right temperature. Make sure your oven is fully preheated to 350°F, and don’t overbake—pull them when the edges are set but the centers still look soft. The cracking happens naturally as the cookie spreads and the coating cracks open.
Can I reduce the sugar in this recipe?
You can reduce the brown sugar by about ¼ cup without major issues, but keep in mind that sugar does more than just sweeten—it affects the texture and moisture of the cookies. If you reduce it too much, the cookies will be drier and less tender. I’d suggest trying the full amount first, then adjusting in future batches once you know the baseline texture.
Pin This Recipe!
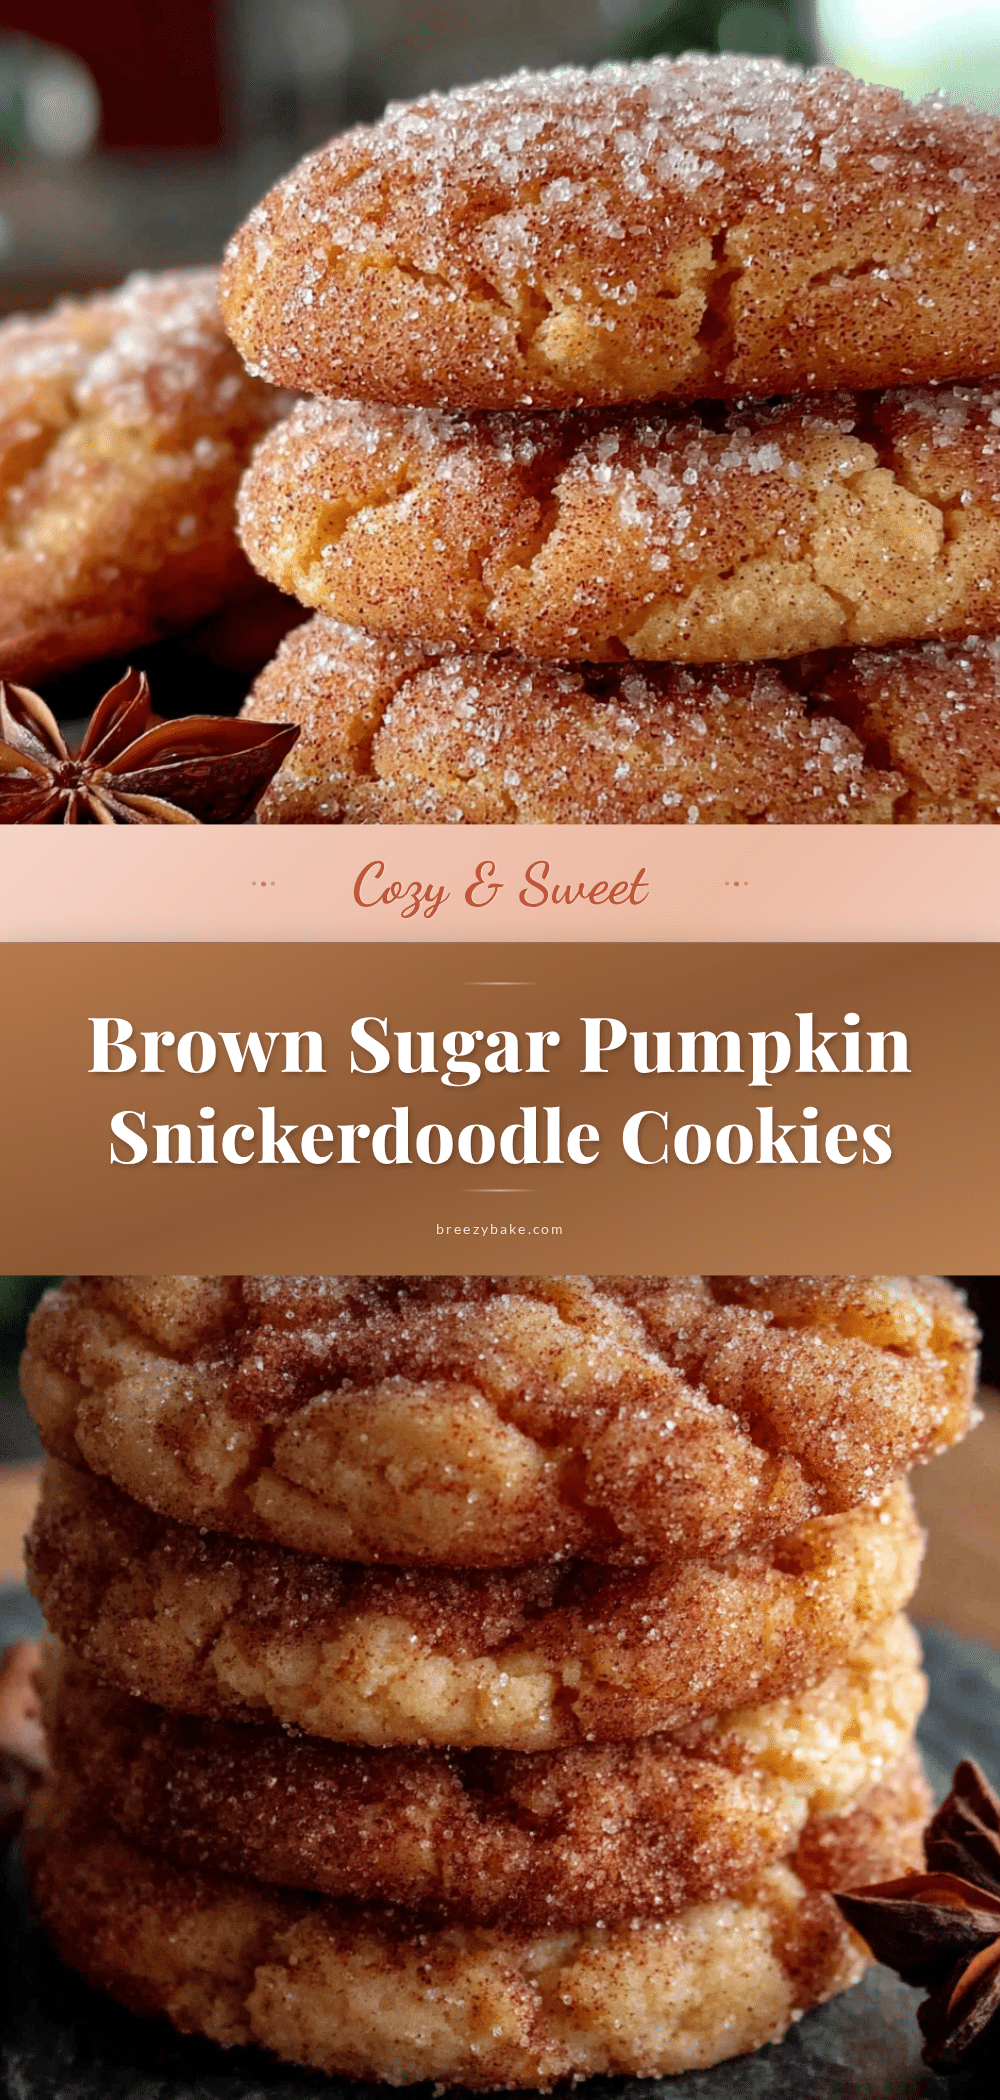
Cozy Brown Sugar Pumpkin Snickerdoodle Cookies: Easy Fall Recipe
These soft and chewy pumpkin snickerdoodle cookies use brown sugar for a deep, caramel-like richness. Made with simple pantry ingredients and no chilling required, they’re the perfect easy fall treat.
- Prep Time: 15 minutes
- Cook Time: 12 minutes
- Total Time: 27 minutes
- Yield: 30 cookies 1x
- Category: Dessert
- Cuisine: American
Ingredients
- 1 cup (2 sticks) unsalted butter, softened
- 1 ½ cups (300g) light brown sugar, packed
- ¾ cup (170g) pumpkin puree, patted dry
- 1 large egg, room temperature
- 1 teaspoon vanilla extract
- 2 ½ cups (315g) all-purpose flour, spooned and leveled
- 1 teaspoon baking soda
- ½ teaspoon baking powder
- ½ teaspoon salt
- 2 teaspoons ground cinnamon (for dough)
- ½ teaspoon ground nutmeg
- ¼ teaspoon ground cloves
- ¼ cup (50g) granulated sugar (for coating)
- 2 tablespoons ground cinnamon (for coating)
Instructions
- Preheat your oven to 350°F (175°C). Line two baking sheets with parchment paper.
- Pat dry the pumpkin puree: Spread the ¾ cup of pumpkin puree on a plate lined with paper towels. Place another paper towel on top and gently press to absorb excess moisture. Let it sit while you prepare the other ingredients.
- Cream the butter and brown sugar: In a large mixing bowl, beat the softened butter and packed brown sugar together on medium speed until light and fluffy, about 2-3 minutes. Scrape down the sides of the bowl once halfway through.
- Add the pumpkin, egg, and vanilla: Beat in the pumpkin puree, egg, and vanilla extract on low speed until just combined. The mixture might look slightly curdled—this is normal.
- Whisk the dry ingredients together: In a separate medium bowl, whisk together the all-purpose flour, baking soda, baking powder, salt, 2 teaspoons cinnamon, nutmeg, and cloves.
- Combine wet and dry ingredients: Gradually add the dry mixture to the wet mixture, mixing on low speed after each addition. Stop as soon as the flour disappears. Finish folding by hand with a spatula. The dough will be soft and slightly sticky.
- Make the cinnamon-sugar coating: In a small bowl, stir together the ¼ cup granulated sugar and 2 tablespoons ground cinnamon. Set aside.
- Scoop and roll the dough: Using a cookie scoop or spoon, portion out rounded tablespoons of dough (about 1.5 tablespoons each). Roll each portion into a smooth ball. Drop each ball into the cinnamon-sugar mixture and roll until completely coated. Place on prepared baking sheets, spacing them about 2 inches apart.
- Bake for 10-12 minutes: Bake one sheet at a time in the center of the oven. The cookies are done when the edges are set and lightly golden, but the centers still look slightly soft and puffy.
- Cool on the baking sheet for 5 minutes: Let the cookies rest on the hot sheet before transferring to a wire cooling rack to cool completely.
Notes
Don’t skip drying the pumpkin puree—it prevents gummy cookies. Measure flour correctly by spooning and leveling. Bake one sheet at a time for even results. Cookies go from perfectly soft to overdone in about 60 seconds, so watch the timer closely. These cookies taste even better the day after baking as the spices meld. For best texture, use room temperature ingredients.
Nutrition
- Serving Size: 1 cookie
- Calories: 145
- Sugar: 12
- Sodium: 95
- Fat: 7
- Saturated Fat: 4
- Carbohydrates: 20
- Fiber: 1
- Protein: 2
Keywords: pumpkin snickerdoodle cookies, brown sugar cookies, fall cookies, easy pumpkin cookies, soft pumpkin cookies, snickerdoodle recipe, pumpkin dessert


