It was 11:47 PM on a rainy Tuesday in March, and I had a desperate, almost embarrassing craving for a slice of the lightest, most pillowy cake I could imagine. I didn’t have the heavy cream for a traditional frosting or the patience for a multi-layer affair, but I had a half-pint of leftover heavy cream from a pasta dinner, a single vanilla bean pod that was starting to look a little sad in the spice drawer, and the wild idea that maybe—just maybe—I could whip the cream right into the batter. I honestly thought I was making a mistake. I figured I’d end up with a dense, greasy mess that I’d have to eat straight from the pan at midnight. But something about the quiet of the kitchen and the hypnotic sound of the rain made me go for it anyway. I whisked, I folded, I held my breath as the pan went into the oven. And let me tell you, when I pulled that cake out and saw its golden, crackled top, I knew I had stumbled onto something special. That first bite was so tender, so rich with real vanilla flavor, that I actually laughed out loud. It was a win born from a late-night whim, and it’s been a staple in my kitchen ever since. Maybe you’ve been there—standing in your kitchen, tired, a little impulsive, and just wanting something that tastes like a hug.
Why You’ll Love This Vanilla Bean Cream Cake
This isn’t just another vanilla cake recipe. After testing this cake for my family of four (including a very picky seven-year-old), I can tell you it’s the one that gets requested for every birthday, every “just because” Sunday, and every time we need a little comfort. It’s the kind of cake that makes you close your eyes after the first bite.
- Quick & Easy: Comes together in under 15 minutes of active prep time. No complicated techniques or stand mixer required—just a bowl and a whisk.
- Simple Ingredients: You likely already have the pantry staples (flour, sugar, eggs, butter) waiting for you. The only “special” ingredient is a vanilla bean, but even that is easy to find at most grocery stores now.
- Perfect for Family Gatherings: It’s fancy enough for a holiday brunch but humble enough for a Tuesday night dessert. It pleases everyone from toddlers to grandparents.
- Crowd-Pleaser: The texture is what gets people. It’s incredibly moist without being wet, and it has a tight, velvety crumb that feels almost like a pound cake and a sponge cake had a baby. It always gets rave reviews.
- Unbelievably Delicious: The secret is the heavy cream in the batter. It adds a richness that milk or buttermilk just can’t match, and the real vanilla bean specks make the flavor taste deep and authentic, not artificial.
What Ingredients You Will Need
This recipe uses simple, wholesome ingredients to deliver that signature rich flavor and tender texture. Most of these are probably in your kitchen right now, which makes it a perfect last-minute bake.
- For the Cake:
- 1 and ¾ cups (220g) all-purpose flour, spooned and leveled (I prefer King Arthur Flour for consistent results)
- 1 and ½ teaspoons baking powder
- ½ teaspoon salt
- ½ cup (113g) unsalted butter, softened to room temperature
- 1 cup (200g) granulated sugar
- 2 large eggs, at room temperature (this is important for a smooth batter!)
- 1 vanilla bean, split and seeds scraped (or 2 teaspoons of pure vanilla extract in a pinch)
- 1 cup (240ml) heavy cream, at room temperature (do not use cold cream, or the batter will seize up)
Ingredient Tips:
For the vanilla bean, I find that the seeds from one bean give the cake those beautiful black specks and a floral, aromatic flavor that extract just can’t replicate. If you only have extract, use the good stuff—pure vanilla extract, not imitation. For the heavy cream, I’ve tested this with both store-brand and a premium brand like Organic Valley, and both worked beautifully. Just make sure it’s heavy cream or heavy whipping cream, not half-and-half, which won’t provide enough fat for the right texture. If you’re out of heavy cream, you can substitute full-fat Greek yogurt mixed with a splash of whole milk, but the crumb will be slightly less tender.
Equipment Needed
You don’t need a fancy bakery setup for this cake. Here’s what you’ll need:
- 9-inch Round Cake Pan: A light-colored metal pan works best for even browning. If you only have a dark non-stick pan, reduce the oven temperature by 25°F to prevent over-browning.
- Electric Mixer: A hand mixer is perfect for creaming the butter and sugar. A stand mixer with the paddle attachment also works great. You can do it by hand with a whisk, but your arm will get a serious workout.
- Mixing Bowls: One large bowl for the dry ingredients and another for the wet ingredients.
- Parchment Paper: Cutting a circle to line the bottom of the pan is a game-changer for easy removal. I’ve learned this the hard way after a few cakes stuck to the pan.
- Cooling Rack: Essential for letting the cake cool completely before serving or frosting.
- Small Sharp Knife: For splitting the vanilla bean and scraping out the seeds.
If you don’t have a cooling rack, you can use the grates of your oven (pulled out) or a clean wire rack from a toaster oven. Budget-friendly tip: a simple hand mixer from any brand will get the job done—no need for a high-end stand mixer.
Preparation Method
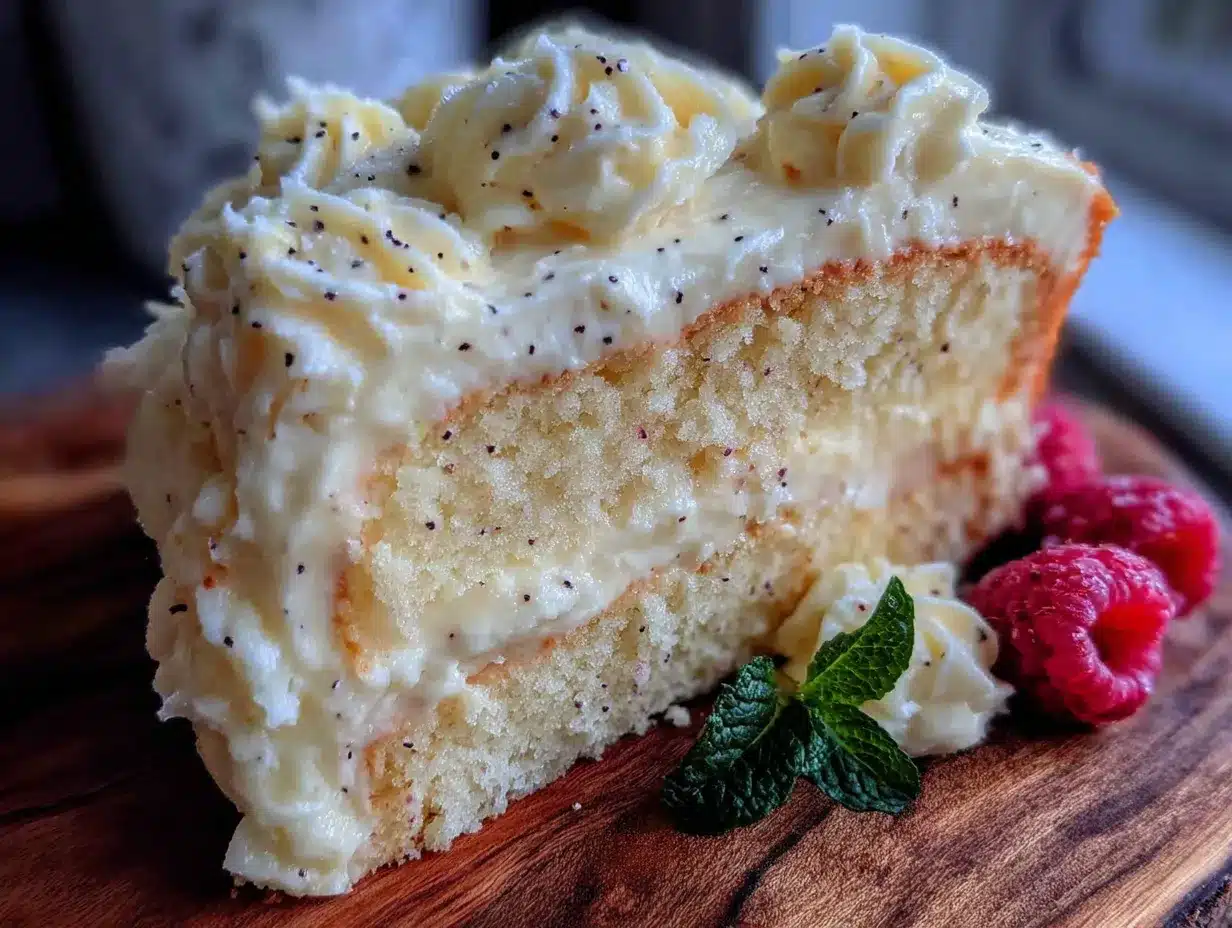
Let’s get baking! Here’s how to make this vanilla bean cream cake perfectly every time.
- Preheat and Prep (5 minutes): Preheat your oven to 350°F (175°C). Grease your 9-inch round cake pan with butter or non-stick spray, then line the bottom with a circle of parchment paper. This step is non-negotiable for easy release—trust me, I’ve skipped it and regretted it.
- Whisk Dry Ingredients (3 minutes): In a medium bowl, whisk together the flour, baking powder, and salt. Set this aside. Whisking aerates the flour and ensures the leavening agents are evenly distributed.
- Cream Butter and Sugar (4 minutes): In a large bowl, beat the softened butter and granulated sugar together with an electric mixer on medium-high speed until light and fluffy. This should take about 3-4 minutes. The mixture should look pale and almost doubled in volume. Scrape down the sides of the bowl once or twice.
- Add Eggs and Vanilla (2 minutes): Add the eggs one at a time, beating well after each addition until fully incorporated. Then, add the vanilla bean seeds (or extract) and beat for another 30 seconds. The batter might look slightly curdled at this point—that’s normal, don’t panic!
- Alternate Adding Dry Ingredients and Cream (3 minutes): With the mixer on low speed, add about one-third of the flour mixture to the butter mixture, beating just until combined. Then, pour in half of the heavy cream and mix until just combined. Repeat with another third of the flour, then the remaining cream, and finally the last of the flour. Mix until just combined—overmixing will make the cake tough. The batter will be thick, smooth, and very glossy.
- Bake the Cake (35-40 minutes): Pour the batter into the prepared pan and spread it into an even layer. Bake for 35-40 minutes, or until a toothpick inserted into the center comes out clean or with a few moist crumbs. The top should be a beautiful golden brown. If it’s browning too quickly, tent the pan loosely with foil after 25 minutes.
- Cool Completely (1 hour): Let the cake cool in the pan on a wire rack for 15 minutes. Then, run a knife around the edges to loosen it, invert it onto the rack, remove the parchment paper, and let it cool completely before slicing or frosting. Patience is key here—a warm cake will crumble if you try to cut it.
Sensory Cues: When you add the cream, the batter will smell unbelievably rich and sweet. The cake is done when the kitchen smells like a bakery and the top of the cake springs back lightly when you press it with your finger.
Cooking Tips & Techniques
I’ve made this cake more times than I can count, and I’ve definitely learned a few things along the way. Here are my best tips for success.
Room Temperature Ingredients are Crucial: I cannot stress this enough. Cold eggs or cold cream will cause the batter to separate and become grainy. Take your eggs and cream out of the fridge about 30 minutes before you start baking. If you forget, place the eggs in a bowl of warm water for 5 minutes and microwave the cream for 10 seconds—just don’t let it get hot.
Don’t Overmix: Once you add the flour, mix only until you can’t see any more white streaks. Overmixing develops the gluten, which leads to a tough, dense cake. A few lumps are perfectly fine—they’ll bake out.
How to Use a Vanilla Bean: Lay the bean flat on a cutting board. Use a sharp paring knife to slice it lengthwise down the center, but don’t cut all the way through. Open the bean like a book, and use the back of the knife to scrape out the tiny black seeds. Add the seeds to your butter-sugar mixture. You can save the empty pod to bury in a jar of sugar to make vanilla sugar later!
My Biggest Failure: The first time I made this, I used cold cream straight from the fridge. The batter curdled into a lumpy mess, and the cake came out dense and greasy. It was a total waste. Now, I always set my cream on the counter first thing, and I’ve never had a problem since.
Variations & Adaptations
This vanilla bean cream cake is a perfect base for so many different flavors. Here are a few of my favorite ways to switch it up.
- Lemon Blueberry Cream Cake: Add the zest of one lemon to the sugar and rub it in with your fingers before creaming. Then, gently fold 1 cup of fresh or frozen blueberries into the finished batter. The lemon brightens the vanilla flavor beautifully.
- Chocolate Chip Cream Cake: Fold ¾ cup of mini chocolate chips into the batter at the end. The mini chips distribute more evenly than regular-sized ones and don’t sink to the bottom as much. This is my kid’s absolute favorite version.
- Gluten-Free Adaptation: Substitute the all-purpose flour with a 1:1 gluten-free baking flour blend (I like Bob’s Red Mill). The texture will be slightly more tender and crumbly, but it’s still delicious. Add ¼ teaspoon of xanthan gum if your blend doesn’t already contain it.
- Simple Glaze: For a quick finish, whisk together 1 cup of powdered sugar with 2 tablespoons of heavy cream and ½ teaspoon of vanilla extract. Drizzle it over the cooled cake for a beautiful, glossy finish.
Serving & Storage Suggestions
This cake is wonderful on its own, but it’s even better with a few simple accompaniments.
Serving: Serve this cake at room temperature for the best flavor and texture. A slice with a dollop of lightly sweetened whipped cream and fresh berries (strawberries or raspberries are perfect) is a classic. For a more decadent treat, serve it warm with a scoop of vanilla ice cream.
Storage: Store the cake in an airtight container at room temperature for up to 3 days. The moisture in the cake actually improves over the first 24 hours, making it even more tender the next day. If you live in a very humid climate, store it in the refrigerator to prevent it from getting sticky.
Freezing: This cake freezes beautifully! Wrap the completely cooled cake (whole or in slices) tightly in plastic wrap, then again in a layer of aluminum foil. Freeze for up to 3 months. To thaw, let it sit at room temperature for about 2 hours, still wrapped, to prevent condensation from making the top soggy.
Reheating: For a warm slice, pop it in the microwave for 15-20 seconds, or in a 300°F oven for about 5 minutes.
Nutritional Information & Benefits
While this is definitely a treat, it’s made with real, whole ingredients. Here’s an approximate nutritional breakdown per slice (based on 10 slices):
| Nutrient | Amount per Slice |
|---|---|
| Calories | 345 |
| Fat | 20g |
| Saturated Fat | 12g |
| Carbohydrates | 38g |
| Sugar | 22g |
| Protein | 5g |
Health Benefits: The heavy cream provides a good source of calcium and healthy fats that help keep you full. Real vanilla bean contains small amounts of antioxidants and has been shown to have calming, anti-inflammatory properties. Plus, since you’re making it from scratch, you’re skipping the preservatives and artificial flavors found in store-bought cakes.
Dietary Considerations: This recipe contains gluten, dairy, and eggs. For a dairy-free version, substitute the butter with a high-quality vegan butter stick (like Miyoko’s) and use full-fat canned coconut cream in place of the heavy cream. The texture will be slightly different but still delicious.
Conclusion
Honestly, this vanilla bean cream cake is the recipe I’m most proud of. It started as a late-night experiment and turned into a family tradition that feels special every single time. It’s proof that you don’t need a dozen fancy ingredients or hours of free time to make something truly memorable—just a little bit of curiosity and a willingness to try something new. I hope you give it a try and make it your own. Maybe you’ll add a lemon glaze, or fold in some chocolate chips, or serve it with a mountain of fresh berries. Whatever you do, I’d love to hear about it! Leave a comment below and tell me how your cake turned out, or share a photo on Pinterest and tag me. Happy baking, friend!
Frequently Asked Questions
Can I use vanilla extract instead of a vanilla bean?
Absolutely! If you don’t have a vanilla bean, use 2 teaspoons of pure vanilla extract. Add it to the batter along with the eggs. The flavor will still be delicious, but you’ll miss those beautiful black vanilla bean specks.
Why did my cake sink in the middle?
A sunken cake is usually a sign of overmixing the batter or opening the oven door too early. Make sure to mix just until the flour disappears, and resist the urge to peek at the cake during the first 30 minutes of baking.
Can I make this cake in a different pan?
Yes! You can bake this batter in an 8×8-inch square pan for a slightly thicker cake. Increase the baking time by 5-10 minutes. You can also make 12 cupcakes; bake them for 18-22 minutes.
Can I use milk instead of heavy cream?
I don’t recommend it. The high fat content in heavy cream is what gives this cake its incredibly tender, velvety crumb. Using milk will result in a much drier, denser cake. If you’re in a pinch, use full-fat Greek yogurt thinned with a splash of milk.
How do I get clean slices of cake?
For clean, bakery-style slices, use a long, serrated knife. Run the knife under hot water, dry it off, and then make your cut. Wipe the blade clean between each slice. This works like a charm for any tender cake.
Pin This Recipe!
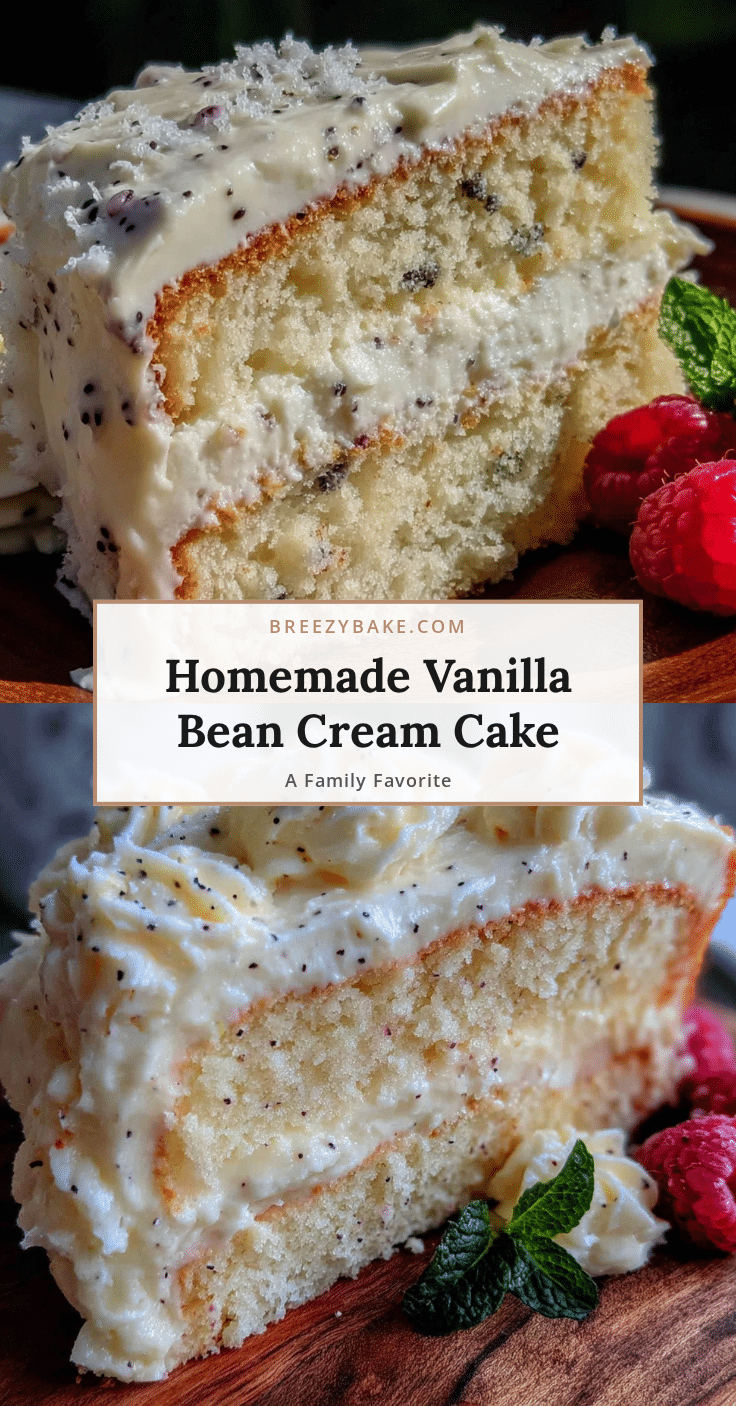
Best Homemade Vanilla Bean Cream Cake Recipe
This incredibly moist and tender vanilla bean cream cake is made with heavy cream in the batter for a rich, velvety crumb. It’s a quick and easy dessert that’s perfect for any occasion, from birthdays to weeknight cravings.
- Prep Time: 15 minutes
- Cook Time: 35-40 minutes
- Total Time: 1 hour 55 minutes
- Yield: 10 servings 1x
- Category: Dessert
- Cuisine: American
Ingredients
- 1 and ¾ cups (220g) all-purpose flour, spooned and leveled
- 1 and ½ teaspoons baking powder
- ½ teaspoon salt
- ½ cup (113g) unsalted butter, softened to room temperature
- 1 cup (200g) granulated sugar
- 2 large eggs, at room temperature
- 1 vanilla bean, split and seeds scraped (or 2 teaspoons pure vanilla extract)
- 1 cup (240ml) heavy cream, at room temperature
Instructions
- Preheat your oven to 350°F (175°C). Grease a 9-inch round cake pan with butter or non-stick spray, then line the bottom with a circle of parchment paper.
- In a medium bowl, whisk together the flour, baking powder, and salt. Set aside.
- In a large bowl, beat the softened butter and granulated sugar together with an electric mixer on medium-high speed until light and fluffy, about 3-4 minutes. Scrape down the sides of the bowl once or twice.
- Add the eggs one at a time, beating well after each addition until fully incorporated. Then, add the vanilla bean seeds (or extract) and beat for another 30 seconds.
- With the mixer on low speed, add about one-third of the flour mixture to the butter mixture, beating just until combined. Pour in half of the heavy cream and mix until just combined. Repeat with another third of the flour, then the remaining cream, and finally the last of the flour. Mix until just combined—do not overmix. The batter will be thick, smooth, and glossy.
- Pour the batter into the prepared pan and spread it into an even layer. Bake for 35-40 minutes, or until a toothpick inserted into the center comes out clean or with a few moist crumbs. If the top is browning too quickly, tent the pan loosely with foil after 25 minutes.
- Let the cake cool in the pan on a wire rack for 15 minutes. Then, run a knife around the edges to loosen it, invert it onto the rack, remove the parchment paper, and let it cool completely before slicing or frosting.
Notes
Room temperature ingredients are crucial for a smooth batter. Do not overmix once flour is added. For a dairy-free version, substitute butter with vegan butter and heavy cream with full-fat canned coconut cream. The cake can be stored at room temperature for up to 3 days or frozen for up to 3 months.
Nutrition
- Serving Size: 1 slice
- Calories: 345
- Sugar: 22
- Fat: 20
- Saturated Fat: 12
- Carbohydrates: 38
- Protein: 5
Keywords: vanilla bean cake, cream cake, easy vanilla cake, homemade cake, birthday cake, vanilla bean, heavy cream cake


