It was 10:47 PM on a rainy Tuesday, and I had a sudden, undeniable craving for banana bread. You know that feeling when nothing else will hit the spot? I tiptoed to the kitchen, hoping I had what I needed. I didn’t have a mixer—mine had given up the ghost two weeks ago—and I definitely didn’t have the energy to wrestle with one anyway. But I had three sad, spotty bananas on the counter, a bag of walnuts from last month’s baking spree, and a wild idea that maybe, just maybe, I didn’t need all that fancy equipment. Honestly, I was too tired to care about perfection. I just wanted warm, comforting banana bread, and I wanted it without a fuss.
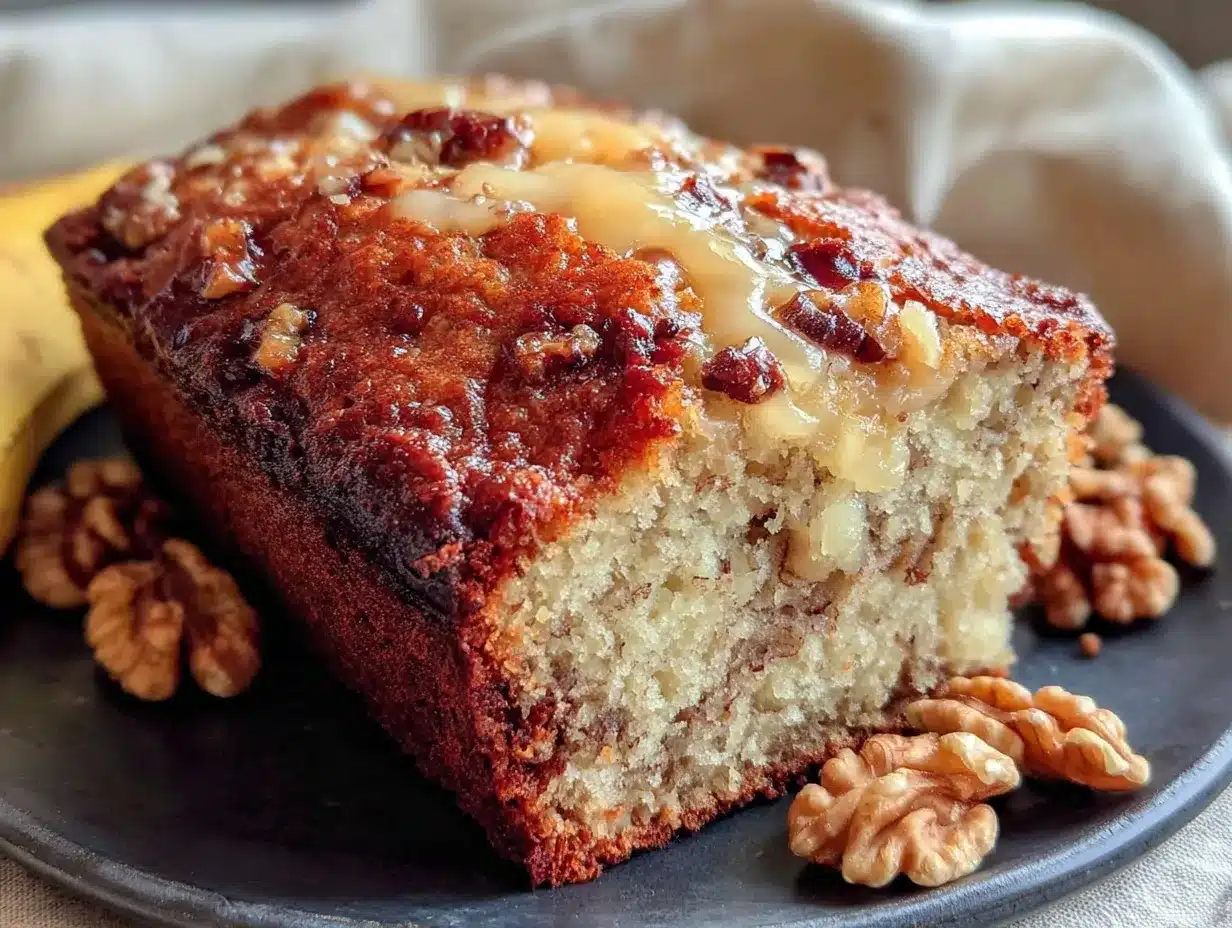
So I grabbed a fork and a big bowl and started mashing. The bananas were so ripe they practically fell apart, which felt like a small victory. I tossed in some flour, sugar, eggs, and a generous handful of walnuts, stirring until it looked like batter. No mixer, no drama. I poured it into a loaf pan, slid it into the oven, and crossed my fingers. Forty-five minutes later, the smell drifting through the house was pure magic. It wasn’t just good—it was the best banana bread I’d made in months. The crust was perfectly golden, the inside was tender and moist, and the walnuts added that little crunch that made every bite interesting.
That late-night experiment turned into a family staple. My kids, who usually turn their noses up at anything with nuts, devoured it. My husband asked for seconds. And I realized something: you don’t need fancy tools or a complicated recipe to make something truly delicious. You just need a few simple ingredients, a little patience, and maybe a quiet kitchen after everyone else has gone to bed. This easy no-mixer banana bread with walnuts has become my go-to for busy mornings, after-school snacks, and those moments when I need a little comfort. I think you’re going to love it, too.
Why You’ll Love This Recipe
After testing this recipe more times than I can count—sometimes on purpose, sometimes because I forgot an ingredient and had to start over—I can honestly say this is the banana bread you’ll keep coming back to. It’s not just another recipe floating around the internet. It’s the one that actually works, every single time, without any fuss.
- No Mixer Required: This is a one-bowl wonder. You don’t need a stand mixer, a hand mixer, or any fancy gadget. Just a fork, a bowl, and a little elbow grease. Perfect for when your mixer is broken, packed away, or you simply don’t own one.
- Budget-Friendly Ingredients: Everything in this recipe is a pantry staple. Flour, sugar, eggs, oil, and those overripe bananas you were about to toss. Walnuts add a nice crunch but are totally optional. No expensive specialty items required.
- Kid-Approved & Picky Eater Tested: My own kids are tough critics. One will pick out anything that looks like a “green thing.” The other claims to dislike “lumpy textures.” Both of them polish off this banana bread without complaint. The walnuts blend in just enough to add texture without being overwhelming.
- Perfect for Busy Families: From start to finish, you’re looking at about 10 minutes of active prep time. The oven does the rest. It’s ideal for weekend mornings, after-school snacks, or even a quick dessert that feels homemade.
- Reheats Beautifully: This banana bread actually gets better on day two. The flavors meld together, and the texture stays moist. Pop a slice in the microwave for 15 seconds, and it tastes like it just came out of the oven.
What makes this recipe different from the dozens of others I’ve tried? It’s the texture. The combination of very ripe bananas and a simple mixing method creates a bread that’s incredibly moist without being gummy. The walnuts add just enough crunch to keep things interesting, and the subtle sweetness means you can enjoy it for breakfast without feeling like you’re eating dessert. It’s comfort food that actually fits into a busy, budget-conscious life. Honestly, it’s the kind of recipe that makes you feel like a rockstar in the kitchen, even when you’re just trying to use up some bananas before they go bad.
What Ingredients You Will Need
This recipe uses simple, everyday ingredients to create something truly special. The beauty of this easy no-mixer banana bread with walnuts is that you probably already have most of these items in your kitchen right now. Let’s break down what you’ll need and why each ingredient matters.
For the Banana Bread Batter
- 3 large ripe bananas, mashed (about 1½ cups or 360 ml) – The riper, the better. Look for bananas with lots of brown spots. They’re sweeter and easier to mash. If your bananas aren’t quite ripe enough, you can speed up the process by baking them at 300°F (150°C) for 15 minutes.
- ⅓ cup (80 ml) melted unsalted butter – Butter adds rich flavor and helps create that tender crumb. You can substitute with coconut oil or vegetable oil if needed, but butter really gives the best taste. I prefer using salted butter and reducing the added salt slightly.
- ¾ cup (150 g) granulated sugar – White sugar keeps the bread light and sweet. You can reduce this to ½ cup if you prefer a less sweet bread, or swap in brown sugar for a deeper, caramel-like flavor.
- 1 large egg, at room temperature – The egg helps bind everything together and adds structure. If you’re out of eggs, you can use a flax egg (1 tablespoon flaxseed meal mixed with 3 tablespoons water) for a vegan option.
- 1 teaspoon vanilla extract – Pure vanilla adds warmth and depth. Imitation vanilla works fine in a pinch, but pure vanilla really makes a difference.
- 1½ cups (190 g) all-purpose flour – Regular all-purpose flour gives the bread a nice, tender texture. For a whole wheat version, use 1 cup all-purpose and ½ cup whole wheat flour. For gluten-free, use a 1:1 gluten-free baking flour blend.
- 1 teaspoon baking soda – This is the leavening agent that helps the bread rise. Make sure your baking soda is fresh—test it by dropping a little into vinegar; it should fizz immediately.
- ¼ teaspoon salt – Salt balances the sweetness and enhances all the flavors. Don’t skip it, even if you’re using salted butter.
- ½ teaspoon ground cinnamon – Cinnamon adds warmth and pairs beautifully with bananas. You can add a pinch of nutmeg or allspice for extra depth.
- ½ cup (60 g) chopped walnuts – Walnuts add a wonderful crunch and nutty flavor. Toast them lightly in a dry pan for 2-3 minutes before adding to the batter for even more flavor. Pecans or chocolate chips make great substitutes.
I recommend using King Arthur Flour for consistent results, but any brand works. For walnuts, I like Fisher Nuts or store-brand options from the baking aisle. If you’re buying in bulk, store walnuts in the freezer to keep them fresh longer.
Equipment Needed
One of the best things about this recipe is how little equipment you need. No stand mixer, no food processor, no fancy gadgets. Just the basics that most kitchens already have.
- Large mixing bowl – A good-sized bowl, about 3-4 quarts, gives you room to mash and stir without making a mess. I use a sturdy ceramic bowl, but glass or stainless steel work just as well.
- Fork or potato masher – A fork works perfectly for mashing bananas. If you have a potato masher, it’s even faster. I’ve used both, and honestly, the fork gives me more control over the texture.
- Wooden spoon or rubber spatula – For mixing the batter. A wooden spoon is great for getting into the corners of the bowl. A rubber spatula helps scrape every last bit of batter into the pan.
- 9×5-inch loaf pan – This is the standard size for banana bread. If you only have an 8×4-inch pan, increase the baking time by about 5-10 minutes. A metal pan gives the best browning, but glass or ceramic also work.
- Parchment paper – Not strictly necessary, but it makes lifting the bread out of the pan so much easier. I always line my pan with a sling of parchment paper, leaving a little overhang on two sides.
- Cooling rack – A wire rack allows air to circulate around the bread, preventing a soggy bottom. If you don’t have one, you can use the overturned loaf pan or even chopsticks placed across a baking sheet.
- Measuring cups and spoons – For accurate measurements. I prefer dry measuring cups for flour and sugar, and liquid measuring cups for the melted butter and vanilla.
If you’re on a tight budget, skip the parchment paper and just grease the pan well with butter or non-stick spray. The bread will still come out beautifully. I’ve been there, and it works just fine.
Preparation Method
Let’s get baking! This easy no-mixer banana bread with walnuts comes together quickly, so preheat your oven first and get everything ready. Here’s how to do it step by step.
- Preheat your oven to 350°F (175°C). Position the rack in the center of the oven. While it’s heating, grease a 9×5-inch loaf pan with butter or non-stick spray, or line it with parchment paper for easy removal.
- Mash the bananas. Peel the three ripe bananas and place them in a large mixing bowl. Use a fork to mash them until they’re mostly smooth with a few small lumps remaining. You want some texture, not a complete puree. This should take about 2 minutes. The bananas should measure about 1½ cups.
- Add the wet ingredients. Pour in the ⅓ cup of melted butter, ¾ cup of granulated sugar, 1 large egg, and 1 teaspoon of vanilla extract. Stir everything together with your wooden spoon or spatula until well combined. The mixture will look a little lumpy from the bananas, and that’s perfectly fine.
- Mix the dry ingredients separately. In a small bowl, whisk together 1½ cups of all-purpose flour, 1 teaspoon of baking soda, ¼ teaspoon of salt, and ½ teaspoon of ground cinnamon. This step ensures the baking soda and spices are evenly distributed throughout the flour.
- Combine wet and dry ingredients. Add the flour mixture to the banana mixture. Stir gently with your wooden spoon until just combined. Be careful not to overmix—stop as soon as you no longer see streaks of flour. Overmixing can make the bread tough and dense. A few small lumps are totally okay.
- Fold in the walnuts. Gently fold in ½ cup of chopped walnuts using a rubber spatula. Distribute them evenly throughout the batter. If you’re adding chocolate chips or other mix-ins, fold them in now as well.
- Pour the batter into the prepared pan. Scrape every last bit of batter into the loaf pan using your spatula. Spread it evenly with the back of the spatula. Give the pan a gentle tap on the counter to release any air bubbles.
- Bake for 55-65 minutes. Place the pan in the preheated oven and bake until the top is golden brown and a toothpick inserted into the center comes out clean or with just a few moist crumbs. Start checking at 55 minutes. If the top is browning too quickly, tent the pan loosely with aluminum foil during the last 15 minutes.
- Cool in the pan for 10 minutes. Remove the pan from the oven and place it on a cooling rack. Let the bread cool in the pan for 10 minutes. This allows it to set and makes it easier to remove.
- Transfer to a wire rack to cool completely. After 10 minutes, run a knife around the edges if needed, then lift the bread out using the parchment paper sling. Place it directly on the cooling rack. Let it cool completely before slicing, about 1 hour. Cutting into warm banana bread can cause it to crumble.
Pro tip: If you’re in a hurry and can’t wait for it to cool completely, use a serrated knife and a gentle sawing motion. You’ll get cleaner slices with less crumbling.
Cooking Tips & Techniques
Over the years, I’ve made this easy no-mixer banana bread with walnuts more times than I can count. Some batches were perfect. Others taught me valuable lessons. Here are the tips I wish someone had shared with me from the start.
Don’t overmix the batter. This is the number one mistake I see home bakers make. When you overmix, you develop the gluten in the flour, which leads to a tough, dense bread. Stir just until the flour disappears. A few streaks are fine. Trust me, I learned this the hard way after making a brick-like loaf that my kids refused to eat.
Use overripe bananas. The best bananas for banana bread are the ones you’re about to throw away. They should be heavily speckled with brown spots, or even completely brown. These bananas are at their sweetest and most flavorful. If your bananas aren’t ripe enough, your bread will be less sweet and less moist. I’ve tried using yellow bananas, and the difference is noticeable.
Toast your walnuts. This small step makes a huge difference. Spread the chopped walnuts on a baking sheet and toast them at 350°F (175°C) for 5-7 minutes, until they’re fragrant and lightly golden. Let them cool before folding them into the batter. Toasting brings out their natural oils and adds a deeper, nuttier flavor that really elevates the bread.
Measure your flour correctly. Scooping flour directly from the bag can pack it down, leading to too much flour in your recipe. Instead, spoon the flour into your measuring cup and level it off with a knife. This gives you a more accurate measurement and a lighter, fluffier bread.
Let it cool completely. I know it’s tempting to slice into that warm, fragrant loaf right away. But cutting into banana bread while it’s still warm can cause it to crumble and fall apart. The bread continues to set as it cools, and the flavors meld together. Patience pays off here. I usually bake mine in the evening so it’s ready to slice by morning.
One more thing: if your banana bread sinks in the middle, it’s usually because the batter was too wet or the oven temperature was too low. Make sure your bananas are measured correctly and your oven is properly preheated. An oven thermometer is a cheap investment that can save you a lot of baking frustration.
Variations & Adaptations
This easy no-mixer banana bread with walnuts is wonderfully adaptable. Over the years, I’ve experimented with different add-ins and substitutions to keep things interesting. Here are some of my favorite variations.
Chocolate Chip Banana Bread: Swap the walnuts for ½ cup of semi-sweet chocolate chips. The combination of banana and chocolate is a classic for good reason. My kids go absolutely crazy for this version. You can also use white chocolate chips or a mix of both.
Vegan Banana Bread: Replace the egg with a flax egg (1 tablespoon flaxseed meal mixed with 3 tablespoons water, let sit for 5 minutes) and use melted coconut oil instead of butter. The texture is slightly denser but still delicious. I’ve made this for friends with dietary restrictions, and they always ask for the recipe.
Gluten-Free Banana Bread: Use a 1:1 gluten-free baking flour blend in place of all-purpose flour. I recommend Bob’s Red Mill 1:1 Baking Flour. Add an extra tablespoon of milk or water if the batter seems too thick. The bread will be a little more delicate, so handle it gently when removing from the pan.
Spiced Banana Bread: Add ½ teaspoon of ground nutmeg and ¼ teaspoon of ground ginger along with the cinnamon. This gives the bread a warm, cozy flavor that’s perfect for fall. I sometimes add a pinch of cloves for even more depth.
Streusel Topping: Mix together ¼ cup of brown sugar, ¼ cup of all-purpose flour, 2 tablespoons of cold butter, and a pinch of cinnamon. Sprinkle this over the batter before baking. It creates a crunchy, sweet crust that’s absolutely irresistible. This is my go-to when I want to impress guests.
Feel free to mix and match these variations. Chocolate chips and walnuts together are fantastic. So are toasted pecans instead of walnuts. The beauty of this recipe is that it’s forgiving and flexible. Use what you have on hand, and don’t be afraid to experiment.
Serving & Storage Suggestions
This easy no-mixer banana bread with walnuts is versatile enough for any time of day. Here’s how to serve it and keep it fresh.
Serving Suggestions: Serve slices at room temperature or slightly warmed. For breakfast, a slice with a pat of butter and a cup of coffee is pure perfection. For dessert, try it with a scoop of vanilla ice cream or a drizzle of warm caramel sauce. My kids love it as an after-school snack with a glass of cold milk. You can also toast slices lightly in a toaster or under the broiler for a crisp exterior and soft, warm center.
Storage: Store leftover banana bread in an airtight container at room temperature for up to 3 days. To keep it extra moist, place a paper towel in the container to absorb excess moisture. If you live in a humid climate, you might prefer to store it in the refrigerator, though this can dry it out slightly. I find that room temperature storage gives the best texture.
Freezing: This banana bread freezes beautifully. Wrap the cooled loaf tightly in plastic wrap, then in a layer of aluminum foil, and place it in a freezer-safe bag. It will keep for up to 3 months. To thaw, leave it at room temperature for a few hours or overnight in the refrigerator. You can also freeze individual slices for quick grab-and-go snacks. Just wrap each slice in plastic wrap and store them together in a freezer bag.
Reheating: For a slice that tastes fresh from the oven, microwave it for 15-20 seconds. For a crispier exterior, toast it in a toaster or under the broiler for 1-2 minutes. The flavors actually deepen after a day or two, so don’t be surprised if you enjoy it even more on day two.
Flavor Development: Like many baked goods, this banana bread improves with time. The moisture from the bananas continues to distribute throughout the bread, and the flavors meld together. I often make it a day ahead when I’m planning to serve it for a special occasion.
Nutritional Information & Benefits
While this easy no-mixer banana bread with walnuts is definitely a treat, it does offer some nutritional benefits worth mentioning. Here’s a rough estimate per slice (based on 10 slices).
| Nutrient | Amount per Slice |
|---|---|
| Calories | 245 |
| Total Fat | 11g |
| Saturated Fat | 4.5g |
| Cholesterol | 30mg |
| Sodium | 195mg |
| Total Carbohydrates | 34g |
| Dietary Fiber | 2g |
| Sugars | 17g |
| Protein | 4g |
Health Highlights: Bananas are a good source of potassium, vitamin B6, and vitamin C. They also provide fiber, which aids digestion. Walnuts are rich in omega-3 fatty acids, which support heart health. This recipe uses less sugar than many traditional banana bread recipes, making it a slightly better choice for those watching their sugar intake.
Dietary Considerations: This recipe can be adapted for various dietary needs. For a lower-sugar version, reduce the sugar to ½ cup or use a sugar substitute like monk fruit sweetener. For a lower-fat version, substitute the butter with applesauce (use the same amount). As mentioned earlier, vegan and gluten-free adaptations work well.
Allergen Note: This recipe contains wheat (gluten), eggs, dairy (butter), and tree nuts (walnuts). Adjust accordingly for allergies.
I believe in enjoying food mindfully. This banana bread is a wonderful occasional treat that can fit into a balanced diet. It’s not about deprivation—it’s about savoring real, homemade food made with love.
Conclusion
This easy no-mixer banana bread with walnuts has become a staple in my kitchen for all the right reasons. It’s simple, budget-friendly, and absolutely delicious. The fact that it requires no fancy equipment and uses ingredients I almost always have on hand makes it a no-brainer for busy families. My kids approve, my wallet approves, and honestly, my taste buds have never been happier.
I love that this recipe is forgiving enough for beginners but satisfying enough for experienced bakers. It’s the kind of recipe you’ll turn to again and again—for breakfast, snacks, dessert, or just because you have some bananas that need using up. The walnuts add that perfect crunch, the bananas keep it moist, and the whole thing comes together in about 10 minutes of active prep time.
Now I’d love to hear from you! Have you tried this recipe? Did you add your own twist? Maybe you swapped the walnuts for chocolate chips or added a streusel topping? Drop a comment below and let me know how it turned out. And if you enjoyed this post, please share it with a friend who loves simple, delicious baking. Happy baking, friends—I hope this banana bread brings as much joy to your kitchen as it has to mine.
Frequently Asked Questions
Can I use frozen bananas for this recipe?
Absolutely! Frozen bananas work perfectly. Thaw them completely, then drain off any excess liquid before mashing. They’ll be very soft and may even be a bit watery, but they still make excellent banana bread. In fact, frozen bananas are often even sweeter than fresh ones.
Why did my banana bread turn out dry?
Dry banana bread usually means it was overbaked or you used too much flour. Make sure you measure your flour correctly by spooning it into the cup and leveling it off. Also, check your oven temperature with an oven thermometer. If your oven runs hot, reduce the temperature by 25 degrees and check for doneness a few minutes early.
Can I make this recipe without walnuts?
Yes, absolutely. The walnuts are completely optional. You can leave them out entirely, or substitute with pecans, chocolate chips, dried fruit, or even shredded coconut. The bread will still be delicious without any add-ins. I often make a plain version for my kids who prefer it without nuts.
How do I know when my banana bread is done?
The best test is the toothpick test. Insert a toothpick or a thin knife into the center of the bread. If it comes out clean or with just a few moist crumbs, it’s done. If it comes out with wet batter, it needs more time. The top should also be golden brown and spring back slightly when touched gently.
Can I double this recipe?
Yes, this recipe doubles beautifully. Use a large bowl and mix everything as directed. You can bake the batter in two loaf pans or use a 9×13-inch baking dish. If using a baking dish, reduce the baking time to about 35-40 minutes, checking for doneness with a toothpick. The bread might be slightly thinner, but it will still taste wonderful.
Pin This Recipe!
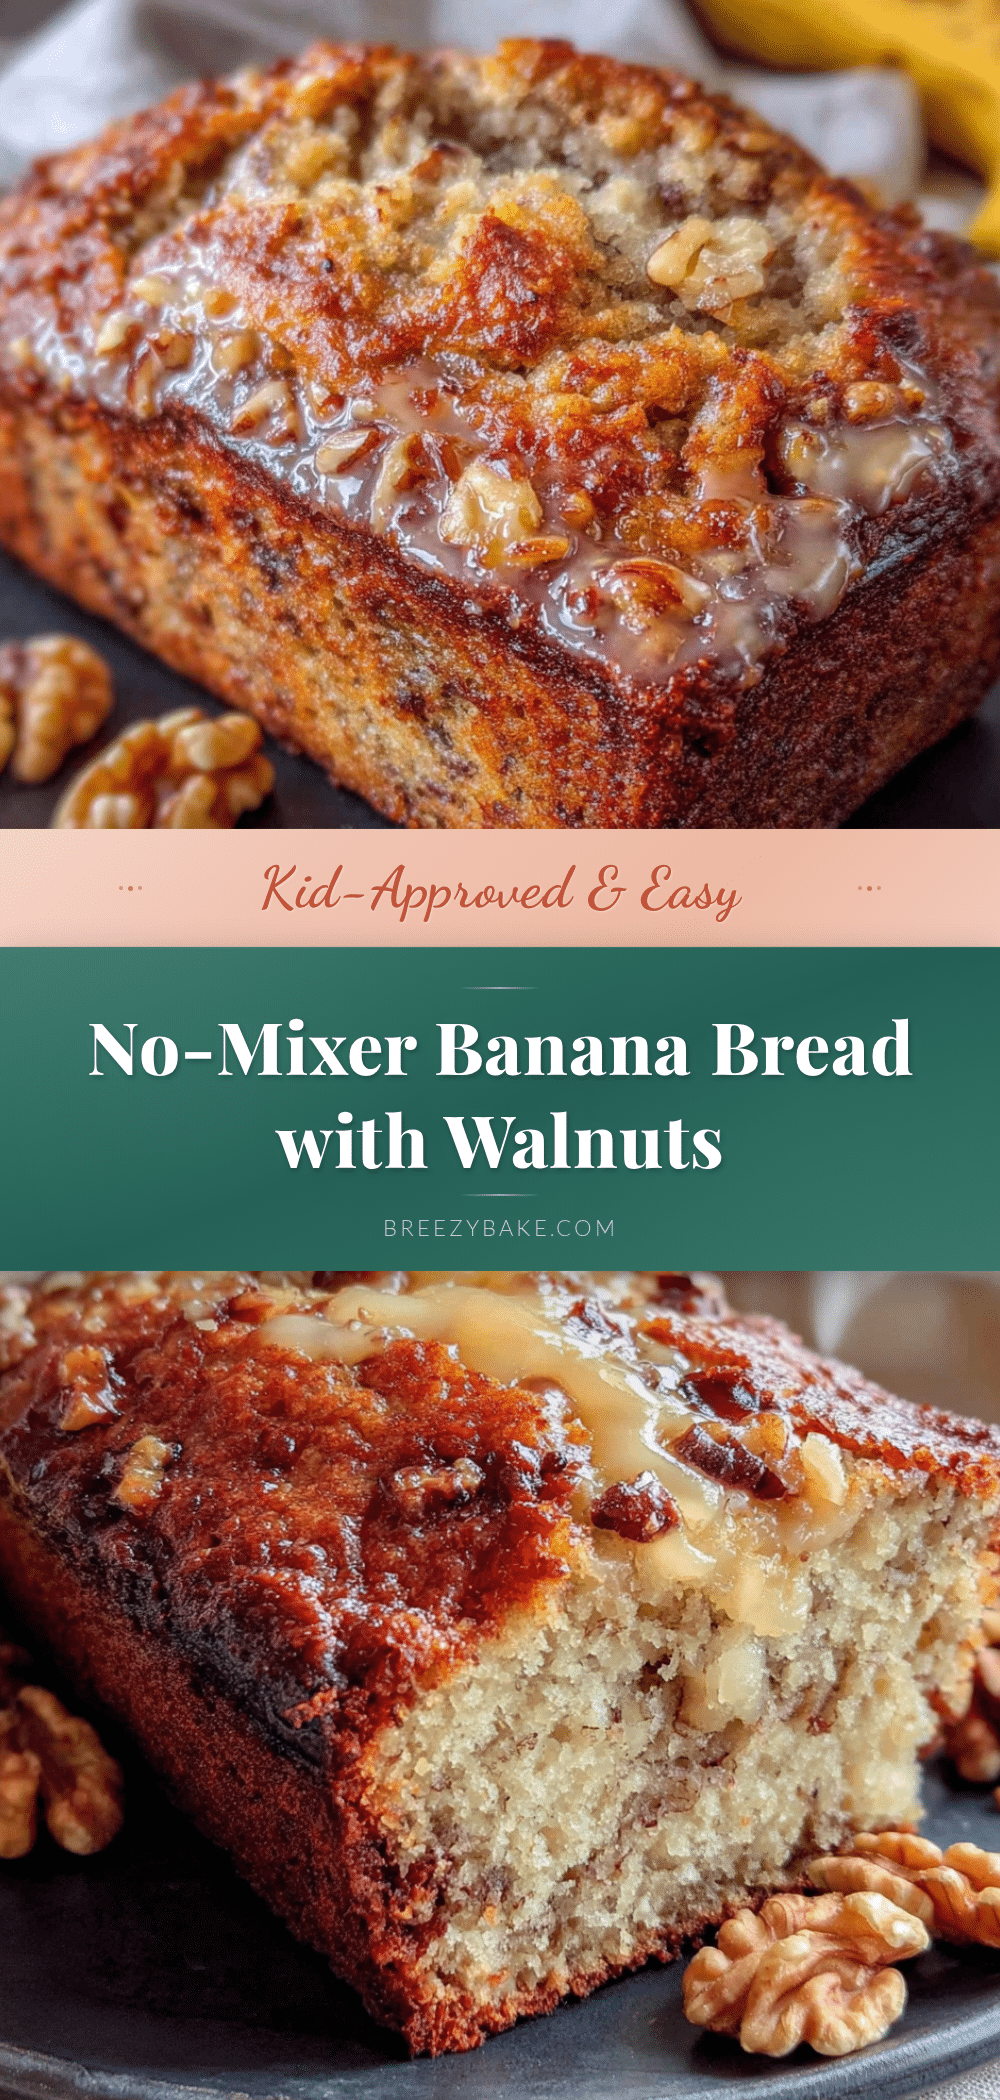
Easy No-Mixer Banana Bread: Best Kid-Approved Budget Recipe
This easy no-mixer banana bread with walnuts is a one-bowl wonder that uses simple, budget-friendly ingredients. Perfect for busy families, it’s moist, tender, and kid-approved—no fancy equipment needed.
- Prep Time: 10 minutes
- Cook Time: 55-65 minutes
- Total Time: 1 hour 15 minutes
- Yield: 10 servings 1x
- Category: Dessert
- Cuisine: American
Ingredients
- 3 large ripe bananas, mashed (about 1½ cups or 360 ml)
- ⅓ cup (80 ml) melted unsalted butter
- ¾ cup (150 g) granulated sugar
- 1 large egg, at room temperature
- 1 teaspoon vanilla extract
- 1½ cups (190 g) all-purpose flour
- 1 teaspoon baking soda
- ¼ teaspoon salt
- ½ teaspoon ground cinnamon
- ½ cup (60 g) chopped walnuts
Instructions
- Preheat your oven to 350°F (175°C). Grease a 9×5-inch loaf pan with butter or non-stick spray, or line it with parchment paper.
- Mash the bananas in a large mixing bowl with a fork until mostly smooth with a few small lumps.
- Add melted butter, sugar, egg, and vanilla extract to the mashed bananas. Stir until well combined.
- In a small bowl, whisk together flour, baking soda, salt, and cinnamon.
- Add the flour mixture to the banana mixture. Stir gently until just combined—do not overmix.
- Fold in the chopped walnuts until evenly distributed.
- Pour the batter into the prepared loaf pan and spread evenly. Tap the pan gently on the counter to release air bubbles.
- Bake for 55-65 minutes, until a toothpick inserted into the center comes out clean or with a few moist crumbs. If browning too quickly, tent with foil during the last 15 minutes.
- Cool in the pan for 10 minutes, then transfer to a wire rack to cool completely before slicing.
Notes
Use overripe bananas for best sweetness and moisture. Toast walnuts for 5-7 minutes at 350°F for deeper flavor. Do not overmix the batter to avoid dense bread. Let cool completely before slicing to prevent crumbling. Store in an airtight container at room temperature for up to 3 days, or freeze for up to 3 months.
Nutrition
- Serving Size: 1 slice
- Calories: 245
- Sugar: 17
- Sodium: 195
- Fat: 11
- Saturated Fat: 4.5
- Carbohydrates: 34
- Fiber: 2
- Protein: 4
Keywords: banana bread, no-mixer, easy banana bread, kid-friendly, budget recipe, walnut banana bread, one-bowl banana bread


