Jen wasn’t trying to impress anyone. I’d stopped by her place on a random Tuesday afternoon to pick up a book I’d lent her months ago, and the smell hit me before I even got through the front door. Something dark and rich and almost mysterious—like chocolate and spice and a little bit of mischief all baked together.
“What is that?” I asked, probably sounding a little too eager.
She shrugged from the kitchen, wiping her hands on her jeans. “Oh, just testing out some cupcakes for my kid’s Halloween party next week. Nothing fancy.”
Nothing fancy. She said that while piping this gorgeous swirl of bright orange buttercream onto a cupcake so black it looked like velvet midnight. I mean, I stood there watching her, and she was so casual about it—like making the most striking dessert on the planet was just another Tuesday chore. You know that feeling when someone does something effortlessly amazing and you’re just standing there with your mouth slightly open? That was me.
I grabbed one before I left, mostly out of curiosity. That first bite? Honestly, it stopped me mid-step in her doorway. The cake was impossibly moist, tender, with this subtle cocoa flavor that didn’t scream chocolate but whispered it. And the orange buttercream—bright, citrusy, not too sweet—cut right through the richness. I turned around and asked for the recipe right there. She laughed and scribbled it on a napkin.
That napkin is crumpled somewhere in my recipe box now, but I’ve made these cupcakes every Halloween since. They’re the ones people ask for by name. The ones that disappear first at every party. And the best part? They look like you spent hours on them, but honestly, they come together in no time. Maybe you’ve been there—needing a dessert that wows a crowd without wrecking your whole day. These are it.
Why You’ll Love This Recipe
Let me tell you why these cupcakes have earned a permanent spot in my Halloween rotation. I’ve tested this recipe at least a dozen times, tweaking the ratios, adjusting the baking time, and even trying different food colorings to get that perfect black velvet crumb. So trust me when I say this version is the one.
- Bold Halloween Look: The deep black cake with bright orange buttercream is a showstopper on any dessert table. It screams Halloween without needing any fancy decorations.
- Perfect for Hosting: These are designed for parties. They hold up well on a buffet, travel easily, and you can make the components ahead of time to save yourself some stress before guests arrive.
- Simple Ingredients: No weird specialty items here. You probably have most of this in your pantry already—flour, sugar, cocoa powder, butter, eggs. The only special thing is black food coloring, and that’s easy to find.
- Crowd-Pleaser Flavor: The combo of tender chocolate cake and bright citrus buttercream is a winner with both kids and adults. I’ve watched people who swear they don’t like cake go back for seconds.
- Make-Ahead Friendly: Bake the cakes a day or two in advance, store them airtight, and pipe the frosting fresh before serving. It takes so much pressure off party day.
What makes these different from every other Halloween cupcake out there? It’s the texture, honestly. So many black velvet cakes turn out dry or dense because of all the coloring. This one stays soft, moist, and light—like a really good chocolate cupcake that just happens to be black. And the orange buttercream? It’s not just colored orange. It tastes like real orange, thanks to fresh zest and a splash of juice. That makes all the difference.
These are the kind of cupcakes that make people close their eyes after the first bite. Perfect for impressing your Halloween guests without breaking a sweat.
What Ingredients You Will Need
This recipe uses simple, everyday ingredients to create something that looks and tastes extraordinary. Most of these are pantry staples, which makes these cupcakes perfect for last-minute party prep.
For the Black Velvet Cupcakes
- All-purpose flour (2 cups / 250g) – Provides structure. Spoon and level it into your measuring cup for accuracy.
- Granulated sugar (1 ½ cups / 300g) – Adds sweetness and helps keep the cake tender.
- Unsweetened cocoa powder (⅓ cup / 30g) – Use natural cocoa powder, not Dutch-processed, for the best reaction with the baking soda. I prefer Hershey’s or Ghirardelli for consistent results.
- Baking soda (1 teaspoon) – Helps the cake rise and creates a light crumb.
- Salt (½ teaspoon) – Balances the sweetness and enhances the chocolate flavor.
- Buttermilk (1 cup / 240ml), room temperature – Adds moisture and tenderness. The acidity also helps activate the baking soda. No buttermilk? Add 1 tablespoon of lemon juice or vinegar to regular milk and let it sit for 5 minutes.
- Vegetable oil (½ cup / 120ml) – Keeps the cake incredibly moist. I use canola or avocado oil for a neutral flavor.
- Large eggs (2), room temperature – Add structure and richness.
- Vanilla extract (2 teaspoons) – Enhances the overall flavor.
- Black gel food coloring (1 to 2 tablespoons) – This is key. Liquid coloring won’t give you that deep black color without making the batter too thin. I recommend Americolor Super Black or Wilton Color Right Black. Start with 1 tablespoon and add more if needed.
- White vinegar (1 teaspoon) – Reacts with the baking soda for extra lift. Don’t skip it—you won’t taste it.
For the Orange Buttercream
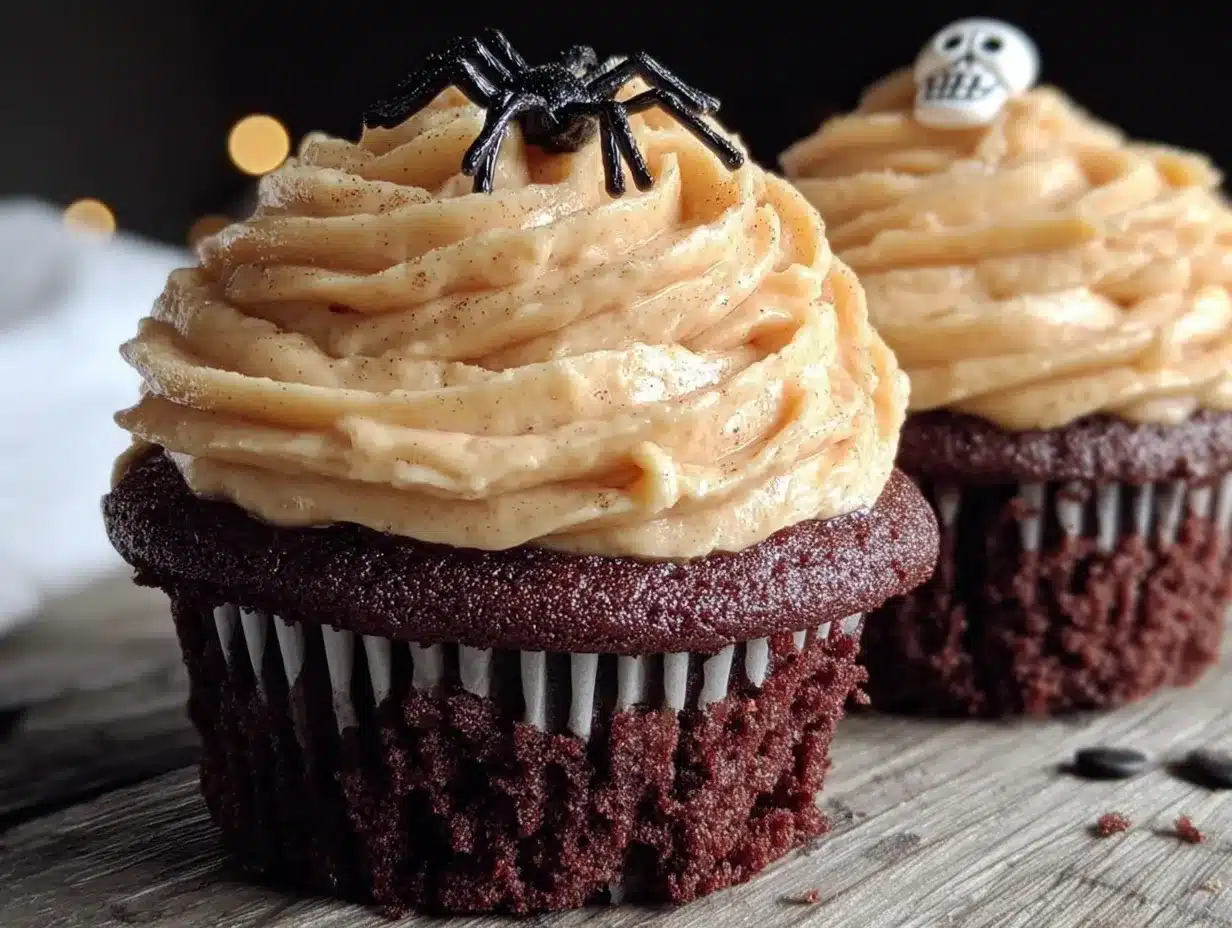
- Unsalted butter (1 cup / 226g or 2 sticks), softened – Use good quality butter like Kerrygold or Land O’Lakes for the best flavor and silky texture.
- Powdered sugar (4 cups / 480g), sifted – Sifting prevents lumps in your frosting.
- Fresh orange zest (2 tablespoons, from about 2 large oranges) – This is where the real orange flavor comes from. Don’t skip it.
- Fresh orange juice (2 to 3 tablespoons) – Adds brightness and thins the frosting to the right consistency.
- Vanilla extract (1 teaspoon) – Rounds out the citrus flavor.
- Salt (¼ teaspoon) – Balances the sweetness.
- Orange gel food coloring (a few drops) – Optional, but it gives that vibrant Halloween orange. I use a mix of AmeriColor Orange and a tiny bit of Electric Yellow.
For Decoration (Optional but Fun)
- Halloween sprinkles – Ghosts, pumpkins, or just orange and black jimmies.
- Candy eyeballs – For a spooky touch.
- Mini chocolate chips – To look like dirt or spider eggs.
Equipment Needed
You don’t need anything too fancy to pull these off, but a few specific tools make the process much smoother.
- Standard 12-cup muffin tin (two of them, since this recipe makes about 18-20 cupcakes). I use a non-stick Wilton pan and it works beautifully.
- Paper cupcake liners – Go with black or orange liners for extra Halloween flair. Avoid white ones—they’ll look weird against the black cake.
- Large mixing bowls (at least two) – One for dry ingredients, one for wet.
- Whisk and rubber spatula – For mixing without overworking the batter.
- Electric hand mixer or stand mixer – You can cream the buttercream by hand, but your arm will thank you for using a mixer. I’ve done both, and the mixer gives a fluffier result.
- Piping bag and large star tip (like Wilton 1M or 2D) – For that gorgeous swirl. If you don’t have a piping bag, a zip-top bag with the corner snipped off works in a pinch.
- Cooling rack – Essential for letting cupcakes cool completely before frosting. Frosting warm cakes is a recipe for a melty mess.
- Microplane or zester – For getting all that fragrant orange zest without the bitter white pith.
Budget-friendly tip: If you’re just starting out, skip the fancy piping tips and use a zip-top bag. The swirl won’t be as defined, but it’ll still taste amazing.
Preparation Method
Ready to bake? Let’s walk through this step by step. I’ve tested these instructions so many times, and I promise they work.
Step 1: Preheat and Prep
Preheat your oven to 350°F (175°C). Line your muffin tins with paper liners. This recipe makes about 18-20 cupcakes, so you’ll likely need two batches or two tins.
Step 2: Mix the Dry Ingredients
In a large bowl, whisk together the 2 cups all-purpose flour, 1 ½ cups sugar, ⅓ cup cocoa powder, 1 teaspoon baking soda, and ½ teaspoon salt. Make sure everything is evenly combined—no clumps of cocoa hiding in there.
Step 3: Combine the Wet Ingredients
In a separate bowl or a large liquid measuring cup, whisk together the 1 cup buttermilk, ½ cup vegetable oil, 2 eggs, and 2 teaspoons vanilla extract. Whisk until the eggs are fully incorporated and the mixture looks smooth.
Step 4: Add the Black Food Coloring
Here’s where it gets fun. Add 1 tablespoon of black gel food coloring to the wet ingredients and stir it in. The mixture will look dark gray, maybe even a little greenish. Don’t panic—that’s normal. Add another tablespoon if you want a deeper black. I usually use about 1 ½ tablespoons for that true black velvet look. Stir until the color is uniform.
Step 5: Combine Wet and Dry
Pour the wet ingredients into the dry ingredients. Gently fold them together with a rubber spatula until just combined. A few lumps are okay—overmixing will make the cupcakes tough. The batter will be thin, almost like a lava cake batter. That’s correct.
Step 6: Add the Vinegar
Stir in the 1 teaspoon of white vinegar. You’ll see the batter bubble slightly as it reacts with the baking soda. This gives the cupcakes extra lift. Fold it in gently, then immediately move to the next step.
Step 7: Fill the Liners
Divide the batter evenly among the liners, filling each about ⅔ full. An ice cream scoop or a large cookie scoop works perfectly for this and keeps things neat. You should get about 18-20 cupcakes.
Step 8: Bake
Bake for 16-20 minutes, or until a toothpick inserted into the center of a cupcake comes out with a few moist crumbs (not wet batter). The tops should spring back when lightly touched. Rotate the pans halfway through baking for even results.
Step 9: Cool Completely
Let the cupcakes cool in the pan for 5 minutes, then transfer them to a wire cooling rack. Let them cool completely before frosting. This is crucial—warm cupcakes will melt your buttercream into a sad puddle. I’ve made that mistake before, and it’s not pretty.
Step 10: Make the Orange Buttercream
While the cupcakes cool, make the frosting. In a large bowl (or stand mixer bowl), beat the 1 cup softened butter on medium speed for about 2 minutes until it’s pale and creamy. Add the 2 tablespoons orange zest and beat until fragrant, about 30 seconds.
Gradually add the sifted powdered sugar, 1 cup at a time, beating on low speed after each addition to avoid a sugar cloud. Once all the sugar is in, add 2 tablespoons of orange juice, 1 teaspoon vanilla, and ¼ teaspoon salt. Beat on medium-high for 3 minutes until the frosting is light, fluffy, and spreadable. If it’s too thick, add another tablespoon of orange juice. If it’s too thin, add a bit more powdered sugar.
Add a few drops of orange gel food coloring if you want that bright Halloween orange. Beat until the color is even.
Step 11: Pipe and Decorate
Fit your piping bag with a large star tip and fill it with the buttercream. Starting at the outer edge of the cupcake, pipe a spiral inward, then lift straight up for a classic swirl. Top with Halloween sprinkles, candy eyeballs, or whatever your spooky heart desires.
Cooking Tips & Techniques
Over the years, I’ve learned a few things the hard way so you don’t have to. Here are my best tips for perfect black velvet cupcakes every time.
Don’t overmix the batter. I know it’s tempting to keep stirring until it’s perfectly smooth, but stop as soon as the flour disappears. Overmixing develops gluten, which makes cupcakes tough and dense instead of tender and light. A few lumps are your friend.
Use gel food coloring, not liquid. Liquid coloring will thin out your batter and won’t give you that deep, true black. Gel coloring is concentrated so you use less and get a better result. I learned this after a batch of sad gray cupcakes that looked more like storm clouds than velvet.
Room temperature ingredients matter. Cold eggs or buttermilk won’t emulsify properly, which can affect the texture. Take them out of the fridge about 30 minutes before you start baking. If you forget, place the eggs in a bowl of warm water for 5 minutes and microwave the buttermilk for 10-15 seconds.
Test for doneness early. Ovens vary wildly. Start checking your cupcakes at 16 minutes. A toothpick should come out with moist crumbs, not wet batter. If the tops are browning too fast, tent the pan loosely with foil.
Let cupcakes cool completely before frosting. I cannot stress this enough. I once frosted slightly warm cupcakes, and the buttercream slid right off into a buttery puddle around the base. They still tasted good, but they looked like a disaster. Patience pays off.
Toast the orange zest briefly. For an even more intense orange flavor, rub the zest into the sugar before adding it to the buttercream. It releases the oils and makes the citrus flavor pop.
Variations & Adaptations
One of the best things about this recipe is how flexible it is. Here are some variations I’ve tried and loved.
Gluten-Free Version: Swap the all-purpose flour for a 1:1 gluten-free baking flour blend (I like Bob’s Red Mill). The texture will be slightly more delicate, so handle the batter gently. Everything else stays the same.
Dairy-Free Version: Use a plant-based buttermilk (add 1 tablespoon vinegar to 1 cup oat or almond milk, let sit 5 minutes) and substitute the butter in the frosting with a high-quality vegan butter stick like Miyoko’s. The frosting won’t be quite as stable, so pipe it closer to serving time.
Chocolate Orange Twist: Add ½ cup mini chocolate chips to the batter before baking. The little pockets of melted chocolate pair beautifully with the orange buttercream. It’s like a chocolate orange candy in cupcake form.
Spooky Spiderweb Design: Instead of piping a swirl, spread the orange buttercream flat on top. Pipe concentric circles of melted dark chocolate on top, then drag a toothpick from the center outward to create a web effect. It’s easier than it sounds and looks incredible.
Mini Cupcakes for Parties: Use a mini muffin tin and bake for 10-12 minutes. These are perfect for larger gatherings where guests want a little bite. You’ll get about 48 mini cupcakes from this recipe.
Serving & Storage Suggestions
These cupcakes are designed to be the star of your Halloween spread, so let’s talk about how to serve and store them like a pro.
Serve at Room Temperature: Cupcakes taste best when they’re at room temperature. Take them out of the fridge about 30 minutes before serving. The cake will be more tender and the buttercream will be soft and creamy.
Presentation Ideas: Arrange them on a black cake stand or a wooden board for contrast. Add some fake spiderwebs, plastic spiders, or mini pumpkins around the base for a festive look. I like to sprinkle a few orange and black sprinkles on the board for extra color.
What to Serve Alongside: These pair beautifully with a warm apple cider, a pumpkin spice latte, or even a glass of cold milk. If you’re hosting a party, set them out next to a batch of spiced pumpkin cookies for a complete Halloween dessert table.
Storage: Store unfrosted cupcakes in an airtight container at room temperature for up to 2 days. Frosted cupcakes should be refrigerated in a single layer in an airtight container for up to 4 days. The color might deepen slightly over time, which actually looks even cooler.
Freezing: You can freeze unfrosted cupcakes for up to 3 months. Wrap each one tightly in plastic wrap, then place them in a freezer bag. Thaw at room temperature before frosting. The buttercream can also be frozen in an airtight container for up to 3 months—just let it come to room temperature and re-whip before using.
Reheating: If you prefer your cake slightly warm (I do!), pop an unfrosted cupcake in the microwave for 8-10 seconds. Don’t microwave frosted cupcakes unless you want a melty mess.
Flavor Development: Honestly, these cupcakes taste even better the day after baking. The flavors meld together and the texture stays incredibly moist. So don’t stress about baking them fresh on party day—a day ahead is perfect.
Nutritional Information & Benefits
Let’s be real—these are a treat, not a health food. But here’s the estimated nutritional breakdown for one cupcake with frosting (based on 18 servings):
- Calories: 385
- Fat: 18g
- Saturated Fat: 9g
- Carbohydrates: 54g
- Sugar: 42g
- Protein: 4g
- Sodium: 195mg
On the bright side, the cocoa powder contains antioxidants called flavonoids, which can support heart health when consumed in moderation. The orange zest provides a small amount of vitamin C and adds fiber. And hey, these cupcakes are made with real ingredients—no artificial preservatives or weird stabilizers.
If you’re watching your sugar intake, you can reduce the sugar in the buttercream by about ½ cup, though it will be less stable for piping. For a lower-carb option, try a sugar substitute like Swerve in the frosting, but note that the texture will be slightly different.
This recipe contains gluten, dairy, and eggs. For allergen-friendly variations, check the section above.
Conclusion
These Black Velvet Halloween Cupcakes with Orange Buttercream are the kind of recipe that makes you feel like a baking rockstar without the stress. They look dramatic and impressive, but they come together with simple ingredients and straightforward steps. Honestly, that’s my favorite kind of recipe—one that makes guests think you worked way harder than you actually did.
I’ve made these for Halloween parties, potlucks, and even just for a cozy night in with a scary movie. Every single time, they disappear fast. There’s something about that black cake with the bright orange swirl that just screams celebration. And the flavor? It’s the perfect balance of rich chocolate and bright citrus—a combo that somehow feels both classic and surprising.
I hope you give these a try for your next gathering. Play around with the decorations, make them your own, and don’t forget to save one for yourself before they vanish. Trust me on that.
If you make these, I’d love to hear how they turned out. Drop a comment below, share a photo, or tag me on social media. Happy Halloween, and happy baking!
Frequently Asked Questions
Can I use liquid food coloring instead of gel?
You can, but I don’t recommend it. Liquid coloring will thin out your batter and won’t give you that deep, true black color. You’d need so much liquid coloring that it would affect the texture and taste of the cake. Gel coloring is concentrated and works much better.
Why did my cupcakes turn out greenish instead of black?
This happens sometimes, especially if you use a natural cocoa powder. The anthocyanins in cocoa can react with the baking soda and create a greenish tint. Don’t worry—it’s safe to eat! To fix it, add a bit more black gel coloring or a tiny drop of red gel coloring to neutralize the green.
Can I make these cupcakes ahead of time?
Absolutely. You can bake the cupcakes up to 2 days in advance and store them in an airtight container at room temperature. The buttercream can be made up to 3 days ahead and refrigerated in an airtight container. Let it come to room temperature and re-whip before piping.
How do I get that perfect swirl on top?
Practice makes perfect, but here’s the trick: hold your piping bag straight up and down, not at an angle. Start piping at the outer edge of the cupcake, applying steady pressure, and work your way inward in a spiral. When you reach the center, stop squeezing and lift straight up. A large star tip (like Wilton 1M) gives the most defined ridges.
Can I make these into a cake instead of cupcakes?
Yes! Pour the batter into two greased and floured 8-inch round cake pans. Bake at 350°F (175°C) for 25-30 minutes, until a toothpick comes out clean. Let cool completely, then fill and frost with the orange buttercream. You’ll want to double the frosting recipe for a full layer cake.
Pin This Recipe!
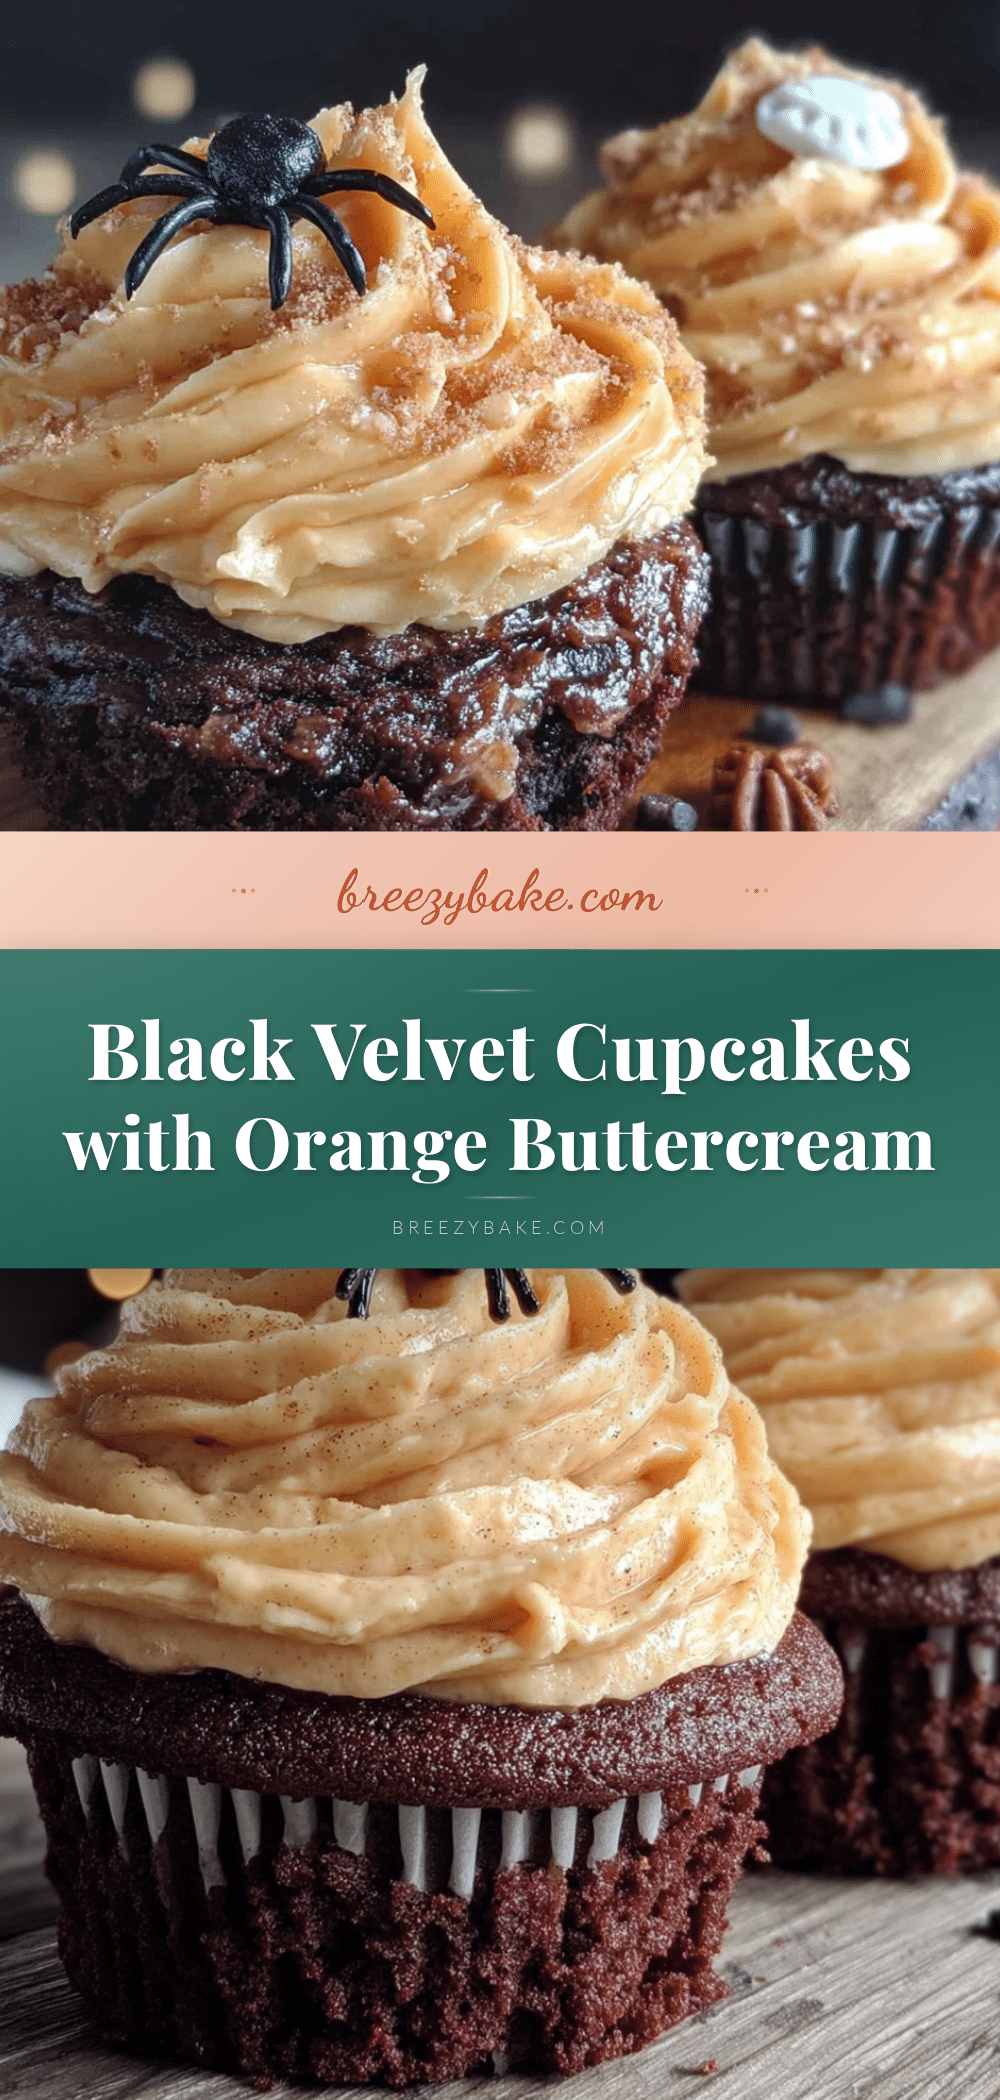
Best Black Velvet Halloween Cupcakes with Orange Buttercream
These Black Velvet Halloween Cupcakes feature a moist, tender black cocoa cake topped with a bright, citrusy orange buttercream. They’re a showstopper for any Halloween party, easy to make, and disappear fast.
- Prep Time: 20 minutes
- Cook Time: 18 minutes
- Total Time: 38 minutes
- Yield: 18-20 cupcakes 1x
- Category: Dessert
- Cuisine: American
Ingredients
- 2 cups all-purpose flour (250g)
- 1 ½ cups granulated sugar (300g)
- ⅓ cup unsweetened cocoa powder (30g)
- 1 teaspoon baking soda
- ½ teaspoon salt
- 1 cup buttermilk, room temperature (240ml)
- ½ cup vegetable oil (120ml)
- 2 large eggs, room temperature
- 2 teaspoons vanilla extract
- 1 to 2 tablespoons black gel food coloring
- 1 teaspoon white vinegar
- 1 cup unsalted butter, softened (226g or 2 sticks)
- 4 cups powdered sugar, sifted (480g)
- 2 tablespoons fresh orange zest (from about 2 large oranges)
- 2 to 3 tablespoons fresh orange juice
- 1 teaspoon vanilla extract
- ¼ teaspoon salt
- A few drops orange gel food coloring (optional)
- Halloween sprinkles (optional)
- Candy eyeballs (optional)
- Mini chocolate chips (optional)
Instructions
- Preheat oven to 350°F (175°C). Line muffin tins with paper liners.
- In a large bowl, whisk together flour, sugar, cocoa powder, baking soda, and salt.
- In a separate bowl, whisk together buttermilk, vegetable oil, eggs, and vanilla extract until smooth.
- Stir black gel food coloring into the wet ingredients until uniform.
- Pour wet ingredients into dry ingredients and fold gently with a rubber spatula until just combined. Batter will be thin.
- Stir in white vinegar; batter will bubble slightly.
- Divide batter evenly among liners, filling each about ⅔ full. Makes 18-20 cupcakes.
- Bake for 16-20 minutes, until a toothpick inserted in center comes out with moist crumbs. Rotate pans halfway through.
- Cool in pan for 5 minutes, then transfer to a wire rack to cool completely.
- For buttercream: Beat softened butter on medium speed for 2 minutes until pale and creamy. Add orange zest and beat 30 seconds.
- Gradually add sifted powdered sugar, 1 cup at a time, beating on low. Add 2 tablespoons orange juice, vanilla, and salt. Beat on medium-high for 3 minutes until fluffy. Add more orange juice if needed. Add orange food coloring if desired.
- Pipe buttercream onto cooled cupcakes using a piping bag fitted with a large star tip. Decorate with sprinkles or candy eyeballs.
Notes
Use gel food coloring for deep black color. Room temperature ingredients ensure proper emulsification. Cool cupcakes completely before frosting to prevent melting. For gluten-free, use 1:1 gluten-free flour blend. For dairy-free, use plant-based buttermilk and vegan butter.
Nutrition
- Serving Size: 1 cupcake
- Calories: 385
- Sugar: 42
- Sodium: 195
- Fat: 18
- Saturated Fat: 9
- Carbohydrates: 54
- Fiber: 1
- Protein: 4
Keywords: Halloween cupcakes, black velvet cupcakes, orange buttercream, Halloween dessert, chocolate cupcakes


