It was 10:47 PM on a rainy Tuesday, and I had a very specific craving for something warm and sweet. I didn’t have the energy for a mixer, or the patience to dirty more than one bowl, but I had three very sad, very brown bananas sitting on the counter. You know the ones—they look like they’re past their prime, but honestly, that’s exactly when they’re perfect for baking. I remember standing there in my pajamas, thinking, “There has to be a way to make this work without dragging out all the equipment.”
Let me tell you, that late-night experiment turned into something I never expected. The banana bread came out so moist, so perfectly tender, that I actually texted my sister at 11:15 PM to brag about it. She probably thought I’d lost my mind, but when she tried a slice the next morning, she understood. The best part? My kids devoured it before lunch, and my picky eater—the one who claims she “doesn’t like bananas”—asked for seconds. That’s when I knew this recipe was something special.
Maybe you’ve been there too. You want to bake something comforting, something that fills the house with that incredible smell, but you don’t want to deal with a complicated process or a sink full of dishes. That’s exactly why this kid-approved one-bowl banana bread exists. No mixer needed, no fuss, just pure, simple goodness that comes together in minutes. I’ve been making this version for years now, tweaking it just slightly each time, and I honestly believe it’s the best easy banana bread recipe out there. It’s the kind of recipe that becomes a family staple—the one you turn to again and again.
Why You’ll Love This Recipe
I’ve tested this banana bread more times than I care to count, and let me tell you, it’s been through the wringer. I’ve made it with different ripeness levels of bananas, various types of flour, and even tested it in different pans. After all that trial and error, I can confidently say this version is the winner. It’s not just good—it’s the kind of banana bread that makes you close your eyes after the first bite.
- Quick & Easy: This comes together in under 10 minutes of active prep time. Seriously, by the time your oven preheats, you’ll have the batter ready and waiting. Perfect for those mornings when you realize you need a classroom treat or a last-minute brunch contribution.
- Simple Ingredients: You probably have everything in your kitchen right now. No fancy extracts, no specialty flours, no trips to three different stores. Just basic pantry staples that work together beautifully.
- Perfect for Busy Families: This is the banana bread you make on a school night, or when the grandparents are coming over, or when you just need something comforting without the stress. It’s forgiving, it’s reliable, and it always delivers.
- Crowd-Pleaser: I’ve served this at playdates, potlucks, and family gatherings, and it gets rave reviews every single time. Kids love the sweet, tender crumb, and adults appreciate that it’s not overly sugary.
- Unbelievably Delicious: The texture is what gets me every time. It’s moist without being gummy, tender without being fragile, and the banana flavor is perfectly balanced. This isn’t just another banana bread recipe—it’s the best one-bowl banana bread you’ll ever make.
What makes this recipe different from the rest? It’s the technique. By mashing the bananas thoroughly and using melted butter instead of creaming it with sugar, you get a batter that comes together effortlessly while still producing an incredibly soft, tender loaf. It’s comfort food reimagined—simpler, faster, but with the same soul-soothing satisfaction that makes banana bread such a beloved classic.
What Ingredients You Will Need
This recipe uses simple, wholesome ingredients to deliver bold flavor and satisfying texture without the fuss. Most of these are pantry staples, which means you can whip up this banana bread whenever the craving strikes.
For the Banana Bread Batter
- 3 large ripe bananas, mashed (about 1½ cups or 340g) — The riper the better! Those spotty, almost-black bananas are perfect. They’re sweeter and easier to mash, which means better flavor and texture.
- ⅓ cup (75g) unsalted butter, melted — I prefer unsalted so I can control the salt level. If you only have salted butter, just reduce the added salt to ¼ teaspoon.
- ¾ cup (150g) granulated sugar — Regular white sugar works beautifully. You can also use coconut sugar for a deeper flavor, but the texture will be slightly denser.
- 1 large egg, room temperature — Room temperature egg blends more smoothly into the batter. If you forgot to take it out ahead of time, place it in a bowl of warm water for 5 minutes.
- 1 teaspoon vanilla extract — Pure vanilla extract makes a difference, but imitation vanilla works fine in a pinch. I personally recommend Nielsen-Massey for the best flavor.
- 1½ cups (190g) all-purpose flour — Spoon and level your flour for the most accurate measurement. Scooping directly from the bag can pack in too much flour, making the bread dry.
- 1 teaspoon baking soda — Make sure your baking soda is fresh. To test, drop a little into vinegar—if it fizzes vigorously, it’s good to go.
- ½ teaspoon salt — Fine sea salt or table salt both work. The salt balances the sweetness and enhances the banana flavor.
Optional Add-Ins
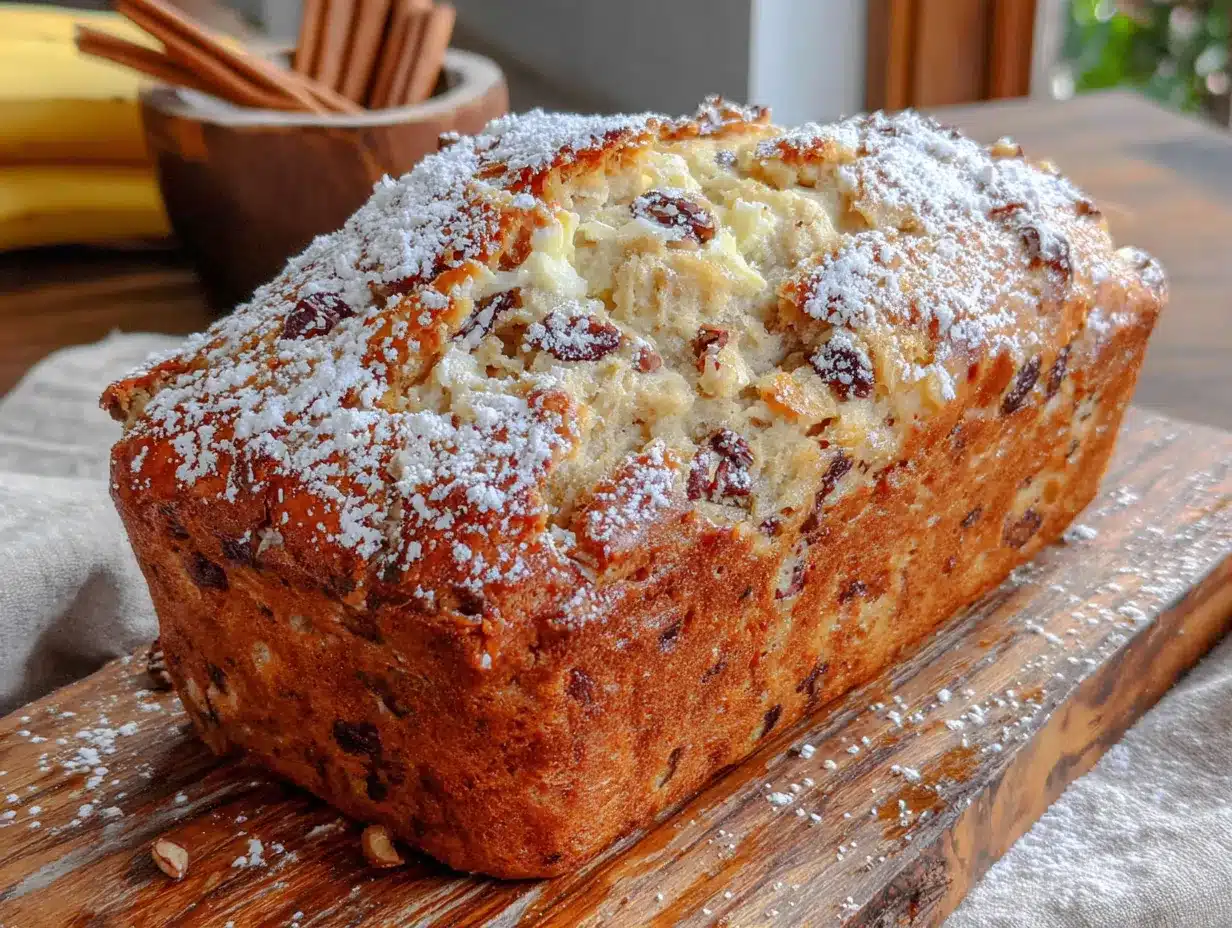
- ½ cup (90g) chocolate chips — Semi-sweet or dark chocolate chips are my go-to. They add little pockets of melty goodness that kids absolutely love.
- ½ cup (60g) chopped walnuts or pecans — Toast them first for extra flavor. Spread on a baking sheet at 350°F for 5-7 minutes, then let cool before adding to the batter.
- 1 teaspoon cinnamon — Adds warmth and depth. I sometimes add this when I want a cozier flavor profile.
Ingredient Selection Tips: For the best texture, look for bananas that are heavily spotted with brown but not completely black. They should yield easily when you press them. I’ve found that organic bananas tend to be sweeter, but conventional ones work perfectly too. If your bananas aren’t ripe enough, you can speed up the process by placing them on a baking sheet in a 300°F oven for 15-20 minutes until the skins darken.
Substitution Guidance: For a dairy-free version, use melted coconut oil or a plant-based butter alternative. For a gluten-free option, replace the all-purpose flour with a good quality 1:1 gluten-free flour blend. I’ve had great results with Bob’s Red Mill Gluten-Free 1-to-1 Baking Flour. Just note that the texture will be slightly different—a bit more tender and delicate.
Equipment Needed
One of the best things about this recipe is how little equipment it requires. You don’t need a stand mixer, hand mixer, or any fancy gadgets. Just the basics:
- One large mixing bowl — Any medium-to-large bowl will work. I use a standard ceramic mixing bowl, but glass or stainless steel are fine too.
- A fork or potato masher — For mashing the bananas. A fork works perfectly, but a potato masher makes the job even quicker. I’ve used both and honestly prefer a fork because it gives me more control over the texture.
- A 9×5-inch loaf pan — This is the standard size for banana bread. If you only have an 8×4-inch pan, that works too—just increase the baking time by 5-10 minutes. For mini loaves, reduce the baking time to 25-30 minutes.
- Measuring cups and spoons — For accurate measurements. I cannot stress enough how important it is to measure flour correctly. Use the spoon-and-level method: spoon flour into your measuring cup, then level it off with a knife.
- Parchment paper or non-stick spray — To prevent sticking. Parchment paper with overhanging edges makes it easy to lift the loaf out of the pan.
- Cooling rack — For cooling the bread evenly. If you don’t have one, you can use the rack from your oven (just make sure it’s clean and cool).
That’s it! No mixer, no sifter, no special attachments. Just simple tools you probably already have in your kitchen. If you’re on a budget, don’t worry about buying fancy equipment—a basic loaf pan and a fork will get the job done beautifully.
Preparation Method
Let’s get baking! This recipe is incredibly straightforward, but I’ll walk you through each step with tips I’ve learned from making it dozens of times.
- Preheat your oven to 350°F (175°C). Position the rack in the center of the oven. While it’s heating, grease your 9×5-inch loaf pan with non-stick spray or line it with parchment paper, leaving some overhang on the long sides for easy removal.
- Mash the bananas. In your large mixing bowl, add the three ripe bananas. Use a fork or potato masher to mash them until they’re mostly smooth with just a few small lumps remaining. You want some texture, but not big chunks. This should take about 1-2 minutes. The bananas should measure about 1½ cups. If they’re slightly under, that’s okay—just adjust the flour slightly if needed.
- Add the melted butter. Pour the melted butter over the mashed bananas and stir until combined. The mixture will look a bit separated at first, but keep stirring gently until it comes together. This is where the magic starts—the butter coats the banana fibers and creates that tender crumb we’re after.
- Mix in the sugar, egg, and vanilla. Add the sugar and stir until well incorporated. Then crack the egg directly into the bowl and add the vanilla extract. Stir until everything is smooth and glossy. Don’t overmix here—just until you don’t see any streaks of egg. Overmixing at this stage can make the bread tough.
- Add the dry ingredients. Sprinkle the flour, baking soda, and salt over the wet mixture. Use a spatula or wooden spoon to fold everything together gently. Stir just until you no longer see streaks of flour. A few small lumps are perfectly fine—they’ll disappear during baking. If you’re adding chocolate chips or nuts, fold them in at this point.
- Pour the batter into the prepared pan. Use your spatula to scrape every last bit of batter into the loaf pan. Spread it evenly, then give the pan a gentle tap on the counter to release any air bubbles. The batter will be thick and slightly lumpy—that’s exactly how it should look.
- Bake for 55-65 minutes. Place the pan in the preheated oven and bake until the top is golden brown and a toothpick inserted into the center comes out clean or with just a few moist crumbs. Start checking at 50 minutes—every oven runs differently. If the top is browning too quickly, tent it loosely with aluminum foil for the last 15 minutes.
- Cool in the pan for 10 minutes. Once baked, remove the pan from the oven and place it on a cooling rack. Let it rest for exactly 10 minutes. This allows the bread to set and makes it easier to remove from the pan.
- Transfer to a cooling rack. After 10 minutes, run a knife around the edges if needed, then lift the bread out using the parchment paper overhang. Place it directly on the cooling rack to cool completely. Resist the urge to slice it immediately—it needs at least 20-30 minutes to finish setting. I know it’s hard, but trust me on this.
Sensory Cues: During baking, your kitchen will fill with an incredible banana aroma mixed with warm vanilla. The top should be a deep golden brown, and the bread will pull away slightly from the edges of the pan. When you tap the top gently, it should feel firm and spring back slightly. If it feels soft or jiggly, give it another 5 minutes.
Cooking Tips & Techniques
After making this banana bread more times than I can count, I’ve picked up a few tricks that make a real difference. Let me share what I’ve learned—including some mistakes I’ve made so you don’t have to repeat them.
Don’t overmix the batter. This is the most common mistake I see. When you overmix, you develop the gluten in the flour, which leads to tough, dense banana bread instead of the tender, fluffy texture we want. Mix just until the flour disappears. A few lumps are your friend here.
Use room temperature ingredients. I know it’s tempting to use cold eggs straight from the fridge, but room temperature ingredients blend together more smoothly and create a more even crumb. If you forgot to take the egg out ahead of time, place it in a bowl of warm water for 5 minutes. Same goes for the butter—make sure it’s fully melted but not hot.
Measure your flour correctly. This one is huge. If you scoop your measuring cup directly into the flour bag, you can end up with 20-30% more flour than the recipe calls for. Always spoon the flour into your measuring cup, then level it off with a knife. This simple step prevents dry, crumbly banana bread.
Let it cool completely before slicing. I learned this the hard way. The first time I made this recipe, I cut into it after just 15 minutes because I couldn’t wait. The result? A gummy, falling-apart mess. The bread needs time to finish setting as it cools. Patience pays off here—wait at least 30 minutes, or even better, an hour.
Check for doneness with a toothpick. Insert a toothpick or skewer into the center of the loaf. If it comes out clean or with just a few moist crumbs, it’s done. If it’s wet with batter, give it more time. If the top is browning too quickly, tent it with foil.
Timing tip: While the bread is baking, use that time to clean up your one bowl and utensils. By the time the bread is done, your kitchen will be spotless—one of the best perks of a one-bowl recipe!
Variations & Adaptations
One of the things I love about this banana bread is how versatile it is. Over the years, I’ve experimented with all sorts of variations, and here are some of my favorites:
Chocolate Chip Banana Bread
This is the version my kids beg for. Fold in ½ cup of semi-sweet chocolate chips right before pouring the batter into the pan. The chocolate melts into little pockets of goodness throughout the bread. For an extra indulgent touch, sprinkle a few more chips on top before baking.
Vegan Banana Bread
To make this recipe vegan, replace the egg with a flax egg (1 tablespoon ground flaxseed mixed with 3 tablespoons water, let sit for 5 minutes) and use melted coconut oil instead of butter. The texture will be slightly denser, but it’s still incredibly delicious. I’ve made this version for my vegan friends, and they always ask for the recipe.
Gluten-Free Banana Bread
Use a good quality 1:1 gluten-free flour blend. I’ve had great results with both Bob’s Red Mill and King Arthur brands. Add an extra tablespoon of milk or yogurt to compensate for the drier texture of gluten-free flours. The bread might be a bit more delicate, so handle it gently when removing from the pan.
Spiced Banana Bread
Add 1 teaspoon of cinnamon, ½ teaspoon of nutmeg, and ¼ teaspoon of ground ginger to the dry ingredients. This gives the bread a warm, cozy flavor that’s perfect for fall. I sometimes add a pinch of cloves too, but go easy—it’s potent stuff.
Nutty Banana Bread
Fold in ½ cup of toasted walnuts or pecans. Toasting the nuts first brings out their flavor and keeps them crunchy in the bread. Spread them on a baking sheet and toast at 350°F for 5-7 minutes, then let cool before adding to the batter.
Streusel-Topped Banana Bread
Mix together ¼ cup flour, ¼ cup brown sugar, 2 tablespoons cold butter, and ½ teaspoon cinnamon until crumbly. Sprinkle this over the batter before baking. It creates a crunchy, sweet topping that takes this bread to the next level.
Serving & Storage Suggestions
This banana bread is wonderful served warm or at room temperature. Here are my favorite ways to enjoy it:
Serving Temperature: For the best texture, let the bread cool completely before slicing. Then, if you want it warm, pop a slice in the microwave for 10-15 seconds or toast it lightly. A slice of warm banana bread with a pat of butter melting into it? Pure heaven.
Presentation Ideas: Slice the bread into thick pieces and arrange on a wooden board. For a breakfast treat, serve with fresh berries and a drizzle of honey. For dessert, add a scoop of vanilla ice cream or a dollop of whipped cream. My kids love it with a glass of cold milk, and honestly, I do too.
Storage Instructions: Store leftover banana bread in an airtight container at room temperature for up to 4 days. The bread actually gets more moist and flavorful on the second day—if it lasts that long! For longer storage, wrap the loaf tightly in plastic wrap, then in aluminum foil, and freeze for up to 3 months.
Reheating Tips: To reheat frozen slices, microwave for 20-30 seconds or toast in a toaster oven at 350°F for 5-7 minutes. The toaster oven method gives you a slightly crispy exterior with a soft, warm center. For a whole frozen loaf, thaw overnight in the refrigerator, then warm in a 300°F oven for 10-15 minutes.
Flavor Development: Here’s a secret: this banana bread actually tastes better the next day. The flavors have time to meld together, and the moisture distributes more evenly throughout the loaf. So if you can resist eating it all on day one, you’re in for a real treat on day two.
Nutritional Information & Benefits
While banana bread is definitely a treat, it does have some redeeming qualities. Here’s a rough breakdown per slice (based on 10 slices, without add-ins):
| Nutrient | Amount Per Slice |
|---|---|
| Calories | 210 |
| Total Fat | 7g |
| Saturated Fat | 4g |
| Carbohydrates | 35g |
| Fiber | 1.5g |
| Sugar | 18g |
| Protein | 3g |
Health Benefits: Bananas are packed with potassium, which is essential for heart health and muscle function. They also contain vitamin B6, vitamin C, and fiber. Using whole wheat flour instead of all-purpose flour can boost the fiber content even more. And let’s be honest—baking at home means you control exactly what goes into your food, with no preservatives or artificial ingredients.
Dietary Considerations: This recipe is vegetarian. For vegan or gluten-free options, see the variations section above. It contains dairy (butter) and gluten (flour), so keep that in mind if you have allergies. The recipe is nut-free as written, but if you add nuts, be sure to label it accordingly.
My Wellness Perspective: I believe in balance. This banana bread is a comfort food that brings joy to my family, and that has value beyond just numbers on a nutrition label. It’s made with real ingredients, it’s shared with people we love, and it’s a tradition that creates happy memories. That matters too.
Conclusion
This kid-approved one-bowl banana bread has become a staple in our home for good reason. It’s simple enough for a busy weeknight, reliable enough for special occasions, and delicious enough that everyone asks for the recipe. No mixer needed, no complicated steps, and best of all, minimal cleanup. What more could you ask for?
I love that this recipe is so forgiving. You can customize it with your favorite add-ins, adjust the sweetness to your taste, and it always turns out beautifully. It’s the kind of recipe that makes you feel like a baking pro, even on days when you’re tired and just want something comforting.
I’d love to hear how yours turns out! Did you add chocolate chips or nuts? Did your kids help you make it? Share your experience in the comments below—I read every single one and love seeing your creations. And if you know someone who needs a simple, foolproof banana bread recipe, please share this post with them. Happy baking!
Frequently Asked Questions
Can I use frozen bananas for this recipe?
Absolutely! Frozen bananas work great. Thaw them completely first, then drain off any excess liquid before mashing. The texture might be slightly softer, but the flavor is just as wonderful. This is actually a great way to use up bananas that are getting too ripe.
Why did my banana bread turn out dry?
Dry banana bread is usually caused by one of two things: too much flour or overbaking. Make sure you’re measuring your flour correctly by spooning it into the cup and leveling it off. Also, check your bread a few minutes before the recommended baking time—every oven runs differently.
Can I make this into muffins instead of a loaf?
Yes! This batter works beautifully for muffins. Fill greased muffin cups about ¾ full and bake at 350°F for 18-22 minutes, or until a toothpick inserted in the center comes out clean. You’ll get about 12 muffins. This is a great option for lunchboxes or on-the-go breakfasts.
How do I know when the bananas are ripe enough?
Look for bananas with plenty of brown spots on the peel. They should feel soft when you gently squeeze them. The ideal bananas for baking are those that are past the point where you’d want to eat them raw—very sweet and soft. If your bananas aren’t ripe enough, you can speed up the process by baking them at 300°F for 15-20 minutes.
Can I reduce the sugar in this recipe?
You can reduce the sugar to ½ cup without significantly affecting the texture. Just keep in mind that the bread will be less sweet, which might be noticeable if you’re used to traditional banana bread. For a natural sweetness boost, make sure your bananas are very ripe—the sweeter the bananas, the less sugar you need.
Pin This Recipe!
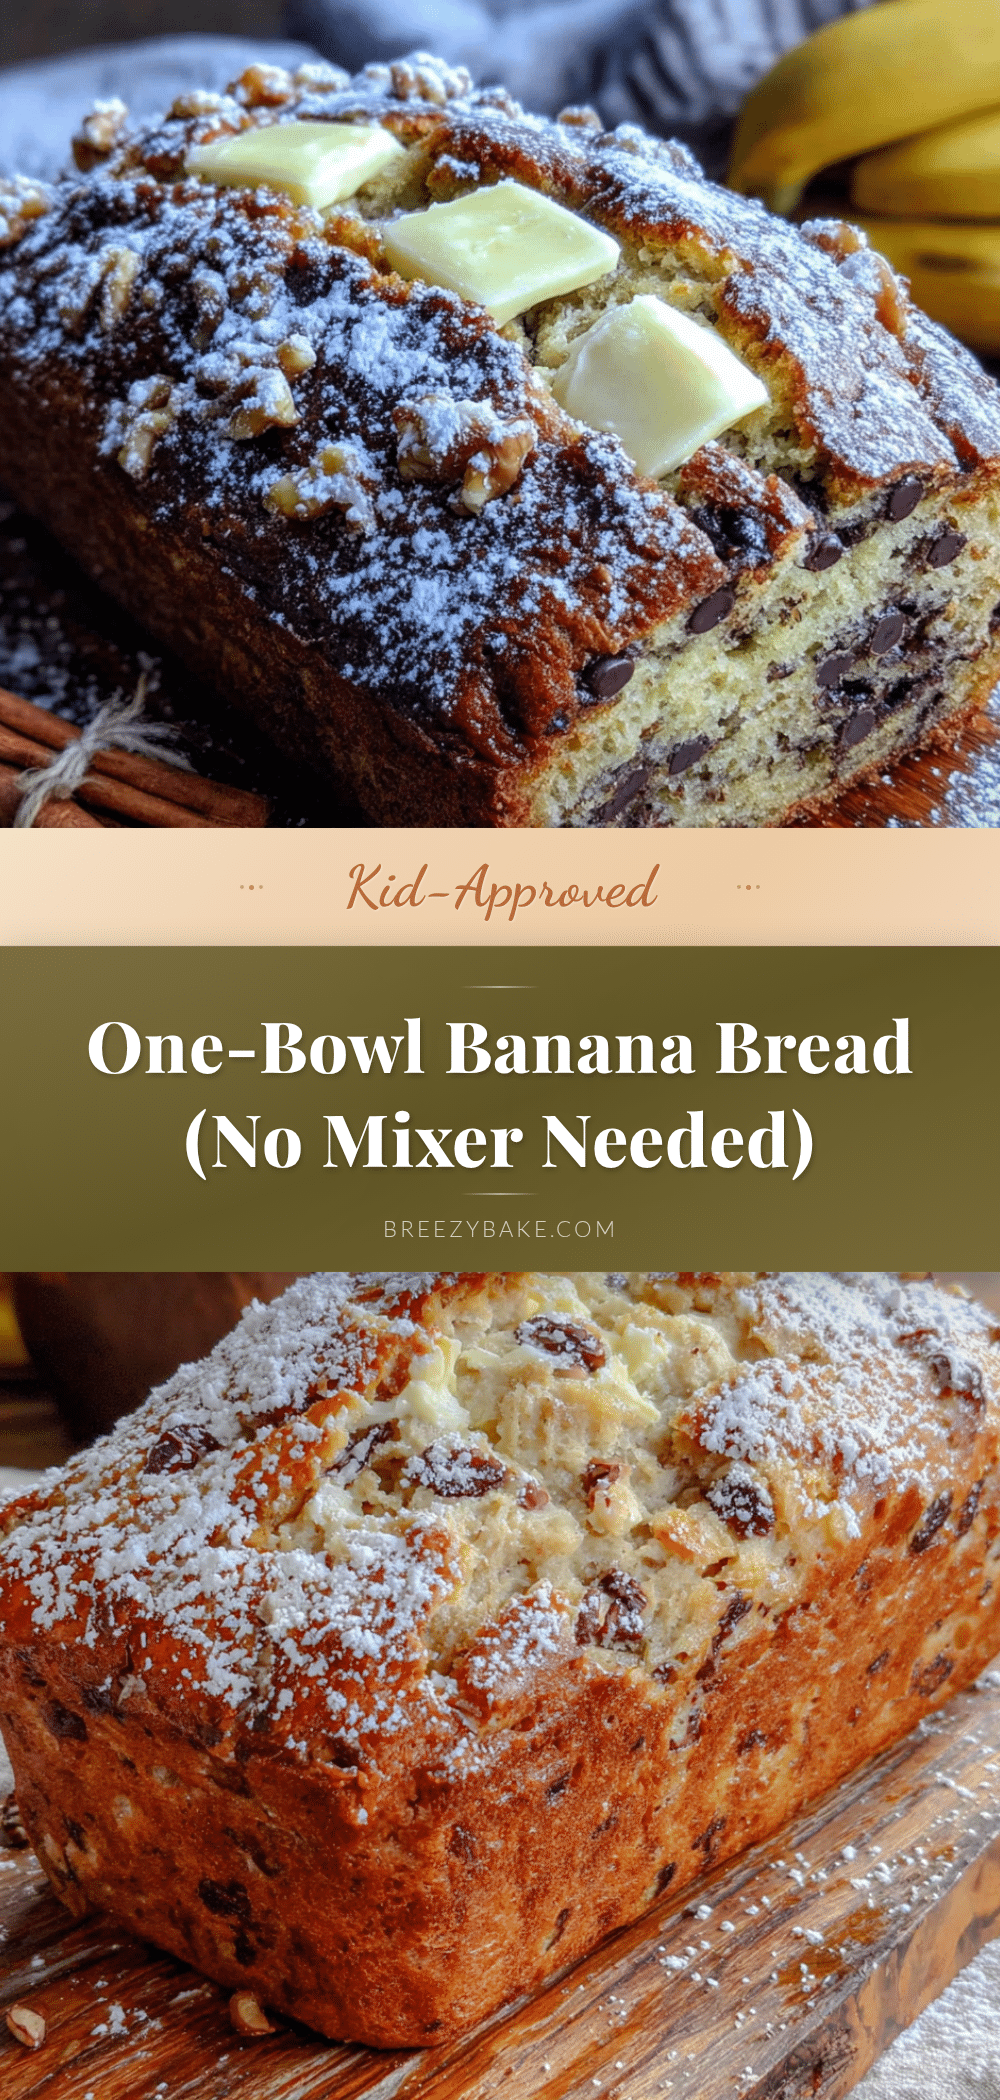
Best Easy One-Bowl Banana Bread Recipe – Kid Approved
This kid-approved one-bowl banana bread is incredibly moist, tender, and simple to make with no mixer needed. Perfect for busy families, it uses basic pantry staples and comes together in under 10 minutes of active prep time.
- Prep Time: 10 minutes
- Cook Time: 55-65 minutes
- Total Time: 1 hour 15 minutes
- Yield: 10 servings 1x
- Category: Dessert
- Cuisine: American
Ingredients
- 3 large ripe bananas, mashed (about 1½ cups or 340g)
- ⅓ cup (75g) unsalted butter, melted
- ¾ cup (150g) granulated sugar
- 1 large egg, room temperature
- 1 teaspoon vanilla extract
- 1½ cups (190g) all-purpose flour
- 1 teaspoon baking soda
- ½ teaspoon salt
- ½ cup (90g) chocolate chips (optional)
- ½ cup (60g) chopped walnuts or pecans (optional)
- 1 teaspoon cinnamon (optional)
Instructions
- Preheat your oven to 350°F (175°C). Grease a 9×5-inch loaf pan with non-stick spray or line with parchment paper, leaving overhang on the long sides.
- In a large mixing bowl, mash the bananas with a fork or potato masher until mostly smooth with a few small lumps.
- Pour the melted butter over the mashed bananas and stir until combined.
- Add the sugar, egg, and vanilla extract. Stir until smooth and glossy, being careful not to overmix.
- Sprinkle the flour, baking soda, and salt over the wet mixture. Fold gently with a spatula or wooden spoon until just combined. If using add-ins, fold them in now.
- Pour the batter into the prepared loaf pan, spread evenly, and tap the pan gently on the counter to release air bubbles.
- Bake for 55-65 minutes, or until a toothpick inserted in the center comes out clean or with a few moist crumbs. If the top browns too quickly, tent with foil for the last 15 minutes.
- Cool in the pan for 10 minutes, then transfer to a cooling rack to cool completely before slicing.
Notes
For best results, use very ripe bananas with brown spots. Do not overmix the batter. Let the bread cool completely before slicing to avoid a gummy texture. The bread tastes even better the next day.
Nutrition
- Serving Size: 1 slice
- Calories: 210
- Sugar: 18
- Sodium: 200
- Fat: 7
- Saturated Fat: 4
- Carbohydrates: 35
- Fiber: 1.5
- Protein: 3
Keywords: banana bread, easy banana bread, one-bowl banana bread, kid-approved banana bread, moist banana bread, simple banana bread


