My neighbor, a retired baker named Frank, watched me fumbling with a store-bought pie crust one October afternoon. I was trying to wedge it into a dish that was clearly too small. He didn’t say anything at first. Then, he just shook his head, disappeared into his garage, and came back with a dented metal pie plate and a handwritten recipe card that smelled faintly of cinnamon. “You’re doing it wrong,” he said, but not in a mean way. More like he was sorry for me. Honestly, I was ready to just order something from the bakery. But Frank had this way of making you feel like you were missing out on something important. He told me about his wife’s pumpkin pie—the one that won the county fair three years in a row—and how she never used a recipe from a can. That day, he didn’t just hand me a card; he handed me a piece of his history.
I stood there on my porch, the cool air carrying the smell of fallen leaves, and I knew I had to try it. I mean, you know that feeling when someone shares a secret with you? That’s what this felt like. The recipe was simple, but the instructions were specific—”don’t you dare overmix” was written in the margins. I made a mess of my kitchen that afternoon. I spilled flour on my favorite sweater and forgot to set a timer for the blind-baking. But when that pie came out of the oven, golden and fragrant, I understood. It wasn’t just about the spices or the smooth filling. It was about the quiet conversation on the porch, the dented pie plate, and the feeling that some things are worth the extra effort. This is that pie. It’s the one you make when you want to taste fall, properly.
Why You’ll Love This Recipe
Let’s be real—pumpkin pie can be a little… boring. Too often, it’s a mushy, one-note dessert that nobody gets excited about. This is not that pie. This is the version that makes people close their eyes after the first bite. I’ve tested this recipe more times than I care to admit, tweaking the spice ratio and the baking time until it was just right. It’s chef-tested, family-approved, and honestly, it’s become my go-to for every fall gathering.
- Quick & Easy: Comes together in under an hour, perfect for those last-minute Thanksgiving invites or a cozy Sunday afternoon.
- Simple Ingredients: No fancy grocery trips needed. You probably have most of this in your pantry right now.
- Perfect for Fall Baking: This is the quintessential cozy dessert for Halloween, Thanksgiving, or just a chilly Tuesday night.
- Crowd-Pleaser: I’ve served this to picky eaters, spice skeptics, and even my aunt who “doesn’t like pie.” It always gets rave reviews.
- Unbelievably Delicious: The texture is silky, the spices are balanced, and the crust is flaky. It’s comfort food at its finest.
What makes this different? It’s the technique. We’re not just dumping everything in a bowl and hoping for the best. We’re taking a few extra minutes to toast the spices and temper the eggs, which makes all the difference. This isn’t just another pumpkin pie recipe—it’s the best version. It’s the kind that makes you feel like you’ve got this whole holiday thing figured out, even if you’re just faking it.
What Ingredients You Will Need
This recipe uses simple, wholesome ingredients to deliver a bold, satisfying flavor. Most of these are pantry staples, especially if you do a lot of fall baking. The key is using quality ingredients where it counts, like real butter and a good brand of pumpkin puree. I’ve learned the hard way that not all pumpkins are created equal, so stick with the canned stuff for consistency.
- For the Crust:
- 1 ¼ cups (150g) all-purpose flour (I prefer Gold Medal for its consistent texture)
- ½ teaspoon salt
- ½ cup (113g) unsalted butter, very cold and cut into small cubes (adds richness and flakiness)
- 3-4 tablespoons ice water (use as needed)
- For the Filling:
- 1 can (15 oz) pumpkin puree (not pumpkin pie filling! Libby’s is my go-to)
- ¾ cup (150g) granulated sugar
- 1 teaspoon ground cinnamon (I use Saigon cinnamon for a warmer kick)
- ½ teaspoon ground ginger
- ¼ teaspoon ground nutmeg (freshly grated is best, but pre-ground works)
- ¼ teaspoon ground cloves
- ½ teaspoon salt
- 2 large eggs, room temperature
- 1 cup (240ml) heavy cream (use full-fat for the best texture)
- 1 teaspoon vanilla extract
Ingredient Tips & Substitutions: For the crust, if you’re short on time, a store-bought deep-dish pie crust works in a pinch—just blind-bake it first. For a dairy-free option, substitute the butter with a solid vegan butter (like Earth Balance) and use full-fat coconut cream instead of heavy cream. The flavor will be slightly different, but still delicious. If you want a gluten-free crust, use a 1:1 gluten-free flour blend. I’ve tried it with Bob’s Red Mill, and it turned out great. Just add an extra tablespoon of ice water if the dough feels dry.
Equipment Needed
You don’t need a fancy kitchen to make this pie. Here’s what you’ll need:
- 9-inch pie dish: A glass or ceramic dish works best for even baking. I use a deep-dish Pyrex one.
- Rolling pin: For rolling out the dough. A wine bottle works in a pinch—I’ve done it!
- Mixing bowls: A small one for the crust, a medium one for the filling.
- Whisk: For combining the filling ingredients.
- Pastry cutter or two forks: For cutting the butter into the flour.
- Plastic wrap: For chilling the dough.
- Pie weights or dried beans: For blind-baking the crust. I keep a bag of cheap beans just for this purpose.
- Parchment paper: To line the crust before adding weights.
- Cooling rack: Essential for letting the pie cool evenly.
If you don’t have a pastry cutter, don’t stress. Your hands work just fine—just work quickly so the butter stays cold. I’ve also used a food processor for the crust, but be careful not to overmix it into a paste.
Preparation Method
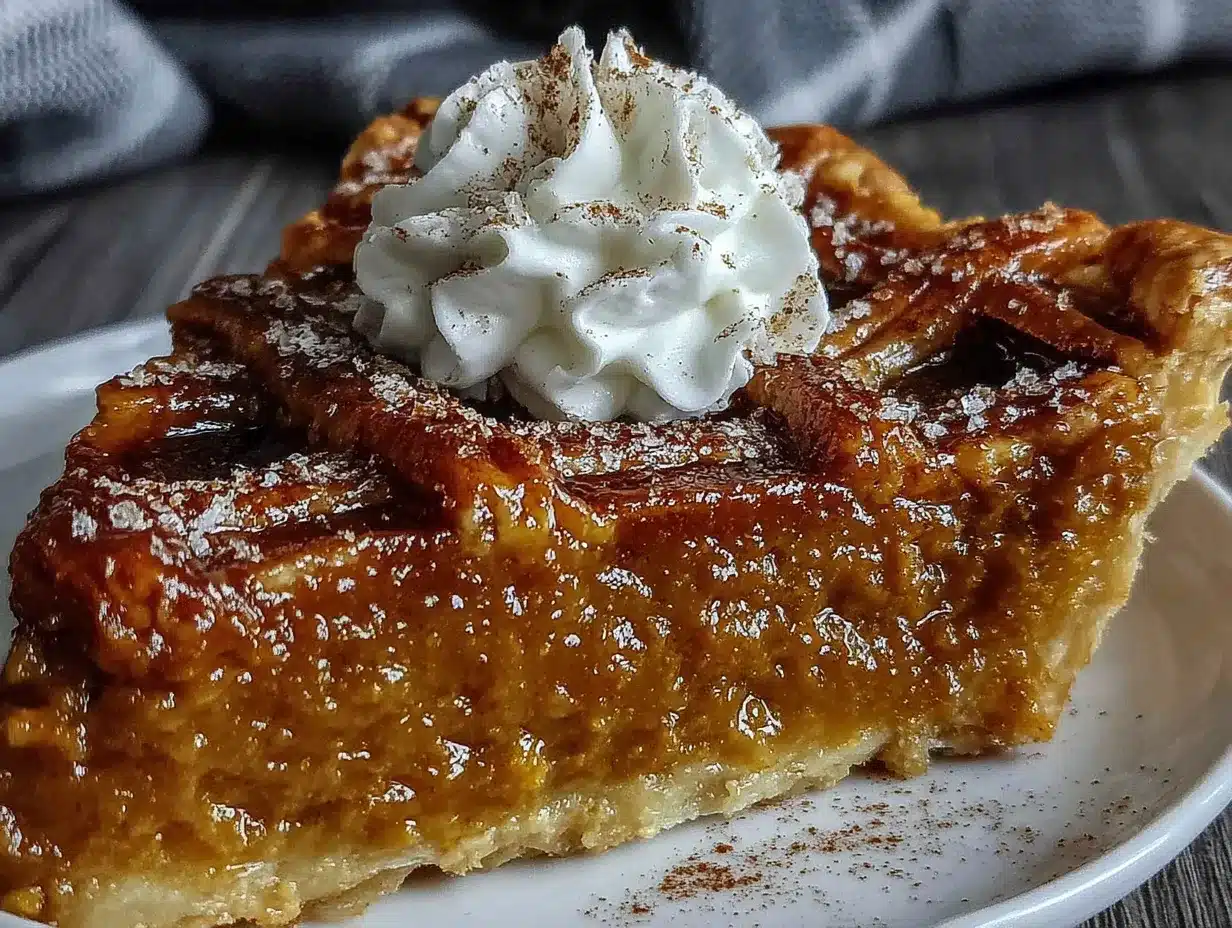
Let’s get to the fun part. I’ve broken this down into simple steps, and I’ll tell you exactly what to look for at each stage. Trust your senses—your kitchen will tell you when something is right.
- Make the Crust (15 minutes + 1 hour chill time): In a medium bowl, whisk together the flour and salt. Add the cold, cubed butter. Using a pastry cutter or your fingertips, cut the butter into the flour until it resembles coarse meal with some pea-sized butter pieces remaining. Don’t overwork it—those little chunks of butter are what make the crust flaky. Drizzle in 3 tablespoons of ice water and stir with a fork until the dough just comes together. If it’s too dry, add the last tablespoon of water. Shape the dough into a disk, wrap it in plastic wrap, and refrigerate for at least 1 hour. This step is non-negotiable—cold dough is easier to roll and bakes up flakier.
- Blind-Bake the Crust (20 minutes): Preheat your oven to 375°F (190°C). On a lightly floured surface, roll the dough out to a 12-inch circle. Gently transfer it to your 9-inch pie dish, pressing it into the bottom and up the sides. Trim the excess dough and crimp the edges however you like. Line the crust with parchment paper and fill with pie weights or dried beans. Bake for 15 minutes. Remove the weights and parchment, then bake for another 5 minutes, until the bottom looks dry and lightly golden. Set aside to cool slightly.
- Prepare the Filling (10 minutes): While the crust is cooling, make the filling. In a small bowl, whisk together the sugar, cinnamon, ginger, nutmeg, cloves, and salt. This helps distribute the spices evenly. In a large bowl, whisk the eggs until they’re frothy. Gradually add the sugar-spice mixture and whisk until smooth. Add the pumpkin puree and whisk until fully combined. Slowly pour in the heavy cream and vanilla extract, whisking constantly. The mixture should be smooth and slightly thick, like a milkshake.
- Bake the Pie (45-55 minutes): Pour the filling into the pre-baked crust. Place the pie on a baking sheet to catch any spills. Bake at 375°F (190°C) for 15 minutes. Then, reduce the oven temperature to 350°F (175°C) and bake for another 30-40 minutes. The pie is done when the edges are set but the center still jiggles slightly when you gently shake the pan. It will continue to set as it cools. If the crust edges are browning too quickly, cover them with foil or a pie shield halfway through.
- Cool Completely (2-3 hours): Transfer the pie to a wire rack and let it cool completely at room temperature. This is crucial—a warm pie will be runny and won’t slice cleanly. Patience, my friend. Once cooled, you can refrigerate it until ready to serve.
Troubleshooting Tip: If your filling cracks, you likely overbaked it. Next time, pull it out when the center is still a little jiggly. If your crust is soggy, make sure you blind-baked it long enough. A wet filling can make the bottom crust sad.
Cooking Tips & Techniques
I’ve made this pie more times than I can count, and I’ve definitely had my share of failures. Here are the lessons I learned the hard way, so you don’t have to.
- Don’t overmix the filling. I know it’s tempting to whisk vigorously, but that incorporates too much air and can cause cracks. Mix just until everything is combined. I once whisked like I was making meringue, and my pie looked like a topographical map.
- Toast your spices. This is a game-changer. Before adding them to the sugar, heat the cinnamon, ginger, nutmeg, and cloves in a dry skillet over medium heat for about 30 seconds, until fragrant. It wakes them up and makes the flavor deeper. I forgot to do this once, and the pie tasted flat. Never again.
- Use room temperature eggs. Cold eggs can seize the fat in the cream, leading to a lumpy filling. Just let them sit on the counter for 20 minutes before you start.
- Bake on the lower rack. This helps the bottom crust cook through and prevents the top from browning too fast. I learned this after pulling out a pie with a perfectly brown top and a raw bottom.
- Let it cool slowly. Don’t rush this. I once put a hot pie in the fridge to speed things up, and the filling wept. Just let it sit on the counter for a few hours. It’s worth the wait.
Variations & Adaptations
This classic recipe is a great starting point, but don’t be afraid to make it your own. Here are some ways I’ve played around with it.
- Spicy Pumpkin Pie: Add a pinch of cayenne pepper or a teaspoon of chipotle powder to the spice mix. The heat pairs beautifully with the sweetness. I tried this for a Halloween party, and it was a hit.
- Maple Bourbon Pumpkin Pie: Replace ¼ cup of the heavy cream with bourbon and ¼ cup of the sugar with maple syrup. It adds a grown-up, smoky sweetness. Just be careful not to use too much bourbon, or the filling won’t set.
- Vegan & Dairy-Free: Use a vegan butter crust and replace the heavy cream with full-fat coconut cream. The texture is slightly different, but it’s still creamy and delicious. I’ve served this to vegan friends, and they didn’t miss a thing.
- Gluten-Free: Swap the all-purpose flour for a 1:1 gluten-free blend. I like King Arthur’s Measure for Measure. The crust will be a bit more crumbly, but the flavor is spot on.
- Chocolate Pumpkin Swirl: Melt ½ cup of dark chocolate chips and swirl it into the filling before baking. It looks gorgeous and tastes like a pumpkin-chocolate dream. I did this on a whim, and it’s now my favorite variation.
Serving & Storage Suggestions
This pie is best served at room temperature or slightly warm. I personally love it with a generous dollop of lightly sweetened whipped cream. The cool, airy cream against the rich, spiced filling is a perfect match. For a more decadent touch, drizzle with caramel sauce and a sprinkle of flaky sea salt.
What to serve with it: This pie is the star, but it pairs beautifully with a cup of hot coffee, spiced apple cider, or even a glass of bourbon. If you’re making a full meal, it follows a hearty roasted turkey or a creamy butternut squash soup wonderfully.
Storage: Leftover pie can be covered and stored in the refrigerator for up to 4 days. The flavors actually meld and improve overnight. To freeze, wrap the cooled, unsliced pie tightly in plastic wrap and then foil. It will keep for up to 3 months. Thaw in the refrigerator overnight before serving. I’ve pulled a frozen pie out for a last-minute gathering, and no one knew the difference.
Reheating: To warm individual slices, pop them in a 300°F (150°C) oven for 10 minutes. You can also microwave slices for 20-30 seconds, but the crust won’t be as crisp. Honestly, I prefer it cold the next day with a cup of coffee.
Nutritional Information & Benefits
Let’s be honest—this is a treat, not a health food. But pumpkin does have some redeeming qualities. It’s packed with vitamin A (great for your eyes and immune system) and fiber. The spices, like cinnamon and ginger, have anti-inflammatory properties. So, you’re getting a little bit of goodness with your indulgence.
Estimated Nutritional Information (per slice, based on 8 servings):
| Nutrient | Amount |
|---|---|
| Calories | 320 |
| Fat | 18g |
| Saturated Fat | 11g |
| Carbohydrates | 38g |
| Sugar | 22g |
| Fiber | 2g |
| Protein | 4g |
| Vitamin A | 250% DV |
Dietary Considerations: This recipe contains gluten, dairy, and eggs. For allergen-friendly versions, see the variations section above. It’s not low-carb or keto-friendly, but it is a wonderful once-in-a-while indulgence that feeds the soul. And honestly, that counts for something.
Conclusion
This classic pumpkin pie is more than just a dessert. It’s a little piece of fall, baked into a golden crust. It’s the recipe that made my neighbor Frank smile when I brought him a slice, and it’s the one that’s become a staple in my own kitchen. The silky filling, the warm spices, the flaky crust—it all comes together to create something truly special.
I hope you give this a try. Don’t be afraid to make it your own—add a little extra cinnamon, swap the crust, or top it with a mountain of whipped cream. The beauty of a classic recipe is that it’s a starting point, not a rulebook. I’d love to hear how it turns out for you. Drop a comment below and tell me about your pumpkin pie adventures! Did you make a variation? Did you burn the crust like I did the first time? Share it all. Happy baking, friends.
Frequently Asked Questions
Can I use pumpkin pie filling instead of pumpkin puree?
No, I wouldn’t recommend it. Pumpkin pie filling is already sweetened and spiced, so using it will throw off the sugar and spice balance in this recipe. Stick with plain pumpkin puree for the best results. Libby’s is my go-to brand because it’s consistent and not too watery.
Why did my pumpkin pie crack?
Cracks usually happen when the pie is overbaked. The filling expands as it cooks, and if it sets too firmly, it will crack as it cools. The trick is to pull the pie out of the oven when the center is still slightly jiggly. It will continue to set as it cools. Also, avoid overmixing the filling, which incorporates too much air.
Can I make this pie ahead of time?
Absolutely! In fact, I often make it a day in advance. The flavors meld and deepen overnight, making it even better. Just let it cool completely, then cover and refrigerate. Bring it to room temperature before serving, or warm slices gently in the oven.
How do I prevent a soggy bottom crust?
A soggy bottom crust is a common problem, but it’s easy to avoid. First, blind-bake the crust until it’s dry and lightly golden. Second, bake the pie on the lower rack of your oven, which helps the bottom cook through. Finally, make sure your filling isn’t too watery. If your pumpkin puree looks thin, you can drain it through a cheesecloth for 30 minutes before using.
Can I freeze pumpkin pie?
Yes, you can! Freeze the fully baked and cooled pie (unsliced) wrapped tightly in plastic wrap and then a layer of foil. It will keep for up to 3 months. To serve, thaw it in the refrigerator overnight. I’ve done this for last-minute holiday gatherings, and it works perfectly. Just don’t freeze a pie that’s been topped with whipped cream—add that fresh after thawing.
Pin This Recipe!
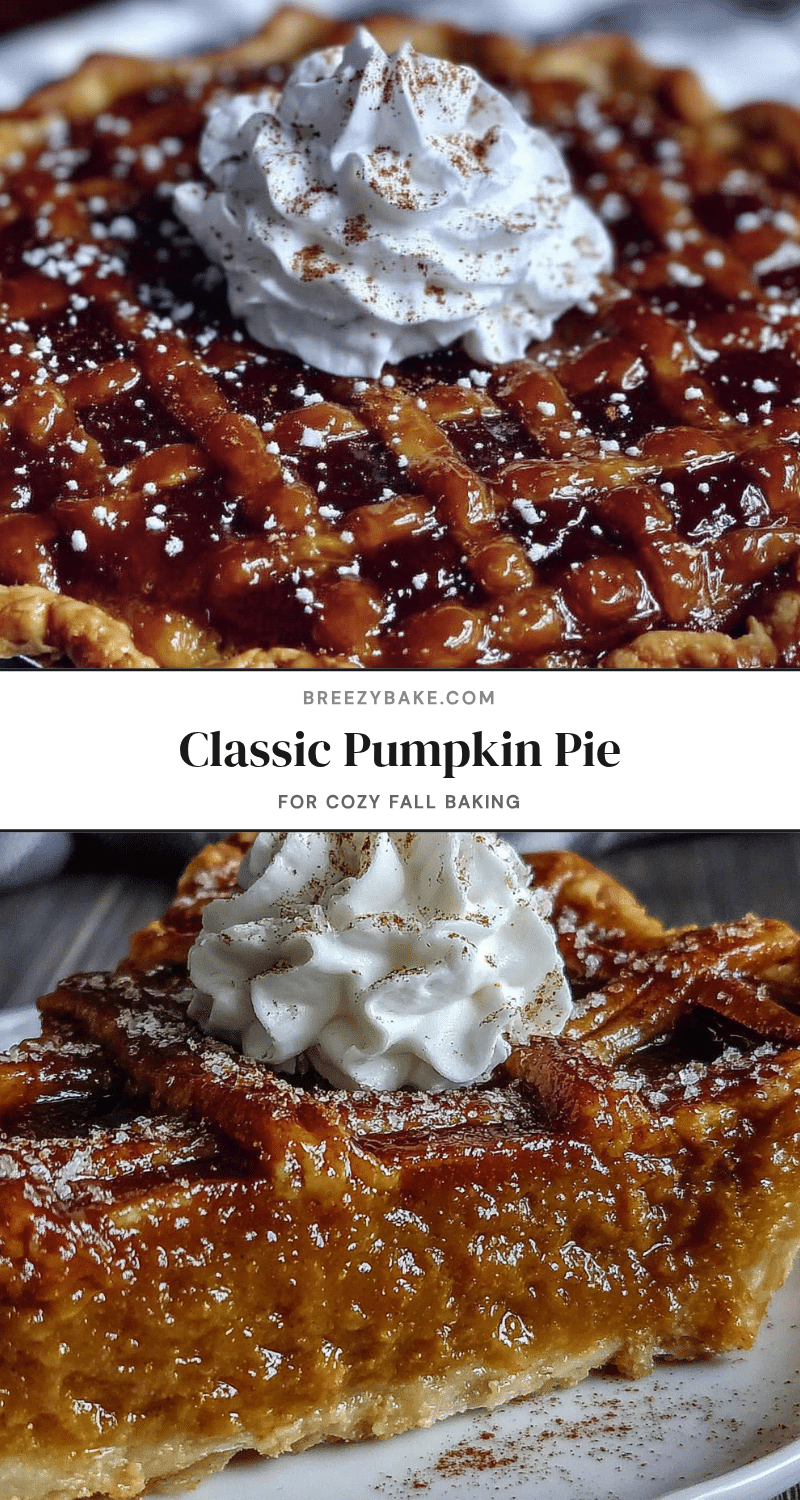
Classic Pumpkin Pie: Easy Homemade Fall Dessert Recipe
This classic pumpkin pie features a silky, spiced filling in a flaky homemade crust. It’s the perfect fall dessert, made with simple ingredients and a few key techniques for a crowd-pleasing result.
- Prep Time: 15 minutes
- Cook Time: 50 minutes
- Total Time: 1 hour 5 minutes
- Yield: 8 servings 1x
- Category: Dessert
- Cuisine: American
Ingredients
- 1 ¼ cups (150g) all-purpose flour
- ½ teaspoon salt
- ½ cup (113g) unsalted butter, very cold and cut into small cubes
- 3–4 tablespoons ice water
- 1 can (15 oz) pumpkin puree
- ¾ cup (150g) granulated sugar
- 1 teaspoon ground cinnamon
- ½ teaspoon ground ginger
- ¼ teaspoon ground nutmeg
- ¼ teaspoon ground cloves
- ½ teaspoon salt
- 2 large eggs, room temperature
- 1 cup (240ml) heavy cream
- 1 teaspoon vanilla extract
Instructions
- Make the Crust: In a medium bowl, whisk together flour and salt. Add cold, cubed butter. Using a pastry cutter or fingertips, cut butter into flour until mixture resembles coarse meal with some pea-sized butter pieces. Drizzle in 3 tablespoons ice water and stir with a fork until dough just comes together. Add another tablespoon if too dry. Shape into a disk, wrap in plastic wrap, and refrigerate for at least 1 hour.
- Blind-Bake the Crust: Preheat oven to 375°F (190°C). On a lightly floured surface, roll dough to a 12-inch circle. Transfer to a 9-inch pie dish, pressing into bottom and up sides. Trim excess and crimp edges. Line with parchment paper and fill with pie weights or dried beans. Bake for 15 minutes. Remove weights and parchment, then bake 5 more minutes until bottom looks dry and lightly golden. Set aside to cool slightly.
- Prepare the Filling: In a small bowl, whisk together sugar, cinnamon, ginger, nutmeg, cloves, and salt. In a large bowl, whisk eggs until frothy. Gradually add sugar-spice mixture and whisk until smooth. Add pumpkin puree and whisk until fully combined. Slowly pour in heavy cream and vanilla extract, whisking constantly until smooth and slightly thick.
- Bake the Pie: Pour filling into pre-baked crust. Place pie on a baking sheet. Bake at 375°F (190°C) for 15 minutes. Reduce oven temperature to 350°F (175°C) and bake for 30-40 minutes more, until edges are set but center still jiggles slightly. If crust edges brown too quickly, cover with foil or a pie shield.
- Cool Completely: Transfer pie to a wire rack and cool completely at room temperature, about 2-3 hours. Once cooled, refrigerate until ready to serve.
Notes
Don’t overmix the filling to avoid cracks. Toast spices in a dry skillet for 30 seconds for deeper flavor. Use room temperature eggs. Bake on the lower rack to ensure bottom crust cooks through. Let pie cool slowly at room temperature to prevent weeping.
Nutrition
- Serving Size: 1 slice
- Calories: 320
- Sugar: 22
- Sodium: 300
- Fat: 18
- Saturated Fat: 11
- Carbohydrates: 38
- Fiber: 2
- Protein: 4
Keywords: pumpkin pie, fall dessert, homemade pie, Thanksgiving dessert, classic pumpkin pie


