I was at the farmers’ market last October, staring at a pile of sugar pumpkins like they held the secrets to the universe. A woman next to me, maybe seventy years old with flour dusted on her apron, watched me pick one up, tap it, put it back. She didn’t say anything at first. Then she reached into my basket, swapped my pumpkin for a smaller, denser one, and said, “That one there. That’s the one that’ll talk to you.” I laughed, but I bought it. She told me her name was Rosa, and that she’d been making pies for her church potlucks for forty years. She didn’t give me a recipe. She just said, “Trust the butter, don’t rush the dough, and let the filling sit overnight if you can.” That conversation—standing between bins of squash and apples—meant more than any written instructions could. I went home, roasted that pumpkin, and made a pie that finally tasted like the one I’d been chasing. This is my version of that day, adapted from Rosa’s wisdom and my own stubborn trial-and-error. It’s the perfect homemade pumpkin pie with flaky all-butter crust, and honestly, it’s the one I bring to every Thanksgiving without a second thought. Maybe you’ve been looking for that pie too—the one that makes people close their eyes mid-bite.
Why You’ll Love This Recipe
This isn’t just another pumpkin pie recipe you find online. I’ve tested this version at least a dozen times, tweaking the butter temperature, the spice ratio, and the resting time until it felt right. It’s the kind of pie that makes you look like a hero at a dinner party without spending all day in the kitchen. Here’s why it stands out:
- Flaky, All-Butter Crust – No shortening, no margarine. Just cold butter and a light hand. The crust shatters when you cut into it, and it holds up against a silky filling without getting soggy.
- Perfectly Spiced Filling – Not too sweet, not too heavy. The cinnamon, ginger, nutmeg, and a pinch of clove work together so no single spice dominates. It tastes like autumn in a slice.
- Make-Ahead Friendly – You can prep the crust and filling a day ahead. This is a lifesaver when you’re hosting and juggling a dozen other dishes.
- Crowd-Pleaser – I’ve brought this pie to potlucks, Friendsgiving dinners, and casual get-togethers. It disappears fast. People who say they don’t like pumpkin pie change their minds after one bite.
- Simple Ingredients – No weird additives or hard-to-find items. You probably have most of the spices in your cabinet already.
This pie is the kind that makes you pause after the first forkful. It’s comfort food at its best—familiar, warm, and just a little bit impressive. Perfect for when you want to steal the table without breaking a sweat.
What Ingredients You Will Need
This recipe uses straightforward ingredients, but a few choices make a real difference. I’ll walk you through each one so you know exactly what to look for.
For the All-Butter Crust
- 2 ½ cups all-purpose flour (312 grams) – I prefer King Arthur Flour for consistent results, but any unbleached all-purpose flour works. Don’t use bread flour; it makes the crust tough.
- 1 teaspoon salt – Fine sea salt dissolves better than coarse salt in dough.
- 1 tablespoon granulated sugar – Just a touch of sweetness to balance the savory butter.
- 1 cup cold unsalted butter (226 grams), cut into small cubes – This is non-negotiable. Use European-style butter like Kerrygold for extra richness and flakiness. The butter must be straight from the fridge.
- ¼ to ½ cup ice water – You won’t use all of it. Start with ¼ cup and add more by the tablespoon.
For the Pumpkin Filling
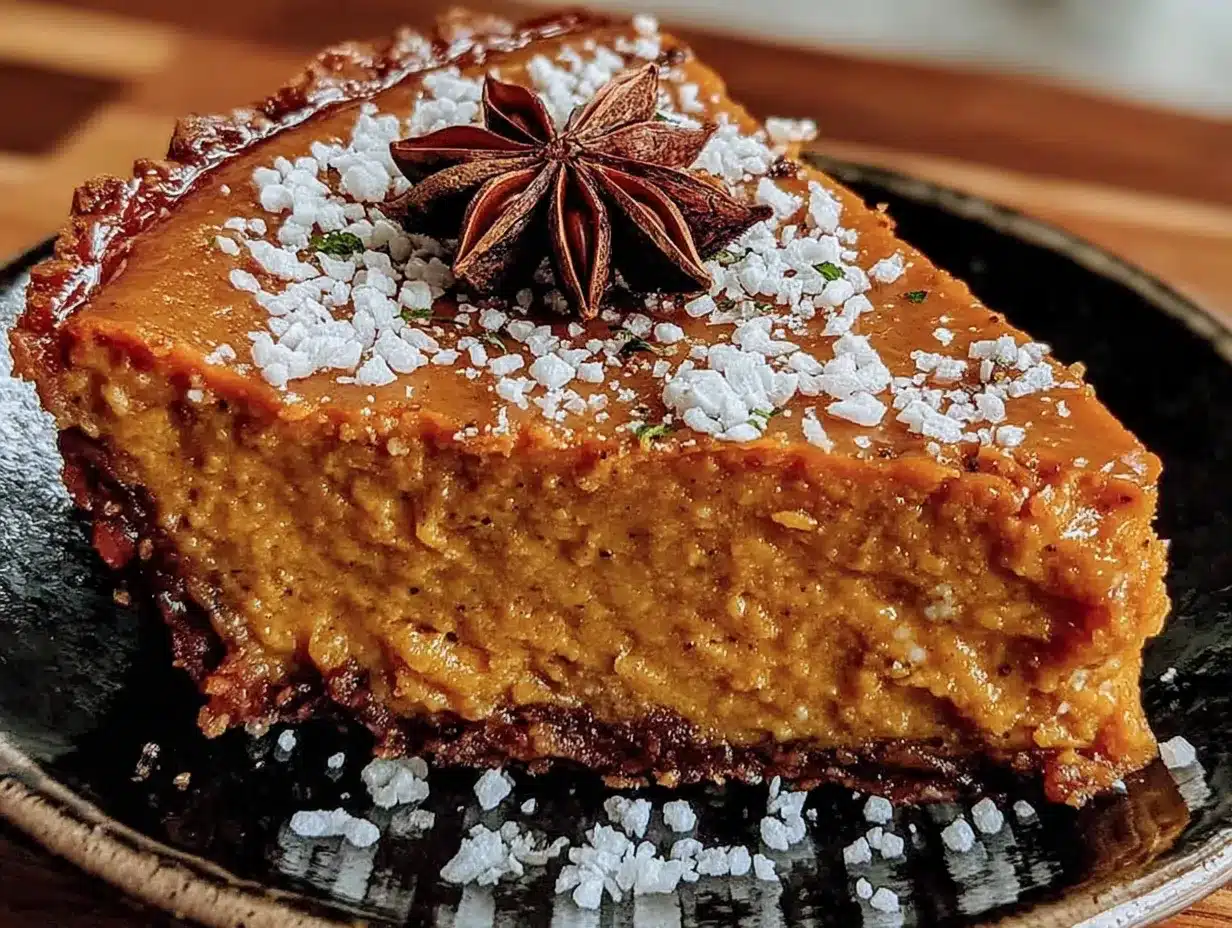
- 1 ¾ cups pumpkin purée (15-ounce can) – I use Libby’s pumpkin purée because it’s consistent and not too watery. If you roast your own pumpkin, make sure to drain it well overnight in a cheesecloth-lined strainer.
- ¾ cup packed light brown sugar (150 grams) – Brown sugar adds moisture and a deeper flavor than white sugar alone.
- 2 large eggs plus 1 egg yolk – The extra yolk gives the filling a creamier texture. Let them come to room temperature before mixing.
- 1 ¼ cups heavy cream (300 ml) – Full-fat cream is essential. Half-and-half makes the filling too thin. I’ve tried it; don’t do it.
- 1 teaspoon vanilla extract – Pure vanilla, not imitation. It rounds out the spices beautifully.
- 2 teaspoons ground cinnamon – I like Saigon cinnamon for its warmth, but regular Ceylon works too.
- 1 teaspoon ground ginger – Freshly ground if you can. The jarred stuff loses potency after a few months.
- ½ teaspoon ground nutmeg – Grate a whole nutmeg for the best flavor. It takes ten seconds and makes a noticeable difference.
- ¼ teaspoon ground cloves – Go easy here. Cloves are strong and can overpower the other spices.
- ½ teaspoon salt – Don’t skip this. Salt makes the sweetness and spices pop.
Equipment Needed
You don’t need a fancy kitchen to make this pie. Here’s what I use and what you can swap in if you’re short on tools.
- 9-inch pie dish – A glass or ceramic dish works best. Metal conducts heat faster and can brown the crust too quickly. I use a Pyrex dish and it’s never let me down.
- Rolling pin – A French rolling pin without handles gives you more control, but any rolling pin works. In a pinch, a clean wine bottle does the job.
- Parchment paper – For blind baking the crust. You’ll also need pie weights or dried beans to weigh it down.
- Large mixing bowls – One for the dough, one for the filling.
- Pastry cutter or two forks – To cut the butter into the flour. A food processor works too, but be careful not to overmix.
- Whisk – For blending the filling until smooth.
- Sharp knife or bench scraper – To trim the excess dough neatly.
- Cooling rack – Essential for even cooling so the bottom crust doesn’t get soggy.
If you don’t have pie weights, dried beans or rice work perfectly. I keep a bag of cheap beans in my pantry just for blind baking. They’re reusable for years.
Preparation Method
Take your time with the crust. It’s the part that trips most people up, but it’s also where the magic happens. I’ll break it down step by step.
Step 1: Make the Dough
In a large bowl, whisk together the flour, salt, and sugar. Add the cold butter cubes. Using a pastry cutter or your fingertips, work the butter into the flour until the mixture looks like coarse meal with some pea-sized butter chunks remaining. This is important—those little butter pieces create steam in the oven, which makes the crust flaky. Drizzle ¼ cup of ice water over the mixture and stir with a fork. Squeeze a bit of dough between your fingers; if it holds together, it’s ready. If it crumbles, add another tablespoon of water. Don’t overwork it. Gather the dough into a disk, wrap it in plastic, and refrigerate for at least 1 hour. Overnight is even better.
Step 2: Roll Out the Crust
On a lightly floured surface, roll the dough from the center outward, rotating it a quarter turn after each roll. Aim for a 12-inch circle, about ⅛-inch thick. If the dough cracks at the edges, let it sit for a few minutes to warm up slightly. Transfer the dough to your pie dish by rolling it gently onto your rolling pin and unrolling it over the dish. Press it into the corners without stretching—stretching makes it shrink during baking. Trim the overhang to about ½ inch, then fold it under and crimp the edges with your fingers or a fork. Place the crust in the freezer for 15 minutes while you preheat the oven to 375°F.
Step 3: Blind Bake the Crust
Line the chilled crust with parchment paper and fill it with pie weights or dried beans. Bake for 15 minutes, then remove the parchment and weights. Prick the bottom of the crust with a fork to prevent bubbles, then bake for another 10 minutes until the bottom looks dry and lightly golden. Set aside to cool slightly. Lower the oven temperature to 350°F.
Step 4: Make the Filling
In a large bowl, whisk together the pumpkin purée and brown sugar until smooth. Add the eggs and egg yolk, one at a time, whisking well after each. Pour in the heavy cream and vanilla, then whisk again. In a small bowl, mix the cinnamon, ginger, nutmeg, cloves, and salt. Sprinkle the spice mixture over the pumpkin mixture and whisk until fully combined. The filling should be silky and uniform. Give it a taste—it should be fragrant and balanced, not overly sweet.
Step 5: Assemble and Bake
Place the blind-baked crust on a baking sheet (this makes it easier to move and catches any spills). Pour the filling into the crust. Bake at 350°F for 50 to 60 minutes. The pie is done when the edges are set and the center jiggles slightly when you shake the pan—like a soft Jell-O. A knife inserted near the center should come out mostly clean. If the edges of the crust brown too quickly, tent them with foil or a pie shield halfway through.
Step 6: Cool Completely
Transfer the pie to a wire rack and let it cool at room temperature for at least 2 hours. The filling will continue to set as it cools. Don’t skip this step—cutting into a warm pie results in a runny mess. For the cleanest slices, refrigerate the pie for 4 hours or overnight before serving.
Cooking Tips & Techniques
I’ve made plenty of mistakes with pumpkin pie over the years. Here’s what I’ve learned so you don’t have to repeat them.
Keep everything cold. The butter, the water, even the bowl you mix the dough in. If your kitchen is warm, pop the flour in the fridge for 10 minutes before you start. Warm butter melts into the flour instead of creating those flaky layers.
Don’t overmix the dough. I once used a food processor and let it run for too long. The crust came out tough and dense. Mix by hand or pulse in short bursts if using a machine. Stop when the butter pieces are the size of peas.
Blind baking is worth the extra step. Yes, it adds time. But a soggy bottom crust ruins the whole experience. The pre-baked crust stays crisp and flaky, even after the filling sits on it for hours.
Let the filling rest. If you have time, make the filling a few hours ahead and let it sit in the fridge. This allows the spices to meld and the flavors to deepen. I’ve done this for every holiday pie for the past three years, and it makes a noticeable difference.
Watch the oven temperature. Every oven runs a little differently. If your pie is browning too fast on top but still jiggly in the center, lower the temperature to 325°F and bake a bit longer. Patience pays off here.
Variations & Adaptations
This recipe is flexible. Here are a few ways to tweak it based on your needs or what you have on hand.
- Gluten-Free Crust – Swap the all-purpose flour with a gluten-free blend that includes xanthan gum. Cup4Cup works well. The dough will be more delicate, so handle it gently and chill it thoroughly before rolling.
- Dairy-Free Filling – Replace the heavy cream with full-fat coconut cream. The texture stays creamy, and the coconut flavor is subtle enough that it doesn’t fight with the spices. Use a dairy-free butter substitute for the crust, like Earth Balance.
- Spice It Up – Add a pinch of black pepper or cayenne for a warm, unexpected kick. I tried this on a whim last year, and it was a hit at a dinner party. The heat fades into the background and just makes the other spices sing.
- Maple Pumpkin Pie – Replace the brown sugar with ¾ cup maple syrup. Reduce the heavy cream to 1 cup to compensate for the extra liquid. The maple flavor pairs beautifully with the pumpkin and spices.
- Mini Pies – Use a muffin tin to make individual pies. Roll the dough, cut circles, press them into greased muffin cups, blind bake for 10 minutes, then fill and bake for 20 to 25 minutes. Perfect for parties where everyone wants their own.
Serving & Storage Suggestions
This pie shines at room temperature. I serve it straight from the cooling rack after it’s fully set, with a generous dollop of lightly sweetened whipped cream. A sprinkle of cinnamon on top makes it look extra polished.
For a dinner party, I like to plate it with a side of vanilla bean ice cream. The cold creaminess against the spiced filling is a classic combination for a reason. If you’re feeling fancy, drizzle a little caramel sauce over each slice.
To store leftovers, cover the pie loosely with plastic wrap or foil and keep it in the refrigerator. It stays good for up to 4 days. The flavors actually get better after a day or two as the spices settle. To reheat individual slices, pop them in a 300°F oven for 10 minutes. The microwave works in a pinch, but the crust loses its flakiness.
You can freeze the baked pie for up to 3 months. Wrap it tightly in plastic wrap, then a layer of foil. Thaw it overnight in the fridge before serving. I’ve done this for Thanksgiving prep, and nobody could tell it wasn’t fresh.
Nutritional Information & Benefits
Here’s an approximate breakdown per slice (based on 8 servings):
- Calories: 420
- Total Fat: 26g
- Saturated Fat: 16g
- Carbohydrates: 44g
- Fiber: 3g
- Sugar: 24g
- Protein: 6g
Pumpkin is packed with vitamin A, which supports eye health and immune function. It’s also a good source of fiber and potassium. The heavy cream and butter add richness, but they also provide fat-soluble vitamins that help your body absorb the nutrients from the pumpkin. This isn’t a health food, but it’s a dessert made with real ingredients that nourish in their own way.
If you’re watching your sugar intake, you can reduce the brown sugar to ½ cup. The pie will be less sweet, but the spices become more pronounced. For a lower-carb option, use a nut flour crust and replace the brown sugar with a monk fruit sweetener blend.
Conclusion
This perfect homemade pumpkin pie with flaky all-butter crust is the one I keep coming back to. It’s not flashy or complicated—it’s just good. The crust shatters, the filling is silky, and every bite tastes like the best parts of fall. I’ve brought it to potlucks, holiday dinners, and quiet Tuesday nights when I needed a little comfort. It never disappoints.
I hope you give it a try. Don’t stress about making it perfect the first time. The dough might crack, the filling might take a few extra minutes to set—that’s okay. It’ll still taste amazing. And if you make it your own with a tweak or substitution, even better. That’s what cooking is about.
Let me know how it turns out. Leave a comment below or tag me in your photos—I’d love to see your version of this pie. Happy baking!
Frequently Asked Questions
Can I use canned pumpkin purée instead of fresh?
Absolutely. I use canned pumpkin purée most of the time because it’s consistent and saves hours of roasting and straining. Just make sure you buy pure pumpkin purée, not pumpkin pie filling, which already has sugar and spices added.
Why did my crust shrink during blind baking?
This usually happens when the dough is stretched too thin or not chilled enough before baking. Make sure your dough rests in the fridge for at least an hour, and don’t pull or stretch it when fitting it into the pie dish. Let it settle naturally.
How do I know when the pie is fully baked?
The edges should be set and slightly puffed, while the center jiggles like soft Jell-O when you gently shake the pan. A knife inserted about an inch from the center should come out mostly clean. The internal temperature should reach 175°F to 180°F.
Can I make this pie ahead of time?
Yes, and I actually recommend it. You can make the crust and filling a day ahead and assemble it the next morning. Or bake the whole pie a day early and refrigerate it. The flavors meld beautifully overnight. Just let it come to room temperature before serving.
How do I get clean slices without the filling sticking to the knife?
Chill the pie thoroughly—at least 4 hours in the fridge. Use a sharp, thin-bladed knife and wipe it clean between each cut. Run the knife under hot water and dry it off before slicing for even cleaner edges.
Pin This Recipe!
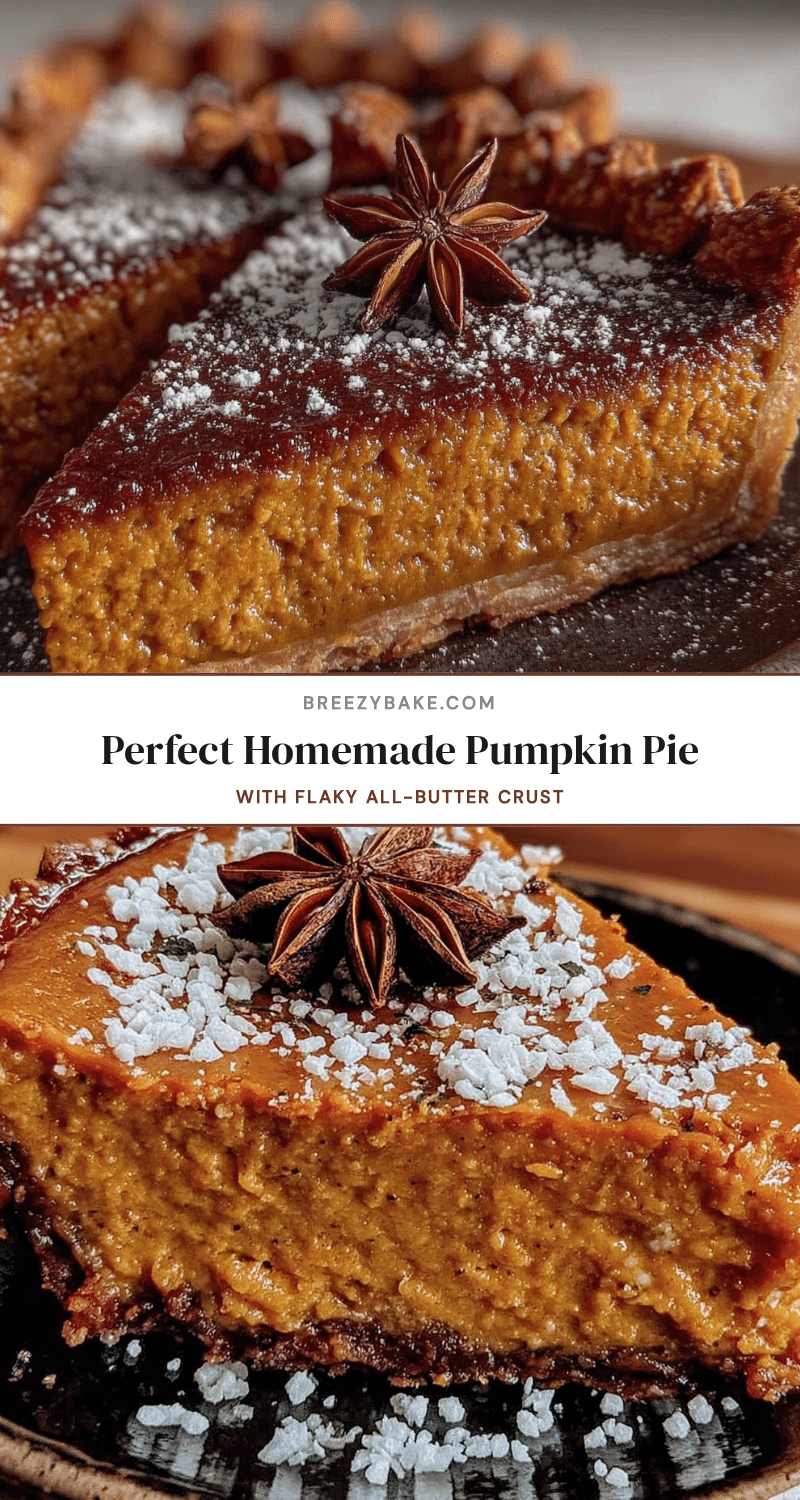
Perfect Homemade Pumpkin Pie with Flaky All-Butter Crust
This perfect homemade pumpkin pie features a flaky all-butter crust and a silky, perfectly spiced filling. It’s the kind of pie that makes you look like a hero at a dinner party without spending all day in the kitchen.
- Prep Time: 30 minutes
- Cook Time: 60 minutes
- Total Time: 2 hours 30 minutes (plus chilling time)
- Yield: 8 servings 1x
- Category: Dessert
- Cuisine: American
Ingredients
- 2 ½ cups all-purpose flour (312 grams)
- 1 teaspoon fine sea salt
- 1 tablespoon granulated sugar
- 1 cup cold unsalted butter (226 grams), cut into small cubes
- ¼ to ½ cup ice water
- 1 ¾ cups pumpkin purée (15-ounce can)
- ¾ cup packed light brown sugar (150 grams)
- 2 large eggs plus 1 egg yolk
- 1 ¼ cups heavy cream (300 ml)
- 1 teaspoon pure vanilla extract
- 2 teaspoons ground cinnamon
- 1 teaspoon ground ginger
- ½ teaspoon ground nutmeg
- ¼ teaspoon ground cloves
- ½ teaspoon salt
Instructions
- Make the Dough: In a large bowl, whisk together the flour, salt, and sugar. Add the cold butter cubes. Using a pastry cutter or your fingertips, work the butter into the flour until the mixture looks like coarse meal with some pea-sized butter chunks remaining. Drizzle ¼ cup of ice water over the mixture and stir with a fork. Squeeze a bit of dough between your fingers; if it holds together, it’s ready. If it crumbles, add another tablespoon of water. Gather the dough into a disk, wrap it in pla…
- Roll Out the Crust: On a lightly floured surface, roll the dough from the center outward, rotating it a quarter turn after each roll. Aim for a 12-inch circle, about ⅛-inch thick. Transfer the dough to a 9-inch pie dish by rolling it gently onto your rolling pin and unrolling it over the dish. Press it into the corners without stretching. Trim the overhang to about ½ inch, then fold it under and crimp the edges. Place the crust in the freezer for 15 minutes while you preheat the oven to 375°F.
- Blind Bake the Crust: Line the chilled crust with parchment paper and fill it with pie weights or dried beans. Bake for 15 minutes, then remove the parchment and weights. Prick the bottom of the crust with a fork, then bake for another 10 minutes until the bottom looks dry and lightly golden. Set aside to cool slightly. Lower the oven temperature to 350°F.
- Make the Filling: In a large bowl, whisk together the pumpkin purée and brown sugar until smooth. Add the eggs and egg yolk, one at a time, whisking well after each. Pour in the heavy cream and vanilla, then whisk again. In a small bowl, mix the cinnamon, ginger, nutmeg, cloves, and salt. Sprinkle the spice mixture over the pumpkin mixture and whisk until fully combined.
- Assemble and Bake: Place the blind-baked crust on a baking sheet. Pour the filling into the crust. Bake at 350°F for 50 to 60 minutes. The pie is done when the edges are set and the center jiggles slightly when you shake the pan. If the edges of the crust brown too quickly, tent them with foil or a pie shield halfway through.
- Cool Completely: Transfer the pie to a wire rack and let it cool at room temperature for at least 2 hours. For the cleanest slices, refrigerate the pie for 4 hours or overnight before serving.
Notes
Keep everything cold for the flakiest crust. Don’t overmix the dough. Blind baking is essential to prevent a soggy bottom. Let the filling rest in the fridge for a few hours before baking for deeper flavor. For clean slices, chill the pie thoroughly and use a hot, dry knife.
Nutrition
- Serving Size: 1 slice
- Calories: 420
- Sugar: 24
- Fat: 26
- Saturated Fat: 16
- Carbohydrates: 44
- Fiber: 3
- Protein: 6
Keywords: pumpkin pie, homemade pumpkin pie, all-butter crust, Thanksgiving dessert, fall dessert, pumpkin dessert, flaky pie crust


