The bake sale was in six hours and I’d completely forgotten. Not just forgotten—I’d actively blocked it out, hoping the email would somehow disappear. Everyone else would be bringing those elaborate Pinterest-perfect creations, the kind that take two days and a pastry chef diploma. I had a box of black cocoa powder I’d bought on a whim, a bag of oranges that were starting to look sad, and about forty-five minutes before I needed to leave. I almost grabbed a store-bought cake mix, I really did. But then I saw that cocoa powder, and something clicked. These cozy black velvet cupcakes with orange frosting were born out of pure desperation. And honestly? They stole the show. I stood there, holding my slightly lopsided cupcake carrier, watching people reach for mine first. It was a little embarrassing, but mostly it was just—okay, it was a lot satisfying.
Why You’ll Love This Recipe
I have tested this recipe more times than I care to admit, tweaking the balance of deep, dark cocoa against that bright, citrusy pop. It’s not just another cupcake recipe; it’s the one that makes people stop mid-bite and look at you funny. Here’s why it works so well:
- Quick & Easy: From mixing bowl to frosting, you’re looking at about 45 minutes. Perfect for those moments when you need a baking win, fast.
- Simple Ingredients: No weird, hard-to-find stuff. If you’ve got a pantry, you’ve probably got 90% of this already.
- Perfect for a Cozy Night: This is the kind of treat you make on a rainy Sunday when you want the house to smell amazing and your soul to feel a little warmer.
- Crowd-Pleaser: Kids love the dramatic color, adults love the sophisticated flavor. It’s a total win-win.
- Unbelievably Delicious: The texture is so tender, so velvety, and the frosting is like a burst of sunshine. It’s next-level comfort food.
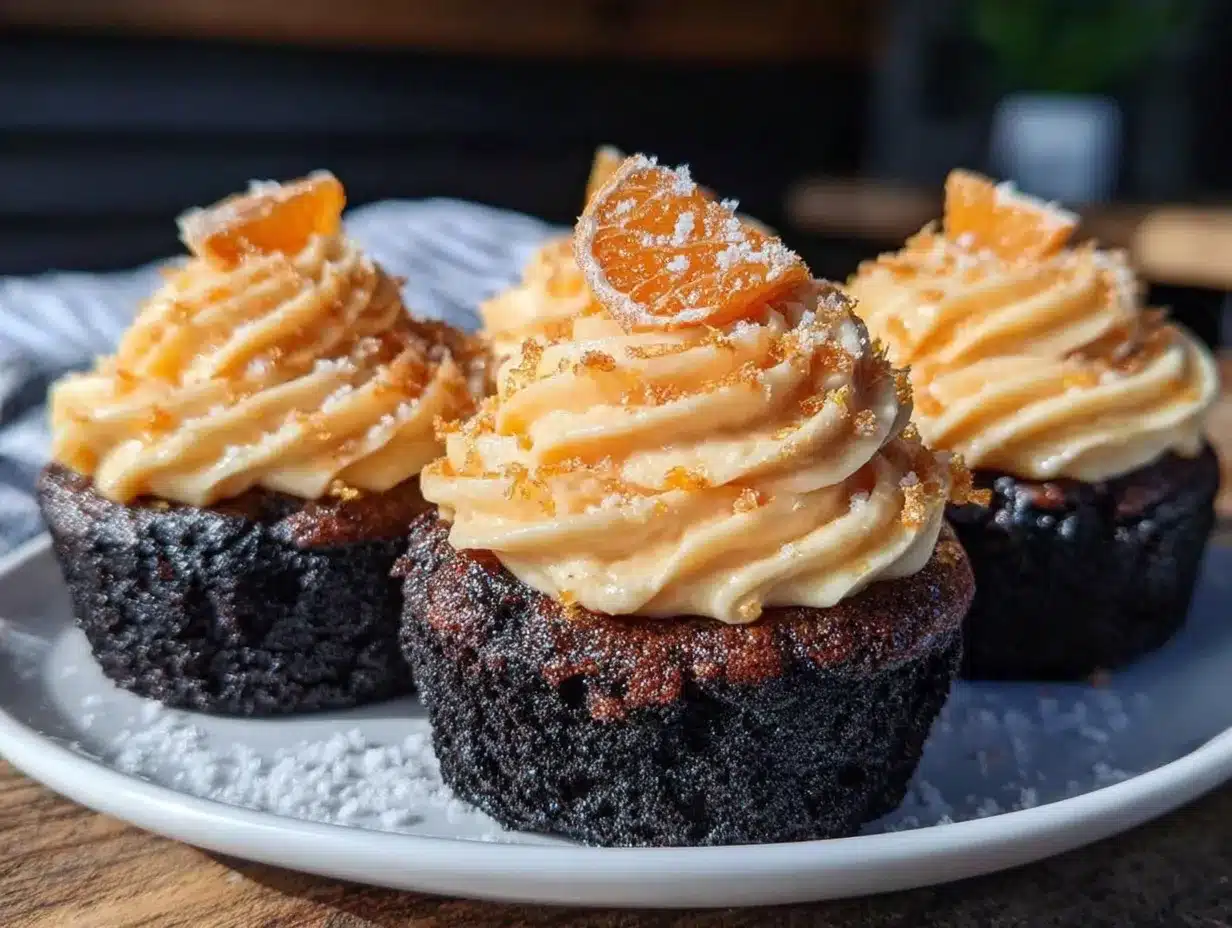
What makes this version different? It’s the combination of black cocoa powder for that deep, almost Oreo-like flavor, and a tangy, fresh orange frosting that cuts right through the richness. It’s not just a cupcake—it’s an experience. I mean that. It’s the kind that makes you close your eyes after the first bite, just for a second.
What Ingredients You Will Need
This recipe uses simple, humble ingredients to create something that feels genuinely special. The magic is in the combination of the dark cocoa and the bright citrus. Here’s what you’ll need to gather:
For the Black Velvet Cupcakes
- All-purpose flour, 1 ½ cups (190g) – The base of our structure. Spoon and level it for the best results.
- Black cocoa powder, ½ cup (50g) – This is the star. It’s darker and less acidic than regular cocoa, giving that signature color and mild Oreo taste. I really like the one from King Arthur Flour.
- Granulated sugar, 1 cup (200g) – For sweetness and tenderness.
- Baking soda, 1 teaspoon – Our leavening agent.
- Salt, ½ teaspoon – To balance the sweetness and deepen the flavor.
- Buttermilk, 1 cup (240ml), room temperature – Makes the cake incredibly tender. No buttermilk? Add 1 tablespoon of lemon juice to regular milk and let it sit for 5 minutes.
- Vegetable oil, ½ cup (120ml) – Keeps the cupcakes moist for days. Don’t use melted butter here; oil is key for that velvety crumb.
- Large eggs, 2, room temperature – For structure and richness.
- Vanilla extract, 2 teaspoons – A flavor enhancer.
- White vinegar, 1 teaspoon – Reacts with the baking soda for a light, airy crumb. Don’t skip this!
For the Orange Frosting
- Unsalted butter, 1 cup (226g), softened – The foundation of a good buttercream.
- Powdered sugar, 3-4 cups (360g-480g) – Sifted to avoid lumps.
- Fresh orange zest, from 2 large oranges – This is where the big, bright flavor lives.
- Fresh orange juice, 3-4 tablespoons – For flavor and to get the right consistency.
- Vanilla extract, 1 teaspoon – A little warmth.
- Pinch of salt – To cut the sweetness.
Equipment Needed
You don’t need a fancy bakery setup for these. Here’s the basic gear that will get the job done:
- Muffin tin (standard 12-cup) – I’ve used cheap ones and expensive ones, and honestly, a light-colored metal pan works best for even browning.
- Paper cupcake liners – I like using white ones to make the black cake pop, but any color works.
- Mixing bowls – A couple of large ones.
- Whisk and a rubber spatula – For mixing and scraping.
- Electric hand mixer or stand mixer – For the frosting. You can do it by hand, but your arm will hate you.
- Cooling rack – Essential for getting those cupcakes cooled down evenly.
- Piping bag with a star tip (optional) – Makes the frosting look fancy, but a zip-top bag with the corner snipped off works in a pinch.
Preparation Method
Let’s get to the fun part. I’ve broken this down so it’s super easy to follow, even if you’re a little nervous about baking from scratch. Trust the process, and don’t skip the vinegar!
- Preheat and Prep: First things first, preheat your oven to 350°F (175°C). Line your muffin tin with 12 paper liners. This is a non-negotiable step—don’t grease the pan, the liners are your friend.
- Whisk the Dry Ingredients: In a large bowl, whisk together the flour, black cocoa powder, sugar, baking soda, and salt. Make sure there are no lumps of cocoa. I sometimes sift the cocoa powder if it’s really clumpy, just to be safe. Set this bowl aside.
- Mix the Wet Ingredients: In a separate bowl or a large liquid measuring cup, whisk together the buttermilk, vegetable oil, eggs, vanilla extract, and white vinegar. Whisk until it’s all combined and looks a little pale. The vinegar might smell strong, but I promise you won’t taste it later.
- Combine Wet and Dry: Pour the wet ingredients into the bowl of dry ingredients. Use your rubber spatula to fold everything together gently. Mix just until you don’t see any more streaks of flour. A few small lumps are totally fine. Overmixing will make the cupcakes tough, so be gentle. The batter will be very thin and liquidy—that’s exactly how it should be.
- Fill the Liners: Divide the batter evenly among the 12 liners. I use a ¼ cup measure or a cookie scoop to keep them uniform. They should be about ⅔ full. Don’t overfill, or they’ll spill over in the oven.
- Bake to Perfection: Bake for 18-22 minutes. At the 18-minute mark, start checking. A toothpick inserted into the center of a cupcake should come out clean or with a few moist crumbs. The tops will look a little dry and might have a slight crackle—that’s the velvet texture doing its thing. Let them cool in the pan for 5 minutes, then transfer them to a wire rack to cool completely. Do not frost them while they are warm, or you will have a melty mess.
- Make the Orange Frosting: While the cupcakes are cooling, make the frosting. In a large bowl using an electric mixer, beat the softened butter on medium speed until it’s smooth and creamy, about 2 minutes. Add the orange zest and beat for another 30 seconds. With the mixer on low, gradually add the sifted powdered sugar, one cup at a time. Add the orange juice and vanilla extract. Once it’s all in, crank the speed up to medium-high and beat for 3-4 minutes, until the frosting is light, fluffy, and pale orange. If it’s too thick, add a splash more orange juice. If it’s too thin, add a little more powdered sugar.
- Frost and Serve: Once the cupcakes are completely cool, frost them. I like to use a piping bag with a star tip for that classic bakery look, but a simple swirl with a knife is just as beautiful. Grate a little extra orange zest on top for a pretty finish.
Cooking Tips & Techniques
I’ve made these cozy black velvet cupcakes with orange frosting more times than I can count, and I’ve definitely made my share of mistakes. Here are the things I’ve learned the hard way so you don’t have to.
Don’t overmix the batter. I know I said it before, but it’s the most common mistake. That thin batter is delicate. Mix it until it just comes together, and stop. Overmixing develops the gluten and gives you a tough, rubbery cupcake instead of a tender, velvety one.
Room temperature ingredients matter. Cold eggs and cold buttermilk won’t emulsify properly into the batter. Take them out of the fridge about 30 minutes before you start. I always forget to do this, so I’ll put the eggs in a bowl of warm water for 5 minutes and microwave the buttermilk for 10-15 seconds. It works like a charm.
Black cocoa can be tricky. It’s less reactive than regular cocoa, which is why we use baking soda AND vinegar. The vinegar creates a chemical reaction that gives the cupcakes their lift. If you try to skip it, your cupcakes will be flat and dense. Don’t do it.
Frosting consistency is everything. If your butter is too soft, your frosting will be a runny mess. If it’s too cold, it will be lumpy. Aim for that Goldilocks zone—soft but still cool to the touch. If your frosting does get too runny, pop it in the fridge for 10 minutes and then beat it again.
Plan your timing. Bake the cupcakes first, and while they’re cooling, make the frosting. This way, the frosting is fresh and the cupcakes are cool enough to handle. It’s a simple workflow, but it makes the whole process feel much smoother.
Variations & Adaptations
One of the best things about this recipe is how flexible it is. I’ve played around with it a lot, and here are some of my favorite twists.
- Gluten-Free Version: Swap the all-purpose flour for a 1:1 gluten-free baking blend that contains xanthan gum. I’ve used Bob’s Red Mill with great success. The texture will be slightly more delicate, but the flavor is spot on.
- Dairy-Free Adaptation: Use a plant-based buttermilk (like almond milk with a splash of lemon juice) and a good quality vegan butter stick for the frosting. My favorite is Miyoko’s. The cupcakes will still be incredibly moist and tender.
- Spiced Orange Version: Add 1 teaspoon of cinnamon and ½ teaspoon of nutmeg to the dry ingredients. It gives the cupcakes a warm, almost gingerbread-like vibe that is perfect for the holidays. I made this for a Christmas party once, and people went crazy for it.
- Lemon Frosting Swap: If you’re not an orange person, swap the orange zest and juice for lemon. It’s a totally different vibe—bright and tart instead of sweet and tangy—but it’s just as delicious.
- Chocolate Ganache Drip: For an extra-decadent version, drizzle some warm chocolate ganache over the frosted cupcakes. It’s a little over the top, but sometimes that’s exactly what you need.
Serving & Storage Suggestions
These cupcakes are best at room temperature. The crumb is soft, the frosting is creamy, and the flavors are at their peak. If you’ve stored them in the fridge, let them sit out for about 20 minutes before serving.
For a cozy presentation, arrange them on a nice cake stand. A glass of cold milk is the classic pairing, but a cup of strong coffee or a warm cup of tea is equally perfect. The bitterness of the coffee really plays well with the sweet, dark cocoa.
Storage: Store leftover cupcakes in an airtight container at room temperature for up to 2 days. If you need them to last longer, pop them in the fridge for up to 5 days. The frosting will firm up a bit in the fridge, but that’s okay.
Freezing: You can freeze the unfrosted cupcakes for up to 3 months. Wrap each one tightly in plastic wrap, then place them in a freezer bag. When you’re ready to enjoy them, thaw them at room temperature and then whip up a fresh batch of frosting. I’ve also frozen the frosting itself in a piping bag. Just thaw it in the fridge overnight and give it a good stir before using.
The flavors actually get better after a day. The orange zest infuses the frosting, and the cocoa flavor deepens. So don’t be afraid to make these a day ahead for a party!
Nutritional Information & Benefits
Let’s be real—these are a treat, not a health food. But knowing what’s in them can help you enjoy them mindfully. Here’s an approximate breakdown per cupcake (with frosting):
- Calories: ~380
- Fat: 20g
- Carbohydrates: 48g
- Protein: 4g
- Sugar: 36g
Potential Benefits: Black cocoa powder is rich in antioxidants (flavonoids), which can help fight inflammation. Oranges are packed with Vitamin C, which is great for your immune system. So there’s a tiny silver lining! This recipe contains gluten, dairy, and eggs, so it’s not suitable for those with allergies to those ingredients. For a dairy-free option, check out the variations section above.
I believe in balance. A cozy night in with a delicious cupcake is good for the soul, and that has its own kind of nutritional value.
Frequently Asked Questions
Can I use regular cocoa powder instead of black cocoa?
You can, but the color will be a dark brown, not black, and the flavor will be more like a traditional chocolate cake. Black cocoa has a unique, mild Oreo-like taste that really makes this recipe special.
Why is my batter so thin?
Don’t panic! This is completely normal. Black velvet batter is much thinner than a standard cake batter because of the reaction between the buttermilk, baking soda, and vinegar. It will bake up perfectly, I promise.
How do I get the frosting to be super orangey?
The secret is using the zest, not just the juice. The zest contains all the aromatic oils that give you that big, bright orange flavor. Don’t skip it! Use two whole oranges for the zest, and then use the juice from one of them.
Can I make these as a cake instead of cupcakes?
Absolutely! Pour the batter into two greased and floured 8-inch round cake pans. Bake at 350°F (175°C) for 25-30 minutes, or until a toothpick comes out clean. Use the same frosting recipe—you’ll have enough to fill and frost the layers.
My cupcakes sunk in the middle. What happened?
This usually happens if the oven door was opened too early, or if the cupcakes were underbaked. Try not to open the oven for the first 15 minutes of baking, and always do the toothpick test to make sure they’re fully done.
Conclusion
These cozy black velvet cupcakes with orange frosting are more than just a recipe—they’re a little moment of joy. They’re for the nights when you need a baking win, the mornings when you want to surprise your family, or the afternoons when you just want the house to smell amazing. They’re proof that you don’t need fancy ingredients or hours of free time to create something truly special.
I hope you give them a try and make them your own. Maybe add a little extra orange zest, or a pinch of cinnamon, or a different color of frosting. The best recipes are the ones that feel like yours. So please, go ahead and play with it. And when you do, I’d love to hear about it. Leave a comment below and tell me how it went, or share a photo of your creation. It honestly makes my day to see these cupcakes finding their way into your kitchens.
Happy baking, friends. Go make something cozy.
Pin This Recipe!
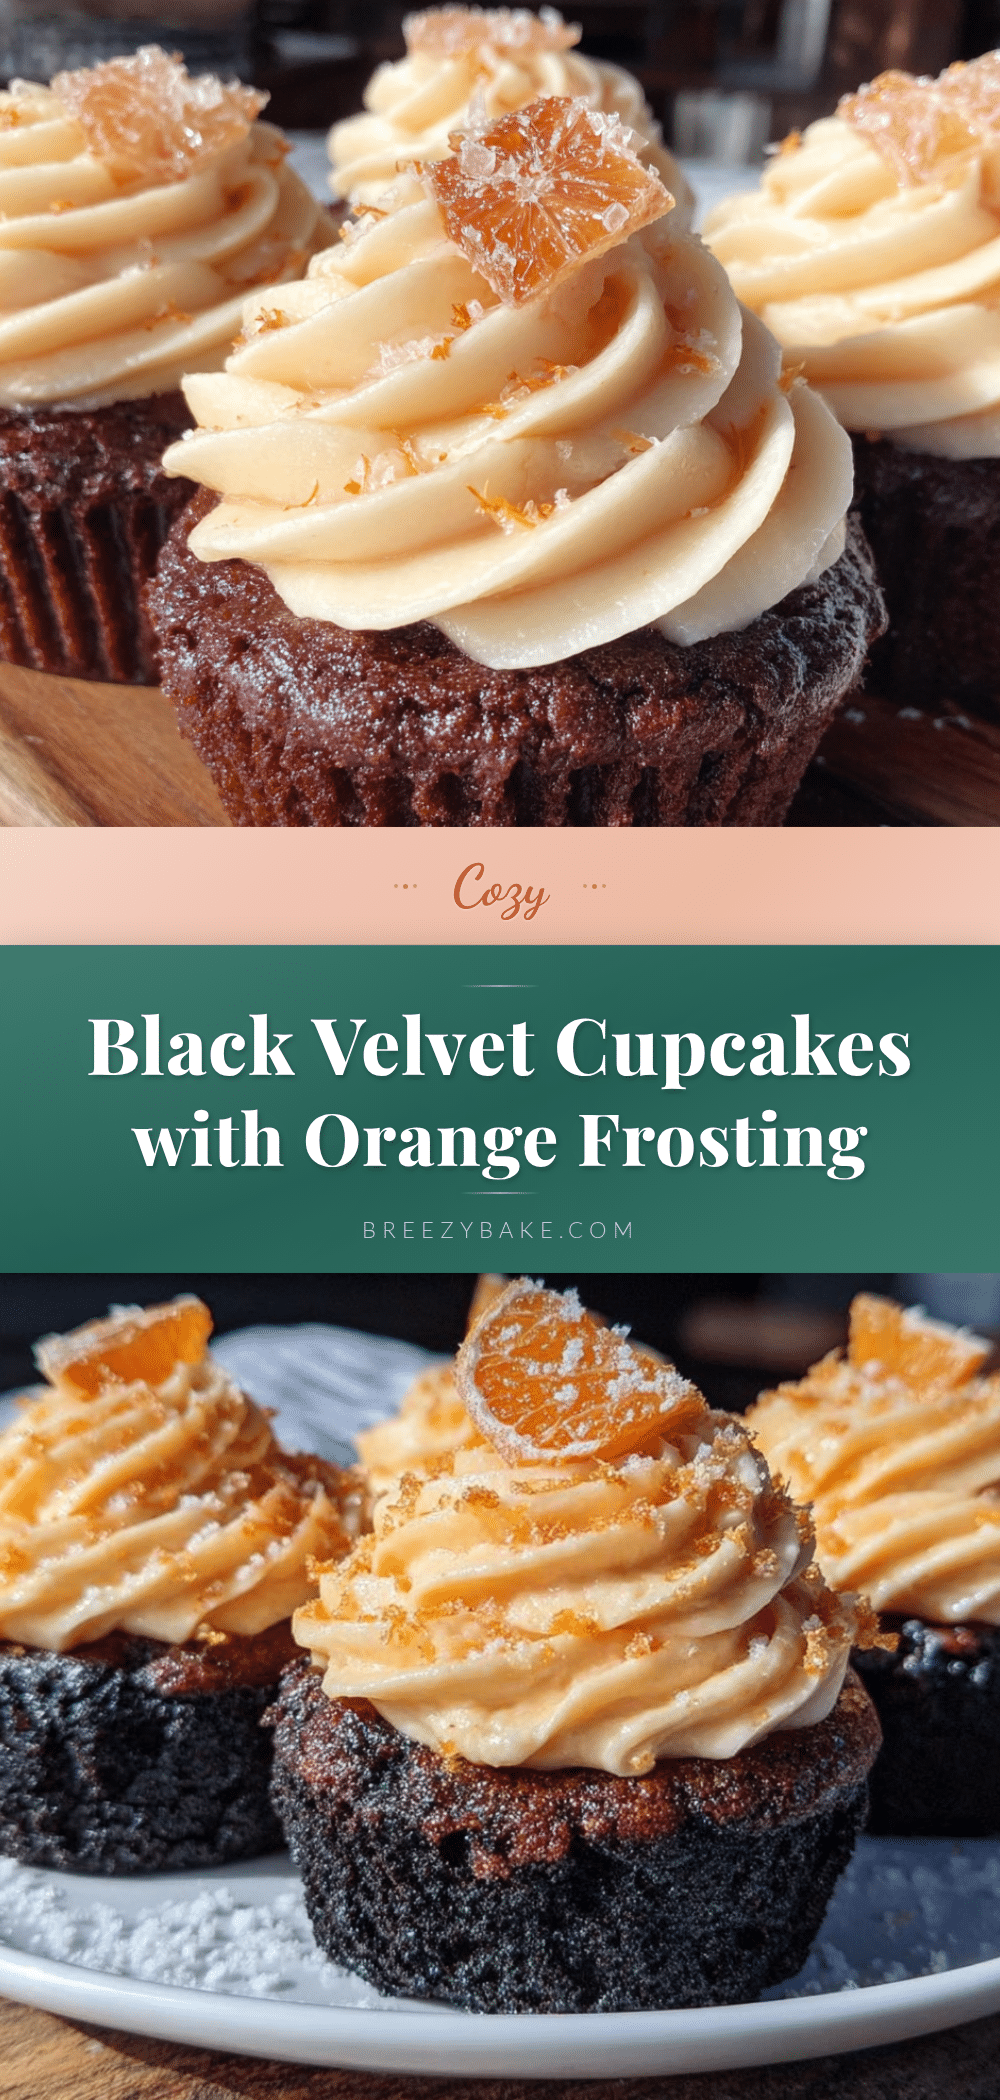
Cozy Black Velvet Cupcakes with Orange Frosting: Easy Homemade Recipe
Deep, dark black cocoa cupcakes with a tender, velvety crumb, topped with a bright and tangy orange buttercream frosting. This easy recipe comes together in about 45 minutes and is perfect for bake sales, cozy nights, or any occasion that calls for a show-stopping treat.
- Prep Time: 15 minutes
- Cook Time: 20 minutes
- Total Time: 45 minutes
- Yield: 12 cupcakes 1x
- Category: Dessert
- Cuisine: American
Ingredients
- 1 ½ cups (190g) all-purpose flour
- ½ cup (50g) black cocoa powder
- 1 cup (200g) granulated sugar
- 1 teaspoon baking soda
- ½ teaspoon salt
- 1 cup (240ml) buttermilk, room temperature
- ½ cup (120ml) vegetable oil
- 2 large eggs, room temperature
- 2 teaspoons vanilla extract
- 1 teaspoon white vinegar
- 1 cup (226g) unsalted butter, softened
- 3–4 cups (360g-480g) powdered sugar, sifted
- Zest of 2 large oranges
- 3–4 tablespoons fresh orange juice
- 1 teaspoon vanilla extract
- Pinch of salt
Instructions
- Preheat oven to 350°F (175°C). Line a 12-cup muffin tin with paper liners.
- In a large bowl, whisk together flour, black cocoa powder, sugar, baking soda, and salt until no lumps remain.
- In a separate bowl, whisk together buttermilk, vegetable oil, eggs, vanilla extract, and white vinegar until combined and slightly pale.
- Pour the wet ingredients into the dry ingredients. Fold gently with a rubber spatula until just combined (a few small lumps are fine). Do not overmix. Batter will be thin.
- Divide batter evenly among the 12 liners, filling each about ⅔ full.
- Bake for 18-22 minutes, until a toothpick inserted into the center comes out clean or with a few moist crumbs. Cool in the pan for 5 minutes, then transfer to a wire rack to cool completely.
- While cupcakes cool, make the frosting: In a large bowl, beat softened butter with an electric mixer on medium speed until smooth and creamy, about 2 minutes. Add orange zest and beat 30 seconds.
- With mixer on low, gradually add sifted powdered sugar, one cup at a time. Add orange juice and vanilla extract. Increase speed to medium-high and beat 3-4 minutes until light, fluffy, and pale orange. Adjust consistency with more juice or powdered sugar if needed.
- Once cupcakes are completely cool, frost with a piping bag or knife. Garnish with extra orange zest if desired.
Notes
Do not overmix the batter; a few lumps are fine. Room temperature ingredients are important for proper emulsification. The vinegar is essential for lift—do not skip it. For a dairy-free version, use plant-based buttermilk and vegan butter. For a gluten-free version, use a 1:1 gluten-free baking blend with xanthan gum. Cupcakes can be stored in an airtight container at room temperature for up to 2 days, or in the fridge for up to 5 days. Unfrosted cupcakes can be frozen for up to 3 months.
Nutrition
- Serving Size: 1 cupcake
- Calories: 380
- Sugar: 36
- Sodium: 280
- Fat: 20
- Saturated Fat: 10
- Carbohydrates: 48
- Fiber: 2
- Protein: 4
Keywords: black velvet cupcakes, orange frosting, easy cupcake recipe, homemade cupcakes, black cocoa cupcakes, orange buttercream


