The jar was empty before I even had a chance to put it back in the fridge. Twice in one week, friends texted me asking for the recipe. Honestly, I wasn’t expecting such a fuss over something as simple as these easy quick refrigerator dill pickles. But there they were — crunchy, tangy, with just the right amount of dill and garlic — gone in a flash during casual hangouts and last-minute snack cravings. The magic started on a lazy Sunday afternoon when I just needed something fresh to nibble on, and the store-bought pickles were, well, meh. So I grabbed some cucumbers, threw together a quick brine, and tossed the jar in the fridge. Little did I know, that quick experiment would turn into a staple that my friends keep begging for.
What’s funny is how these pickles don’t require any fancy equipment or hours of waiting. You get that satisfying crunch and bold flavor in less than 24 hours, which is honestly a game changer when you want homemade pickles without all the fuss. And the smell — that fresh dill and garlic aroma wafting out when you open the jar — it’s quietly addictive. Over time, I realized these pickles became my go-to snack, the kind that makes you pause your busy day just to savor a crisp bite.
It’s not just about the flavor, though. It’s the little moment of joy when someone reaches into the fridge and finds a jar of these, knowing they’re about to get a treat that’s homemade but effortless. That’s why this recipe stuck around in my kitchen — for the simple pleasure it brings, no matter how hectic life gets.
Why You’ll Love This Recipe
After countless trials and tweaks, this easy quick refrigerator dill pickles recipe became a trusted favorite because it hits all the right notes for homemade snacking. Here’s why it’s worth trying:
- Quick & Easy: Ready to enjoy in as little as 12-24 hours, perfect when you want a fresh snack without waiting weeks.
- Simple Ingredients: Uses everyday pantry staples like cucumbers, fresh dill, garlic, and vinegar — no fancy pickle spices needed.
- Perfect for Any Occasion: Whether it’s a casual get-together, a crunchy addition to sandwiches, or just a solo snack, these pickles fit right in.
- Crowd-Pleaser: I’ve seen kids and adults alike keep coming back for more — that crisp snap is universally loved.
- Unbelievably Delicious: The balance of tangy, savory, and herby flavors is spot on, with a texture that beats store-bought every time.
This isn’t just another pickle recipe floating around. What sets it apart is the quick fridge method combined with a perfectly balanced brine that highlights fresh dill’s aroma and garlic’s subtle punch — no overpowering sourness, just a clean, lively flavor. Plus, the cucumbers stay crisp because of a little secret: a pinch of sugar in the brine that keeps everything bright and fresh.
Honestly, it’s the kind of recipe that makes you close your eyes after the first bite, savoring the crunch and that burst of flavor. It’s homemade snacking made simple, with a bit of soul and a whole lot of crunch.
What Ingredients You Will Need
This recipe uses simple, wholesome ingredients to deliver bold flavor and satisfying texture without the fuss. Most of these are pantry staples, and the fresh dill gives it that unmistakable pickle vibe. Here’s what you’ll want to have on hand:
- Fresh Cucumbers: About 1 pound (450g) of small to medium pickling cucumbers or Kirby cucumbers, sliced into spears or rounds depending on your preference.
- Fresh Dill: 2-3 sprigs or about 2 tablespoons of chopped fresh dill (the hero flavor here). I like to use dill from my garden or local farmer’s market for the best aroma.
- Garlic Cloves: 2-3 cloves, peeled and lightly crushed to release flavor.
- White Vinegar: 1 cup (240ml) — use plain white distilled vinegar for a clean, bright acidity.
- Water: 1 cup (240ml) — filtered or tap water works fine here.
- Salt: 1 tablespoon of kosher salt or pickling salt (table salt can work but kosher is preferred for purity).
- Sugar: 1 teaspoon — just a pinch to balance the acidity, not to make it sweet.
- Black Peppercorns: 1 teaspoon whole peppercorns add a subtle heat and complexity.
- Optional: 1/2 teaspoon red pepper flakes if you like a little kick.
Pro tip: Look for firm cucumbers without soft spots to keep your pickles crisp. If you want a gluten-free or keto-friendly snack, this recipe fits right in without any modifications. You can swap the white vinegar with apple cider vinegar for a slightly fruitier taste, but it changes the color and flavor a bit.
Equipment Needed
One of the best parts of this easy quick refrigerator dill pickles recipe is how little gear you actually need. Here’s what will make the process smoother:
- Glass Jar with Lid: A quart-sized (about 1 liter) mason jar or any clean glass jar that seals well. I’ve used regular mason jars and even repurposed pickle jars — both work fine.
- Mixing Bowl: For combining the brine ingredients before pouring over cucumbers.
- Measuring Cups and Spoons: Accurate measurements are key for balanced flavor.
- Knife and Cutting Board: To slice your cucumbers evenly.
- Optional: A small funnel can help pour the brine without spills.
If you don’t have a mason jar, any airtight container will do, but glass is best because it doesn’t react with vinegar. I once tried plastic and noticed a slight off-flavor after a couple of days. Also, keeping your jar clean and sterilized helps the pickles last longer and taste fresher.
Preparation Method
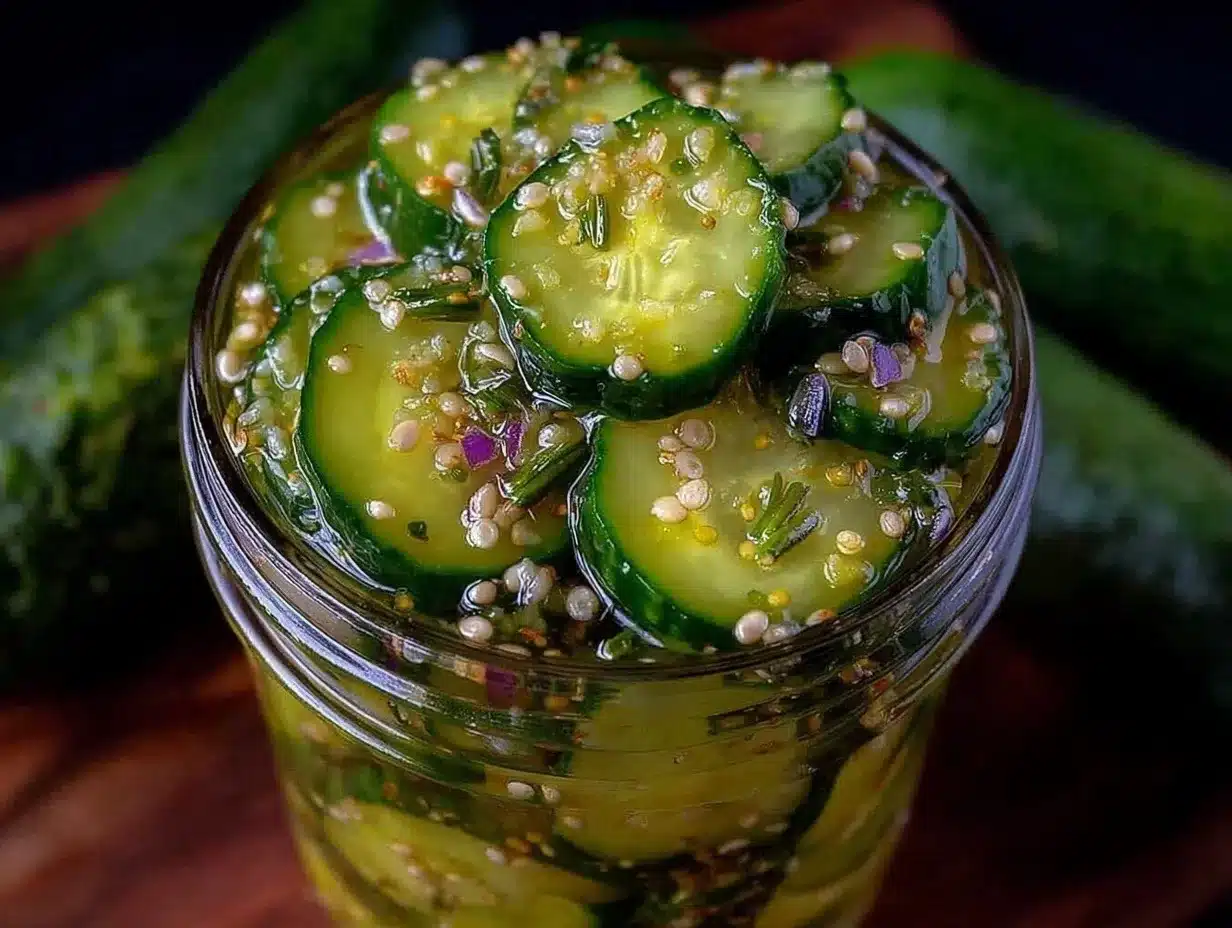
- Prepare the Cucumbers: Rinse 1 pound (450g) of cucumbers under cold water and pat dry. Slice them into spears about 3-4 inches long or into 1/4-inch (6mm) thick rounds depending on your preference. Even slices help the brine soak evenly. (Time: 5-7 minutes)
- Make the Brine: In a mixing bowl, combine 1 cup (240ml) white vinegar, 1 cup (240ml) water, 1 tablespoon kosher salt, and 1 teaspoon sugar. Stir until the salt and sugar dissolve completely. The brine should taste tangy but balanced—if it tastes too strong, add a bit more water. (Time: 3 minutes)
- Pack the Jar: Place 2-3 sprigs of fresh dill, 2-3 crushed garlic cloves, and 1 teaspoon whole black peppercorns into the bottom of your sterilized 1-quart jar. Add cucumbers snugly on top but don’t crush them. If you like a little spice, sprinkle in 1/2 teaspoon red pepper flakes now. (Time: 5 minutes)
- Pour the Brine: Carefully pour the brine over the cucumbers, making sure they’re fully submerged. Leave about 1/2 inch (1.3cm) of headspace at the top. You can press down gently with a spoon to release any air bubbles. (Time: 2 minutes)
- Seal and Refrigerate: Screw the lid on tightly and place the jar in the refrigerator. Let the pickles marinate for at least 12 hours, but ideally 24 hours for maximum flavor and crunch. (Time: 12-24 hours)
- Enjoy: Once ready, grab a pickle spear or two and enjoy the satisfying crunch and bright dill flavor. Store the jar in the fridge and consume within 2-3 weeks for best taste. (Time: Ready to eat)
Watch out for cloudy brine — it’s normal and harmless, just a sign of fermentation starting. If you notice any off smells or mold, discard immediately. Also, for extra crispiness, try soaking the cucumbers in ice water for an hour before slicing.
Cooking Tips & Techniques
Getting perfect pickles every time can be surprisingly tricky, but a few tips from my kitchen make it easier:
- Slice Uniformly: This ensures even pickling. I use a mandoline slicer sometimes for perfectly thin rounds, but a sharp knife works fine if you take your time.
- Use Pickling Salt: It dissolves cleanly and avoids cloudiness. Avoid iodized table salt, which can cause off-flavors and discoloration.
- Fresh Dill is Key: Dried dill just doesn’t cut it here. The fresh herb oils give that unmistakable aroma and flavor you want in dill pickles.
- Don’t Skip the Sugar: Even a small amount balances the sharpness of the vinegar and keeps the cucumbers crisp.
- Keep Pickles Submerged: Use a clean weight or small glass insert if needed to prevent cucumbers from floating and spoiling.
- Refrigerate Promptly: This recipe is not for canning; it’s a quick fridge pickle. Keep them cold to maintain crunch and freshness.
- Experiment with Garlic: Crushing the cloves releases more flavor than slicing. If you want milder garlic notes, just add whole cloves instead.
One rookie mistake I made was rushing to eat the pickles after just a few hours. They tasted harsh and bland. Patience really pays off here — waiting a full day lets all those flavors marry beautifully. Also, I recommend pairing these pickles with something like a crispy chicken nacho crust pizza for a snack combo that’s next-level satisfying.
Variations & Adaptations
This easy quick refrigerator dill pickles recipe is a great base to customize depending on what you like or have on hand. Here are some variations I’ve tried and loved:
- Spicy Pickles: Add extra red pepper flakes or a sliced jalapeño for a fiery kick that pairs great with burgers or sandwiches.
- Garlic Lover’s Pickles: Double the garlic cloves and add a few smashed cloves directly into the jar for a bolder, punchier flavor.
- Herb Mix: Swap fresh dill for a mix of dill and fresh thyme or tarragon for a more complex herbal profile.
- Low Sodium: Reduce the salt by half and add a splash of lemon juice to maintain brightness without overwhelming sodium.
- Vinegar Variations: Try apple cider vinegar for a softer acidity or rice vinegar for a slightly sweeter profile.
For a fun twist, once your pickles are ready, chop them and toss into potato salad or add them to a creamy sandwich spread. I even enjoyed them paired alongside refreshing desserts like the creamy pink strawberry cream puff bars — the contrast works surprisingly well!
Serving & Storage Suggestions
Serve these quick refrigerator dill pickles cold right out of the jar for the best crunch and tang. They’re a perfect snack on their own, or a crisp side to rich dishes like grilled sandwiches or burgers.
Try serving them alongside a fresh sandwich platter or as a crunchy topping on a classic chicken veggie skillet wrap for an easy lunch that’s packed with flavor and texture.
For storage, keep the pickles sealed in the refrigerator. They’ll stay fresh and crisp for up to 3 weeks. Over time, the flavor intensifies and becomes a bit more sour, so if you prefer milder pickles, eat them within the first week.
To reheat (if you want warm pickles for cooking), briefly simmer in their brine on the stove for a minute or two — but honestly, they’re best enjoyed cold and crunchy.
Nutritional Information & Benefits
These easy quick refrigerator dill pickles are naturally low in calories — about 10-15 calories per serving — and fat-free. They’re a good source of antioxidants from fresh dill and garlic, which may support digestion and immune health.
The vinegar and salt content help preserve the cucumbers while providing electrolytes, making them a refreshing, hydrating snack. Keep in mind, they do contain sodium, so enjoy in moderation if you’re watching salt intake.
This recipe is naturally gluten-free, vegan, and keto-friendly — a great wholesome option for anyone seeking fresh, crunchy snacks without extra carbs or processed ingredients.
Conclusion
It’s funny how something so simple as homemade pickles can make such an impression. This easy quick refrigerator dill pickles recipe is proof that good food doesn’t have to be complicated or time-consuming. It’s a fresh, crunchy snack that’s both satisfying and surprisingly versatile.
Whether you’re a pickle newbie or a seasoned fan, this recipe offers a solid base you can tweak to your liking — from spicy to garlicky, or even herb-infused. I keep coming back to it because it never fails to deliver that perfect balance of tang, crunch, and flavor.
Give it a try, tweak it your way, and you might find yourself texting friends for the recipe too. And hey, if you ever want a sweet treat to pair with your crunchy pickles, the decadent chocolate-covered strawberry mousse cups are a dreamy match.
FAQs About Easy Quick Refrigerator Dill Pickles
How long do refrigerator dill pickles take to be ready?
They’re usually ready to eat after 12 hours but taste best after 24 hours in the fridge for full flavor development.
Can I use regular cucumbers instead of pickling cucumbers?
You can, but pickling cucumbers are firmer and hold up better during pickling. Regular slicing cucumbers might get softer faster.
Do I need to sterilize the jar?
It’s a good practice to wash jars in hot soapy water and rinse well to keep your pickles fresh longer, but strict sterilization isn’t necessary for quick fridge pickles.
Can I make these pickles spicy?
Absolutely! Adding red pepper flakes, sliced jalapeños, or even a dash of hot sauce gives them a nice spicy kick.
How long can I store these pickles in the fridge?
They stay fresh for up to 3 weeks refrigerated. The flavor intensifies over time, so enjoy them sooner if you prefer milder pickles.
Pin This Recipe!
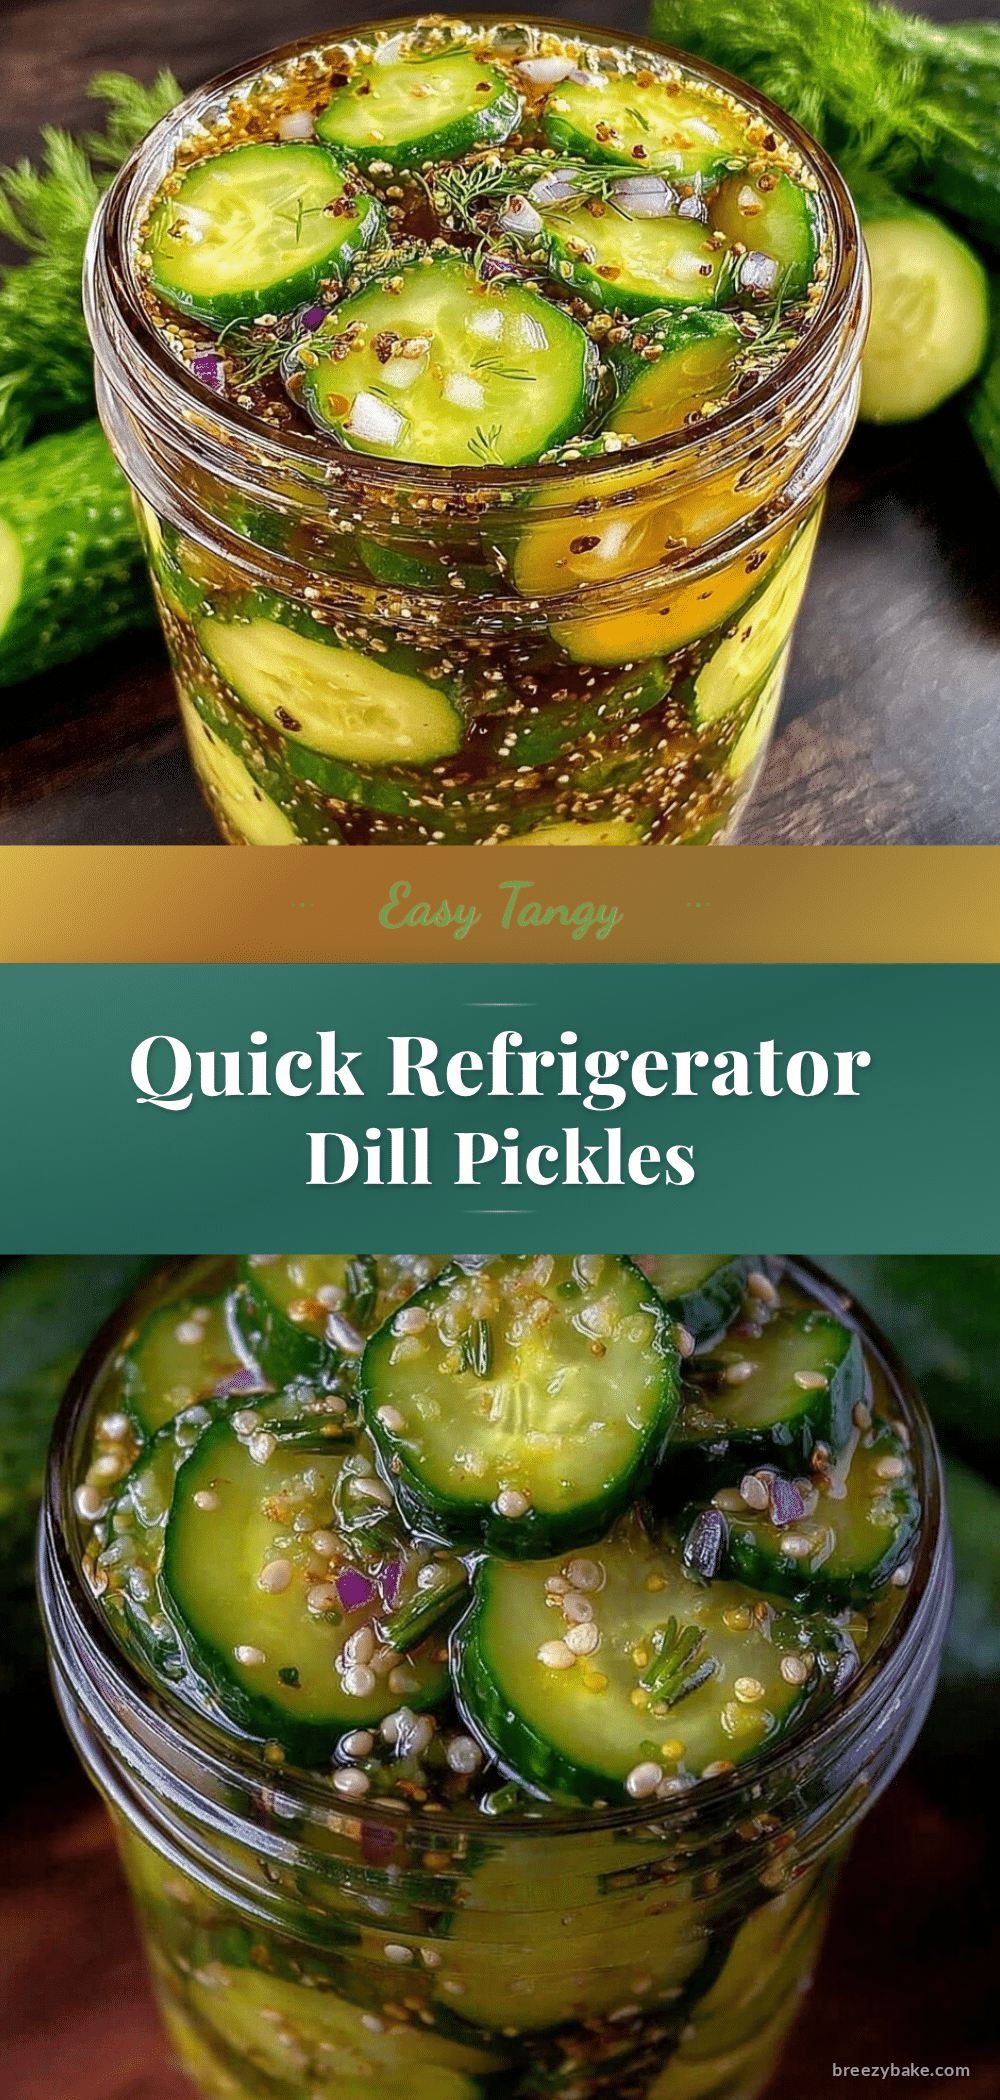
Easy Quick Refrigerator Dill Pickles Recipe Perfect for Homemade Snacks

Crunchy, tangy refrigerator dill pickles ready in 12-24 hours, perfect for quick homemade snacking with simple pantry ingredients.
- Prep Time: 10 minutes
- Cook Time: 0 minutes
- Total Time: 12-24 hours
- Yield: About 4 servings 1x
- Category: Snack
- Cuisine: American
Ingredients
- 1 pound (450g) small to medium pickling cucumbers or Kirby cucumbers, sliced into spears or rounds
- 2–3 sprigs or about 2 tablespoons chopped fresh dill
- 2–3 garlic cloves, peeled and lightly crushed
- 1 cup (240ml) white distilled vinegar
- 1 cup (240ml) water
- 1 tablespoon kosher salt or pickling salt
- 1 teaspoon sugar
- 1 teaspoon whole black peppercorns
- Optional: 1/2 teaspoon red pepper flakes
Instructions
- Rinse cucumbers under cold water and pat dry. Slice into 3-4 inch spears or 1/4-inch thick rounds.
- In a mixing bowl, combine white vinegar, water, kosher salt, and sugar. Stir until dissolved.
- Place fresh dill sprigs, crushed garlic cloves, and black peppercorns into the bottom of a sterilized 1-quart glass jar. Add cucumbers snugly on top without crushing. Add red pepper flakes if desired.
- Pour the brine over the cucumbers, ensuring they are fully submerged. Leave about 1/2 inch of headspace. Press down gently to release air bubbles.
- Seal the jar tightly and refrigerate for at least 12 hours, ideally 24 hours for best flavor and crunch.
- Enjoy cold directly from the jar. Store refrigerated and consume within 2-3 weeks.
Notes
Use firm cucumbers without soft spots for best crunch. Soaking cucumbers in ice water for an hour before slicing can increase crispiness. Use pickling salt to avoid cloudiness. Keep pickles submerged in brine to prevent spoilage. Refrigerate promptly and consume within 3 weeks. Cloudy brine is normal; discard if off smells or mold appear.
Nutrition
- Serving Size: Approximately 1/4 of
- Calories: 1015
- Sugar: 1
- Sodium: 600
- Carbohydrates: 2
- Fiber: 0.5
Keywords: quick pickles, refrigerator pickles, dill pickles, homemade pickles, easy snack, crunchy pickles, dill, garlic, quick refrigerator pickles


