That’s exactly what my niece blurted out while ripping into one of the fruit roll-ups I had just made. Honestly, I wasn’t expecting such an enthusiastic reaction, especially because these fruit rolls are ridiculously simple — just three ingredients, no fancy tools, no weird preservatives. She’s a tough critic, so when she said that, I knew I had stumbled onto something good.
We were hanging out on a lazy Sunday afternoon, and I wanted a snack that wasn’t the usual chips or cookies. The fridge was looking a little bare, but there was plenty of fruit on the counter and some honey in the pantry. I figured, why not make homemade fruit roll-ups? Turns out, it was one of those happy accidents that became a household favorite. The sweet smell of cooked fruit filling the kitchen, the sticky yet smooth texture, and the bright colors — it all felt like a little celebration of simple things.
These easy homemade fruit roll-ups with 3 simple ingredients stuck with me because they’re not just kid-pleasers; they’re perfect for anyone craving a fresh, natural treat without the junk. Plus, making them yourself means you control what goes in — no artificial colors or flavors sneaking in. I still remember pulling the warm sheet from the oven and letting it cool just enough so my niece could help peel the edges. It’s funny how something so easy can turn into a little ritual that brings everyone together.
So, if you’re curious about a no-fuss, wholesome snack that feels like a throwback but tastes way better, these fruit roll-ups might just become your new go-to. No need for a fancy food processor or a trip to the specialty store — just three ingredients, a little patience, and a craving for something sweet and chewy. Honestly, it’s the kind of recipe that makes you realize good snacks don’t have to be complicated.
Why You’ll Love This Easy Homemade Fruit Roll-Ups Recipe
Making your own fruit roll-ups sounds like a lot of work, right? Honestly, this recipe proves otherwise. After a few tries and tweaks, I landed on a version that’s super straightforward but still packs that perfect chewy, fruity punch. Here’s why you’ll want to keep this recipe handy:
- Quick & Easy: Ready in about an hour from start to finish, including baking and drying time — perfect for a last-minute snack fix.
- Simple Ingredients: You only need three ingredients, all of which are probably lurking in your kitchen already. No hunting for weird additives or artificial stuff.
- Perfect for Kids & Adults: These are a hit with kids who love the fun, chewy texture and adults who appreciate the real fruit flavor.
- Customizable Flavor: You can tweak the fruit choice based on what’s in season or what you love most — strawberries, mango, mixed berries, you name it.
- Healthier Snack Alternative: With no added preservatives or artificial colors, it’s a guilt-free treat that feels homemade and wholesome.
- Great for On-the-Go: These roll-ups store well and are easy to pack for school lunches, hikes, or road trips.
This isn’t just another fruit roll-up recipe. What sets it apart is the way it uses natural sweetness and a little honey to bring out the fruit’s best notes while keeping texture smooth and pliable. Plus, I’ve tried versions with blended cottage cheese before (sounds weird, I know!), but sticking to pure fruit made these way more kid-friendly and less messy.
Honestly, once you make these, you’ll notice the difference — they’re like a fresh burst of summertime in every bite, but with the comfort of a chewy snack you grew up loving. Sometimes the simplest recipes are the ones that win your heart and your taste buds for good.
What Ingredients You Will Need
This easy homemade fruit roll-ups recipe uses simple, wholesome ingredients to deliver bold flavor and that perfect chewy texture without any fuss. You can find everything at your local grocery or likely already in your pantry. Here’s the breakdown:
- Fresh or Frozen Fruit (about 3 cups / 450g): Choose ripe, flavorful fruit like strawberries, mangoes, or mixed berries. For a bright color and natural sweetness, I love using strawberries. If using frozen, thaw and drain excess liquid.
- Honey (2 tablespoons / 30 ml): Adds natural sweetness and helps with the chewiness. You can substitute with maple syrup if you prefer a vegan option.
- Lemon Juice (1 tablespoon / 15 ml): Balances the sweetness and helps preserve color and flavor during baking.
Optional: A pinch of cinnamon or vanilla extract can add subtle warmth or aroma if you want to play around with flavor. But honestly, the fruit shines best all on its own.
Ingredient Tips: When picking your fruit, go for those that are juicy and ripe but not overly mushy. I recommend using organic fruit if you can, especially berries, for the best taste and fewer pesticides. If you want to switch things up, try peach or apricot for a summery vibe, or even pineapple for a tropical twist.
Looking for a gluten-free and nut-free snack? This recipe fits perfectly since it’s pure fruit-based. You can also swap honey out for agave syrup or brown rice syrup for alternative sweeteners. Just keep in mind that the sweetness and texture might vary slightly.
Equipment Needed
One of the best things about this recipe is how little equipment you really need. Here’s a list of what made my fruit roll-ups easier to prepare:
- Blender or Food Processor: For pureeing the fruit to a smooth consistency. I’ve used both, but a blender with a good motor (like a Vitamix or Ninja) makes it silky and quick.
- Baking Sheet: A standard 9×13-inch (23×33 cm) pan works well. Make sure it’s rimmed to prevent spills.
- Parchment Paper or Silicone Baking Mat: Essential for lining the pan so the fruit mixture doesn’t stick. I’ve found silicone mats like Silpat reusable and easy to clean, but parchment paper works just fine.
- Spatula: To spread the puree evenly. A flexible offset spatula helps get a smooth surface.
- Oven: Needed for drying the fruit roll-ups at a low temperature.
Optional but helpful: A kitchen scale if you want to measure fruit precisely (especially useful if you experiment with different fruits). Also, a sharp knife to trim edges if you want neat squares or rolls. I’ve made these with just a butter knife, though — nothing fancy needed.
Maintenance tip: If you use a silicone mat, rinse it gently with warm water right after use to keep it in good shape. And don’t skip lining the pan — trust me, it makes peeling off the fruit roll-ups a breeze.
Preparation Method
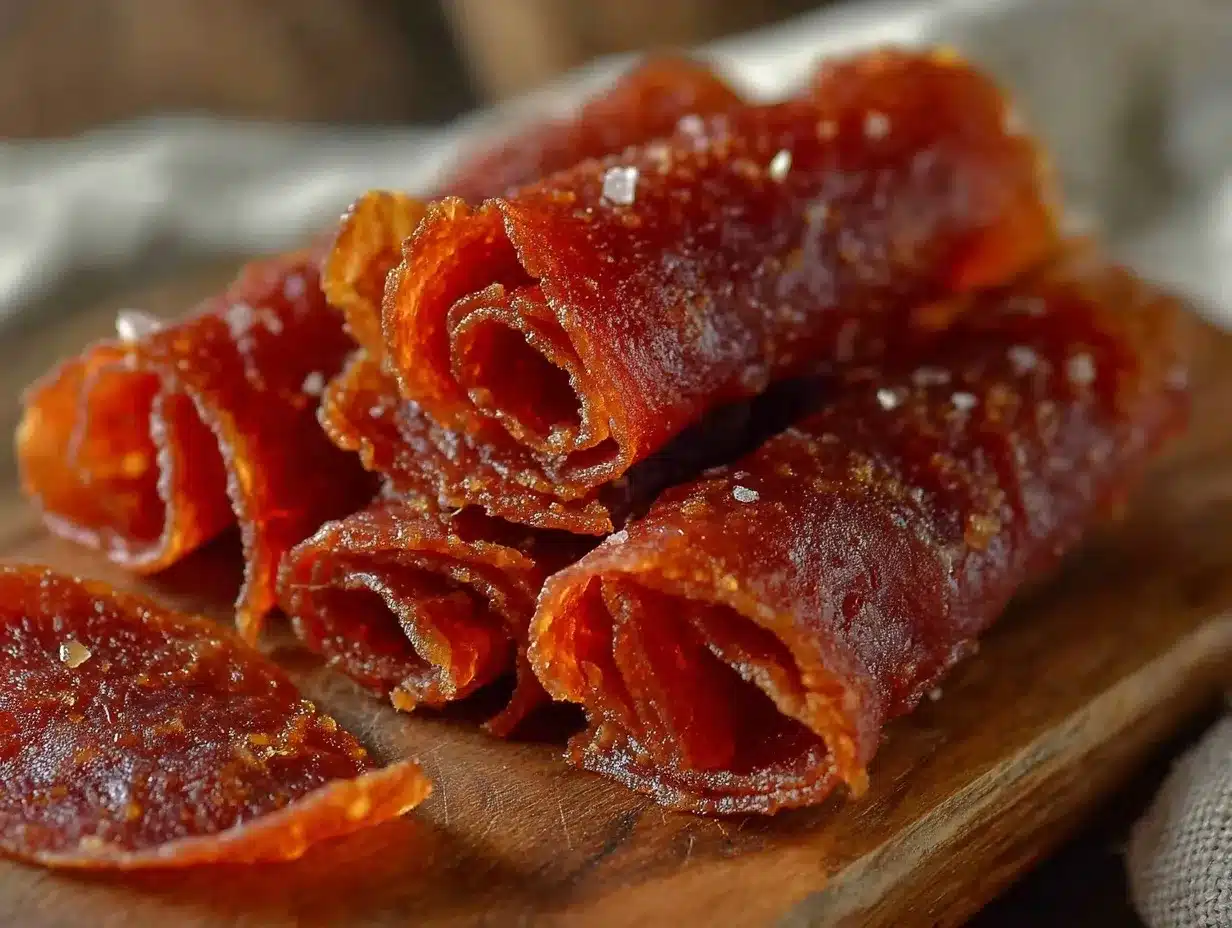
- Preheat your oven to 170°F (75°C). This low temperature helps dry the fruit without cooking it too aggressively. It’s slow but worth the patience.
- Prepare your baking sheet by lining it with parchment paper or a silicone baking mat. This prevents sticking and makes peeling easier later.
- Puree the fruit: Add about 3 cups (450g) of fresh or thawed fruit to your blender or food processor. Blend until completely smooth. Depending on your fruit, you might want to scrape down the sides a couple of times to get an even puree. The texture should be thick but spreadable.
- Add honey and lemon juice: Stir in 2 tablespoons (30 ml) honey and 1 tablespoon (15 ml) lemon juice directly into the puree. This balances sweetness and preserves brightness. Mix well.
- Spread the puree evenly: Pour the fruit mixture onto the lined baking sheet. Using a spatula, spread it out to about 1/8-inch (3 mm) thickness. Try to keep the layer even — this helps it dry uniformly.
- Bake low and slow: Place the baking sheet in the preheated oven. Bake for about 4 to 6 hours, checking after 4 hours. The fruit roll-up should feel tacky but not wet and easily peel away from the parchment or mat. Baking time varies depending on fruit moisture and oven accuracy.
- Cool and peel: Once dried to your liking, remove the sheet from the oven and let it cool completely. Then, gently peel the fruit roll-up away from the lining. If it sticks, give it a little more drying time.
- Cut and store: Use scissors or a sharp knife to cut into strips or fun shapes. Roll them up in parchment paper or plastic wrap to keep fresh.
Pro tip: If you want a chewier texture, bake closer to 4 hours; for a firmer roll-up, aim for closer to 6 hours. Also, don’t rush the cooling step — peeling too early can cause tearing.
Sometimes the fruit puree bubbles a bit during baking — this is normal, just pop the bubbles with your spatula for an even surface. And if you want to experiment, you can sprinkle a tiny pinch of salt over the puree before baking to enhance flavors subtly.
Cooking Tips & Techniques
Making fruit roll-ups at home sounds simple, but a few tricks can save you from frustration and make your results shine.
- Use ripe fruit: Overripe fruit can be too watery, making drying take longer. Under-ripe fruit lacks sweetness. Aim for fruit that’s just right — juicy and sweet.
- Don’t skip lemon juice: It’s not just for flavor; lemon juice helps prevent discoloration and keeps your fruit roll-ups looking vibrant.
- Spread evenly: Uneven thickness means some parts dry too fast and others stay sticky. A thin, uniform layer does wonders.
- Be patient: The drying process takes time. Resist the urge to crank up the oven temperature to speed things up — it just cooks the fruit instead of drying it.
- Test for doneness: The fruit roll-up is ready when it peels easily and feels dry to the touch but still flexible. If it cracks when you bend it, it’s over-dried.
- Storage matters: Keep roll-ups in an airtight container or wrapped tightly to prevent them from getting too hard or sticky over time.
I once tried speeding up the drying by raising the oven to 250°F (120°C), and it ended up more like fruit leather brittle — not the chewy treat I wanted. Also, using a silicone mat made peeling much easier than parchment paper for me, but both work well.
When multitasking, I usually start the puree in the morning and let it bake while I catch up on other things. It’s a great low-maintenance project that rewards you with homemade goodness by afternoon.
Variations & Adaptations
This easy homemade fruit roll-ups recipe is a perfect base for all kinds of twists. Here are some ways to mix it up:
- Seasonal Fruit Mix: Combine berries in summer, or try apple and cinnamon in fall for a cozy vibe. Just cook apples down a bit before pureeing since they’re less juicy.
- Flavor Boosts: Add a teaspoon of vanilla extract or a sprinkle of ground ginger for a subtle flavor lift. You can also stir in chia seeds for texture and nutrition.
- Diet-Friendly: Swap honey with agave syrup or maple syrup for a vegan-friendly roll-up. Use stevia or erythritol for a low-sugar option, but keep in mind it may affect texture.
- Cooking Methods: If you don’t want to use an oven, a food dehydrator works wonderfully and might produce a chewier result. Set the dehydrator to about 135°F (57°C) and dry for 6-8 hours.
- Personal Twist: One time, I tried blending in a handful of fresh mint leaves with strawberry puree — it was unexpectedly refreshing and fun for summer snacks.
Play around with your favorite fruits and spices — the recipe is forgiving and perfect for creative cooks who want to keep it simple but interesting.
Serving & Storage Suggestions
These fruit roll-ups are best enjoyed at room temperature, where they’re perfectly chewy and flexible. If they get too stiff in the fridge, just let them sit out for a few minutes before serving — they soften up nicely.
Roll them up individually in parchment paper or plastic wrap to keep them from sticking together. They also make great little party favors or lunchbox treats.
For storage, keep fruit roll-ups in an airtight container at room temperature for up to 2 weeks. They last longer in the fridge (about a month), but the texture can get a bit tougher.
If you want to freeze them, wrap tightly and store in a freezer-safe bag for up to 3 months. Thaw at room temperature before unrolling.
These roll-ups pair well with nut butters or a side of yogurt for a balanced snack. I’ve also served them alongside creamy strawberry cream puff bars for a fun fruity dessert spread.
Nutritional Information & Benefits
These easy homemade fruit roll-ups are a healthier alternative to store-bought snacks, with no added preservatives or artificial ingredients. Here’s what you’re getting per serving (approximate for 1 roll-up):
| Calories | 70-90 |
|---|---|
| Carbohydrates | 18g (mostly natural sugars) |
| Fiber | 1.5g |
| Protein | 0.5g |
| Fat | 0g |
The key benefit is you’re mainly getting fruit sugars and fiber, plus a little boost from honey’s antioxidants. Lemon juice adds vitamin C and helps keep things fresh. This recipe is naturally gluten-free, dairy-free, and nut-free (unless you add spreads), making it suitable for many diets.
From a wellness standpoint, I love that these fruit roll-ups satisfy sweet cravings without the chemical overload. They’re a small treat that feels indulgent but is genuinely good for you.
Conclusion
Making easy homemade fruit roll-ups with just 3 simple ingredients is one of those little kitchen wins that feels surprisingly satisfying. It’s a recipe that lets you enjoy a nostalgic snack in a fresh, wholesome way without complicated steps or weird additives. The natural fruit flavor combined with honey and lemon is just right — simple, sweet, and chewy.
Whether you’re packing snacks for the kids, looking for a healthier treat, or just want to try something fun and easy in the kitchen, this recipe delivers. I hope you find the same joy in making and sharing these fruit roll-ups as I do. And remember, don’t be afraid to put your own spin on it — that’s half the fun.
If you end up making these, I’d love to hear how you customized them or what fruit combos you tried. Drop a comment, share your tips, or even your favorite snack pairing. Happy rolling!
Frequently Asked Questions About Easy Homemade Fruit Roll-Ups
Can I use frozen fruit for this recipe?
Yes! Just thaw and drain the fruit well to remove excess moisture before pureeing. This helps keep the texture right and reduces drying time.
How long do homemade fruit roll-ups last?
Stored in an airtight container at room temperature, they last about 1-2 weeks. Refrigerate for up to a month to extend shelf life, but texture may firm up.
Can I use sugar instead of honey?
You can, but honey adds moisture and chewiness that sugar alone doesn’t. If using sugar, dissolve it in a little water before mixing with the fruit puree.
How thin should I spread the fruit puree?
About 1/8 inch (3 mm) thickness is ideal. Too thick and it takes forever to dry; too thin and it can tear easily.
What if my fruit roll-ups stick to the parchment paper?
Make sure to use enough lemon juice and don’t rush cooling. If they still stick, pop them back in the oven at a low temperature for a bit longer to dry out more.
Pin This Recipe!
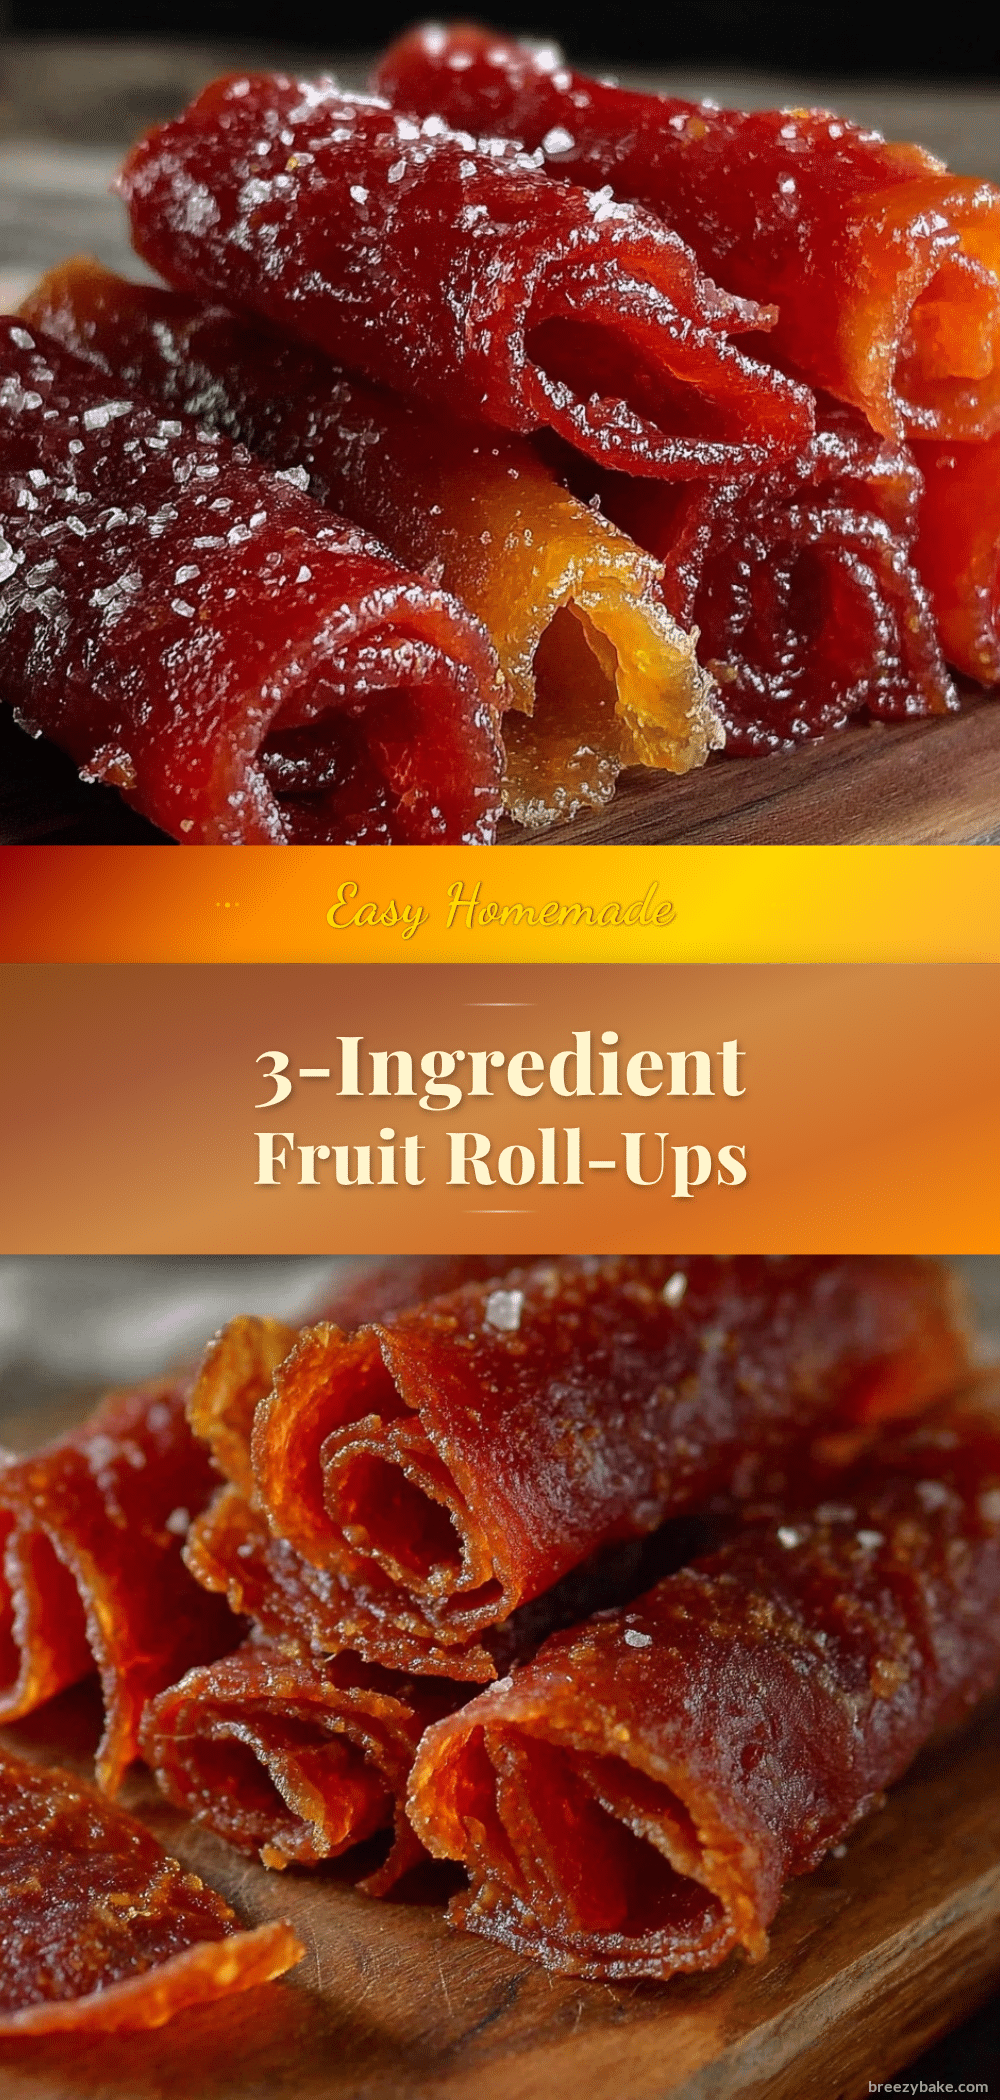
Easy Homemade Fruit Roll-Ups Recipe with 3 Simple Ingredients to Make Now

A simple and wholesome recipe for homemade fruit roll-ups using just three ingredients. Perfect for a natural, chewy snack without preservatives or artificial additives.
- Prep Time: 15 minutes
- Cook Time: 4 to 6 hours
- Total Time: 4 hours 15 minutes to 6 hours 15 minutes
- Yield: About 8 roll-ups 1x
- Category: Snack
- Cuisine: American
Ingredients
- 3 cups (450g) fresh or frozen fruit (e.g., strawberries, mangoes, mixed berries)
- 2 tablespoons (30 ml) honey (or maple syrup for vegan option)
- 1 tablespoon (15 ml) lemon juice
- Optional: pinch of cinnamon or vanilla extract
Instructions
- Preheat your oven to 170°F (75°C).
- Line a 9×13-inch baking sheet with parchment paper or a silicone baking mat.
- Puree about 3 cups (450g) of fresh or thawed fruit in a blender or food processor until smooth.
- Stir in 2 tablespoons (30 ml) honey and 1 tablespoon (15 ml) lemon juice into the puree.
- Spread the fruit mixture evenly on the lined baking sheet to about 1/8-inch (3 mm) thickness.
- Bake in the preheated oven for 4 to 6 hours, checking after 4 hours. The roll-up should feel tacky but not wet and peel easily.
- Remove from oven and let cool completely.
- Gently peel the fruit roll-up from the lining. If it sticks, bake a bit longer.
- Cut into strips or shapes and roll up in parchment paper or plastic wrap for storage.
Notes
Use ripe but not overly mushy fruit for best results. Lemon juice helps preserve color and flavor. Baking time varies by fruit moisture and oven accuracy. For chewier texture, bake closer to 4 hours; for firmer, closer to 6 hours. Store in airtight container at room temperature up to 2 weeks or refrigerate up to 1 month. Freezing is possible for up to 3 months.
Nutrition
- Serving Size: 1 roll-up
- Calories: 7090
- Carbohydrates: 18
- Fiber: 1.5
- Protein: 0.5
Keywords: fruit roll-ups, homemade fruit snacks, healthy snacks, natural fruit roll-ups, easy fruit roll-ups, kid-friendly snacks, gluten-free snacks, vegan snacks


