The plate came back to the kitchen with nothing but a few crumbs and a smudge of melted cheese. My four-year-old nephew had eaten four of them before I even finished making the dipping sauce. That was the moment I knew these easy cheese quesadilla dippers for kids were something special—not just another snack, but the kind of thing that makes little faces light up and gets them asking for “more, please” with that hopeful look you just can’t say no to.
I wasn’t trying to create a recipe that day. Honestly, I was just trying to get lunch on the table with minimal fuss while my sister’s kids ran circles around the kitchen island. I grabbed some tortillas from the fridge, a block of cheddar that was hanging out in the cheese drawer, and figured I’d make quick quesadillas. But instead of cutting them into wedges like I usually do, I sliced them into narrow strips—dippers, basically. The kids went absolutely nuts for them. They dipped them in salsa, in sour cream, in ketchup (don’t judge, it’s a thing), and even in the leftover ranch dressing from yesterday’s salad.
That accidental discovery turned into our go-to snack for playdates, after-school hangry moments, and those evenings when dinner is taking too long and everyone needs something in their stomachs right now. These quesadilla dippers are crispy on the outside, perfectly melty on the inside, and cut into kid-friendly strips that are easy for little hands to hold. No utensils required. No complicated steps. Just pure, cheesy goodness that comes together in about ten minutes flat.
I’ve made these so many times now that I don’t even think about it anymore. They’ve become one of those recipes that just lives in my hands, you know? And every time I serve them, I watch the same thing happen—the quiet satisfaction of seeing everyone happy and fed. That’s really what cooking is about, isn’t it?
Why You’ll Love This Recipe
Let me tell you why these easy cheese quesadilla dippers for kids have earned a permanent spot in our weekly rotation. I’ve tested this recipe more times than I can count—with different cheeses, different tortillas, different cooking methods—and I can confidently say this version is the one that works every single time.
- Ready in Under 10 Minutes : From start to finish, you’re looking at about eight minutes. That’s faster than ordering takeout and way more satisfying than opening a box of crackers.
- Simple Ingredients You Already Have : Tortillas, cheese, butter or oil—that’s really all you need. No fancy grocery store trips required. You probably have everything in your kitchen right this second.
- Perfect for Picky Eaters : These dippers are mild, melty, and fun to eat. Even the most stubborn little eaters tend to give them a try because they look like “fun food.”
- Totally Customizable : You can switch up the cheese, add fillings, change the dipping sauce—whatever works for your family’s taste buds.
- Less Mess Than Regular Quesadillas : Because they’re cut into strips, there’s less pulling and stretching. Kids can grab one strip at a time without making a huge mess.
What makes these different from every other quesadilla recipe out there? It’s the technique. I cook them low and slow enough to get the cheese fully melted without burning the tortilla, then crank up the heat at the end for that perfect golden crispiness. The result is a dipper that holds its shape, doesn’t get soggy, and has that satisfying crunch when you bite into it.
These quesadilla dippers are the kind of recipe that makes you feel like a good cook without actually having to work hard. They’re comfort food at its simplest—warm, cheesy, and just right for those moments when you need something easy that everyone will actually eat. And honestly? That’s a win in my book.
What Ingredients You Will Need
This recipe uses simple, everyday ingredients to create something that feels way more special than it should. Here’s what you’ll need to make these easy cheese quesadilla dippers for kids:
For the Quesadilla Dippers
- Flour tortillas (8-inch size works best) – Look for ones that are soft and pliable, not too thick or too thin. I prefer Mission brand for consistent results, but any brand works fine.
- Shredded cheddar cheese (2 cups) – Sharp cheddar gives you the most flavor, but mild cheddar is great for sensitive palates. Pre-shredded is totally fine here (I use it all the time), but freshly shredded melts a bit more evenly.
- Unsalted butter (2 tablespoons, softened) – This gives the tortillas that beautiful golden-brown color and adds a subtle richness. You can use salted butter if that’s what you have—just skip any extra salt.
- Optional fillings – Cooked shredded chicken, black beans, corn, or finely diced bell peppers if your kids are into that sort of thing.
For Dipping (Pick Your Favorites)
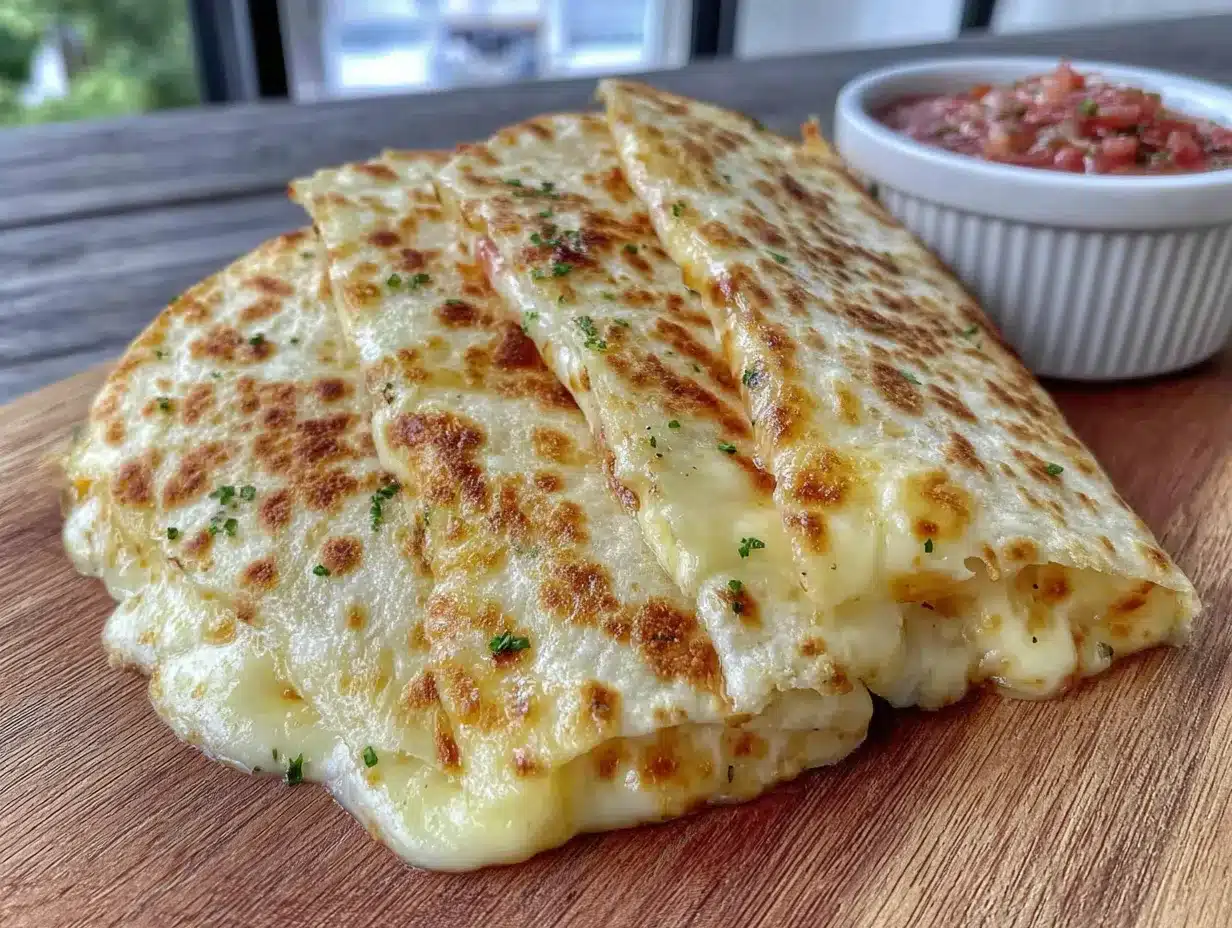
- Salsa (mild or medium) – Go for a chunky restaurant-style salsa for the best texture.
- Sour cream – Full-fat or Greek yogurt works beautifully here.
- Ranch dressing – Hidden Valley is my go-to, but homemade ranch is amazing if you have the time.
- Guacamole – Store-bought or homemade, either way it’s delicious.
- Queso – Because double cheese is never a bad idea.
I usually make these with just cheese the first time I serve them to new kids. Once I know they like the basic version, I start sneaking in extras like finely chopped spinach or shredded chicken. My nephew didn’t even notice the spinach until his third dipper—and by then, he was too into the cheese pull to care.
One thing I’ve learned the hard way: don’t overstuff these. Too much filling makes them hard to cut into clean strips, and the cheese tends to ooze out everywhere. A thin, even layer of cheese is all you need. Trust me on this one.
Equipment Needed
You don’t need any fancy gadgets to make these easy cheese quesadilla dippers for kids. Here’s what I use:
- Large non-stick skillet (10 or 12-inch) – This is your best friend for even cooking and easy flipping. If you don’t have non-stick, a well-seasoned cast iron skillet works great too.
- Spatula – A thin, flexible spatula makes flipping quesadillas a breeze. I use a fish spatula for this—it slides under the tortilla perfectly.
- Sharp knife or pizza cutter – For cutting the cooked quesadillas into dipper-sized strips. A pizza cutter gives you cleaner edges, but a sharp knife works just fine.
- Cutting board – Let the quesadillas rest here for a minute before cutting so the cheese sets slightly.
- Small bowls – For serving the dipping sauces. Little ramekins or even cupcake liners work for portion control.
I bought my non-stick skillet for about fifteen bucks at a discount store, and it’s been going strong for three years. You really don’t need expensive equipment for this recipe. If you’re using cast iron, just make sure it’s well-seasoned so the tortillas don’t stick.
One tip I picked up from years of making these: let the quesadilla rest on the cutting board for about thirty seconds before cutting. If you cut too soon, the cheese is still too liquidy and everything slides around. That thirty-second wait makes a huge difference in getting clean, neat strips.
Preparation Method
Making these easy cheese quesadilla dippers for kids is almost too simple. But I’ll walk you through every step so you get perfect results every time.
- Prep your ingredients. Take the butter out of the fridge about ten minutes before you start so it softens slightly. Shred your cheese if you’re using a block. Lay out your tortillas on the counter so they’re ready to go.
- Butter one side of each tortilla. Spread a thin, even layer of softened butter on one side of each tortilla. Don’t go overboard—you just want enough to create that golden-brown crust. I use about half a tablespoon per tortilla.
- Heat your skillet over medium heat. Give it a minute or two to warm up. You want it hot but not smoking. If you drop a sprinkle of water in the pan and it sizzles gently, you’re good to go.
- Place one tortilla in the skillet, buttered side down. Let it cook for about 30 seconds until it starts to bubble slightly.
- Add the cheese. Sprinkle about 1/3 cup of shredded cheese evenly over the entire tortilla. Don’t pile it all in the center—spread it out so every dipper gets some cheese.
- Top with the second tortilla, buttered side up. Press down gently with your spatula to help everything stick together.
- Cook for 2-3 minutes on the first side. You’ll know it’s ready to flip when the bottom is golden brown and the cheese starts melting around the edges. Peek underneath with your spatula to check the color.
- Flip carefully. Slide your spatula under the quesadilla, lift confidently, and flip it over in one smooth motion. Don’t worry if it’s not perfect—you can adjust it in the pan.
- Cook for another 2-3 minutes. The second side usually cooks a bit faster. Press down gently with your spatula once or twice during cooking to ensure even browning.
- Remove from heat and let rest. Transfer the quesadilla to a cutting board and let it sit for about 30 seconds. This is crucial for clean cutting.
- Cut into dipper strips. Using a pizza cutter or sharp knife, cut the quesadilla into 1-inch wide strips. I usually cut in one direction first, then rotate and cut again to create uniform strips.
- Repeat with remaining tortillas and cheese. You can usually cook two quesadillas at once if your skillet is big enough, but I find it easier to do them one at a time for better control.
- Serve immediately with dipping sauces. Arrange the dippers on a plate or board with small bowls of your chosen sauces. Watch them disappear.
If you’re making these for a crowd or a party, you can keep them warm in a 200°F oven on a baking sheet while you finish cooking the rest. They stay crispy for about 15-20 minutes this way.
One thing I learned the hard way: don’t walk away from the pan. These cook fast, and burnt tortillas are not a good look. Stay close, keep an eye on the color, and flip when that golden-brown perfection appears.
Cooking Tips & Techniques
After making these easy cheese quesadilla dippers for kids at least fifty times (probably more), I’ve picked up a few tricks that make a real difference. Here are my best tips:
The medium heat thing is real. I know it’s tempting to crank up the heat to get them done faster, but medium heat is your friend here. High heat burns the tortilla before the cheese has time to melt. Low heat makes them soggy. Medium is the sweet spot.
Don’t overstuff with cheese. I’ve done it. We’ve all done it. You think more cheese equals more deliciousness, but what actually happens is the cheese oozes out everywhere, makes a mess in the pan, and your dippers end up greasy and uneven. A thin, even layer is perfect.
Let the cheese sit at room temperature for a few minutes. Cold cheese straight from the fridge takes longer to melt. If you let it sit out while you’re prepping everything else, it melts more evenly and you get that perfect cheese pull.
Use a lid for faster melting. If you’re in a hurry, cover the skillet with a lid for the last minute of cooking on each side. The trapped steam helps melt the cheese faster without burning the tortilla.
Cut with confidence. When you’re cutting the quesadilla into strips, use a sharp knife or pizza cutter and cut in one clean motion. Sawing back and forth just makes a mess. A clean cut gives you neat dippers that hold together better.
Keep an eye on the first batch. Every stovetop is different, so the first quesadilla is your test run. Adjust the heat up or down based on how that one turns out. After that, you’ll have the timing down perfectly.
I definitely burnt my fair share of tortillas when I first started making these. There was one particularly memorable incident where I was trying to multitask—answering a text, stirring something on another burner, and flipping the quesadilla with my elbow or something. It came out black on one side. The kids didn’t care (they ate it anyway), but I learned my lesson. Focus on the pan.
Variations & Adaptations
These easy cheese quesadilla dippers for kids are endlessly adaptable. Here are some of my favorite variations:
Different Cheeses
Monterey Jack melts beautifully and has a mild flavor that kids love. Mozzarella gives you that incredible stretchy cheese pull. Colby Jack is another great option. I’ve even used pepper jack for the adults—just a little kick without being overwhelming.
Add Some Protein
Shredded rotisserie chicken is my go-to for making these more filling. Just sprinkle it over the cheese before adding the top tortilla. Ground beef or turkey works great too. If you’re looking for a heartier meal option, these pair beautifully with something like this healthy chicken veggie skillet wraps for a full dinner spread.
Veggie-Packed Version
Finely diced bell peppers (red, orange, or yellow), corn kernels, or black beans all work wonderfully. The key is to dice everything very small so it incorporates evenly. My nephew doesn’t even notice the veggies when they’re cut tiny enough.
Gluten-Free Option
Corn tortillas work beautifully for this recipe. They’re naturally gluten-free and have a slightly different texture that some kids actually prefer. Just note that corn tortillas are smaller, so you’ll need to make more of them.
Baked Version
If you want to make a big batch without standing over the stove, you can bake these. Assemble the quesadillas on a baking sheet, brush the tops with melted butter, and bake at 400°F for about 8-10 minutes, flipping halfway through. They come out crispy and evenly cooked.
I once made a batch with leftover taco meat and served them alongside some crispy loaded bacon cheeseburger tater tot casserole for a game day party. The adults kept stealing the dippers from the kids’ plate. No shame in that game.
Serving & Storage Suggestions
These easy cheese quesadilla dippers for kids are best served fresh and warm, right after cooking. That’s when the cheese is perfectly melty and the tortilla is at its crispiest. But I’ve got plenty of tips for serving and storing them too.
Serving Temperature: Serve them warm, not piping hot. Let them cool for about a minute after cutting so little fingers don’t get burned. The cheese will still be perfectly melty.
Presentation Ideas: Arrange the dippers in a fan pattern on a plate or board. Put the dipping sauces in small bowls in the center. For parties, I like to use a dessert board-style setup with multiple dipping options.
Dipping Sauce Pairings: Salsa and sour cream are the classics, but don’t sleep on ranch dressing, guacamole, or even a mild queso. For breakfast, try them with scrambled eggs on the side.
Storage Instructions: Store leftover dippers in an airtight container in the refrigerator for up to 3 days. They’ll lose some crispiness, but they’re still delicious.
Reheating Methods: The best way to reheat them is in a skillet over medium heat for about a minute per side. The microwave works in a pinch (about 20 seconds), but they won’t be crispy. An air fryer at 350°F for 3-4 minutes is also excellent.
Freezer Instructions: You can freeze the assembled but uncooked quesadillas. Wrap them individually in plastic wrap, then place them in a freezer bag. They’ll keep for up to 2 months. Cook from frozen, adding an extra minute or two to the cooking time.
The flavors actually hold up pretty well the next day. I’ve packed these in lunchboxes more times than I can count, and the kids always come home with empty containers.
Nutritional Information & Benefits
These easy cheese quesadilla dippers for kids are a balanced snack that provides energy, protein, and calcium. Here’s the estimated nutritional breakdown for a serving of 4-5 dippers (about half a quesadilla):
| Nutrient | Amount Per Serving |
|---|---|
| Calories | 210-250 |
| Protein | 8-10g |
| Carbohydrates | 18-22g |
| Fat | 12-15g |
| Calcium | 200-250mg |
| Iron | 1-2mg |
Health Benefits: Cheese is a great source of calcium and protein, both essential for growing kids. Tortillas provide carbohydrates for energy. If you add veggies or beans, you’re also getting fiber and vitamins.
Dietary Considerations: This recipe is vegetarian as written. For a gluten-free version, use corn tortillas. For a dairy-free version, use vegan cheese and oil instead of butter.
Potential Allergens: Dairy (cheese, butter) and gluten (flour tortillas). Always check your ingredient labels if you’re cooking for someone with allergies.
I’m not a nutritionist, but I do try to balance these with something fresh on the side—apple slices, carrot sticks, or a simple salad. It makes me feel better about the cheese situation, and the kids don’t seem to mind.
Conclusion
These easy cheese quesadilla dippers for kids have saved me more times than I can count. They’re the recipe I turn to when I need something fast, when the kids are hungry and cranky, when I want to make something that feels like a treat without spending hours in the kitchen. They’re simple, reliable, and genuinely delicious.
What I love most about this recipe is how adaptable it is. You can change the cheese, add fillings, switch up the dipping sauces—it’s a blank canvas that works with whatever you have on hand. And the best part? Kids actually eat them. Willingly. With smiles on their faces.
I’d love to hear how these turn out for you. Leave a comment below and tell me what dipping sauce your kids loved the most, or what fillings you added. Did you try the baked version? The gluten-free option? I read every comment and I genuinely love hearing about your kitchen victories.
Go make some dippers. Your kids (and your future self) will thank you.
Frequently Asked Questions
Can I make these quesadilla dippers ahead of time?
Yes, you can assemble them up to a day ahead and keep them in the refrigerator. Cook them just before serving for the best texture. You can also freeze the assembled quesadillas for up to 2 months.
What’s the best cheese for quesadilla dippers?
Cheddar is my top pick for flavor and meltability. Monterey Jack and mozzarella are also excellent choices. A blend of cheddar and Monterey Jack gives you the best of both worlds.
Can I use corn tortillas instead of flour?
Absolutely! Corn tortillas are naturally gluten-free and work beautifully. They’re smaller, so you’ll need to make more of them. They also have a slightly different texture that some kids really enjoy.
How do I keep the dippers crispy?
Serve them immediately after cooking for maximum crispiness. If you need to keep them warm, place them on a wire rack in a 200°F oven rather than on a plate, which can trap steam and make them soggy.
My cheese isn’t melting properly. What am I doing wrong?
Make sure your skillet is at the right temperature—medium heat is ideal. Also, let your cheese sit at room temperature for a few minutes before using it. Cold cheese straight from the fridge takes longer to melt and can lead to burnt tortillas.
Pin This Recipe!
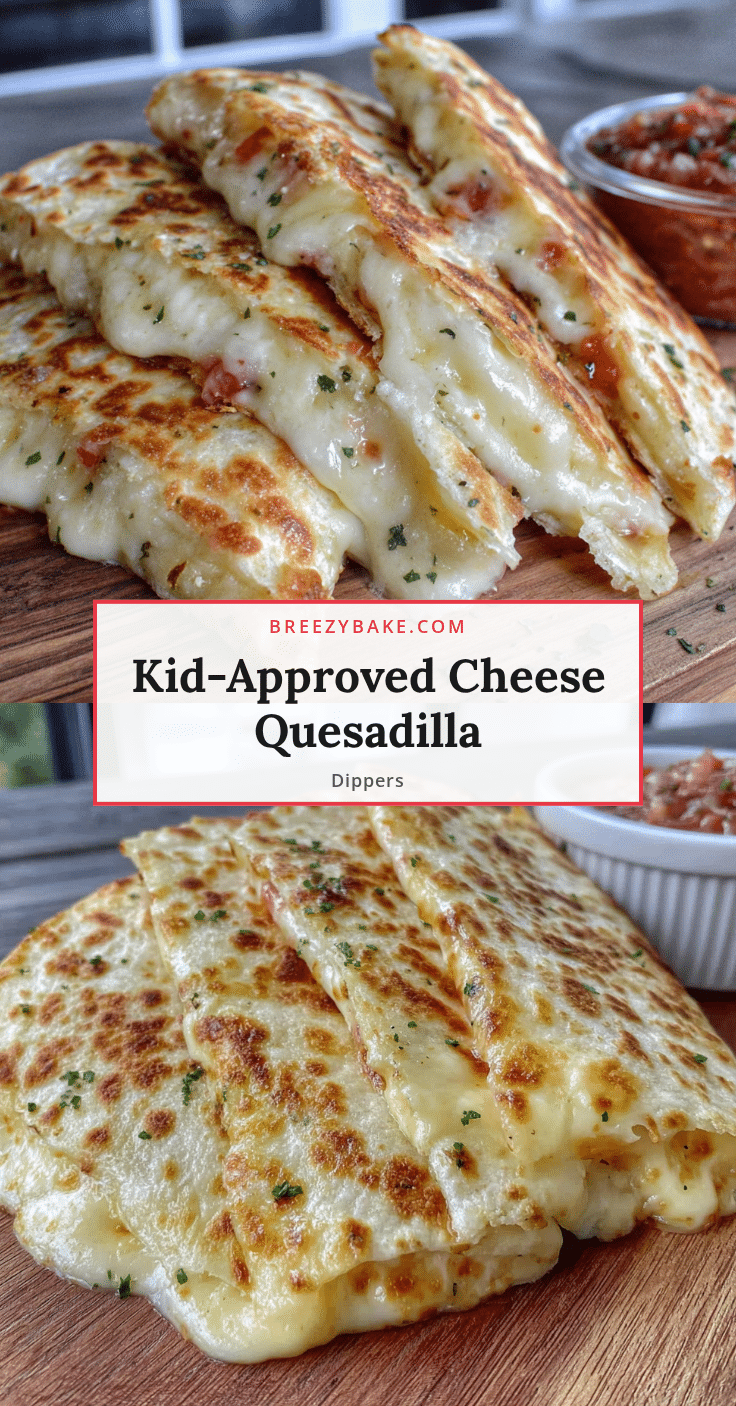
Easy Cheese Quesadilla Dippers Kids Will Love

Crispy on the outside, perfectly melty on the inside, these easy cheese quesadilla dippers are cut into kid-friendly strips that are ready in under 10 minutes. A simple, customizable snack that even picky eaters will devour.
- Prep Time: 5 minutes
- Cook Time: 8 minutes
- Total Time: 13 minutes
- Yield: 4 servings 1x
- Category: Snack
- Cuisine: Mexican-American
Ingredients
- 4 (8-inch) flour tortillas
- 2 cups shredded cheddar cheese (sharp or mild)
- 2 tablespoons unsalted butter, softened
- Optional fillings: cooked shredded chicken, black beans, corn, finely diced bell peppers
- For dipping: salsa, sour cream, ranch dressing, guacamole, queso
Instructions
- Take the butter out of the fridge about 10 minutes before starting to soften. Shred cheese if using a block. Lay out tortillas on the counter.
- Spread a thin, even layer of softened butter on one side of each tortilla (about 1/2 tablespoon per tortilla).
- Heat a large non-stick skillet over medium heat until hot but not smoking.
- Place one tortilla in the skillet, buttered side down. Cook for about 30 seconds until it starts to bubble slightly.
- Sprinkle about 1/3 cup of shredded cheese evenly over the entire tortilla.
- Top with the second tortilla, buttered side up. Press down gently with a spatula.
- Cook for 2-3 minutes on the first side until the bottom is golden brown and cheese starts melting around the edges.
- Flip carefully using a spatula and cook for another 2-3 minutes on the second side. Press down gently once or twice during cooking.
- Remove from heat and transfer to a cutting board. Let rest for about 30 seconds.
- Using a pizza cutter or sharp knife, cut the quesadilla into 1-inch wide strips.
- Repeat with remaining tortillas and cheese.
- Serve immediately with dipping sauces.
Notes
Cook over medium heat to avoid burning tortillas before cheese melts. Let quesadilla rest for 30 seconds before cutting for clean strips. For a crowd, keep warm in a 200°F oven on a baking sheet for up to 15-20 minutes. To reheat, use a skillet over medium heat for 1 minute per side, or an air fryer at 350°F for 3-4 minutes. Freeze assembled uncooked quesadillas for up to 2 months.
Nutrition
- Serving Size: 4-5 dippers (about h
- Calories: 230
- Sugar: 1
- Sodium: 380
- Fat: 13.5
- Saturated Fat: 7
- Carbohydrates: 20
- Fiber: 1
- Protein: 9
Keywords: quesadilla dippers, easy cheese quesadilla, kid-friendly snack, quick snack, cheesy dippers, tortilla strips


