It was a Tuesday afternoon in late September, and I was staring into the depths of my pantry with the kind of desperation that only a hungry toddler and an empty lunch plan can bring. The sun was slanting through the kitchen window just so, illuminating a jar of sunflower seed butter I’d bought on a whim and a half-used bottle of strawberry jam. I had a stack of flour tortillas that were threatening to go stale, and honestly, I was too tired to even consider turning on the stove. That’s when the idea hit me—not with a flash of inspiration, but with a quiet, practical certainty. I grabbed a butter knife and a cutting board, not expecting much, just hoping for something edible that wouldn’t result in a meltdown.
What happened next was a small, sticky miracle. I spread the sunbutter, swirled on the jelly, rolled it tight, and sliced. The first pinwheel came out a little lopsided, the jelly bleeding into the sunbutter in a messy, beautiful swirl. I handed one to my daughter, who took a bite, chewed thoughtfully, and then grabbed three more. I leaned against the counter and ate one myself, and the combination of nutty, savory sunflower butter and sweet, bright jelly on that soft tortilla was genuinely perfect. It was that simple. No fancy ingredients, no complicated steps—just a snack born from pantry desperation that turned into a weekly staple. These Easy Sunbutter and Jelly Pinwheels are proof that the best recipes don’t need a story; they just need to work.
Why You’ll Love This Recipe
I’ve tested this recipe about a dozen times now, tweaking the spread ratio and the rolling technique, and I can say with confidence that this is the version that works every single time. It’s not just another sandwich alternative—it’s a genuinely better way to eat a childhood classic.
- Quick & Easy: From start to finish, these pinwheels take less than 10 minutes. No cooking, no baking, no waiting.
- Simple Ingredients: You only need four things: tortillas, sunbutter, jelly, and a knife. That’s it.
- Perfect for Lunchboxes: These hold up beautifully in a lunch bag and don’t get soggy like regular sandwiches.
- Nut-Free Friendly: Sunbutter is completely nut-free, making this a safe choice for school and daycare.
- Crowd-Pleaser: I’ve served these at playdates, and the kids devour them. Adults love them too, by the way.
What makes this recipe different from every other pinwheel out there is the technique. I learned the hard way that spreading the sunbutter too thick makes the roll split, and using too much jelly turns it into a sticky mess. The perfect ratio is a thin, even layer of sunbutter with just a teaspoon of jelly swirled through the center. It’s a small adjustment, but it makes all the difference. This isn’t just a snack—it’s the kind of thing that makes you feel like you’ve got your life together, even on a chaotic Tuesday.
What Ingredients You Will Need
This recipe uses four simple, pantry-friendly ingredients that come together to create something far greater than the sum of their parts. There’s no specialty shopping required, and you probably already have everything on hand.
- Flour tortillas (8-inch) — I prefer soft, pliable flour tortillas for the best roll. Burrito-sized ones work great. Avoid corn tortillas; they crack when rolled. (I like the Mission brand for consistent texture.)
- Sunflower seed butter (sunbutter) — Use a creamy, well-stirred variety. Natural, no-stir sunbutter works best because it spreads smoothly. Avoid the kind that separates too much; it gets crumbly. (I recommend SunButter brand for its smooth consistency.)
- Jelly or jam (any flavor) — Strawberry, grape, raspberry, or even apricot all work beautifully. Use a seedless jam for the smoothest spread. I prefer Bonne Maman strawberry preserves for that real fruit taste.
- Optional: Cream cheese (2 tablespoons, softened) — Adding a thin layer of cream cheese before the sunbutter creates a richer, more stable roll. It also helps seal the edges. (Use dairy-free cream cheese if needed.)
For the best results, make sure your sunbutter is at room temperature. Cold sunbutter straight from the fridge is stiff and will tear the tortilla when you try to spread it. If your jelly is thick, give it a quick stir to loosen it up. These little details matter more than you’d think.
Equipment Needed
You don’t need any fancy tools for this recipe. In fact, you probably already own everything required. Here’s what you’ll need:
- Butter knife or offset spatula — For spreading the sunbutter and jelly evenly. A small offset spatula is my favorite because it gives you better control.
- Cutting board — A clean, flat surface for rolling and slicing. A wooden or plastic board works fine.
- Sharp chef’s knife or serrated knife — A sharp knife makes clean cuts without squishing the roll. A serrated knife is actually better for this; it saws through the tortilla without crushing it.
- Large plate or tray — To hold the finished pinwheels. A flat surface keeps them from unrolling.
- Plastic wrap (optional) — For wrapping the roll tightly before slicing. This helps the pinwheels hold their shape if you’re making them ahead.
If you don’t have a serrated knife, just use your sharpest chef’s knife and wipe the blade clean between cuts. It’s a small trick that keeps the pinwheels looking neat. I’ve made these with a dull knife before, and honestly, it was a mess. A sharp knife is non-negotiable here.
Preparation Method
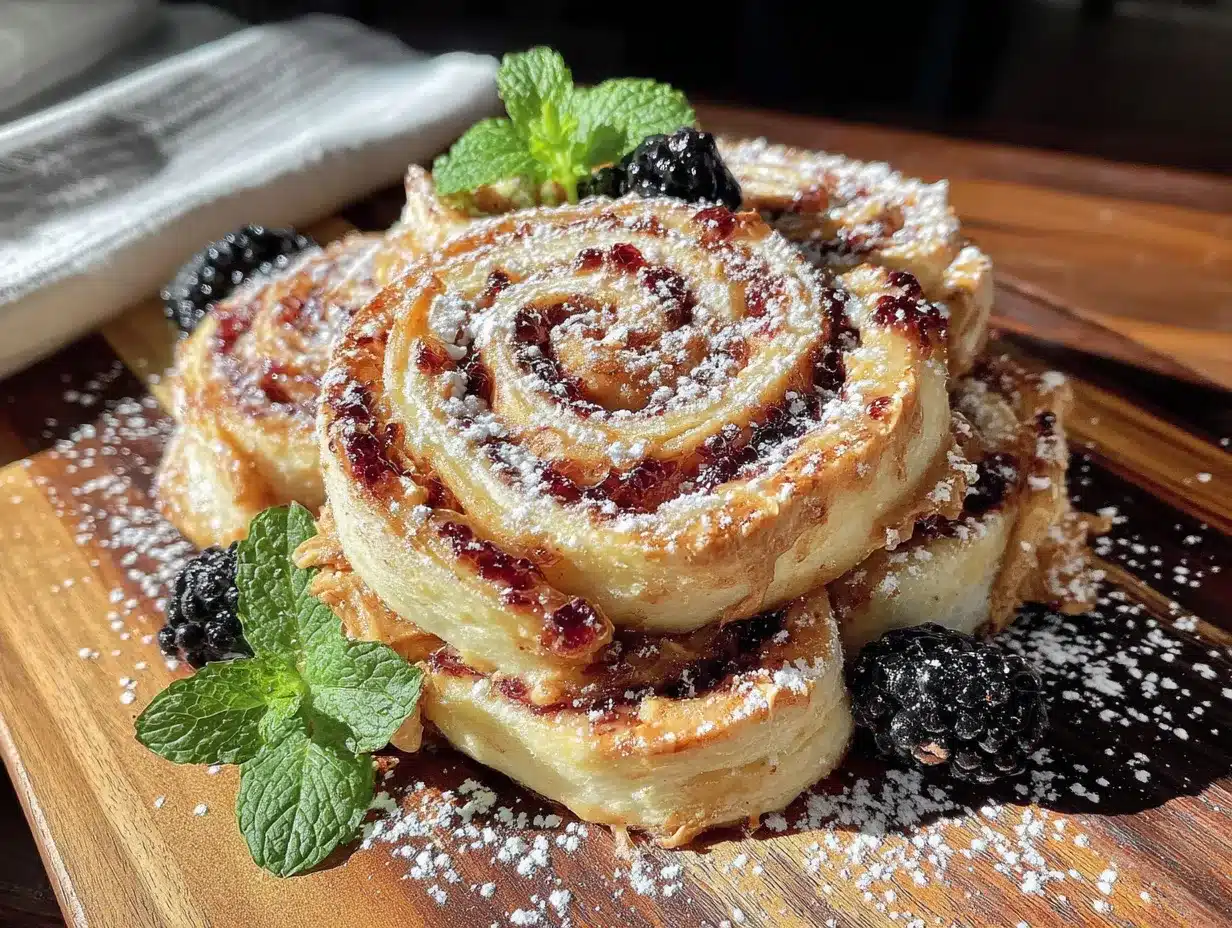
Making these pinwheels is almost embarrassingly easy, but there are a few key steps that make the difference between a perfect spiral and a squished disaster. Follow these steps, and you’ll get beautiful, photogenic pinwheels every time.
- Lay out your tortilla on a clean, flat cutting board. If your tortillas are cold, warm them in the microwave for about 10 seconds to make them more pliable. This prevents cracking.
- Spread a thin, even layer of sunbutter over the entire surface of the tortilla, leaving a 1/2-inch border around the edges. Use about 2 tablespoons of sunbutter. Don’t go too thick—a thin layer is easier to roll and won’t squish out the sides. (If you’re using cream cheese, spread it first, then add the sunbutter.)
- Add the jelly by spooning about 1 teaspoon of jelly onto the center of the sunbutter layer. Use the back of the spoon to gently swirl it into a thin, even line down the middle of the tortilla. Don’t spread it all the way to the edges—keeping it in the center prevents it from leaking out when you roll.
- Roll the tortilla tightly starting from one edge. Use your fingers to keep the roll firm and even as you go. Apply gentle, consistent pressure. When you reach the end, press the seam gently to seal it. The sunbutter acts as a natural glue.
- Wrap the roll in plastic wrap and twist the ends to secure it. This is optional but highly recommended—it helps the roll hold its shape and makes slicing much cleaner. Refrigerate for 10 minutes if you have time. (If you’re in a rush, you can skip this step, but the slices won’t be as neat.)
- Slice the roll into 1-inch thick pinwheels using a sharp serrated knife. Use a gentle sawing motion—don’t press straight down. Wipe the knife clean between cuts to prevent smearing. You should get about 6 to 8 pinwheels per tortilla.
- Arrange the pinwheels on a plate with the spiral facing up. Serve immediately or refrigerate for later.
One thing I learned the hard way: if your jelly is too runny, it will bleed into the sunbutter and make the roll soggy. Thicker jams or preserves work much better. Also, don’t overfill the tortilla. Less is genuinely more here. The pinwheels should look neat, not bursting at the seams.
Cooking Tips & Techniques
After making these pinwheels at least thirty times, I’ve picked up a few tricks that make the process smoother and the results more consistent. Here are the things I wish I’d known from the start.
The biggest mistake people make is using too much filling. I did it too, the first few times. A thick layer of sunbutter might look generous, but it makes the roll bulky and hard to slice. Stick to a thin, even layer. Think of it as a whisper of sunbutter, not a shout.
Temperature matters more than you’d think. Cold tortillas crack. Cold sunbutter tears the tortilla. Let everything come to room temperature before you start. If you forgot to take the sunbutter out of the fridge, just stir it vigorously for a minute to loosen it up.
For the cleanest cuts, chill the rolled tortilla for at least 10 minutes before slicing. This firms up the sunbutter and jelly, making the roll easier to cut without squishing. If you’re in a hurry, you can skip this step, but your pinwheels will look a bit messier.
Multitasking tip: While the roll chills, you can clean up your workspace or prep other parts of your lunch. It’s a small window of time, but it helps the whole process feel more efficient.
For consistency, use a ruler to measure your slices. I know it sounds fussy, but even slices look so much more appealing on a plate. Aim for 1-inch thick pieces. If you’re making these for a party, uniform pinwheels look professional and inviting.
Variations & Adaptations
One of the best things about this recipe is how easy it is to change up. I’ve tried several variations over the months, and each one has its own charm. Here are some of my favorites.
- Sweet and Salty: Add a sprinkle of flaky sea salt on top of the sunbutter before rolling. It sounds weird, but the salt really brings out the sweetness of the jelly and the nuttiness of the sunbutter.
- Berry Cream Cheese: Spread a thin layer of cream cheese first, then the sunbutter, and use a mixed berry jam. The cream cheese adds a tangy richness that balances the sweetness beautifully. This is my personal favorite variation—it feels more grown-up.
- Chocolate Sunbutter: Use chocolate-flavored sunbutter (yes, it exists) and raspberry jam. It tastes like a healthier version of a chocolate croissant. My kids go crazy for this one.
- Gluten-Free Option: Swap the flour tortillas for gluten-free tortillas. Look for ones that are pliable and don’t crack when rolled. I’ve used Mission gluten-free tortillas with good results.
- Low-Carb Version: Use low-carb tortillas or large lettuce leaves. Butter lettuce works best because the leaves are wide and flexible. Just be gentle when rolling—lettuce is more delicate than tortillas.
I once tried a savory version with sunbutter and cream cheese, rolled with thin slices of cucumber and a drizzle of honey. It was surprisingly good, though it’s a different snack entirely. Don’t be afraid to experiment. The basic technique is so forgiving that you can really make it your own.
Serving & Storage Suggestions
These pinwheels are incredibly versatile when it comes to serving. They work for breakfast, lunch, snacks, and even party platters. Here’s how I like to serve and store them.
Serving temperature: Serve at room temperature or straight from the fridge. They’re delicious either way. If you’re serving them at a party, arrange them on a platter with the spiral facing up for a pretty presentation. You can garnish with fresh berries or mint leaves for a pop of color.
Complementary dishes: These pinwheels pair beautifully with fresh fruit, veggie sticks, or a simple side salad. For a heartier meal, serve them alongside some healthy chicken veggie skillet wraps for a complete lunch. They also work great on a snack board with cheese cubes and grapes—kind of like a fresh Galentine’s berry parfait mini platter but simpler.
Storage instructions: Store leftover pinwheels in an airtight container in the refrigerator for up to 3 days. Place a sheet of parchment paper between layers to prevent them from sticking together. I don’t recommend freezing them—the texture of the tortilla gets weird after thawing.
Reheating: These are best eaten cold or at room temperature, so no reheating is needed. If you prefer them slightly warm, you can microwave them for 10 seconds, but be careful—the jelly gets very hot very fast.
Flavor development: Honestly, these pinwheels taste best within the first 24 hours. The tortilla stays soft and the flavors are fresh. After that, the sunbutter can make the tortilla a bit soggy, so I recommend making them the day you plan to eat them.
Nutritional Information & Benefits
These pinwheels are not just delicious—they also offer some solid nutritional benefits, especially compared to traditional peanut butter and jelly sandwiches. Here’s the breakdown per pinwheel (based on using one 8-inch tortilla cut into 6 pinwheels).
- Calories: Approximately 95 per pinwheel
- Protein: 3g
- Fat: 5g (mostly healthy unsaturated fats from sunflower seeds)
- Carbohydrates: 10g
- Fiber: 1g
- Sugar: 4g (from the jelly)
Health benefits: Sunflower seed butter is rich in vitamin E, magnesium, and healthy fats that support heart health. It’s also completely nut-free, making it a safe choice for schools with nut restrictions. The jelly provides a quick source of energy, and the tortilla offers carbohydrates for sustained fuel. If you use whole wheat tortillas, you’ll get an extra boost of fiber.
Dietary considerations: This recipe is naturally nut-free, vegetarian, and can be made gluten-free with a simple substitution. It’s also dairy-free if you skip the cream cheese. The only potential allergen is gluten (from the tortilla), which is easily swapped.
I love that this snack feels indulgent but is actually pretty balanced. It’s the kind of thing I feel good about packing in my daughter’s lunchbox—and eating myself when I need a quick pick-me-up.
Conclusion
These Easy Sunbutter and Jelly Pinwheels have honestly become a staple in my kitchen, and I think they will in yours too. They’re proof that you don’t need a complicated recipe or fancy ingredients to make something genuinely satisfying. Whether you’re packing a school lunch, looking for a quick afternoon snack, or putting together a party platter, these pinwheels deliver every single time.
I love that this recipe is so forgiving—you can tweak the fillings, swap the jelly, or change the tortilla, and it still works. It’s the kind of recipe that adapts to whatever you have on hand, which is exactly what I need on a busy week. If you try them, I’d love to hear how they turn out. Leave a comment below and tell me your favorite filling combination, or share a photo of your pinwheels. And if you’re looking for more quick snack ideas, check out these crispy Super Bowl chicken wing bites for another easy, crowd-pleasing option.
Happy rolling, friends. You’ve got this.
Frequently Asked Questions
Can I make these pinwheels ahead of time?
Yes, you can make them up to 24 hours in advance. Just wrap the rolled tortilla tightly in plastic wrap and refrigerate. Slice them right before serving for the best texture.
Why are my pinwheels falling apart?
This usually happens when you use too much filling or don’t roll tightly enough. Use a thin layer of sunbutter and roll firmly. Chilling the roll for 10 minutes before slicing also helps keep them together.
Can I use a different nut or seed butter?
Absolutely. Almond butter, cashew butter, or tahini all work well. Just make sure the consistency is smooth and spreadable. Chunky butters can make the roll lumpy and harder to slice.
How do I keep the jelly from leaking out?
Use a thick jam or preserves instead of thin jelly, and only spread it in the center of the tortilla, not all the way to the edges. This keeps it contained inside the roll.
Are these pinwheels safe for school lunches?
Yes, since they’re made with sunflower seed butter, they are completely nut-free. Always check the label on your sunbutter to confirm it’s processed in a nut-free facility if allergies are a concern.
Pin This Recipe!
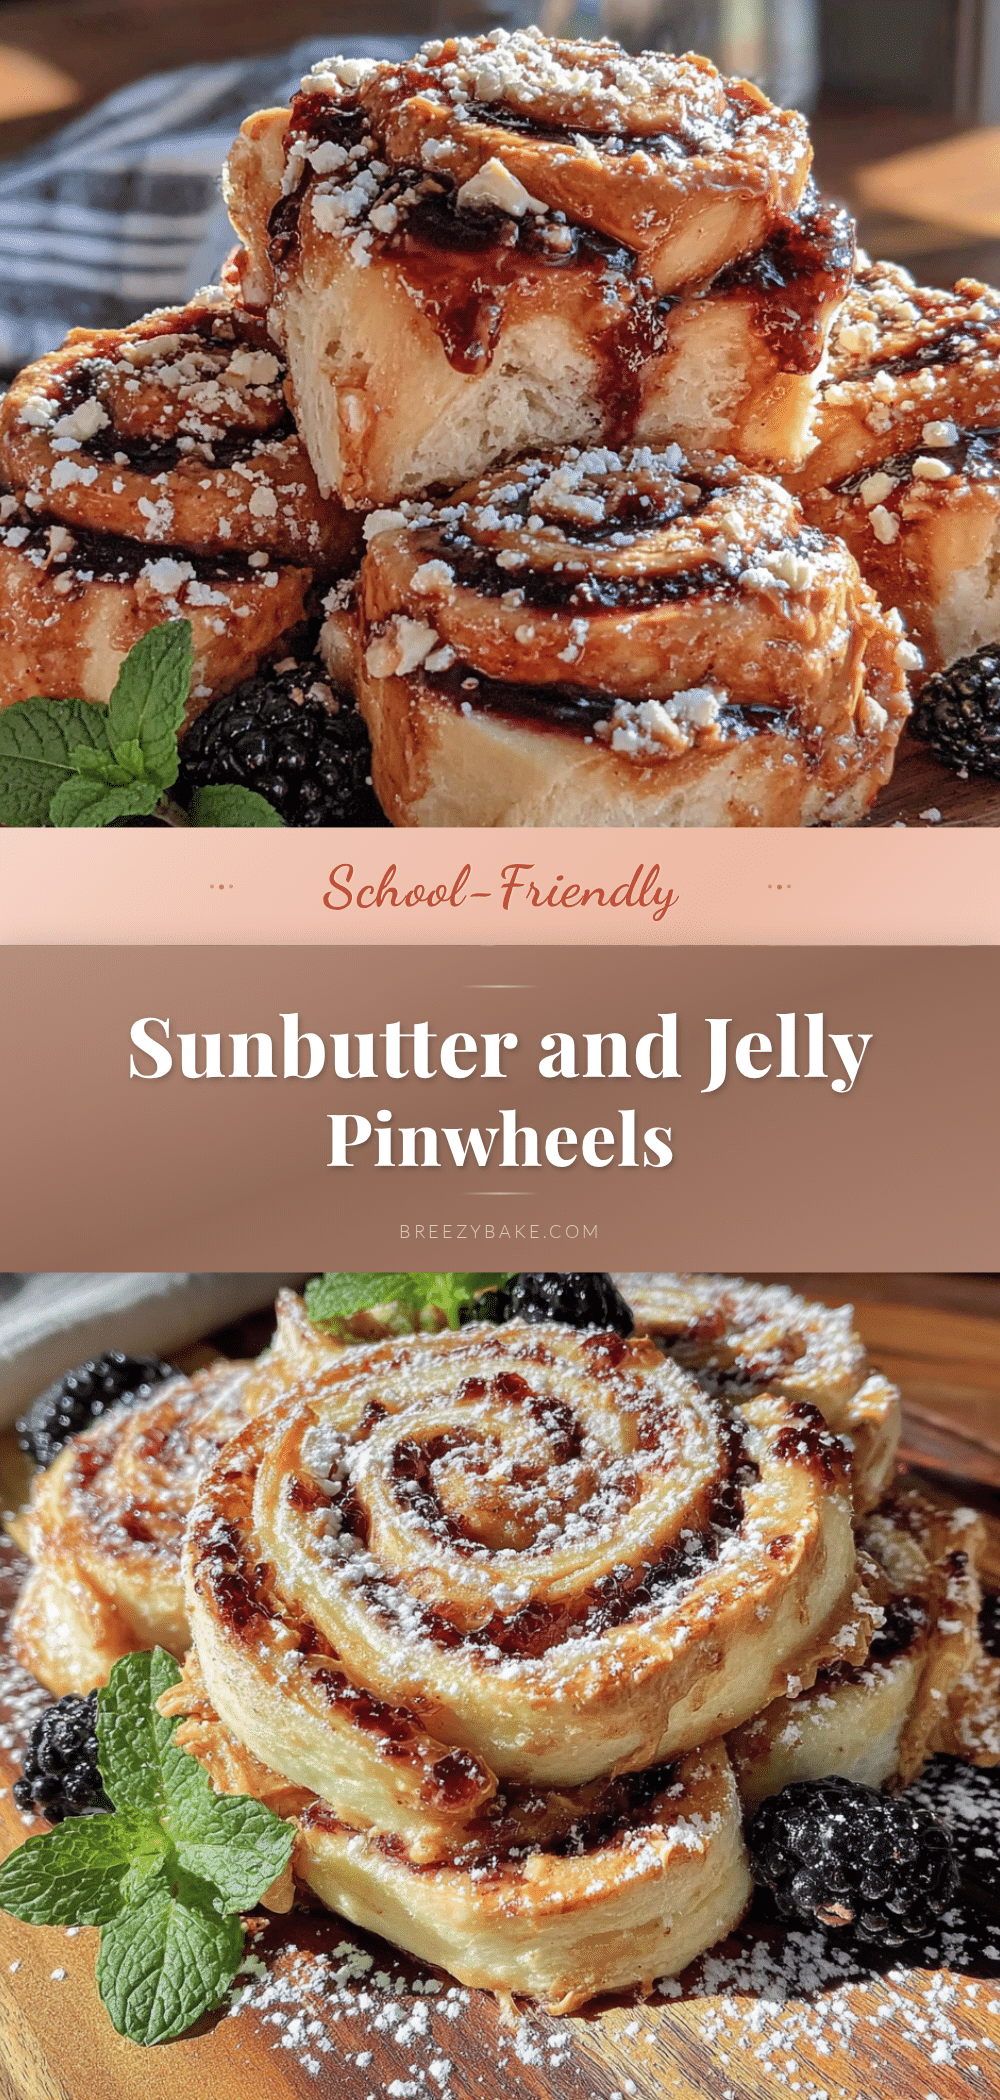
Easy Sunbutter and Jelly Pinwheels: Best 10-Minute Snack
These Easy Sunbutter and Jelly Pinwheels are a quick, nut-free snack made with just four simple ingredients. Perfect for lunchboxes, playdates, or a last-minute treat, they come together in under 10 minutes with no cooking required.
- Prep Time: 10 minutes
- Cook Time: 0 minutes
- Total Time: 10 minutes
- Yield: 6 pinwheels 1x
- Category: Snack
- Cuisine: American
Ingredients
- 1 (8-inch) flour tortilla
- 2 tablespoons sunflower seed butter (sunbutter), at room temperature
- 1 teaspoon jelly or jam (any flavor, preferably seedless)
- Optional: 2 tablespoons cream cheese, softened
Instructions
- Lay out your tortilla on a clean, flat cutting board. If cold, warm in the microwave for about 10 seconds to make more pliable.
- Spread a thin, even layer of sunbutter over the entire surface of the tortilla, leaving a 1/2-inch border around the edges. If using cream cheese, spread it first, then add the sunbutter.
- Spoon about 1 teaspoon of jelly onto the center of the sunbutter layer. Use the back of the spoon to gently swirl it into a thin, even line down the middle of the tortilla. Do not spread to the edges.
- Roll the tortilla tightly starting from one edge. Use your fingers to keep the roll firm and even. Press the seam gently to seal.
- Wrap the roll in plastic wrap and twist the ends to secure. Refrigerate for 10 minutes if time allows (optional but recommended for cleaner slices).
- Slice the roll into 1-inch thick pinwheels using a sharp serrated knife with a gentle sawing motion. Wipe the knife clean between cuts.
- Arrange the pinwheels on a plate with the spiral facing up. Serve immediately or refrigerate for later.
Notes
For best results, use room-temperature sunbutter and tortillas. Thicker jams or preserves work better than thin jelly to prevent sogginess. Chilling the roll before slicing yields cleaner cuts. Store leftovers in an airtight container in the refrigerator for up to 3 days.
Nutrition
- Serving Size: 1 pinwheel
- Calories: 95
- Sugar: 4
- Sodium: 120
- Fat: 5
- Saturated Fat: 0.5
- Carbohydrates: 10
- Fiber: 1
- Protein: 3
Keywords: sunbutter and jelly pinwheels, nut-free snack, easy pinwheel recipe, 10-minute snack, lunchbox idea, no-cook snack


