Flipping through my spice cabinet, half a jar of garlic powder left and the oven already preheating to 400°F, when I realized I had absolutely no plan for the four pork chops thawing on the counter. It was one of those Tuesday nights where takeout sounded better than cooking, but my wallet said otherwise. I grabbed a stick of butter from the fridge, some fresh parsley I’d bought on a whim at the farmers market, and decided to just wing it.
That night, I threw together what I now call my Crispy Baked Pork Chops with Garlic Herb Butter, and honestly, I was shocked at how good they turned out. The edges got all golden and crunchy, the meat stayed juicy in the middle, and that garlic butter melted into every bite like it was meant to be there. I remember standing at the kitchen counter eating one straight off the baking sheet, thinking, “Why have I been pan-frying these things all these years?”
This recipe isn’t fancy or complicated. It’s the kind of dinner you make when you’re tired but still want something that tastes like you actually tried. And that garlic herb butter? It does all the heavy lifting. Let me show you how simple this really is.
Why You’ll Love This Recipe
I’ve tested this recipe more times than I care to admit, tweaking the breading and the butter ratio until every single chop came out perfect. Here’s why I think you’ll fall for it too:
- Quick & Easy : From fridge to table in about 35 minutes. No marinating overnight or complicated steps.
- Simple Ingredients : You probably have most of this stuff already. Butter, garlic, breadcrumbs, and pork chops are all pantry and fridge staples.
- Perfect for Busy Weeknights : This is my go-to when I need something hearty but don’t want to spend an hour in the kitchen.
- Crowd-Pleaser : Even my picky eaters go back for seconds. The crispy coating wins everyone over.
- Unbelievably Delicious : That garlic herb butter takes these chops from good to “can I have the recipe?” good.
What makes this version different from all the other baked pork chop recipes out there? It’s the double-coating technique I borrowed from my fried chicken days. I pat the chops dry, dust them with seasoned flour, then dip them in butter before the breadcrumb coating. That extra step creates a crust that stays crunchy even after baking. No soggy bottoms here.
This recipe isn’t just good—it’s the kind that makes you close your eyes after the first bite. It’s comfort food reimagined, faster and easier but with the same soul-soothing satisfaction. Perfect for impressing guests without stress, or turning a simple Tuesday dinner into something memorable.
What Ingredients You Will Need
This recipe uses simple, wholesome ingredients to deliver bold flavor and satisfying texture without the fuss. Most of these are pantry staples, which makes this dish perfect for last-minute dinner decisions.
- Pork chops (4 pieces, about 1 inch thick) : Look for bone-in chops for the juiciest results. If you use boneless, just reduce cooking time by a few minutes. Pat them dry with paper towels before starting—this is crucial for that crispy crust.
- All-purpose flour (1/2 cup) : This creates the first layer of coating and helps the butter stick. You can swap in almond flour for a gluten-free option.
- Salt (1 teaspoon) : I use kosher salt for better flavor distribution. Regular table salt works too, just use slightly less.
- Black pepper (1/2 teaspoon) : Freshly ground is best, but pre-ground works in a pinch.
- Garlic powder (1 teaspoon) : Don’t skip this. It adds flavor to the coating itself.
- Smoked paprika (1 teaspoon) : This gives the chops a beautiful color and a subtle smokiness. Sweet paprika works too.
- Unsalted butter (4 tablespoons, melted) : I recommend using a good quality butter like Kerrygold for the richest flavor. The butter helps the breadcrumbs stick and adds incredible richness.
- Panko breadcrumbs (1 cup) : These create a much crispier coating than regular breadcrumbs. If you only have regular, toast them in a dry pan first for extra crunch.
- Fresh garlic (3 cloves, minced) : Fresh makes a big difference here. The jarred stuff works in a pinch, but fresh garlic has a sharper, more aromatic flavor.
- Fresh parsley (2 tablespoons, chopped) : Flat-leaf or curly both work. Parsley adds freshness and color.
- Fresh thyme (1 teaspoon, chopped) : Rosemary makes a great substitute if you don’t have thyme.
- Lemon zest (from 1 lemon) : This brightens up the whole dish. Don’t skip it—it balances the richness of the butter.
- Olive oil (1 tablespoon) : A light drizzle over the chops before baking helps the coating brown evenly.
For the garlic herb butter, you can prepare it ahead of time and keep it in the fridge. It’s also amazing on steaks, roasted vegetables, or spread on crusty bread. I sometimes double the batch just to have it on hand.
Equipment Needed
You don’t need any fancy gadgets for this recipe, which is part of why I love it so much.
- Baking sheet : A rimmed baking sheet works best to catch any butter drips. Line it with parchment paper or aluminum foil for easy cleanup.
- Wire rack : This is optional but highly recommended. Placing a wire rack on your baking sheet allows air to circulate around the pork chops, making them crispier on the bottom too. I got mine at a dollar store for like five bucks.
- Three shallow bowls : For the flour mixture, melted butter, and breadcrumb coating. Pie plates or wide soup bowls work great.
- Tongs : For handling the chops without making a mess of your coating.
- Small saucepan or microwave-safe bowl : For melting the butter.
- Meat thermometer : This is the only way to guarantee perfectly cooked pork chops. I’ve overcooked too many chops to trust my instincts alone.
- Chef’s knife and cutting board : For mincing garlic and chopping herbs.
If you don’t have a wire rack, you can place the chops directly on the baking sheet. Just flip them halfway through cooking for even browning. And if you don’t have a meat thermometer, look for the internal temperature to reach 145°F, or cut into the thickest part to check that the juices run clear.
Preparation Method
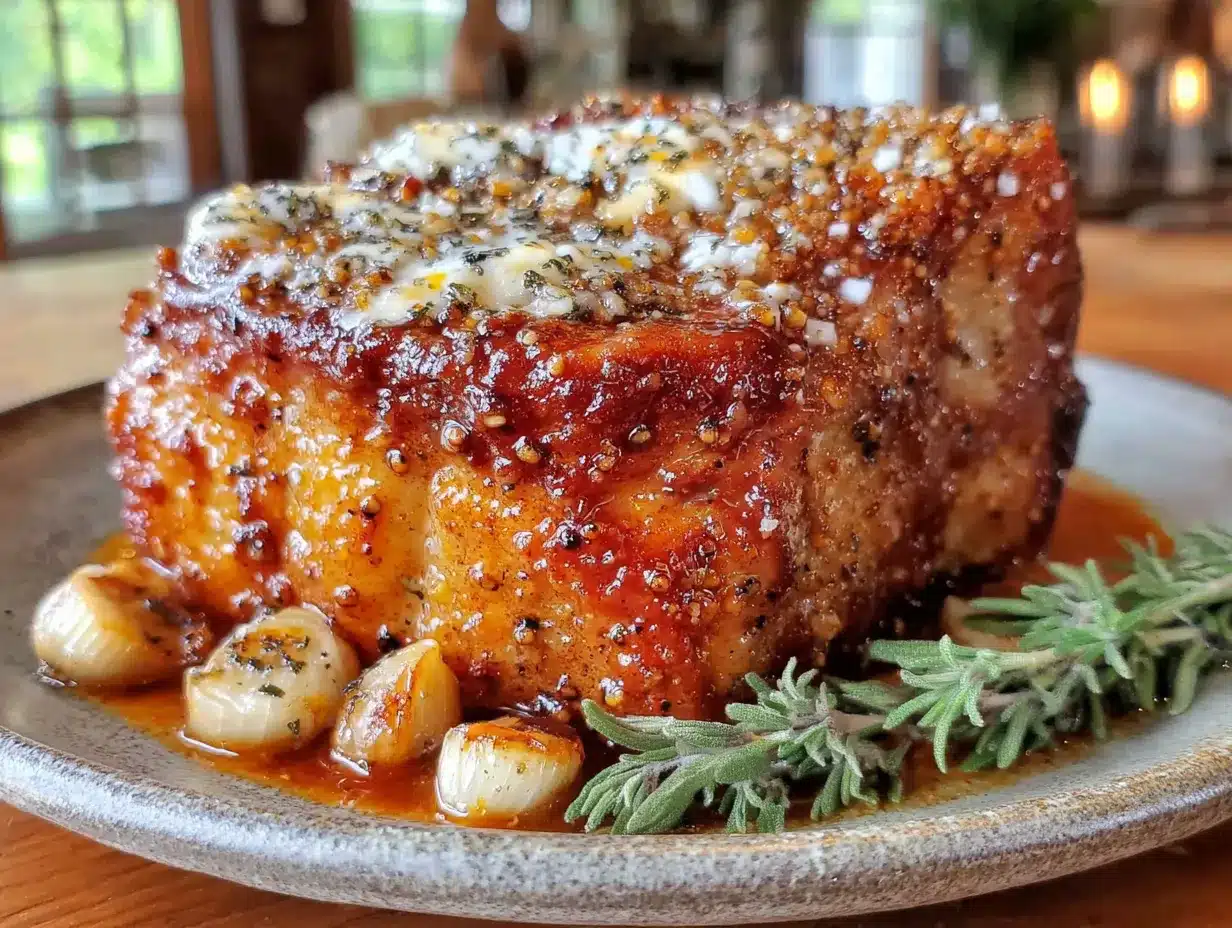
- Preheat your oven to 400°F (200°C). Position the rack in the middle of the oven. Line a baking sheet with parchment paper and place a wire rack on top if you have one. Spray the rack lightly with cooking spray to prevent sticking.
- Pat the pork chops completely dry with paper towels. This is non-negotiable. Any moisture on the surface will steam the coating instead of crisping it. Let them sit at room temperature for about 10 minutes while you prep the coating stations.
- Set up your three coating bowls. In the first shallow bowl, combine the flour, salt, pepper, garlic powder, and smoked paprika. Mix with a fork until everything is evenly distributed. In the second bowl, pour the melted butter. In the third bowl, combine the panko breadcrumbs with the minced garlic, chopped parsley, thyme, and lemon zest. Mix the herbs into the breadcrumbs well so they’re evenly distributed.
- Coat each pork chop by first dredging it in the seasoned flour mixture. Shake off any excess flour—you want a thin, even layer. Then dip it into the melted butter, letting any excess drip back into the bowl. Finally, press it into the herb breadcrumb mixture, making sure to coat both sides and the edges. Use your hands to really press the breadcrumbs into the meat.
- Place the coated chops on the prepared wire rack. Drizzle a little olive oil over the top of each chop—this helps the coating brown beautifully. Don’t skip this step, even though it seems small.
- Bake for 20-25 minutes, depending on the thickness of your chops. For 1-inch thick chops, start checking at 20 minutes. The coating should be golden brown and crispy. If you want extra crunch, you can broil them for the last 1-2 minutes, but watch them carefully—they burn fast.
- Check the internal temperature with a meat thermometer inserted into the thickest part of the chop. The USDA recommends 145°F for pork. Let the chops rest on the rack for 5 minutes before serving. This allows the juices to redistribute, keeping the meat moist.
- While the chops rest, make the garlic herb butter if you haven’t already. In a small bowl, combine 4 tablespoons of softened butter with 2 minced garlic cloves, 1 tablespoon chopped parsley, and a pinch of salt. Mix until smooth. You can also use the melted butter from the coating step if you want to keep things simple.
- Serve the chops with a generous dollop of garlic herb butter on top. The residual heat will melt the butter into a glorious sauce that soaks into the crispy coating and pools on the plate.
A quick note: if your chops are thicker than 1 inch, add 3-5 minutes to the cooking time. If they’re thinner, reduce the time by a few minutes. The meat thermometer is your best friend here.
Cooking Tips & Techniques
I’ve made these crispy baked pork chops more times than I can count, and I’ve definitely learned a few things the hard way. Let me save you from my mistakes.
Don’t skip the flour step. I tried skipping it once because I was in a hurry, and the coating just slid right off the chops. The flour creates a dry surface that helps the butter and breadcrumbs adhere. It’s a tiny step that makes a huge difference.
Use panko, not regular breadcrumbs. Panko has a flakier, airier texture that stays crispy even after baking. Regular breadcrumbs tend to get soggy. If you only have regular breadcrumbs, toast them in a dry skillet over medium heat for 2-3 minutes until golden. This gives them a head start on crunchiness.
Let the chops come to room temperature. Cold meat straight from the fridge takes longer to cook, which means the coating can burn before the inside is done. Letting them sit out for 10-15 minutes before coating helps everything cook evenly.
Don’t overcrowd the pan. If the chops are touching each other on the baking sheet, they’ll steam instead of crisp. Leave at least an inch of space between each chop. If you’re making a double batch, use two baking sheets.
Flip them halfway through. Even if you’re using a wire rack, flipping the chops halfway through cooking ensures both sides get equally crispy. Use tongs and be gentle so you don’t disturb the coating.
Let them rest. I know it’s tempting to dig in right away, but resting is crucial. The internal temperature continues to rise during resting (carryover cooking), and the juices redistribute throughout the meat. Cut into them too soon, and all those juices will end up on your plate instead of in your mouth.
One time, I forgot to set a timer and the chops stayed in the oven an extra 8 minutes. They were still good, but the coating was darker and the meat was a bit drier. That’s when I learned to always set a timer and check early.
Variations & Adaptations
This recipe is super adaptable, which is one of the reasons it’s become a staple in my kitchen. Here are some variations I’ve tried and loved:
Spicy Version : Add 1/2 teaspoon of cayenne pepper to the flour mixture and 1/4 teaspoon of red pepper flakes to the breadcrumb coating. The heat pairs beautifully with the garlic butter.
Herb Swap : Don’t have parsley and thyme? Use rosemary and sage for a more earthy flavor. Or try oregano and basil for an Italian twist. The ratio stays the same—about 2 tablespoons of fresh herbs total.
Parmesan Crust : Mix 1/4 cup of grated Parmesan cheese into the breadcrumb coating. The cheese adds a salty, nutty flavor and helps the coating get extra crispy. Just keep an eye on the oven—Parmesan can burn faster than plain breadcrumbs.
Air Fryer Method : This works beautifully in an air fryer. Preheat to 375°F, spray the basket with cooking spray, and cook the chops for 12-15 minutes, flipping halfway through. The air fryer makes the coating even crispier with less oil.
Gluten-Free Option : Use almond flour or gluten-free all-purpose flour for the first coating, and gluten-free panko breadcrumbs for the final coating. The texture is slightly different but still deliciously crispy.
Dairy-Free Version : Substitute the butter with vegan butter or olive oil. The coating won’t be quite as rich, but it still works well. Use a dairy-free butter that’s solid at room temperature for the garlic herb butter topping.
My personal favorite variation is the Parmesan crust version. I add a squeeze of lemon juice to the garlic herb butter and serve the chops with a simple arugula salad. It’s a complete meal that feels restaurant-quality but takes almost no extra effort.
Serving & Storage Suggestions
These crispy baked pork chops are best served fresh from the oven, when the coating is at its crunchiest and the garlic herb butter is meltingly delicious. Here’s how I like to serve them:
Serving Temperature : Serve hot, right after the 5-minute rest. The garlic herb butter should be placed on top just before serving so it melts into a sauce. If the chops cool down too much, the butter won’t melt properly.
What to Serve With : These chops pair beautifully with mashed potatoes, roasted vegetables, or a simple green salad. I love serving them with roasted asparagus or green beans tossed in olive oil and salt. For a starch, try crispy loaded bacon mac and cheese casserole for a truly indulgent meal. Or keep it light with healthy air fryer BBQ chicken lettuce wraps for a different twist on a protein-forward dinner.
Storage : Store leftover chops in an airtight container in the refrigerator for up to 3 days. The coating will soften as they sit, but they’re still delicious. To reheat, place them on a wire rack over a baking sheet and warm in a 350°F oven for 8-10 minutes. The oven method helps restore some of the crunch. Microwaving will make the coating soggy, so avoid it if you can.
Freezing : You can freeze the cooked chops for up to 2 months. Wrap each chop individually in plastic wrap, then place them in a freezer-safe bag. To reheat, thaw in the refrigerator overnight, then warm in the oven as described above.
Flavor Development : These chops are best the day they’re made. The coating loses its crunch over time, and the garlic herb butter is best fresh. If you have leftovers, I recommend chopping them up and tossing them into a salad or pasta dish for a quick lunch.
Nutritional Information & Benefits
Here’s the approximate nutritional breakdown for one serving (one pork chop with garlic herb butter):
- Calories : 420
- Protein : 35g
- Fat : 24g
- Carbohydrates : 18g
- Fiber : 1g
- Sugar : 1g
Pork chops are an excellent source of high-quality protein, which is essential for muscle repair and growth. They’re also rich in B vitamins, particularly B6 and B12, which support energy metabolism and brain function. The garlic in this recipe adds allicin, a compound known for its immune-boosting properties, while the herbs provide antioxidants and anti-inflammatory benefits.
If you’re watching your calorie intake, you can reduce the butter to 2 tablespoons and use a cooking spray instead of the olive oil drizzle. The chops will still be flavorful, just slightly less indulgent. For a lower-carb option, skip the flour coating and use crushed pork rinds instead of breadcrumbs. This version is keto-friendly and surprisingly crispy.
As always, these values are estimates and will vary based on the specific ingredients and brands you use. If you have specific dietary concerns, consult with a healthcare professional.
Conclusion
These crispy baked pork chops with garlic herb butter have become a regular in my dinner rotation, and I think they’ll become one in yours too. They’re proof that you don’t need complicated techniques or hard-to-find ingredients to make something truly satisfying. Just good food made with a little care and a lot of garlic butter.
I’d love to hear how these turn out for you. Did you try any of the variations? Did you serve them with something unexpected? Drop a comment below and let me know. And if you’re looking for more easy, crowd-pleasing dinners, check out healthy chicken veggie skillet wraps or cozy cheesy ranch chicken pull-apart rolls for more weeknight inspiration.
Happy cooking, friends. And remember—always set that timer.
Frequently Asked Questions
Can I use boneless pork chops for this recipe?
Absolutely! Boneless chops work perfectly. Just reduce the cooking time by about 3-5 minutes since they tend to be thinner than bone-in chops. Check the internal temperature at 18 minutes to be safe.
How do I keep the coating from falling off?
The key is drying the pork chops thoroughly before coating and using the flour-butter-breadcrumb sequence. Don’t skip the flour step, and press the breadcrumbs firmly into the butter coating. Let the coated chops rest for 5 minutes before baking to help everything set.
Can I make the garlic herb butter ahead of time?
Yes! The garlic herb butter can be made up to a week in advance. Form it into a log using plastic wrap, twist the ends, and refrigerate. Slice off rounds as needed. It’s also great on steak, chicken, or roasted vegetables.
What if I don’t have panko breadcrumbs?
Regular breadcrumbs work in a pinch, but they won’t be as crispy. To improve them, toast the breadcrumbs in a dry skillet over medium heat for 2-3 minutes until golden. You can also crush up crackers or cornflakes for a similar crunchy texture.
Can I cook these in an air fryer instead of the oven?
Definitely! Preheat your air fryer to 375°F, spray the basket with cooking spray, and cook the chops for 12-15 minutes, flipping halfway through. The air fryer version is even crispier and cooks faster. Just don’t overcrowd the basket—cook in batches if needed.
Pin This Recipe!
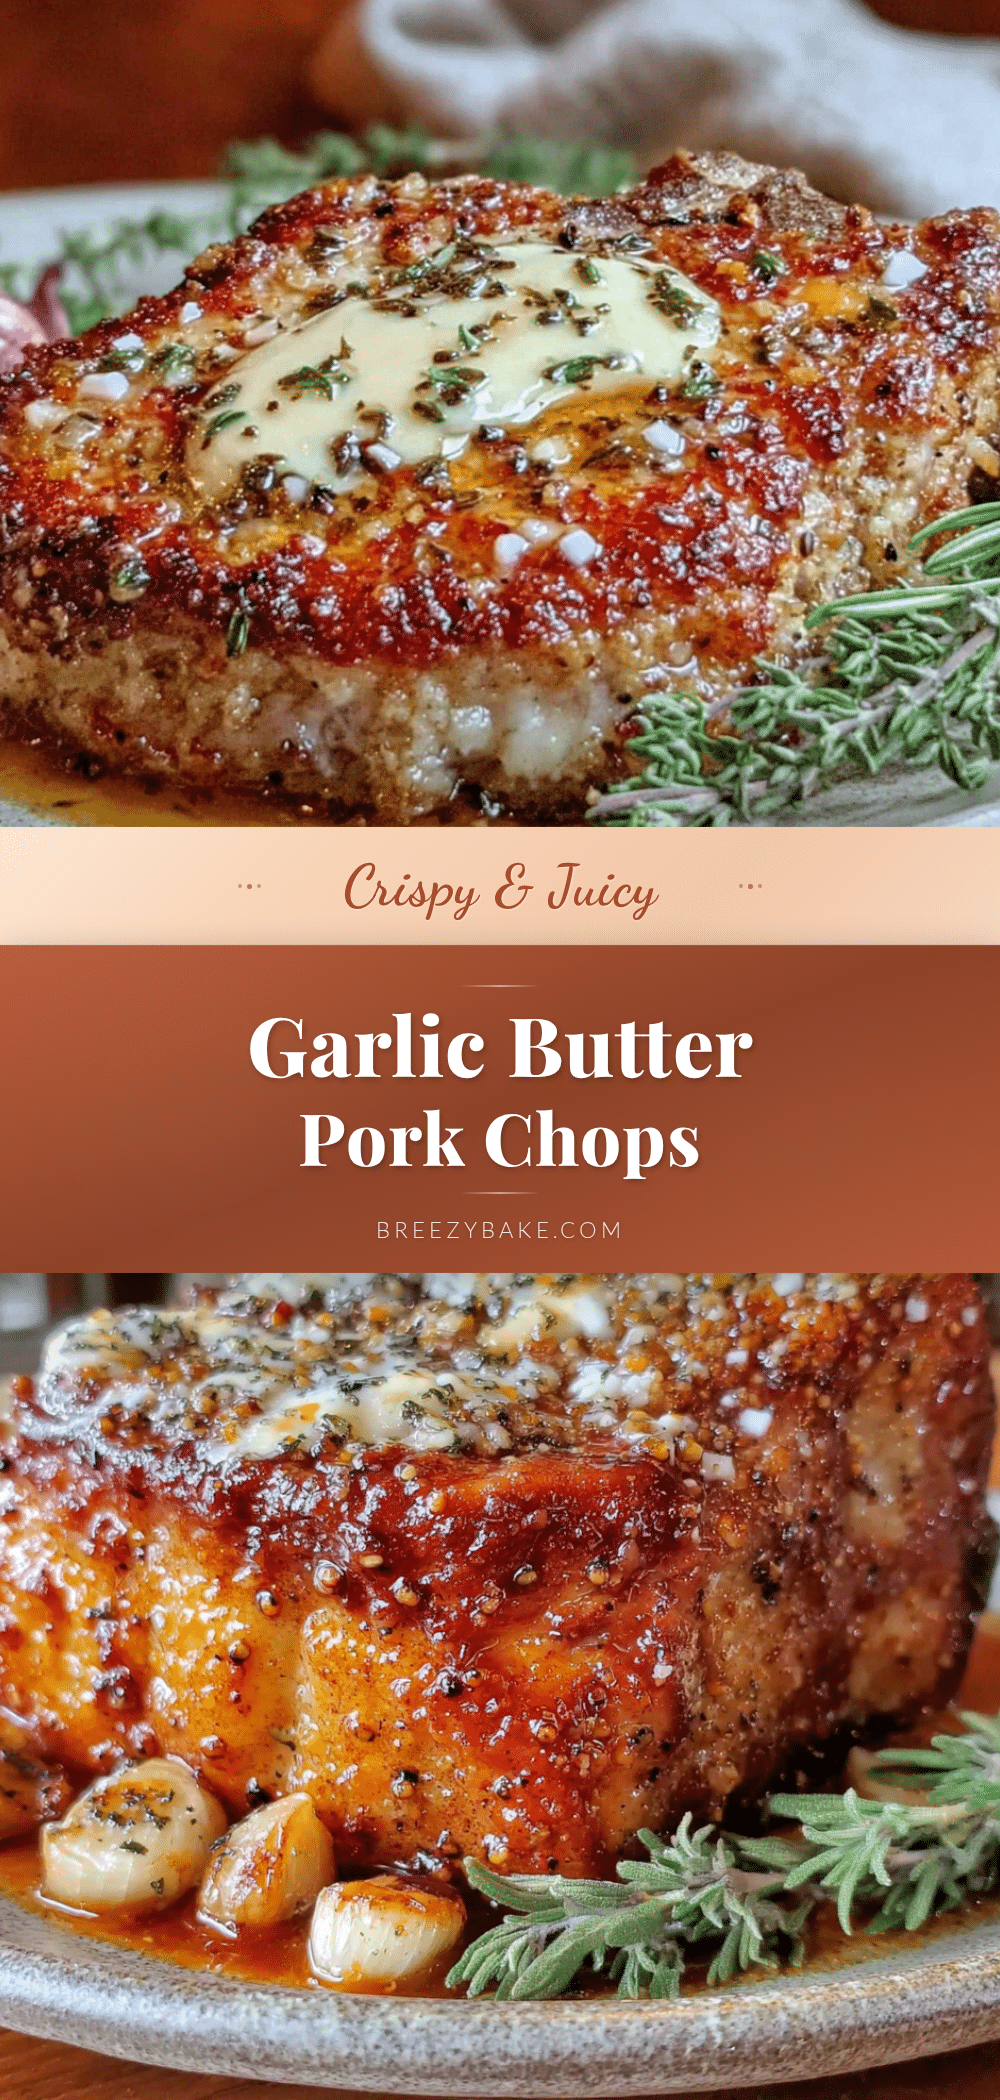
Crispy Garlic Herb Pork Chops: Best Easy Baked Recipe
These crispy baked pork chops with garlic herb butter are quick, easy, and perfect for busy weeknights. The double-coating technique ensures a crunchy crust while the meat stays juicy, and the garlic herb butter adds incredible flavor.
- Prep Time: 15 minutes
- Cook Time: 25 minutes
- Total Time: 40 minutes
- Yield: 4 servings 1x
- Category: Main Course
- Cuisine: American
Ingredients
- 4 bone-in pork chops (about 1 inch thick)
- 1/2 cup all-purpose flour
- 1 teaspoon kosher salt
- 1/2 teaspoon black pepper, freshly ground
- 1 teaspoon garlic powder
- 1 teaspoon smoked paprika
- 4 tablespoons unsalted butter, melted
- 1 cup panko breadcrumbs
- 3 cloves garlic, minced
- 2 tablespoons fresh parsley, chopped
- 1 teaspoon fresh thyme, chopped
- Zest of 1 lemon
- 1 tablespoon olive oil
- For garlic herb butter: 4 tablespoons unsalted butter, softened; 2 cloves garlic, minced; 1 tablespoon fresh parsley, chopped; pinch of salt
Instructions
- Preheat oven to 400°F (200°C). Position rack in the middle. Line a baking sheet with parchment paper and place a wire rack on top if available. Spray rack lightly with cooking spray.
- Pat pork chops completely dry with paper towels. Let them sit at room temperature for about 10 minutes.
- Set up three shallow bowls: In the first, combine flour, salt, pepper, garlic powder, and smoked paprika. In the second, pour melted butter. In the third, combine panko breadcrumbs with minced garlic, chopped parsley, thyme, and lemon zest.
- Coat each pork chop: dredge in seasoned flour, shake off excess; dip in melted butter, let excess drip; press into herb breadcrumb mixture, coating both sides and edges.
- Place coated chops on prepared wire rack. Drizzle olive oil over the top of each chop.
- Bake for 20-25 minutes, until golden brown and crispy. For extra crunch, broil for the last 1-2 minutes, watching carefully.
- Check internal temperature with a meat thermometer; it should reach 145°F. Let chops rest on the rack for 5 minutes.
- While chops rest, make garlic herb butter: combine softened butter, minced garlic, chopped parsley, and a pinch of salt. Mix until smooth.
- Serve chops with a generous dollop of garlic herb butter on top.
Notes
For thicker chops (over 1 inch), add 3-5 minutes cooking time. For thinner chops, reduce time. Use a meat thermometer for best results. Let chops rest before serving to keep them juicy.
Nutrition
- Serving Size: 1 pork chop with gar
- Calories: 420
- Sugar: 1
- Sodium: 650
- Fat: 24
- Saturated Fat: 12
- Carbohydrates: 18
- Fiber: 1
- Protein: 35
Keywords: crispy baked pork chops, garlic herb pork chops, easy pork chop recipe, weeknight dinner, baked pork chops


