My husband said, “These are dangerous,” after eating his third lunch muffin in one sitting, and I knew I’d stumbled onto something worth keeping. He wasn’t being dramatic either—he’d grabbed one warm, one cold from the fridge, and then another just to “test” if they were still good after sitting out for ten minutes. I’d made a batch on a Sunday afternoon, mostly to clear out the fridge before grocery day, and suddenly I had a problem: they were disappearing faster than I could pack them for the week.
That’s the thing about these Easy 5-Ingredient Freezer-Friendly Lunch Muffins. They don’t look like much sitting in the pan—simple, unassuming, a little humble even. But one bite and you get it. They’re savory, satisfying, and somehow exactly what you want for lunch without being heavy or complicated. I’d been experimenting with different combinations for weeks, trying to find the perfect ratio of protein to veggies to binder, and this version just clicked. It’s the kind of recipe that makes you feel like you’ve hacked the system, you know?
I’ve made these for busy weeks, for meal prep Sundays when I’m too tired to think, and even for road trips where we needed something portable that wouldn’t turn into a mess. They’ve become my go-to for those days when lunch sneaks up on you and you’re staring into the fridge with zero ideas. If you’ve been looking for a way to simplify your lunch routine without sacrificing flavor, I think you’re going to love what these little muffins can do.
Why You’ll Love This Recipe
I’ve tested this recipe more times than I care to count, and each batch taught me something new about getting the texture just right. These aren’t dry, crumbly egg bites or sad little protein pucks—they’re genuinely good, and they hold up to freezing like a champ. Here’s why they’ve become a staple in my kitchen:
- Quick & Easy: From bowl to oven in under 15 minutes, with only 5 ingredients. Perfect for those afternoons when you need lunch prep done fast.
- Simple Ingredients: No weird specialty items or trips to three different stores. You probably have most of these in your kitchen right now.
- Perfect for Meal Prep: Make a batch on Sunday, freeze them, and grab one (or two) whenever you need a quick lunch that actually tastes good.
- Crowd-Pleaser: My kids eat them, my husband eats them, and I’ve even brought them to potlucks where they disappeared before the chips.
- Unbelievably Satisfying: The texture is tender but sturdy, and the flavor is just savory enough to hit the spot without being overwhelming.
What makes these different from other freezer muffin recipes is the technique. I figured out that mixing the ingredients in a specific order and letting the batter rest for five minutes before baking makes a huge difference in how they freeze and reheat. No rubbery texture, no soggy spots—just consistent, delicious muffins every time.
Honestly, this recipe is the kind that makes you feel like you’ve got your life together. It’s comfort food that’s actually practical, and that’s a rare combination. Whether you’re feeding a family or just yourself, these muffins make lunch feel like less of a chore and more of a treat.
What Ingredients You Will Need
This recipe uses five simple ingredients to create something that feels way more complex than it is. Each one plays a specific role in the texture and flavor, so here’s what you’ll need and why it matters.
- Large eggs (6): The backbone of these muffins. They provide structure, protein, and that tender crumb that makes these so satisfying. I use large eggs, room temperature if I remember to take them out ahead of time, but cold works fine too.
- Shredded cheddar cheese (1 ½ cups): Adds richness, saltiness, and that golden-brown top that makes these look bakery-worthy. I prefer sharp cheddar for more flavor, but mild works if that’s what you have. Pre-shredded is fine, though freshly shredded melts a bit more evenly.
- Cooked chicken (2 cups, shredded or diced): The protein that makes these lunch-worthy. Rotisserie chicken is my go-to because it’s already seasoned and saves time. You can also use leftover grilled chicken, turkey, or even canned chicken in a pinch.
- Frozen mixed vegetables (1 ½ cups): Peas, carrots, corn, and green beans—whatever mix you like. No need to thaw them first; they’ll cook perfectly in the oven. This is where you get those little pops of color and sweetness.
- Bisquick or similar baking mix (1 cup): The secret to that muffin-like texture. It binds everything together without making the muffins heavy. You can substitute with a gluten-free baking mix if needed, though the texture will be slightly different.
That’s it. Five ingredients, no complicated prep, and everything is probably already in your pantry or freezer. I’ve made these with different cheese blends (try pepper jack for a kick), swapped the chicken for cooked sausage or ham, and even used leftover taco meat once. They’re forgiving like that.
One note on the baking mix: I use the generic store brand most of the time and it works perfectly. If you’re watching sodium, look for the reduced-sodium version. And if you want to make your own, a simple blend of flour, baking powder, salt, and a little butter powder does the trick.
Equipment Needed
You don’t need a fancy kitchen to make these muffins, which is part of why I love them. Here’s what you’ll need:
- Muffin tin (12-cup): Standard size works best. I’ve used both non-stick and regular, and both work fine with a little cooking spray.
- Mixing bowl (medium): Any bowl big enough to hold everything without spilling. I use a glass one so I can see if everything’s combined.
- Whisk or fork: For beating the eggs. A fork works in a pinch, but a whisk gets the job done faster.
- Measuring cups and spoons: For accurate ingredient amounts. I’m usually a “guesstimate” cook, but for these, precision helps with texture.
- Cooking spray or muffin liners: To prevent sticking. I prefer spray because it’s faster, but liners work great too.
- Cooling rack: Optional but helpful for cooling the muffins evenly. A clean dish towel works too.
If you don’t have a muffin tin, you can bake this mixture in a greased 8×8 pan and cut it into squares. The baking time will be longer—about 25-30 minutes—but the flavor is the same. I’ve also made these as mini muffins for snacks, baking them for about 12 minutes. The mini version is great for kids’ lunchboxes or quick bites between meetings.
Preparation Method

Making these muffins is almost embarrassingly easy, but I’ll walk you through each step so you get the best results. Trust me on the order of things—it makes a difference.
- Preheat your oven to 375°F (190°C). Give it a full 15 minutes to reach temperature. While it’s heating, spray your muffin tin with cooking spray or line it with paper liners. I’ve forgotten to do this before, and let’s just say cleanup was not fun.
- Beat the eggs in a medium bowl. Whisk them until they’re uniform and slightly frothy, about 30 seconds. This aerates them a bit, which helps the muffins rise. If you’re in a hurry, a fork works, but a whisk is better.
- Add the baking mix and stir until just combined. You’ll see a few lumps—that’s fine. Overmixing at this stage can make the muffins tough. I usually stir about 10-12 times, just until the dry ingredients disappear into the eggs.
- Fold in the shredded cheese, cooked chicken, and frozen vegetables. Use a spatula or wooden spoon to gently incorporate everything. Make sure the chicken and veggies are evenly distributed—nobody wants a muffin with all chicken and no vegetables. This takes about 20 seconds of gentle folding.
- Let the batter rest for 5 minutes. This is the step I figured out through trial and error. Letting the batter sit allows the baking mix to absorb some moisture, which gives the muffins a better texture after freezing. Don’t skip this—it’s worth the extra few minutes.
- Scoop the batter into the prepared muffin tin. Fill each cup almost to the top—these don’t rise much, so you want them full. I use a ¼-cup scoop for even portions, but a spoon works fine. You should get exactly 12 muffins.
- Bake for 18-20 minutes. The tops should be golden brown and a toothpick inserted in the center should come out clean. If the tops are browning too fast but the centers aren’t done, tent loosely with foil for the last 5 minutes.
- Cool in the pan for 5 minutes. This helps them set so they don’t fall apart when you remove them. Then transfer to a cooling rack to cool completely. If you’re planning to freeze them, let them cool all the way to room temperature first.
One thing I learned the hard way: don’t overfill the muffin cups. I got greedy once and filled them to overflowing, and they spread into each other, creating one giant muffin blob. Still tasted good, but not pretty. Stick to filling them level with the top of the pan.
Cooking Tips & Techniques
After making these muffins dozens of times, I’ve picked up a few tricks that make the process smoother and the results more consistent. Here’s what I wish someone had told me:
Don’t overmix the batter. I know I said this already, but it’s worth repeating. Stir until the ingredients are just combined—a few streaks of flour are okay. Overmixing develops the gluten in the baking mix, which makes the muffins dense and tough instead of tender and fluffy.
Use room temperature eggs if you can. Cold eggs can make the batter seize up a bit, especially if your kitchen is cool. If you forgot to take them out ahead of time, place them in a bowl of warm water for 5 minutes before cracking them. It’s a small step that makes a real difference in texture.
Distribute the mix-ins evenly. I’ve had muffins that were all cheese and no chicken, and it’s disappointing. After folding everything together, give the batter a final look to make sure there aren’t any clumps of ingredients. If you see a pocket of cheese, stir it in gently.
Let them cool completely before freezing. I know it’s tempting to pack them up while they’re still warm, but that creates condensation inside the storage bag, which leads to soggy muffins when you reheat them. Patience pays off here.
Double the batch if you have the oven space. These freeze so well that it’s worth making extra. I often bake two dozen at once, using two muffin tins on separate racks. Just rotate the pans halfway through baking for even browning.
Label your freezer bag. I thought I’d remember what was in there, but three weeks later, I was staring at a bag of frozen muffins wondering if they were the savory ones or a failed sweet experiment. Write the date and contents on the bag. Future you will be grateful.
Variations & Adaptations
One of the best things about this recipe is how customizable it is. I’ve tried several variations over the months, and here are some of my favorites:
- Southwest Style: Swap the cheddar for pepper jack cheese, use cooked ground beef or chorizo instead of chicken, and add a can of drained black beans. Top with a dollop of salsa before serving. These are amazing with a side of guacamole.
- Mediterranean Twist: Use feta cheese instead of cheddar, add chopped sun-dried tomatoes and spinach, and swap the chicken for cooked lamb or leave it out for a vegetarian version. A sprinkle of oregano in the batter adds nice flavor.
- Breakfast Muffins: Use cooked breakfast sausage or crumbled bacon instead of chicken, add some chopped bell peppers, and use a milder cheese like mozzarella. These are perfect for grab-and-go mornings.
- Veggie-Packed Version: Double the vegetables and reduce the chicken to 1 cup. Add some finely chopped broccoli or zucchini (squeeze out the excess moisture first). This is great for using up whatever’s in your crisper drawer.
- Spicy Version: Add a diced jalapeño or a teaspoon of red pepper flakes to the batter. Use a spicy cheese blend and top with a drizzle of hot sauce before serving. My husband’s personal favorite.
I’ve also made these with leftover holiday turkey, and they were fantastic. Basically, if you have cooked protein and cheese in your fridge, you can turn it into lunch muffins. Just keep the ratios roughly the same, and you’ll be fine.
Serving & Storage Suggestions
These muffins are versatile when it comes to serving. Here’s how I like to enjoy them:
Serving: I eat them warm or at room temperature, straight from the container like some kind of lunch gremlin. But they’re also great with a side salad, some fresh fruit, or a cup of soup. For a heartier meal, slice one open and toast it, then add a fried egg on top. It’s like a savory breakfast sandwich without the bread.
Storage: Keep them in an airtight container in the fridge for up to 5 days. They actually get better after a day or two as the flavors meld together. I usually make a batch on Sunday and eat them through Friday without any issues.
Freezing: This is where these muffins really shine. Let them cool completely, then place them in a single layer on a baking sheet and freeze for 1 hour. Once they’re solid, transfer them to a freezer-safe bag or container. They’ll keep for up to 3 months. To reheat, microwave one for 45-60 seconds, or pop it in a 350°F oven for about 10 minutes. The oven method gives you a slightly crisper exterior.
Packing for lunch: I’ll grab a frozen muffin in the morning, wrap it in a paper towel, and toss it in my lunch bag. By lunchtime, it’s thawed and ready to eat. If you prefer it warm, microwave it at work for about 45 seconds. They don’t get soggy, which is a miracle in the lunch-packing world.
Nutritional Information & Benefits
These muffins are surprisingly balanced for something that tastes so indulgent. Here’s an approximate breakdown per muffin (based on the original recipe):
| Nutrient | Amount per Muffin |
|---|---|
| Calories | 195 |
| Protein | 16g |
| Carbohydrates | 12g |
| Fat | 9g |
| Fiber | 2g |
| Sodium | 410mg |
These numbers will vary based on the specific ingredients you use, but generally, these are a solid source of protein and vegetables. The eggs provide choline for brain health, the chicken offers lean protein for muscle repair, and the vegetables contribute fiber and vitamins. If you’re watching your sodium, use reduced-sodium cheese and baking mix, or leave out the salt entirely since the cheese provides plenty.
For those with dietary restrictions, this recipe is naturally gluten-free if you use a gluten-free baking mix. It’s also easily adaptable for dairy-free diets by using dairy-free cheese and a dairy-free baking mix. Always check your ingredient labels to be sure.
Conclusion
These Easy 5-Ingredient Freezer-Friendly Lunch Muffins have genuinely changed how I approach weekday lunches. They’re not fancy or complicated, but they’re reliable, delicious, and they make me feel like I’ve got my act together even on the busiest days. I love that I can make a batch when I have a free hour and then not think about lunch for weeks.
I’d love for you to try these and make them your own. Swap in your favorite cheese, use whatever protein you have on hand, or load them up with extra vegetables. The recipe is forgiving and flexible, which is exactly what a busy week needs. If you come up with a variation you love, I’d be thrilled to hear about it—leave a comment below or tag me in your photos.
Here’s to lunches that don’t stress you out, to recipes that actually work, and to having one less thing to worry about on a Tuesday afternoon. Happy baking, friends!
Frequently Asked Questions
Can I use a different protein instead of chicken?
Absolutely. Cooked turkey, ham, ground beef, pork, or even canned tuna work great. Just make sure whatever you use is fully cooked and drained of excess moisture before adding it to the batter. I’ve also used leftover taco meat for a Mexican-inspired version that was fantastic.
Can I make these vegetarian or vegan?
For a vegetarian version, skip the chicken and add extra vegetables or a can of drained beans. For a vegan version, you’ll need to replace the eggs with a flax egg or commercial egg replacer, and use dairy-free cheese and baking mix. The texture will be different, but I’ve had good results with flax eggs (1 tablespoon ground flaxseed + 3 tablespoons water per egg).
How do I prevent the muffins from sticking to the pan?
Use a generous amount of cooking spray, especially if you’re using a regular (non-stick) muffin tin. I’ve also had great success with silicone muffin liners, which pop right off. If you do end up with stuck muffins, run a knife around the edge and let them cool completely before trying to remove them.
Can I bake these in a different pan size?
Yes! You can use a mini muffin tin for snack-sized bites (bake 12-14 minutes), or an 8×8 baking dish for muffin “bars” (bake 25-30 minutes). Just adjust the baking time and check for doneness with a toothpick. The flavor is the same regardless of shape.
How long do these last in the freezer?
Properly stored in an airtight freezer bag or container, these muffins stay fresh for up to 3 months. After that, they’re still safe to eat but may lose some texture quality. I always label my bags with the date so I know which batch to use first.
Pin This Recipe!
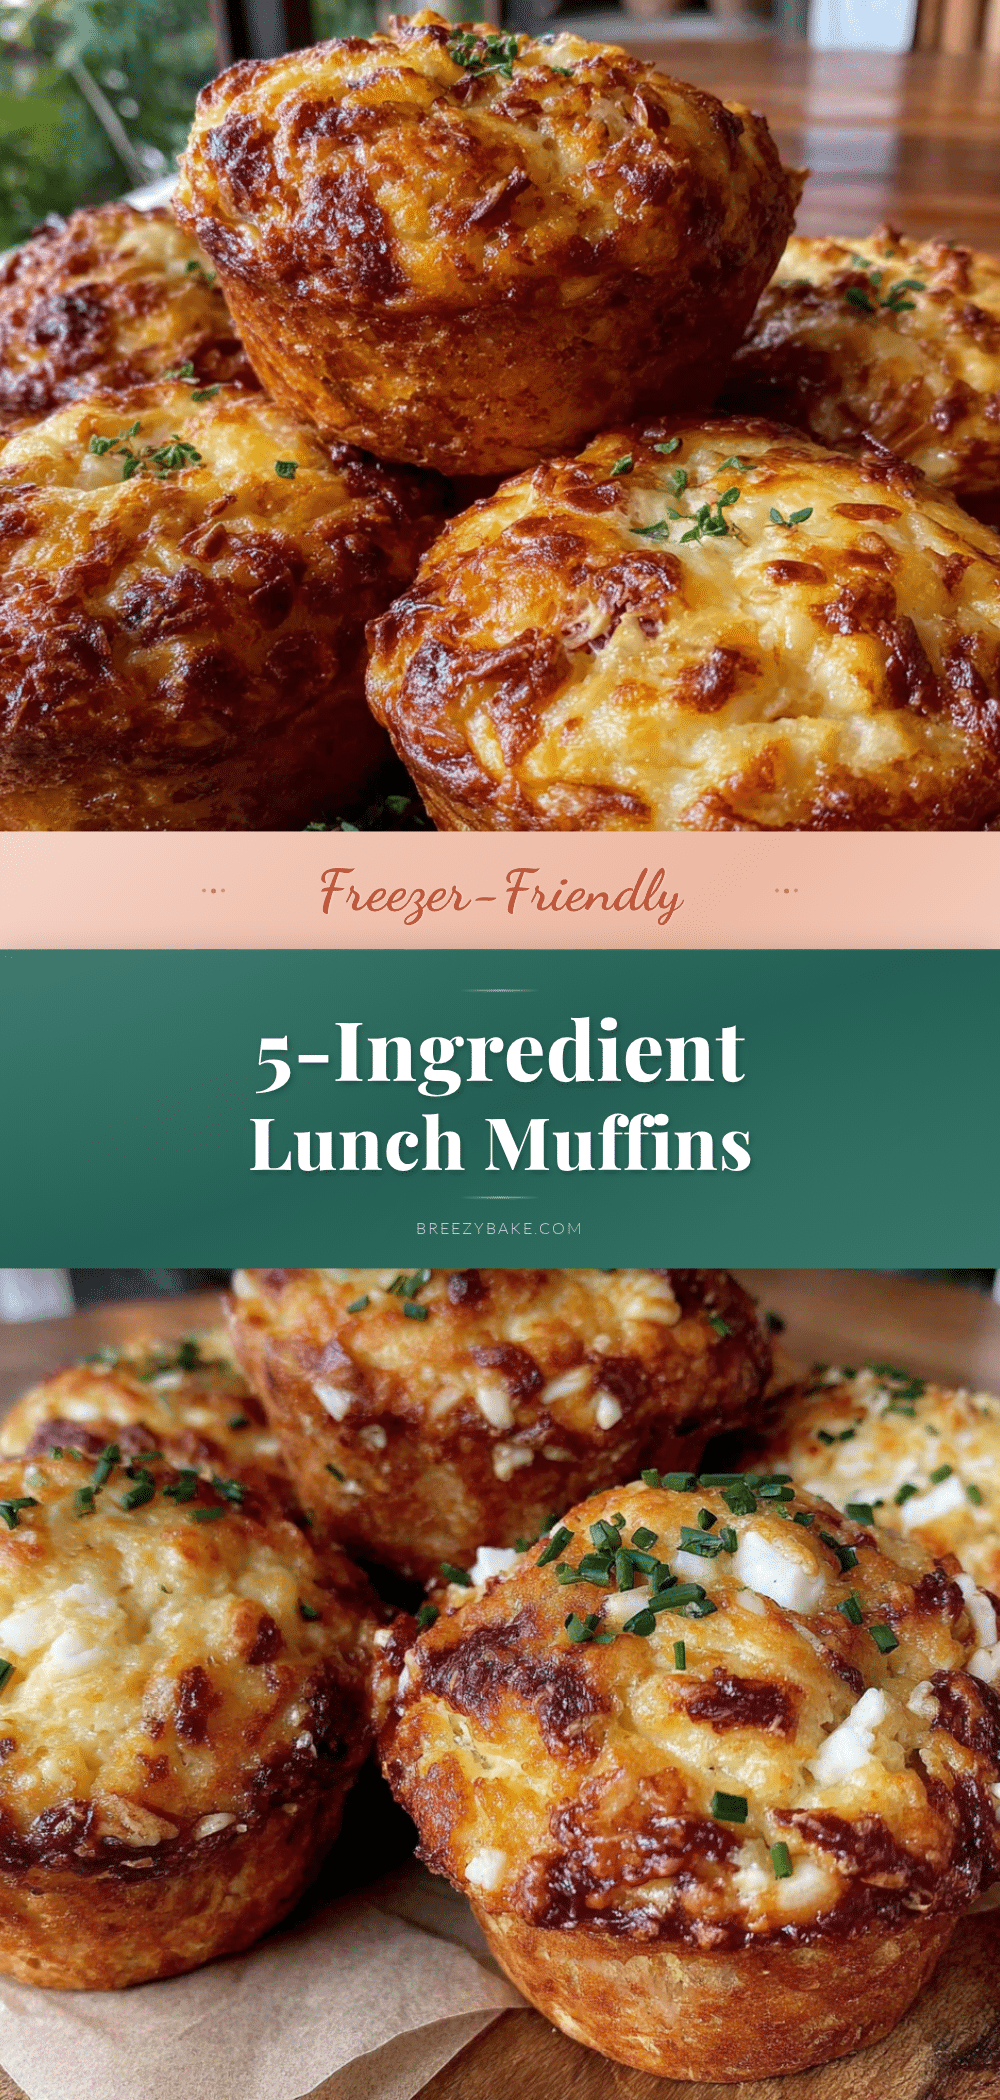
Best 5-Ingredient Freezer Lunch Muffins

Savory, satisfying lunch muffins made with just five simple ingredients. Perfect for meal prep, freezer-friendly, and ready in under 30 minutes.
- Prep Time: 15 minutes
- Cook Time: 20 minutes
- Total Time: 35 minutes
- Yield: 12 muffins 1x
- Category: Lunch
- Cuisine: American
Ingredients
- 6 large eggs
- 1 ½ cups shredded cheddar cheese
- 2 cups cooked chicken, shredded or diced
- 1 ½ cups frozen mixed vegetables (peas, carrots, corn, green beans)
- 1 cup Bisquick or similar baking mix
Instructions
- Preheat your oven to 375°F (190°C). Spray a 12-cup muffin tin with cooking spray or line with paper liners.
- Beat the eggs in a medium bowl until uniform and slightly frothy, about 30 seconds.
- Add the baking mix and stir until just combined (a few lumps are fine).
- Fold in the shredded cheese, cooked chicken, and frozen vegetables until evenly distributed.
- Let the batter rest for 5 minutes.
- Scoop the batter into the prepared muffin tin, filling each cup almost to the top.
- Bake for 18-20 minutes, until golden brown and a toothpick inserted in the center comes out clean.
- Cool in the pan for 5 minutes, then transfer to a cooling rack to cool completely.
Notes
Let the batter rest for 5 minutes before baking to improve texture after freezing. Don’t overmix the batter to avoid dense muffins. Cool completely before freezing to prevent condensation. Label freezer bags with date and contents.
Nutrition
- Serving Size: 1 muffin
- Calories: 195
- Sugar: 2
- Sodium: 410
- Fat: 9
- Saturated Fat: 4
- Carbohydrates: 12
- Fiber: 2
- Protein: 16
Keywords: lunch muffins, freezer-friendly, meal prep, 5-ingredient, savory muffins, chicken muffins, easy lunch


