There used to be a little bakery on Elm Street, tucked between a dry cleaner and a hardware store, that made the most incredible cinnamon-sugar pumpkin seeds. When they closed their doors three years ago—just a sign in the window saying “Thanks for the memories”—I honestly felt a little pang of loss. My kids, who were tiny then, would beg for a bag every time we walked past. The warm, sweet smell would hit you half a block away, and the seeds had this perfect crunch that wasn’t too hard for little teeth. After about seven tries—some burnt, some too salty, one that my husband politely called “interesting”—I finally cracked the code. And let me tell you, this version might even be better than the original.
Why You’ll Love This Recipe
Let’s be real for a second. Getting kids to eat something that’s not covered in chocolate or shaped like a cartoon character can feel like a full-time job. But these cinnamon sugar pumpkin seeds? They disappear faster than I can make them. I’ve tested this recipe with my own crew, my neighbor’s picky-eater twins, and even a classroom of skeptical second-graders. The verdict every single time? Empty bowls and sticky fingers asking for more.
- Quick & Easy: From pumpkin to plate in under 30 minutes. Perfect for those after-school hunger attacks or weekend baking sessions when patience is running thin.
- Simple Ingredients: You probably have everything in your pantry right now. No weird specialty items or expensive extracts. Just butter, sugar, cinnamon, and those seeds you were about to toss.
- Perfect for Fall Fun: Great for Halloween parties, Thanksgiving prep days, or just a cozy afternoon activity when the weather turns chilly.
- Crowd-Pleaser: I’ve yet to meet a kid who doesn’t love these. Adults too, honestly. They’re dangerously snackable.
- Unbelievably Delicious: The combination of buttery crunch with warm cinnamon sweetness hits that perfect comfort-food spot. It’s the kind of snack that makes you close your eyes after the first handful.
What makes this recipe different from all the others out there? It’s the double-coating method. Most recipes just toss the seeds in sugar and call it done. But I figured out that a light egg white wash helps the cinnamon sugar stick better and creates this incredible crackly coating that shatters when you bite into it. Pure magic, I swear.
This isn’t just a snack—it’s the kind that creates memories. The kind your kids will ask for by name years from now. “Mom, remember those pumpkin seeds you used to make?” That’s the good stuff, right there.
What Ingredients You Will Need
This recipe uses simple, wholesome ingredients to deliver big flavor without any fuss. Most of these are pantry staples, which means you can whip up a batch whenever the craving hits—no special trip to the store required.
- Fresh pumpkin seeds, cleaned and dried (about 1 cup or 120g) — Look for seeds that are still slightly moist but not wet. I prefer seeds from sugar pumpkins for smaller, more tender results, but any pumpkin works. If you’re using store-bought raw pumpkin seeds, that’s totally fine too.
- Unsalted butter, melted (2 tablespoons or 28g) — I recommend using a good quality butter like Kerrygold for richer flavor. Salted butter works too, just skip the added salt in the recipe. The butter gives that irresistible toasty richness.
- Granulated sugar (3 tablespoons or 36g) — Regular white sugar creates the best crunchy coating. You can experiment with coconut sugar for a deeper flavor, but the texture won’t be quite as crisp.
- Ground cinnamon (1½ teaspoons) — Fresh cinnamon makes a noticeable difference here. I love Saigon cinnamon for its bold, sweet warmth. Don’t be shy with it—cinnamon is the star of this show.
- Egg white (from 1 large egg) — This is my secret weapon. It helps the coating stick and creates that signature crackly shell. If you’re worried about raw egg, you can use aquafaba (chickpea water) instead—it works surprisingly well.
- Pinch of salt (about ⅛ teaspoon) — Just enough to balance the sweetness and make all the flavors pop. If you’re using salted butter, skip this entirely.
- Vanilla extract (½ teaspoon, optional) — I add this about half the time. It rounds out the sweetness and adds a warm, cozy note that kids love. Totally optional but highly recommended.
One thing I learned the hard way: don’t skip the drying step. Wet seeds won’t crisp up properly, and you’ll end up with chewy, sad little things. Pat them really well with a clean kitchen towel before you start. Trust me on this one.
Equipment Needed
You don’t need a fancy kitchen to make these. Here’s what you’ll want to have on hand:
- Baking sheet (rimmed) — A half-sheet pan works perfectly. The rim keeps those tiny seeds from rolling off into the abyss of your oven.
- Parchment paper or silicone baking mat — Makes cleanup a breeze and prevents sticking. I’ve ruined a few batches because the seeds glued themselves to the pan. Learn from my mistakes.
- Mixing bowls (one medium, one small) — Nothing fancy. I use the same bowls I use for everything else.
- Whisk or fork — For beating that egg white until it’s frothy. A fork works in a pinch, but a small whisk is faster.
- Measuring spoons — Precision matters here, especially with the cinnamon and sugar.
- Paper towels or clean kitchen towel — For drying those seeds like your life depends on it.
- Spatula — For stirring and spreading the seeds on the baking sheet.
If you don’t have a silicone baking mat, just use parchment paper. It’s cheap and works great. I actually prefer it because I can lift the whole sheet off and let the seeds cool without moving them individually.
Preparation Method
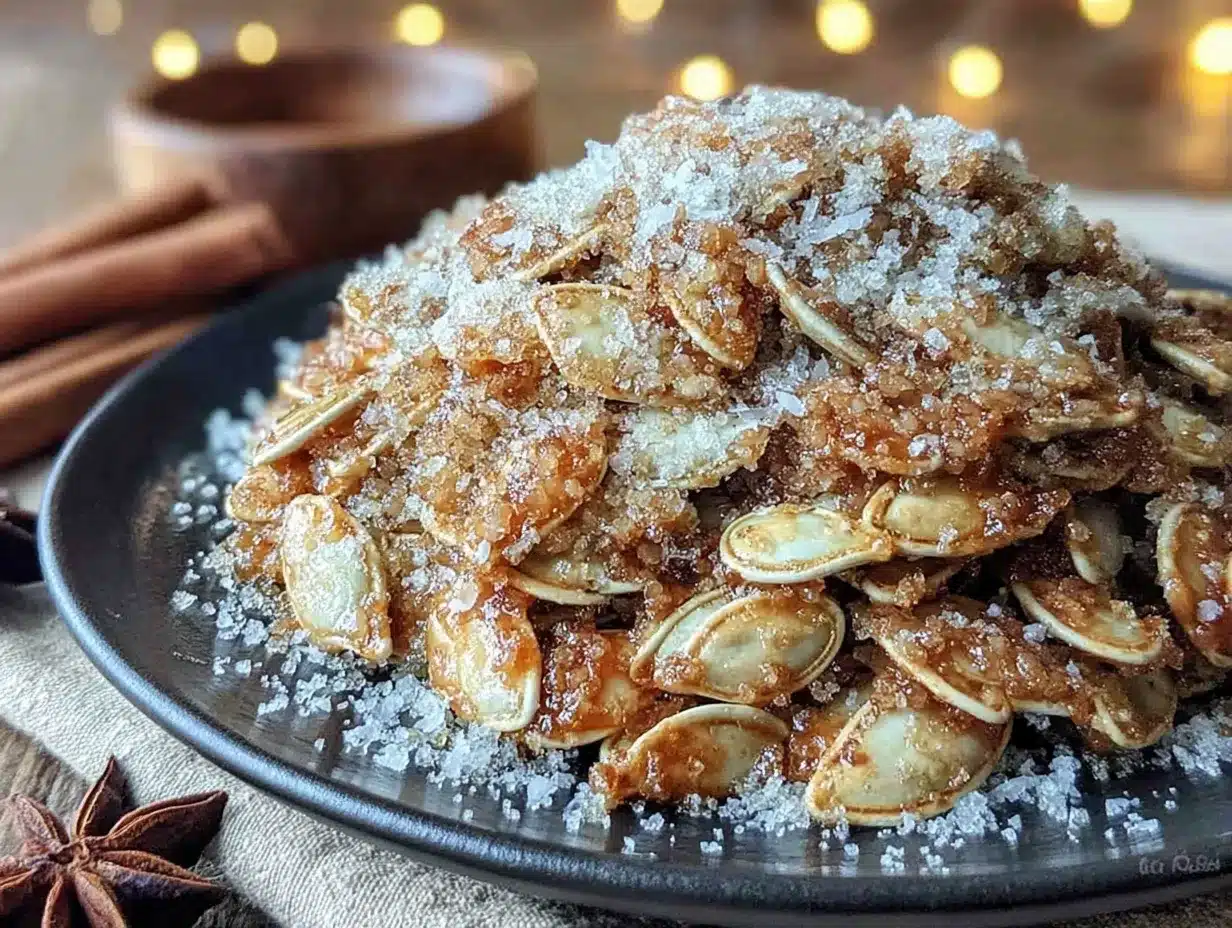
Alright, let’s get to the good part. Here’s exactly how to make these little nuggets of joy.
- Preheat your oven to 300°F (150°C). Line a rimmed baking sheet with parchment paper or a silicone mat. The lower temperature is key here—we want to dry the seeds out slowly so they get crispy all the way through without burning the sugar coating.
- Clean and dry your pumpkin seeds thoroughly. If you’re using fresh seeds from a pumpkin, rinse them in a colander under cool water to remove the stringy pulp. Pick out any big chunks. Then spread them on a clean kitchen towel or paper towels and pat them completely dry. I mean really dry. Any moisture left on the seeds will steam them instead of roasting them, and nobody wants soggy pumpkin seeds.
- In a small bowl, combine the sugar, cinnamon, and salt. Whisk it together with a fork until everything is evenly distributed. The color should be a warm, uniform brown. Set this aside for now.
- In a medium bowl, whisk the egg white until it’s frothy and slightly opaque. You’re looking for about 30 seconds of vigorous whisking. It should look like a bubble bath but not form stiff peaks. If you’re using the vanilla extract, add it now and whisk once more.
- Add the dried pumpkin seeds to the frothy egg white. Stir with a spatula until every single seed is coated. This takes about a minute. Don’t rush it—those uncoated seeds will be sad and lonely without their cinnamon sugar jacket.
- Pour the cinnamon sugar mixture over the coated seeds. Toss and stir until the seeds are evenly coated. The mixture might clump a little, that’s totally fine. Those clumps will bake into delicious little candy bits. My kids fight over those.
- Spread the coated seeds in a single layer on the prepared baking sheet. Try to get them as spread out as possible. If they’re piled on top of each other, they’ll steam instead of roast. Use your spatula to break up any big clumps.
- Bake for 20-25 minutes, stirring halfway through. At the 10-minute mark, pull the pan out and give the seeds a good stir with your spatula. This ensures even cooking. The seeds are done when they’re golden brown and smell absolutely incredible. Your whole kitchen will smell like a cinnamon roll bakery.
- Let them cool completely on the baking sheet. This is the hardest part, I know. But the seeds continue to crisp up as they cool. If you eat them warm, they’ll still be a little soft in the middle. Patience, my friend. About 15-20 minutes should do it.
- Break apart any clumps and transfer to a bowl. Use your fingers to gently separate any seeds that stuck together during baking. They should break apart easily once cool.
A few things to watch for: if your seeds are browning too quickly, your oven might run hot. Just reduce the temperature by 25 degrees next time. And if they smell burnt before the time is up, pull them out immediately. Every oven is different, so trust your nose more than the timer.
Cooking Tips & Techniques
I’ve made this recipe probably fifty times by now, and I’ve learned a few things the hard way so you don’t have to.
Don’t skip the egg white. I know it sounds weird, but it’s the difference between “meh” seeds and “I can’t stop eating these” seeds. The protein in the egg white creates that shatteringly crisp coating that regular butter alone just can’t achieve. I tried skipping it once to save time, and the result was a sad, soggy mess. Never again.
Watch your oven like a hawk. The line between perfectly toasted and burnt is about two minutes long. I burned my first three batches because I got distracted by laundry (or was it a phone call? Honestly, I can’t remember). Set a timer, and when it goes off, check them immediately. Better to pull them out a minute early than a minute late.
Double the batch if you’re smart. These disappear fast. Like, embarrassingly fast. I now make two batches at a time and hide half in the freezer for later. They freeze beautifully, and my kids never know the difference.
Let kids help with the coating step. My five-year-old loves dumping the cinnamon sugar into the bowl and stirring. It’s messy, sure, but that’s half the fun. Just be prepared for cinnamon dust everywhere. Your kitchen will look like a crime scene, but the memories are worth it.
Use room temperature egg white. Cold egg white doesn’t froth up as nicely. Let your egg sit on the counter for 10 minutes before you start, or run it under warm water for a few seconds. Small details like this add up.
Variations & Adaptations
One of the best things about this recipe is how easy it is to change up. Here are some variations I’ve tried and loved:
Spiced Pumpkin Seeds: Add ¼ teaspoon of nutmeg and ⅛ teaspoon of cloves to the cinnamon sugar mixture. It gives a chai-like warmth that’s perfect for holiday snacking. My mother-in-law requests these every Thanksgiving.
Maple Cinnamon Seeds: Replace the granulated sugar with 2 tablespoons of maple sugar and add 1 tablespoon of maple syrup to the egg white mixture. The flavor is deeper and more complex. These are my personal favorite for fall baking marathons.
Chocolate Cinnamon Seeds: After the seeds have cooled completely, drizzle them with melted dark chocolate and let it set. It sounds indulgent, and it is. Perfect for birthday parties or movie nights. My kids call these “fancy seeds” and act like they’re eating gourmet candy.
Vegan Version: Replace the egg white with 2 tablespoons of aquafaba (the liquid from a can of chickpeas). It works exactly the same way. Use vegan butter or coconut oil instead of regular butter. Honestly, I’ve made this version for a friend with egg allergies, and nobody could tell the difference.
Less Sugar Option: Cut the sugar down to 1½ tablespoons and add an extra ½ teaspoon of cinnamon. The seeds are still sweet enough to satisfy a craving but not as sugary. Great for toddlers or anyone watching their sugar intake.
Savory-Sweet Twist: Add ¼ teaspoon of cayenne pepper to the cinnamon sugar mixture. The heat sneaks up on you and plays beautifully with the sweetness. I know it sounds weird for a kid-friendly recipe, but my older kids actually love the kick.
Serving & Storage Suggestions
These seeds are best served at room temperature, straight from the bowl. They’re perfect for snacking on their own, but here are some other ways I like to use them:
On top of yogurt or oatmeal: Sprinkle a handful over Greek yogurt with a drizzle of honey for an easy breakfast. The crunch against the creamy yogurt is heavenly.
As a salad topper: Sounds weird, I know, but try them on a simple spinach salad with dried cranberries and goat cheese. The sweet crunch is amazing against the tangy cheese and tart cranberries.
In lunchboxes: Pack a small container as a treat. They hold up really well and don’t get soggy like some snacks do. My kids actually trade these at school—they’re that popular.
For storage: Keep them in an airtight container at room temperature for up to 2 weeks. If they last that long, honestly. In my house, they’re gone within three days. You can also freeze them in a zip-top bag for up to 3 months. Just let them come to room temperature before serving to restore their crunch.
Re-crisping tip: If your seeds have gone a little soft (it happens in humid weather), spread them on a baking sheet and pop them in a 300°F oven for 3-4 minutes. Let them cool completely, and they’ll be crispy again. Works like a charm.
One thing I love about these seeds is that the flavor actually gets better after a day or two. The cinnamon and sugar have time to really meld together. So don’t be discouraged if they taste even better on day two—that’s totally normal.
Nutritional Information & Benefits
Here’s the thing about pumpkin seeds—they’re actually pretty good for you. Even with the sugar coating, these are a smarter snack choice than most of what’s in the pantry.
Per serving (about ¼ cup): Approximately 180 calories, 12g fat, 14g carbohydrates, 8g protein, 6g sugar, 2g fiber. These numbers are estimates and will vary based on exact ingredients and portion sizes.
Health benefits: Pumpkin seeds are packed with magnesium, zinc, and healthy fats. The magnesium is great for sleep and muscle recovery—perfect for active kids. Zinc supports immune health, which is always a plus during cold season. And the protein and fiber help keep little tummies full between meals.
Dietary considerations: This recipe is naturally gluten-free and nut-free, making it safe for school lunchboxes. The vegan variation I mentioned earlier works beautifully for plant-based families. If you’re watching sugar intake, the less-sugar option is still delicious.
Allergen note: Contains eggs (unless using the vegan version). If you’re serving these at a party or school event, always check with other parents about allergies first.
I’m not a nutritionist, but I feel good about giving these to my kids. They’re getting real food with actual nutrients, not just empty calories. And the fact that they think they’re getting a treat? That’s a win-win in my book.
Conclusion
Look, I know pumpkin seeds aren’t exactly groundbreaking. But these cinnamon sugar pumpkin seeds? They’re something special. They’re the snack that brings my kids running from the other room. They’re the treat that makes rainy afternoons feel cozy. They’re the recipe that started from a closed bakery and ended up becoming a family tradition in my own kitchen.
I hope you give these a try. Don’t stress about making them perfect—my first batch was a disaster, and my kids still ate them all. That’s the beauty of cooking for people who love you. They don’t care if the seeds are a little uneven or if you burned one corner of the pan. They just care that you made something with them in mind.
If you make these, I’d love to hear about it. Drop a comment below and tell me how your family liked them. Did your kids help make them? Did you try any fun variations? Share your pumpkin seed stories—I genuinely love reading them. And if you’re looking for more kid-friendly snacks, check out our easy homemade granola bars or our no-bake peanut butter bites for more quick treats that actually taste good.
Happy snacking, friends. Go make some memories in your kitchen today.
Frequently Asked Questions
Can I use store-bought pumpkin seeds instead of fresh ones?
Absolutely! Store-bought raw pumpkin seeds work perfectly. Just skip the cleaning and drying steps, and start right at the coating stage. Make sure they’re raw, not roasted or salted, so you can control the flavor yourself.
Why did my pumpkin seeds turn out chewy instead of crispy?
That usually means they weren’t dried well enough before baking, or they were overcrowded on the pan. Make sure to pat those seeds completely dry with a towel, and spread them in a single layer with space between each seed. If they’re piled up, they steam instead of roast.
Can I make these in an air fryer?
Yes, you can! Preheat your air fryer to 300°F and cook the seeds for 10-12 minutes, shaking the basket halfway through. Keep an eye on them because air fryers cook faster than ovens. The result is actually even crispier than oven-baked seeds.
How long do these stay fresh?
Stored in an airtight container at room temperature, they’ll stay crisp for about 2 weeks. In the freezer, they’ll last up to 3 months. Just let them come to room temperature before serving to restore their crunch. Honestly, in my house they’re lucky to last 2 days.
My kids have nut allergies. Are these safe?
Yes, this recipe is naturally nut-free! Just make sure all your ingredients are processed in a nut-free facility if that’s a concern. The pumpkin seeds themselves are seeds, not nuts, so they’re generally safe for nut-allergy families. Always check labels to be sure.
Pin This Recipe!
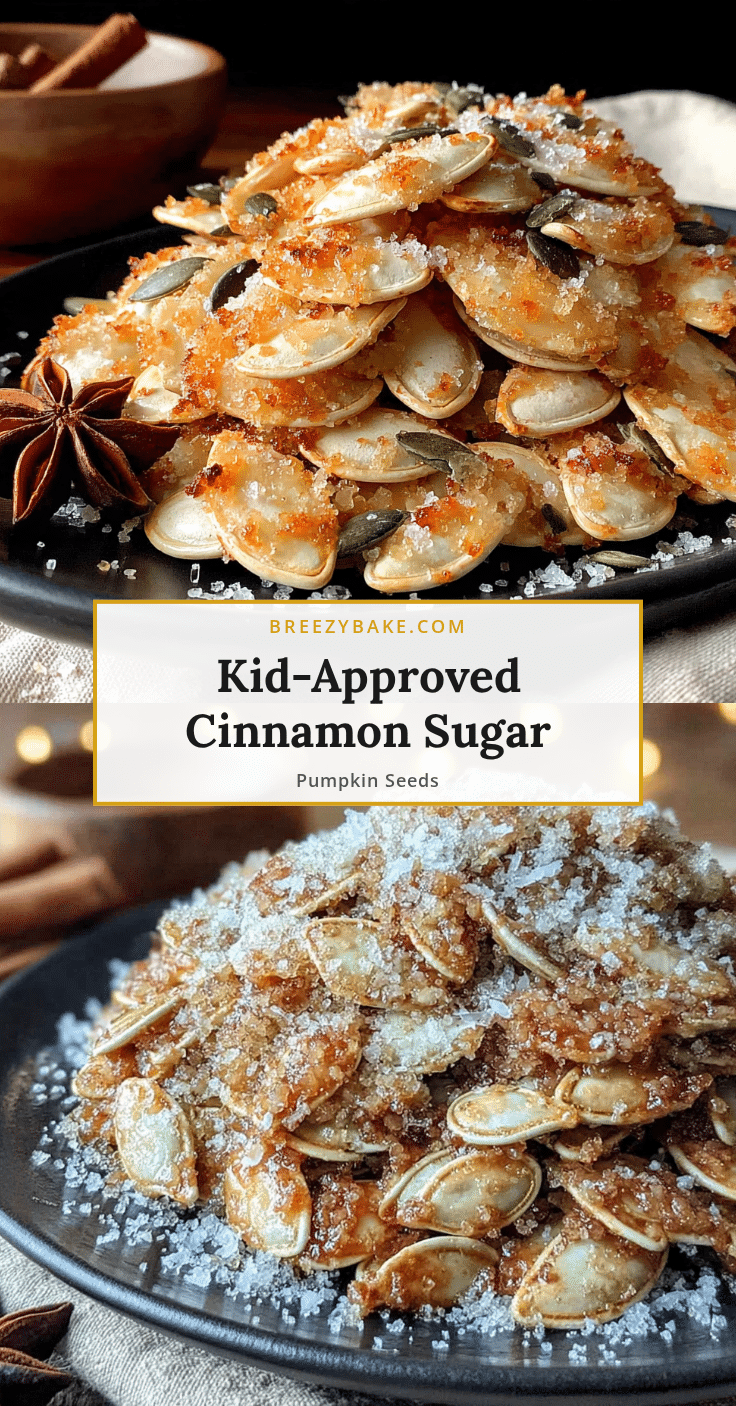
Best Easy Cinnamon Sugar Pumpkin Seeds Recipe for Kids
These cinnamon sugar pumpkin seeds are a quick and easy snack that kids love. With a double-coating method using egg white, they achieve a perfect crackly crunch that’s irresistible.
- Prep Time: 10 minutes
- Cook Time: 25 minutes
- Total Time: 35 minutes
- Yield: 4 servings 1x
- Category: Snack
- Cuisine: American
Ingredients
- 1 cup (120g) fresh pumpkin seeds, cleaned and dried
- 2 tablespoons (28g) unsalted butter, melted
- 3 tablespoons (36g) granulated sugar
- 1½ teaspoons ground cinnamon
- 1 large egg white
- ⅛ teaspoon salt
- ½ teaspoon vanilla extract (optional)
Instructions
- Preheat your oven to 300°F (150°C). Line a rimmed baking sheet with parchment paper or a silicone mat.
- Clean and dry your pumpkin seeds thoroughly. Rinse fresh seeds in a colander under cool water to remove pulp, then pat completely dry with a clean kitchen towel or paper towels.
- In a small bowl, combine the sugar, cinnamon, and salt. Whisk together until evenly distributed.
- In a medium bowl, whisk the egg white until frothy and slightly opaque, about 30 seconds. If using vanilla extract, add it now and whisk once more.
- Add the dried pumpkin seeds to the frothy egg white and stir with a spatula until every seed is coated.
- Pour the cinnamon sugar mixture over the coated seeds and toss until evenly coated.
- Spread the coated seeds in a single layer on the prepared baking sheet, breaking up any big clumps.
- Bake for 20-25 minutes, stirring halfway through at the 10-minute mark. Seeds are done when golden brown and fragrant.
- Let them cool completely on the baking sheet, about 15-20 minutes, to allow them to crisp up.
- Break apart any clumps with your fingers and transfer to a bowl.
Notes
Don’t skip the egg white—it creates a shatteringly crisp coating. Watch the oven closely as seeds can burn quickly. Double the batch if desired; they freeze well. Let kids help with the coating step for fun. Use room temperature egg white for better frothing.
Nutrition
- Serving Size: ¼ cup
- Calories: 180
- Sugar: 6
- Sodium: 75
- Fat: 12
- Saturated Fat: 4
- Carbohydrates: 14
- Fiber: 2
- Protein: 8
Keywords: cinnamon sugar pumpkin seeds, easy pumpkin seeds, kid-friendly snack, fall snack, pumpkin seeds recipe


