I had three bananas on the counter that were more brown than yellow, and a friend texted saying they’d be over in an hour. The butter was already softened—leftover from morning toast—and I spotted a bag of walnuts hiding in the back of the pantry. That’s how this one-bowl banana bread with walnuts came to be. No fancy mixer, no planning, just a bowl, a fork, and the kind of desperation that makes you stir faster than you normally would.
The smell hit about twenty minutes in—warm, sweet, with that nutty toastiness that makes you hover by the oven. By the time my friend walked in, the loaf was cooling on the rack, steam still rising from the crack down the middle. They didn’t even wait for it to cool all the way. Honestly, that first warm slice with a pat of butter melting into it? That’s the moment I knew this recipe was a keeper.
This isn’t fancy banana bread. It’s the kind you make when you need something good without a trip to the store. The kind that uses up what you have and turns it into something you want to make again on purpose.
Why You’ll Love This Recipe
I’ve tested this banana bread more times than I want to admit—some loaves were too dry, some were gummy, and a few just didn’t have enough banana flavor. This version nails it every single time. Here’s why it works:
- One Bowl, No Mixer : You don’t need a stand mixer or even a hand mixer. Just one bowl and a wooden spoon. Less cleanup, more eating.
- Perfectly Moist Every Time : The ratio of bananas to fat to flour is dialed in so you get that tender crumb without it being soggy in the middle.
- Walnuts Add the Right Crunch : They toast up as the bread bakes, adding texture and a little savory note that balances the sweetness.
- Uses Up Sad Bananas : You know those spotty bananas nobody wants to eat? They’re perfect here. The riper, the better.
- Family-Approved and Kid-Friendly : My niece calls it “the good bread” and asks for it every time she visits. It’s that kind of recipe.
What makes this one different from all the other banana bread recipes out there? It’s the method—mashing the bananas with the sugar first so they really break down and release their flavor, then adding the wet ingredients before the dry. It sounds small, but it makes the texture so much better. No flour pockets, no uneven mixing.
This is the banana bread you make when you want something comforting and reliable. It’s not trying to be fancy or trendy. It’s just really, really good.
What Ingredients You Will Need
This recipe uses simple, everyday ingredients. Chances are you already have most of them in your kitchen. Here’s what you’ll need and why each one matters.
- 3 ripe bananas, mashed (about 1 ½ cups) – The riper they are, the sweeter and more flavorful your bread will be. Look for bananas with lots of brown spots but not completely black.
- ⅓ cup melted unsalted butter (75g) – Butter gives richness and that classic banana bread flavor. I use salted butter in a pinch and just skip the added salt.
- ¾ cup granulated sugar (150g) – You can reduce this to ½ cup if your bananas are super sweet. I’ve done it and it still works great.
- 1 large egg, room temperature – Room temperature egg mixes in more evenly and helps the bread rise better. If you forget to take it out, place it in warm water for 5 minutes.
- 1 teaspoon vanilla extract – Pure vanilla makes a difference here. I use Nielsen-Massey when I can find it, but any brand works.
- 1 ½ cups all-purpose flour (190g) – Spoon and level your flour—don’t scoop straight from the bag or you’ll end up with dry bread.
- 1 teaspoon baking soda – This is the only leavening agent. Make sure it’s fresh, or your bread won’t rise properly.
- ¼ teaspoon salt – Just enough to balance the sweetness and bring out the banana flavor.
- ½ cup chopped walnuts (60g) – Toast them lightly before adding for extra flavor. I prefer Fisher Nuts or Diamond of California for consistent quality.
For substitutions: You can swap the walnuts for pecans or leave them out entirely. Use coconut sugar instead of granulated for a deeper flavor. If you’re gluten-free, use a 1:1 gluten-free flour blend—I’ve had good luck with King Arthur Measure for Measure.
Equipment Needed
You don’t need much for this recipe, which is part of why I love it. Here’s what you’ll need:
- Large mixing bowl – Any bowl works, but a wider one makes mashing easier.
- Fork or potato masher – A fork does the job, but a potato masher makes quick work of those bananas.
- Wooden spoon or spatula – For mixing everything together.
- 9×5-inch loaf pan – Standard size. If you use an 8×4, you’ll need to bake a few minutes longer.
- Parchment paper – Lining the pan makes removal a breeze. I cut two strips and crisscross them.
- Cooling rack – Lets air circulate so the bottom doesn’t get soggy.
If you don’t have a loaf pan, you can bake this in a 9-inch square pan—just reduce the time to about 30-35 minutes. I’ve also made muffins with this batter (18-20 minutes at 350°F) and they turn out great.
Preparation Method
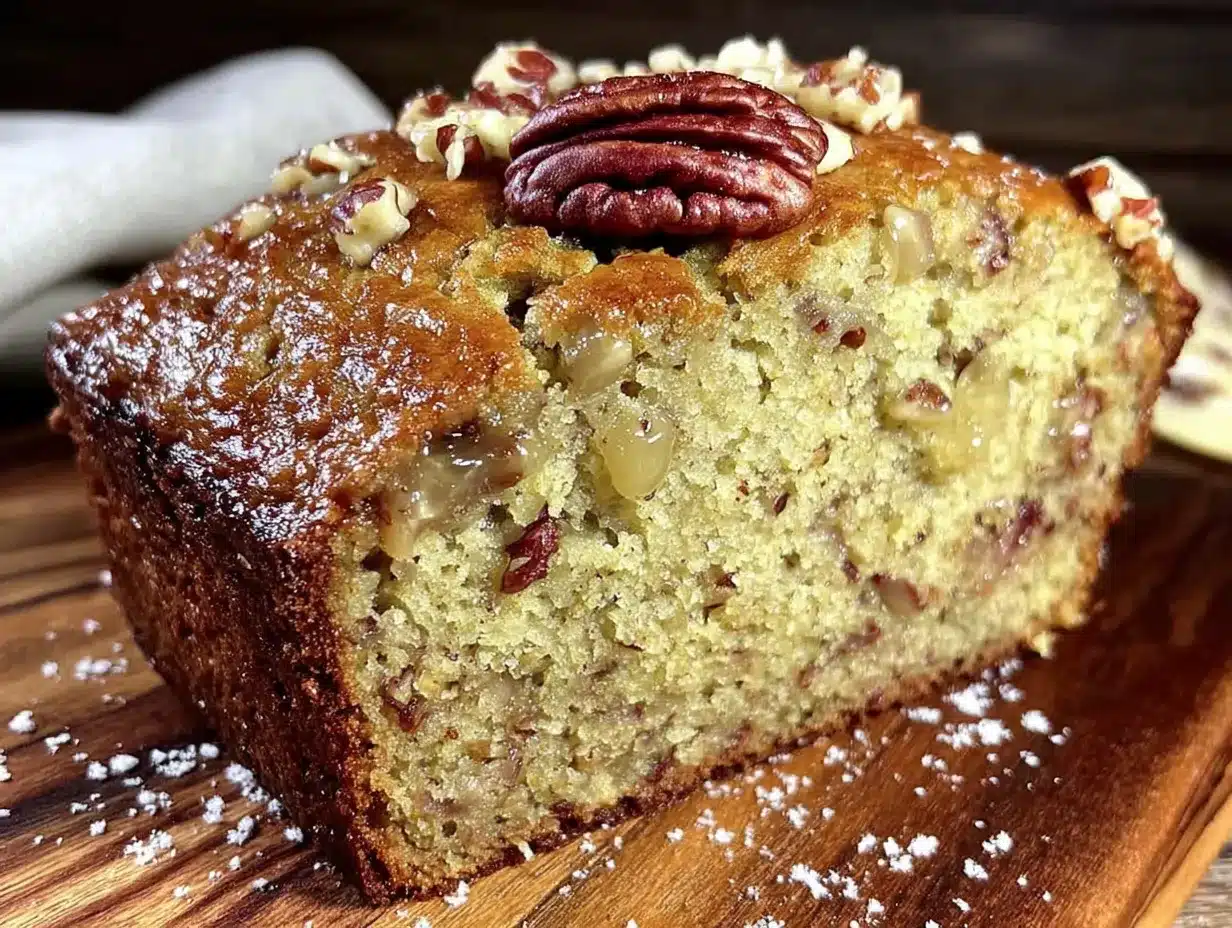
Preheat your oven to 350°F (175°C). Grease your loaf pan or line it with parchment paper, leaving some overhang on the sides—this makes lifting the bread out so much easier.
- In a large bowl, mash the bananas with a fork until mostly smooth. A few small lumps are fine—they add texture. Add the melted butter and stir until combined.
- Add the sugar, egg, and vanilla extract. Stir until everything is smooth and well incorporated. The mixture should look glossy and smell amazing already.
- Sprinkle the baking soda and salt over the top, then add the flour. Stir gently with a wooden spoon or spatula until just combined. Do not overmix—stop as soon as you don’t see any more white streaks. Overmixing develops gluten and makes the bread tough.
- Fold in the chopped walnuts with a few gentle strokes. Reserve a handful to sprinkle on top if you want a prettier crust.
- Pour the batter into your prepared loaf pan and spread it evenly. Sprinkle the reserved walnuts on top, pressing them in slightly so they stick.
- Bake for 55-65 minutes, or until a toothpick inserted in the center comes out clean or with a few moist crumbs. If the top is browning too fast, tent it loosely with foil around the 40-minute mark.
- Let the bread cool in the pan for 10 minutes, then lift it out using the parchment paper and transfer to a cooling rack. Wait at least 20 minutes before slicing—I know it’s hard, but it needs that time to set properly.
Sensory cues : The batter should be thick but scoopable, not runny. When it’s done, the top will be deep golden brown and cracked down the middle. The kitchen will smell like a bakery. If you tap the top, it should feel firm and spring back slightly.
Troubleshooting : If your bread sinks in the middle, you might have overmixed or your baking soda could be old. If it’s too dark on the outside but raw inside, your oven runs hot—check with an oven thermometer next time.
Cooking Tips & Techniques
After making this banana bread more times than I can count, I’ve picked up a few tricks that make a real difference.
Don’t skip the banana mashing step. I used to just throw everything in the bowl and mix, but taking an extra minute to really mash those bananas with the sugar first changes everything. It breaks them down so they distribute evenly through the batter instead of leaving weird stringy bits.
Use room temperature ingredients. Cold egg can seize up the melted butter, leaving you with clumps. I learned this the hard way when my first loaf had little butter nuggets throughout. Not the end of the world, but not ideal either.
Toast your walnuts. This is a small step that makes a huge difference. Spread them on a baking sheet and toast at 350°F for 5-7 minutes until fragrant. Let them cool before folding into the batter. Toasting brings out their natural oils and makes them crunchier.
Check for doneness with a thermometer. If you have an instant-read thermometer, the bread is done when it hits 200-205°F in the center. This is more reliable than the toothpick test, especially if you’re nervous about underbaking.
Let it cool completely. I know the warm bread is tempting, but cutting too early makes it crumbly and gummy. Give it at least an hour on the cooling rack. Trust me, it’s worth the wait.
Variations & Adaptations
This banana bread is flexible, and I’ve tried a bunch of different versions over the years. Here are some of my favorites:
- Chocolate Chip Banana Bread : Swap the walnuts for ½ cup semi-sweet chocolate chips. I do this when I want something more dessert-like. It’s especially good warm with a glass of milk.
- Gluten-Free Version : Use a 1:1 gluten-free flour blend like Bob’s Red Mill or King Arthur Measure for Measure. Add 1 tablespoon of milk or yogurt to compensate for the extra absorbency of gluten-free flours.
- Vegan Banana Bread : Replace the egg with a flax egg (1 tablespoon ground flaxseed + 3 tablespoons water, let sit for 5 minutes) and use melted coconut oil instead of butter. It’s slightly denser but still delicious.
- Spiced Banana Bread : Add 1 teaspoon cinnamon, ½ teaspoon nutmeg, and a pinch of cloves. This gives it a cozy, fall-like flavor that pairs beautifully with the walnuts.
- Blueberry Banana Bread : Fold in 1 cup fresh or frozen blueberries (toss them in a little flour first so they don’t sink). This is my go-to in summer when berries are cheap.
I once made a version with chopped dark chocolate and dried cherries instead of walnuts, and it was incredible. Don’t be afraid to experiment—banana bread is forgiving.
Serving & Storage Suggestions
This banana bread is best served slightly warm with a pat of salted butter melting into each slice. It’s also fantastic toasted the next day—the edges get crispy while the inside stays tender.
For a more indulgent treat, serve it with a drizzle of honey or a spread of cream cheese. It pairs beautifully with a cup of coffee or tea. If you’re feeling fancy, you can even turn it into a dessert by topping slices with vanilla ice cream and caramel sauce.
Storage : Keep the bread wrapped tightly in plastic wrap or in an airtight container at room temperature for up to 4 days. The flavors actually get better on day two—the banana taste becomes more pronounced.
Freezing : This bread freezes beautifully. Wrap the cooled loaf (or individual slices) in plastic wrap, then foil, and freeze for up to 3 months. To thaw, leave it on the counter for a few hours or pop a slice in the toaster straight from the freezer.
Reheating : Microwave individual slices for 15-20 seconds, or toast them for 3-4 minutes at 350°F. Toasting brings back that fresh-baked texture.
Nutritional Information & Benefits
Here’s the approximate nutrition for one slice (based on 10 slices per loaf):
| Nutrient | Amount per Slice |
|---|---|
| Calories | 245 |
| Fat | 12g |
| Saturated Fat | 5g |
| Carbohydrates | 33g |
| Fiber | 2g |
| Sugar | 17g |
| Protein | 4g |
Bananas are a great source of potassium and vitamin B6, which support heart health and energy metabolism. Walnuts add omega-3 fatty acids and antioxidants. This isn’t health food, but it’s a wholesome treat made with real ingredients.
If you’re watching your sugar intake, you can reduce the sugar to ½ cup or use a sugar substitute like monk fruit. The texture will be slightly different, but it still works.
Conclusion
This one-bowl banana bread with walnuts is the kind of recipe you’ll come back to again and again. It’s simple, reliable, and uses up ingredients you probably already have. The texture is tender, the walnuts add just the right crunch, and the banana flavor is front and center.
I love that this recipe doesn’t require any special equipment or fancy techniques. It’s forgiving enough for beginners but satisfying enough for experienced bakers who just want something good without the fuss. Whether you’re making it for a last-minute guest, a weekend breakfast, or just because you have bananas that need using up, this bread delivers.
If you try this recipe, I’d love to hear how it turned out. Leave a comment below or tag me in your photos. And if you come up with your own variation—maybe add some chocolate chips or swap the walnuts for pecans—share that too. Happy baking!
Frequently Asked Questions
Can I use frozen bananas for this banana bread?
Absolutely. Thaw them completely and drain off any excess liquid before mashing. Frozen bananas are actually sweeter and more flavorful, so they work great here.
Why did my banana bread sink in the middle?
This usually happens when the batter is overmixed or the baking soda is old. Overmixing develops too much gluten, and old baking soda doesn’t provide enough rise. Make sure your baking soda is fresh and mix just until combined.
Can I make this banana bread without walnuts?
Yes, just leave them out. The bread will still be delicious. You can also substitute pecans, chocolate chips, or dried fruit.
How do I know when the banana bread is done?
Insert a toothpick in the center—it should come out clean or with a few moist crumbs. The top should be golden brown and cracked. For extra accuracy, use an instant-read thermometer; the center should read 200-205°F.
Can I double this recipe?
Yes, this recipe doubles easily. Use two loaf pans and bake them on the same rack. You may need to add a few extra minutes of baking time since the oven has more mass to heat.
Pin This Recipe!
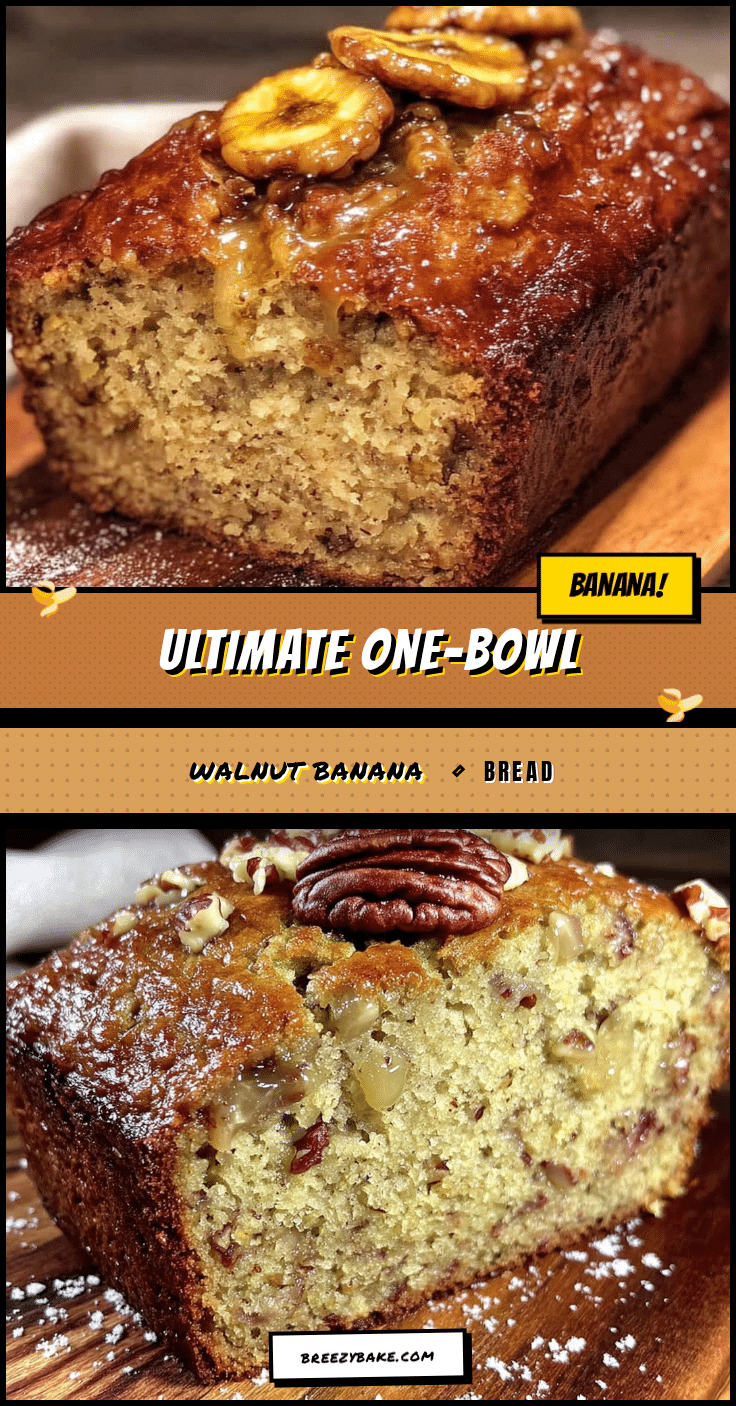
Best One-Bowl Banana Bread with Walnuts Recipe
This one-bowl banana bread with walnuts is simple, reliable, and uses up ripe bananas you already have. It’s perfectly moist, tender, and packed with banana flavor, with a crunchy walnut topping that makes every slice irresistible.
- Prep Time: 15 minutes
- Cook Time: 55-65 minutes
- Total Time: 1 hour 20 minutes
- Yield: 10 servings 1x
- Category: Dessert
- Cuisine: American
Ingredients
- 3 ripe bananas, mashed (about 1 ½ cups)
- ⅓ cup melted unsalted butter (75g)
- ¾ cup granulated sugar (150g)
- 1 large egg, room temperature
- 1 teaspoon vanilla extract
- 1 ½ cups all-purpose flour (190g)
- 1 teaspoon baking soda
- ¼ teaspoon salt
- ½ cup chopped walnuts (60g)
Instructions
- Preheat your oven to 350°F (175°C). Grease your loaf pan or line it with parchment paper, leaving some overhang on the sides.
- In a large bowl, mash the bananas with a fork until mostly smooth. Add the melted butter and stir until combined.
- Add the sugar, egg, and vanilla extract. Stir until everything is smooth and well incorporated.
- Sprinkle the baking soda and salt over the top, then add the flour. Stir gently with a wooden spoon or spatula until just combined. Do not overmix.
- Fold in the chopped walnuts with a few gentle strokes. Reserve a handful to sprinkle on top if desired.
- Pour the batter into your prepared loaf pan and spread it evenly. Sprinkle the reserved walnuts on top, pressing them in slightly.
- Bake for 55-65 minutes, or until a toothpick inserted in the center comes out clean or with a few moist crumbs. If the top is browning too fast, tent it loosely with foil around the 40-minute mark.
- Let the bread cool in the pan for 10 minutes, then lift it out using the parchment paper and transfer to a cooling rack. Wait at least 20 minutes before slicing.
Notes
For best results, use very ripe bananas with brown spots. Toast walnuts lightly before adding for extra flavor. Let bread cool completely before slicing to avoid crumbling. Store wrapped at room temperature for up to 4 days or freeze for up to 3 months.
Nutrition
- Serving Size: 1 slice
- Calories: 245
- Sugar: 17
- Sodium: 200
- Fat: 12
- Saturated Fat: 5
- Carbohydrates: 33
- Fiber: 2
- Protein: 4
Keywords: banana bread, one-bowl banana bread, walnut banana bread, easy banana bread, moist banana bread, homemade banana bread


