There used to be a tiny Italian place tucked behind a laundromat on the corner of 7th and Main that made the most ridiculous garlic butter chicken I have ever tasted. When they closed—just a handwritten sign on the door one Tuesday, “Grazie a tutti”—I honestly felt a little lost. That dish had this way of making a Tuesday feel like a celebration. After twelve tries—twelve, let me tell you—I finally got it. And honestly, this version might even be better. No fancy Italian kitchen required, just a single pan and a hungry family waiting at your table.
I remember the night it finally clicked. My neighbor Diane had just texted asking if I could bring something to her potluck the next day, and I was staring at a pile of chicken thighs in my fridge. The butter sizzled, the garlic hit the pan, and the smell—that exact smell from that little restaurant—filled my kitchen. I actually laughed out loud. The power had gone out halfway through cooking the first time I tried recreating it, and I ended up finishing everything on a camp stove in the backyard. That was attempt number four. Total disaster. But this time? Pure magic.
What makes this the best one-pan garlic butter chicken thighs recipe is how it delivers that rich, restaurant-quality flavor without making you spend an hour scrubbing dishes. The chicken comes out perfectly golden and juicy, the vegetables soak up all that buttery garlic goodness, and the whole thing comes together in about 30 minutes. Maybe you have been there—standing in your kitchen, wanting to impress your guests but dreading the cleanup. This dish solves that problem. It is the kind of meal that makes people close their eyes after the first bite, and honestly, that never gets old.
Why You’ll Love This Recipe
I have tested this one-pan garlic butter chicken thighs recipe more times than I care to count—for family dinners, holiday gatherings, and even a few times when I was just cooking for myself on a quiet Sunday. Every single time, it delivers. Here is why this version stands out from the dozens of other chicken recipes floating around the internet.
- Quick & Easy: From start to finish, this meal comes together in about 30 minutes. Perfect for those evenings when guests arrive earlier than expected or when you just need dinner on the table fast.
- Simple Ingredients: No fancy grocery trips required. You probably already have garlic, butter, chicken thighs, and a few veggies in your kitchen right now.
- Perfect for Hosting: This dish was made for dinner parties, potlucks, and festive get-togethers. It looks impressive on the table but requires minimal effort behind the scenes.
- Crowd-Pleaser: I have served this to picky eaters, health-conscious friends, and serious food lovers. Everyone goes back for seconds. It is honestly a little ridiculous how fast it disappears.
- Unbelievably Delicious: The combination of crispy-skinned chicken, tender vegetables, and that rich garlic butter sauce is next-level comfort food. It is the kind of meal that makes you want to lick the pan.
What sets this recipe apart is the technique. Instead of just tossing everything in the pan and hoping for the best, I developed a method that ensures the chicken gets perfectly crispy while the vegetables stay tender but not mushy. The secret is starting the chicken skin-side down in a cold pan—trust me on this one. It renders the fat slowly and gives you that golden, crackling crust that makes all the difference. This is not just another chicken dinner. It is your best version.
What Ingredients You Will Need
This recipe uses simple, wholesome ingredients to deliver bold flavor and satisfying texture without the fuss. Most of these are pantry staples, which makes this dish perfect for last-minute hosting.
- Bone-in, skin-on chicken thighs (6 thighs, about 2 pounds) – These are the star of the show. The bone keeps the meat juicy, and the skin gets beautifully crispy. I prefer Bell & Evans or Mary’s Free Range for the best flavor.
- Unsalted butter (4 tablespoons, softened) – Butter is the foundation of that rich, indulgent sauce. Using unsalted lets you control the salt level.
- Fresh garlic cloves (8 cloves, minced) – Do not use the pre-minced stuff here. Fresh garlic makes a huge difference in flavor. You want that pungent, aromatic hit that only fresh cloves can deliver.
- Baby potatoes (1 pound, halved) – Yukon Gold or red potatoes work beautifully. They soak up the garlic butter sauce and get perfectly tender in the pan. No need to peel them.
- Fresh green beans (8 ounces, trimmed) – These add color and a nice crunch. Look for bright, firm beans without any brown spots.
- Cherry tomatoes (1 cup, halved) – They burst in the pan and create little pockets of sweet, tangy juice that balances the richness of the butter.
- Chicken broth (1/2 cup, low-sodium) – This deglazes the pan and creates the base for your sauce. Low-sodium is important so you can control the saltiness.
- Dried thyme (1 teaspoon) – Earthy and slightly floral, thyme pairs beautifully with garlic and butter. You can use fresh if you have it—just double the amount.
- Dried rosemary (1/2 teaspoon) – A little goes a long way. Rosemary adds that almost piney, aromatic quality that makes this dish feel special.
- Salt (1 teaspoon, plus more for seasoning) – I use Diamond Crystal kosher salt. It is less salty by volume than table salt, so adjust accordingly if you use something different.
- Black pepper (1/2 teaspoon, freshly ground) – Freshly ground pepper adds a subtle heat that cuts through the richness of the butter.
- Red pepper flakes (1/4 teaspoon, optional) – For a tiny kick of heat. Leave it out if you are serving a crowd with sensitive palates.
- Fresh parsley (2 tablespoons, chopped, for garnish) – Adds a pop of color and freshness right before serving. Totally optional but highly recommended.
Substitution guidance: If you need a dairy-free option, use a high-quality vegan butter like Miyoko’s. For a gluten-free version, this recipe is naturally gluten-free as written. You can swap the green beans for asparagus in the spring or zucchini in the summer. Chicken breasts can replace thighs, but reduce cooking time by about 5 minutes and watch them carefully so they do not dry out.
Equipment Needed
One of the best things about this recipe is how little equipment it requires. You really only need a few basic tools.
- Large oven-safe skillet or cast-iron pan (12-inch) – This is your main tool. A cast-iron skillet works beautifully because it holds heat evenly and gives the chicken that gorgeous golden crust. I use my trusty Lodge cast-iron, but any oven-safe pan will work.
- Tongs – For flipping the chicken and moving vegetables around without piercing the meat. I prefer the ones with silicone tips to protect your pan if it is non-stick.
- Cutting board – For prepping your vegetables and garlic. A wooden board is gentle on your knives.
- Chef’s knife – A sharp 8-inch knife makes quick work of mincing garlic and halving potatoes.
- Measuring spoons – For measuring your spices and butter.
- Paper towels – Essential for patting the chicken dry. This step is not optional—it is the key to crispy skin.
Budget-friendly tip: If you do not own a cast-iron skillet, a heavy-bottomed stainless steel pan works just fine. Just make sure it is oven-safe up to 400°F. You can find affordable options at most kitchen supply stores for around $20.
Preparation Method
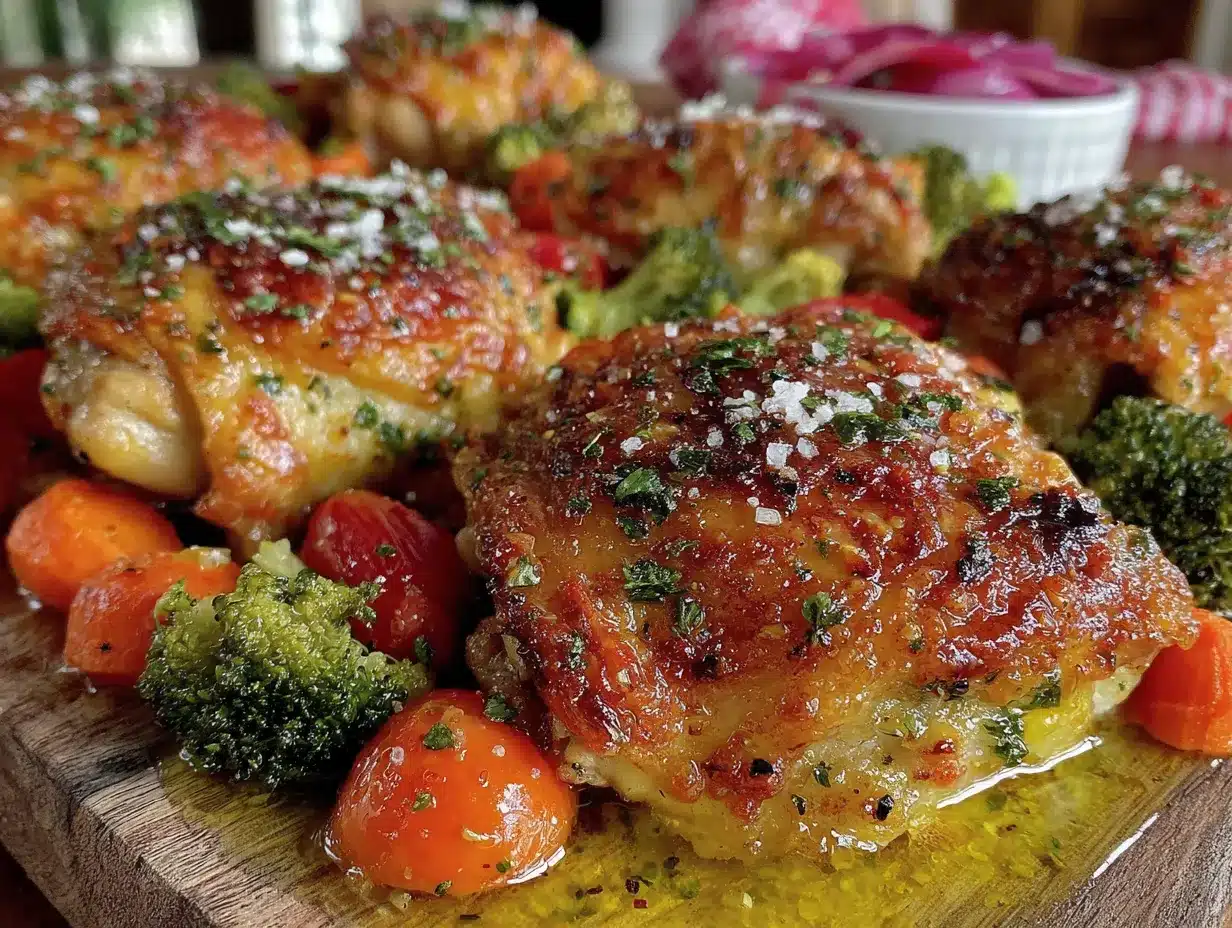
Let me walk you through this step by step. The key to nailing this dish is a little patience at the beginning and confidence in your pan.
- Preheat your oven to 400°F (200°C). Position the rack in the middle. This gives you even heat distribution for perfectly cooked chicken and vegetables.
- Pat the chicken thighs completely dry with paper towels. This is the most important step. Moisture is the enemy of crispy skin. Take your time here—really get them dry. Season both sides generously with salt and pepper. Do not be shy with the seasoning.
- Place your cold skillet on the stovetop over medium heat. Add 2 tablespoons of the butter and let it melt slowly. Here is the trick: place the chicken thighs skin-side down in the cold pan before turning on the heat. I learned this from a chef friend, and it changed everything. Starting in a cold pan allows the fat to render slowly, giving you incredibly crispy skin without burning the butter.
- Cook the chicken skin-side down for 8-10 minutes without moving it. I know it is tempting to peek, but resist. You want that deep golden crust. You will know it is ready when the skin releases easily from the pan. If it sticks, give it another minute. Flip the chicken and cook for 2 more minutes on the other side. Transfer the chicken to a plate and set aside.
- Add the remaining 2 tablespoons of butter to the pan. Toss in the minced garlic and cook for 30 seconds, stirring constantly. The smell at this point is absolutely intoxicating. Be careful not to burn the garlic—it turns bitter fast.
- Add the halved baby potatoes to the pan. Sprinkle with thyme, rosemary, and a pinch of salt. Toss them in the garlic butter until well coated. Cook for 3-4 minutes, letting them get a little color on the cut sides.
- Pour in the chicken broth and use a wooden spoon to scrape up any browned bits from the bottom of the pan. That is pure flavor right there. Let it simmer for 1 minute.
- Return the chicken thighs to the pan, skin-side up. Nestle them in among the potatoes. Add the green beans and cherry tomatoes around the chicken. Sprinkle everything with red pepper flakes if you are using them.
- Transfer the skillet to the preheated oven. Roast for 15-18 minutes, or until the chicken reaches an internal temperature of 165°F (74°C) and the potatoes are fork-tender. The tomatoes should be slightly burst and blistered.
- Remove from the oven and let rest for 5 minutes. This lets the juices redistribute. Sprinkle with fresh parsley before serving. The sauce in the pan is liquid gold—spoon it over everything.
Cooking Tips & Techniques
Over the years, I have made every mistake in the book with this recipe. Here is what I learned so you do not have to repeat my failures.
Patience with the skin is everything. The first few times I made this, I was in too much of a hurry. I would crank up the heat, flip the chicken too early, and end up with pale, rubbery skin. The cold pan method changed my life. Trust the process. Those 8-10 minutes of undisturbed cooking are non-negotiable for that perfect crackling crust.
Do not overcrowd the pan. If your skillet is too small, the chicken will steam instead of sear. You want each thigh to have its own space. If you are cooking for a crowd, use two pans or cook in batches. I learned this the hard way when I tried to fit eight thighs into a 10-inch pan. The result was sad, soggy chicken.
Watch your garlic. Garlic burns in seconds. When you add it to the pan after removing the chicken, keep it moving. Thirty seconds is all it needs. If it starts to turn brown, pull the pan off the heat immediately. Burnt garlic ruins the whole dish—it gets acrid and bitter.
Use a meat thermometer. I cannot stress this enough. Chicken thighs are forgiving, but you still want to hit that 165°F mark. I use a Thermapen and it has saved me countless times. No more guessing, no more dry chicken.
Let the pan do the work. When you add the broth and scrape up those browned bits, you are making a quick pan sauce that tastes like you spent hours on it. Do not skip this step. That fond—the browned bits stuck to the pan—is pure concentrated flavor.
Variations & Adaptations
This recipe is endlessly adaptable. Here are a few ways I have changed it up over the years.
Lemon Herb Version: Add the zest of one lemon and 2 tablespoons of fresh lemon juice along with the chicken broth. Swap the thyme and rosemary for fresh oregano and basil. The brightness of the lemon cuts through the richness beautifully. I made this version for a summer dinner party and everyone asked for the recipe.
Spicy Cajun Twist: Replace the thyme and rosemary with 2 teaspoons of Cajun seasoning. Add sliced andouille sausage along with the vegetables for an extra layer of flavor. This version is incredible served over rice. My brother-in-law, who claims he “does not cook,” actually made this one for his family and texted me a photo.
Vegetable Swap: In the spring, I use asparagus and baby artichokes instead of green beans and potatoes. In the fall, butternut squash and Brussels sprouts are amazing. Just adjust cooking times based on the density of your vegetables. Softer vegetables like zucchini should be added halfway through roasting so they do not turn to mush.
Dairy-Free Adaptation: Use a high-quality vegan butter and make sure your chicken broth is certified gluten-free if needed. The flavor is slightly different but still incredibly satisfying. I tested this for a friend with dairy allergies and she gave it two thumbs up.
Serving & Storage Suggestions
This dish is designed to be the centerpiece of your table. Here is how to serve it like a pro.
Serving temperature: Serve this dish hot, straight from the pan. The butter sauce will start to solidify as it cools, so do not let it sit too long. I like to bring the whole skillet to the table on a trivet—it makes for a gorgeous presentation and keeps everything warm.
What to serve alongside: A simple green salad with a lemon vinaigrette balances the richness of the chicken. Crusty bread is non-negotiable for sopping up every last drop of that garlic butter sauce. If you want to go all out, a side of creamy mashed potatoes or polenta is incredible.
Storage instructions: Store leftovers in an airtight container in the refrigerator for up to 3 days. The flavors actually deepen overnight, making this one of those rare dishes that tastes even better the next day.
Reheating methods: The best way to reheat this is in a skillet over medium-low heat with a splash of chicken broth to refresh the sauce. The microwave works in a pinch, but it will make the chicken skin soggy. If you have time, reheat in a 350°F oven for 10 minutes.
Freezer tips: You can freeze the cooked chicken and vegetables in a freezer-safe container for up to 2 months. Thaw overnight in the refrigerator and reheat as directed. The texture of the potatoes will change slightly, so I recommend making fresh vegetables when serving from frozen.
Nutritional Information & Benefits
This recipe is as nourishing as it is delicious. Here is a breakdown of what you are getting in each serving (based on 6 servings).
| Nutrient | Amount Per Serving |
|---|---|
| Calories | 485 |
| Protein | 32g |
| Fat | 28g |
| Saturated Fat | 12g |
| Carbohydrates | 22g |
| Fiber | 4g |
| Sugar | 5g |
| Sodium | 680mg |
Health benefits: Chicken thighs are rich in B vitamins, particularly B6 and B12, which support energy metabolism. The garlic in this recipe contains allicin, a compound known for its immune-boosting properties. Green beans provide vitamin K and fiber, while potatoes offer potassium and vitamin C. This is a balanced meal that satisfies both your taste buds and your body.
Dietary considerations: This recipe is naturally gluten-free and can be made dairy-free with a simple substitution. It is also relatively low in carbs for a comfort food dish, making it suitable for moderate low-carb diets.
Conclusion
This one-pan garlic butter chicken thighs recipe has become my go-to for every hosting occasion. It is the dish I bring to potlucks, the meal I make when friends come over unexpectedly, and the dinner I turn to when I want to feel like a rockstar in the kitchen without spending all day there. It reminds me of that little Italian restaurant every single time, but honestly, it has become something even better—my own version, perfected through trial and error, shared with the people I love.
I hope you give this recipe a try. Customize it with your favorite vegetables, adjust the spices to your taste, and make it your own. That is the beauty of a good recipe—it is just a starting point for your own kitchen adventures. When you make it, I would love to hear how it turned out. Drop a comment below and let me know what you served alongside it, or tag me in your photos on social media. Happy cooking, friends!
Frequently Asked Questions
Can I use boneless, skinless chicken thighs for this recipe?
Yes, you can, but you will lose some of the richness and crispy texture. Boneless thighs cook faster, so reduce the oven time to about 12-15 minutes. I recommend keeping the skin on if possible—it really makes a difference in flavor and texture.
How do I prevent the garlic from burning?
Add the garlic after you remove the chicken from the pan, and keep it moving constantly. Thirty seconds over medium heat is plenty. If the pan seems too hot, take it off the burner while you stir the garlic. Burnt garlic is bitter and will ruin the dish.
Can I prepare this dish ahead of time for a party?
Absolutely. You can sear the chicken and prep the vegetables up to 24 hours in advance. Store everything separately in the refrigerator. When you are ready to serve, assemble the dish as directed and roast. This makes hosting so much less stressful.
What if I do not have an oven-safe skillet?
No problem. Sear the chicken and cook the vegetables in a regular skillet, then transfer everything to a baking dish before roasting. Just make sure the baking dish is large enough to hold everything in a single layer. The results will be just as delicious.
How do I know when the chicken is fully cooked?
The safest way is to use an instant-read meat thermometer. Insert it into the thickest part of the thigh without touching the bone. You are looking for 165°F (74°C). If you do not have a thermometer, the juices should run clear when you pierce the thickest part, and the meat should no longer be pink at the bone.
Pin This Recipe!
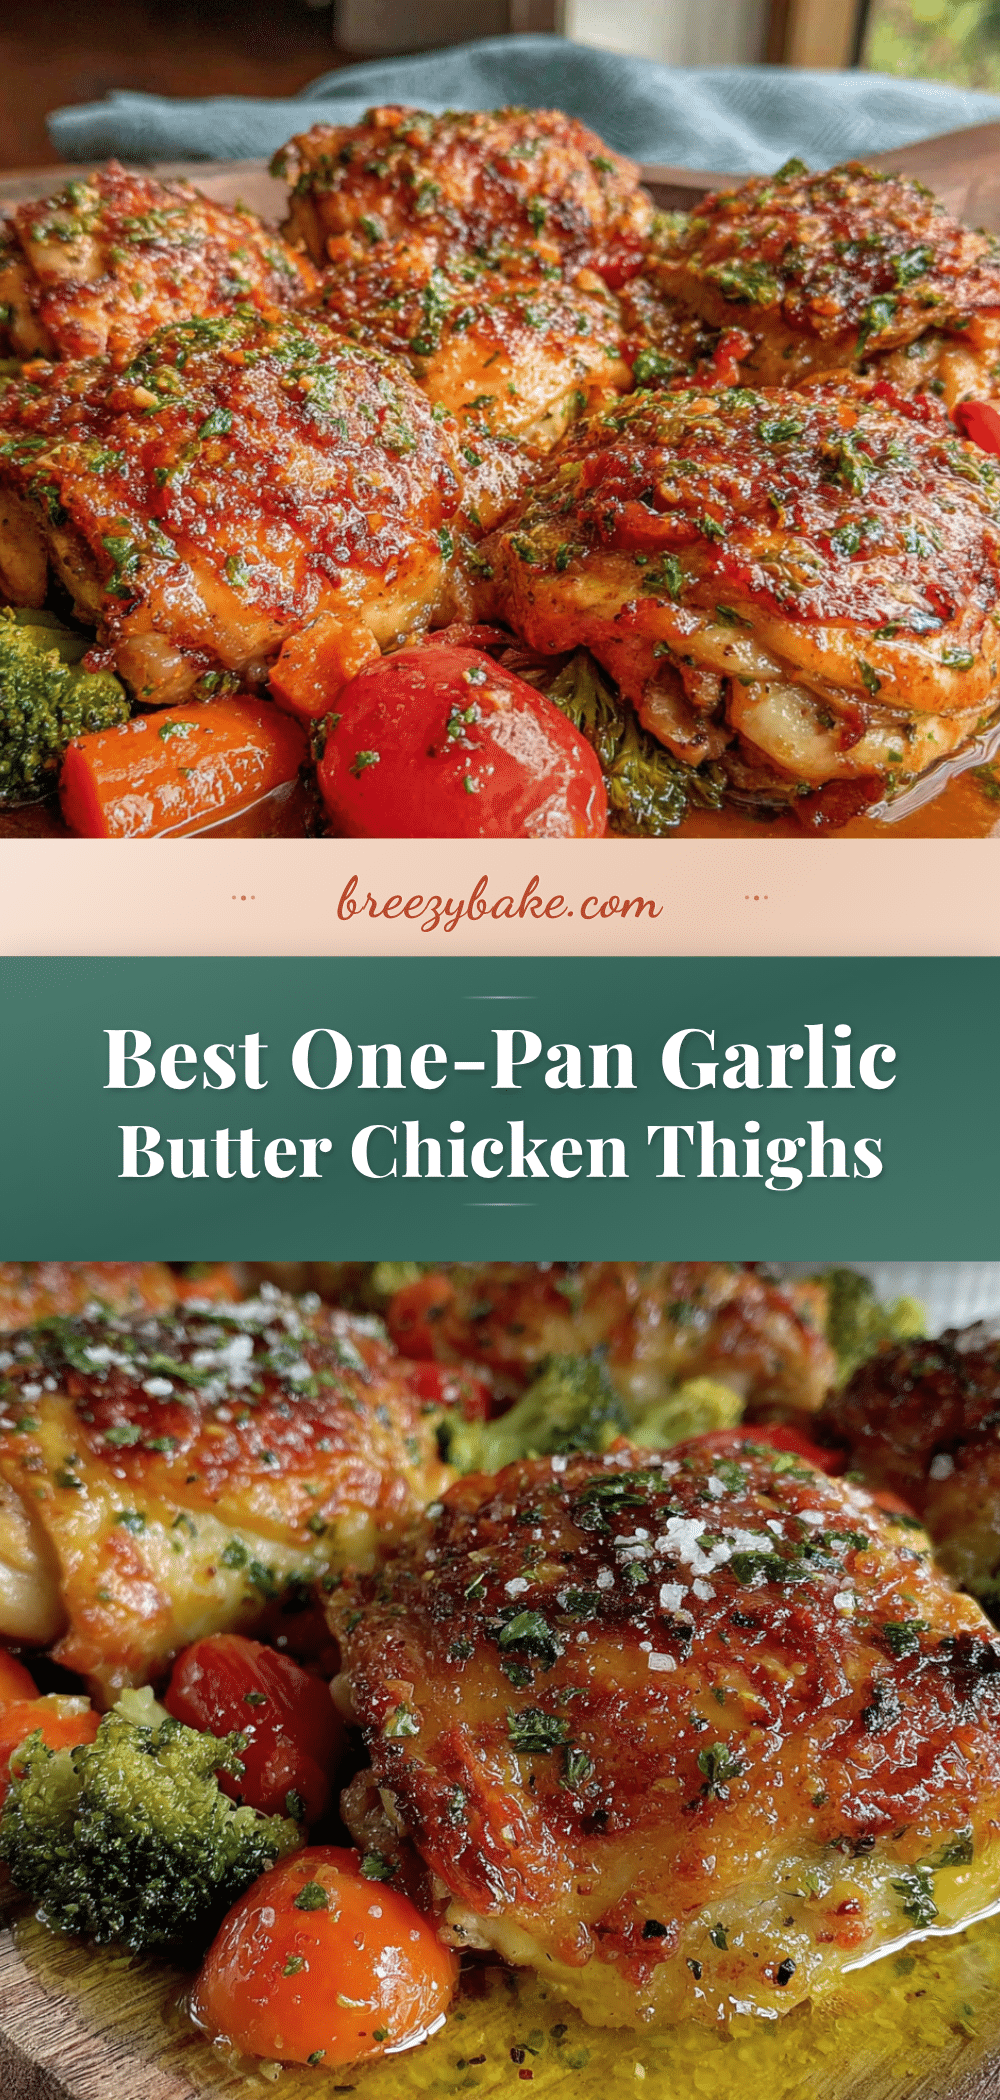
Best One-Pan Garlic Butter Chicken Thighs: Easy 30-Minute Dinner
This one-pan garlic butter chicken thighs recipe delivers rich, restaurant-quality flavor with crispy-skinned chicken, tender vegetables, and a rich garlic butter sauce, all in about 30 minutes. Perfect for busy weeknights or impressing guests with minimal cleanup.
- Prep Time: 10 minutes
- Cook Time: 30 minutes
- Total Time: 40 minutes
- Yield: 6 servings 1x
- Category: Main Course
- Cuisine: Italian-American
Ingredients
- 6 bone-in, skin-on chicken thighs (about 2 pounds)
- 4 tablespoons unsalted butter, softened
- 8 cloves fresh garlic, minced
- 1 pound baby potatoes (Yukon Gold or red), halved
- 8 ounces fresh green beans, trimmed
- 1 cup cherry tomatoes, halved
- 1/2 cup low-sodium chicken broth
- 1 teaspoon dried thyme
- 1/2 teaspoon dried rosemary
- 1 teaspoon salt (Diamond Crystal kosher preferred)
- 1/2 teaspoon freshly ground black pepper
- 1/4 teaspoon red pepper flakes (optional)
- 2 tablespoons fresh parsley, chopped (for garnish)
Instructions
- Preheat your oven to 400°F (200°C). Position the rack in the middle.
- Pat the chicken thighs completely dry with paper towels. Season both sides generously with salt and pepper.
- Place your cold skillet on the stovetop over medium heat. Add 2 tablespoons of the butter and let it melt slowly. Place the chicken thighs skin-side down in the cold pan before turning on the heat.
- Cook the chicken skin-side down for 8-10 minutes without moving it, until the skin is deep golden and releases easily. Flip and cook for 2 more minutes on the other side. Transfer chicken to a plate and set aside.
- Add the remaining 2 tablespoons of butter to the pan. Toss in the minced garlic and cook for 30 seconds, stirring constantly. Do not let it burn.
- Add the halved baby potatoes to the pan. Sprinkle with thyme, rosemary, and a pinch of salt. Toss to coat in garlic butter. Cook for 3-4 minutes, letting the cut sides get a little color.
- Pour in the chicken broth and use a wooden spoon to scrape up any browned bits from the bottom of the pan. Let it simmer for 1 minute.
- Return the chicken thighs to the pan, skin-side up. Nestle them among the potatoes. Add the green beans and cherry tomatoes around the chicken. Sprinkle with red pepper flakes if using.
- Transfer the skillet to the preheated oven. Roast for 15-18 minutes, until the chicken reaches an internal temperature of 165°F (74°C) and the potatoes are fork-tender.
- Remove from the oven and let rest for 5 minutes. Sprinkle with fresh parsley before serving. Spoon the pan sauce over everything.
Notes
Pat the chicken dry thoroughly for crispy skin. Start chicken skin-side down in a cold pan to render fat slowly. Do not overcrowd the pan. Use a meat thermometer to ensure chicken reaches 165°F. For dairy-free, use vegan butter. For gluten-free, this recipe is naturally gluten-free as written.
Nutrition
- Serving Size: 1 serving (1 thigh w
- Calories: 485
- Sugar: 5
- Sodium: 680
- Fat: 28
- Saturated Fat: 12
- Carbohydrates: 22
- Fiber: 4
- Protein: 32
Keywords: one-pan chicken, garlic butter chicken, chicken thighs, easy dinner, 30-minute meal, skillet chicken, Italian chicken