Introduction
That slow drizzle of golden caramel, thick and sticky, hitting the cool surface of freshly whipped cream — it’s a sensation that always pulls me back to late summer evenings on the porch. The air was warm but not quite heavy, and the soft hum of cicadas mixed with the clink of spoons against bowls filled with this very creamy no-churn salted caramel ice cream. I remember the way the sweet and salty notes tangled with the fading sun, creating a quiet, perfect moment that felt like a gentle pause in the rush of everything else.
Honestly, this recipe isn’t about flash or fuss. It’s the kind of homemade dessert that feels like a secret handshake among those who know how to make something rich and soothing without all the usual ice cream fuss. No churning machines, no complicated steps — just real ingredients that come together with a bit of patience and a lot of heart. It’s the dessert that stuck with me, the one I reach for when I want something that tastes like a hug but looks like a treat.
Making this salted caramel ice cream at home has become my little ritual whenever the craving hits or when I want to surprise friends without breaking a sweat. It’s simple, soulful, and the kind of recipe that whispers, “Go ahead, take another scoop.” And that’s why I still come back to it, year after year, spoon in hand.
Why You’ll Love This Recipe
Let me tell you, this creamy no-churn salted caramel ice cream recipe has been tested through many summer nights and casual get-togethers. It’s one of those desserts you can trust to impress without stress, and that makes it a staple in my kitchen.
- Quick & Easy: Ready in just 5 minutes of prep time, making it perfect for last-minute dessert cravings or spontaneous dinner parties.
- Simple Ingredients: You probably already have everything in your pantry—no extra runs to specialty stores.
- Perfect for Any Occasion: Whether it’s a cozy night in, a potluck, or a weekend treat, this ice cream fits the bill.
- Crowd-Pleaser: Kids, adults, picky eaters — everyone seems to go back for seconds. It’s that good.
- Unbelievably Delicious: The balance of creamy texture and salty-sweet caramel is unlike any store-bought ice cream I’ve had.
What sets this recipe apart from the rest is the homemade salted caramel swirl that’s folded gently into the whipped cream and sweetened condensed milk base, which makes for an incredibly rich but surprisingly light texture. No blender, no ice cream maker—just a few simple steps that deliver maximum flavor. I’ve found that using a good-quality sea salt, like Maldon flakes, really makes the caramel pop. Plus, you can tweak the saltiness to your taste, which keeps it personal.
This isn’t just a dessert; it’s a little moment of calm and joy in a bowl. And honestly, after the first bite, you might find yourself closing your eyes, savoring that smooth, sweet-salty mix that feels like a tiny escape.
What Ingredients You Will Need
This recipe uses simple, wholesome ingredients to deliver bold flavor and that ultra-creamy texture without any fancy equipment or fuss. Most of these are pantry staples or easy to find and can be swapped out if needed.
- Sweetened Condensed Milk (14 oz / 400 g can) – This is the magic that sweetens and thickens the ice cream without extra sugar.
- Heavy Whipping Cream (2 cups / 480 ml) – Chilled, for whipping to soft peaks, giving the ice cream that rich, airy feel.
- Granulated Sugar (1 cup / 200 g) – For the salted caramel sauce.
- Unsalted Butter (6 tbsp / 85 g) – Adds creaminess and depth to the caramel.
- Sea Salt (1 tsp, flaky like Maldon preferred) – Enhances the caramel’s flavor with that perfect salty bite.
- Vanilla Extract (1 tsp) – For a subtle warmth and complexity.
Optional: If you want a dairy-free version, swap the heavy cream with coconut cream, and use a dairy-free sweetened condensed milk alternative, though texture might differ slightly.
I usually recommend using a trusted brand of heavy cream like Organic Valley or Horizon for the best whipping results, and if you want to experiment, a pinch of cinnamon in the caramel can add a cozy twist during colder months. When fresh, this caramel ice cream is heavenly, but in summer, you can even swirl in some fresh peach slices or a handful of toasted pecans for extra crunch.
Equipment Needed
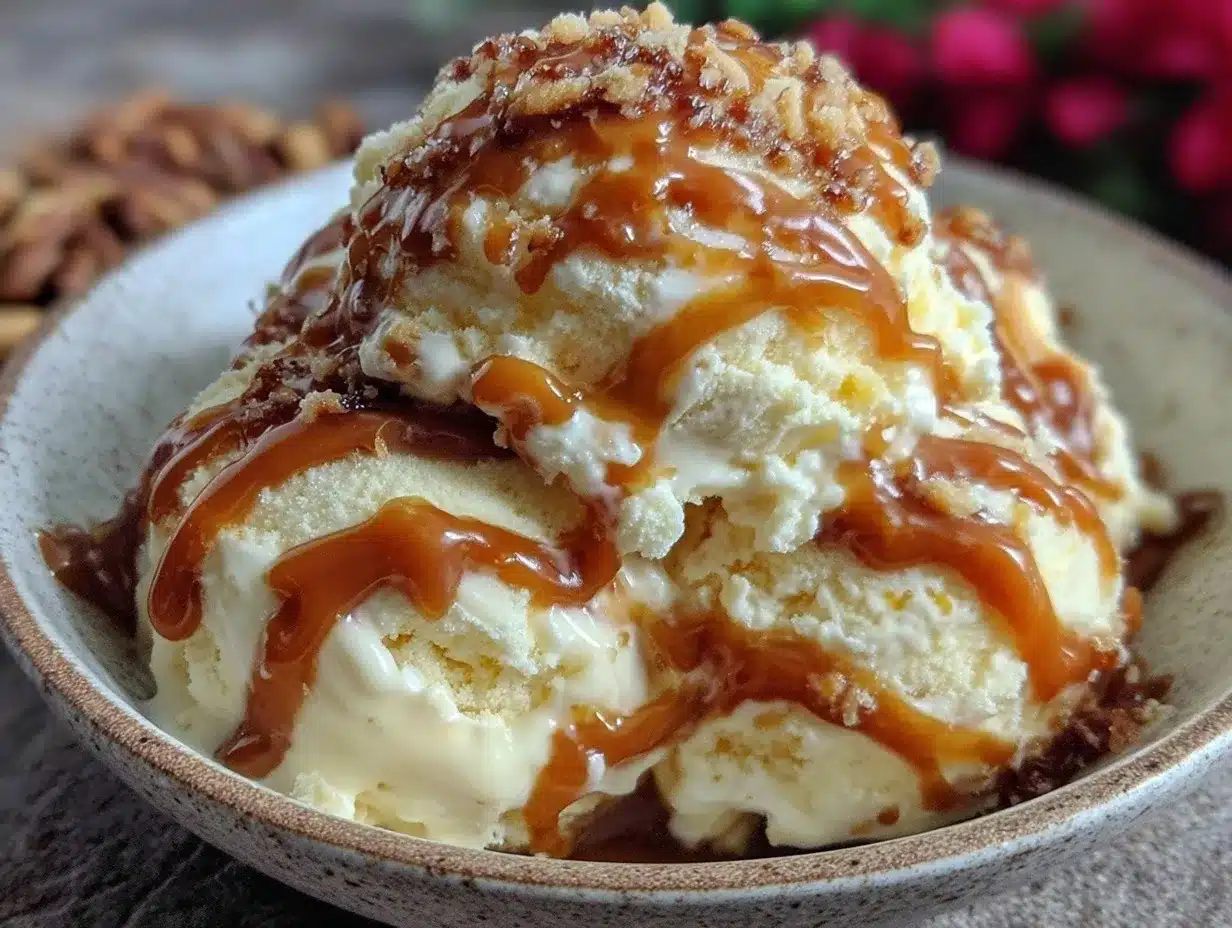
Making this creamy no-churn salted caramel ice cream is refreshingly simple when you have the basics on hand:
- Mixing Bowls: One large bowl for whipping cream, and another for combining the condensed milk and caramel.
- Hand Mixer or Stand Mixer: To whip the heavy cream to soft peaks. You can use a whisk, but it’ll take some muscle.
- Saucepan: For making the salted caramel sauce. A heavy-bottomed pan helps prevent burning.
- Rubber Spatula: For folding ingredients gently without deflating the whipped cream.
- Loaf Pan or Airtight Container: To freeze the ice cream in. A loaf pan works great for slicing into neat portions.
- Measuring Cups and Spoons: For accuracy, especially with sugar and salt.
If you don’t have a stand mixer, a good quality hand mixer works just fine. Also, I’ve found that using a silicone spatula is gentler on the whipped cream than metal spoons, preserving that light texture. For a budget-friendly option, a glass loaf pan doubles as a great freezing container and is easy to wash.
Preparation Method
- Make the Salted Caramel Sauce (10 minutes): In a medium saucepan over medium heat, add 1 cup (200 g) granulated sugar. Stir constantly as it melts and turns a rich amber color — this usually takes about 5-7 minutes. Be patient and watch closely; caramel can go from perfect to burnt in seconds. Once melted, carefully add 6 tbsp (85 g) unsalted butter, stirring until fully combined. Remove from heat and slowly stir in 1 tsp flaky sea salt and 1 tsp vanilla extract. Let the caramel cool for at least 15 minutes until it thickens but is still pourable.
- Whip the Cream (5 minutes): In a large chilled bowl, pour 2 cups (480 ml) heavy whipping cream. Using a hand or stand mixer, whip on medium-high speed until soft peaks form—when you lift the beaters, the peaks should gently hold their shape but still bend at the tips.
- Combine Condensed Milk and Caramel (2 minutes): In a separate bowl, stir together the 14 oz (400 g) can of sweetened condensed milk with about ¾ of your cooled salted caramel sauce, reserving the rest for swirling.
- Fold Together (3 minutes): Gently fold the condensed milk mixture into the whipped cream using a rubber spatula. The key here is gentle folding to keep the airy texture intact—don’t overmix or you risk deflating the cream.
- Layer and Swirl (2 minutes): Pour half of the ice cream base into your loaf pan or container. Drizzle half of the reserved caramel over the top, then add the remaining ice cream base. Use a skewer or butter knife to swirl the caramel through the ice cream, creating those beautiful ribbons.
- Freeze (at least 6 hours or overnight): Cover tightly with plastic wrap or an airtight lid. Freeze until firm and scoopable. For best texture, let sit at room temperature for 5-10 minutes before serving.
If your caramel hardens too much before swirling, warm it slightly to loosen. Watch the cream as you whip; stopping at soft peaks is crucial. This method is forgiving but keeping those textures right makes all the difference. I’ve found that prepping the caramel ahead of time and letting it cool in the fridge speeds up the process on busy days.
Cooking Tips & Techniques
Making no-churn ice cream can feel a little magical once you get the hang of the texture balance. Here’s some of what I’ve learned through trial and error:
- Whipping Cream to Soft Peaks: This step is key. If you overbeat, the cream turns grainy and butter-like. Underbeat, and the ice cream will lack volume. I usually stop as soon as I see soft peaks forming.
- Caramel Color and Flavor: Don’t rush the caramel; the color tells the flavor. Too light, and it tastes sweet but bland; too dark, and it’s bitter. Aim for a deep amber shade.
- Folding Technique: Use a rubber spatula and fold gently—think slicing through the mixture rather than stirring. This keeps the ice cream light and creamy.
- Salt Balance: Salt is personal. I recommend starting with 1 tsp flaky sea salt but adjusting to taste. Some like it saltier to contrast the sweet, others prefer just a hint.
- Multitasking: While the caramel cools, whip the cream—maximizes your time and keeps things moving smoothly.
I once skipped swirling the caramel and just mixed it all in—big mistake. The ice cream lost that beautiful contrast of flavors and texture that makes this recipe special. Also, reheating caramel gently in a microwave for a few seconds can bring it back to swirl-ready consistency if it firms too much in the fridge.
Variations & Adaptations
Feel free to get creative with this creamy no-churn salted caramel ice cream recipe. Here are some ways I’ve played around with it:
- Chocolate Swirl: Add melted dark chocolate ribbons alongside the caramel for a salted caramel chocolate combo reminiscent of a classic sundae.
- Nutty Twist: Fold in toasted pecans or walnuts for crunch and a nutty depth.
- Vegan Version: Use full-fat coconut cream instead of heavy cream and a dairy-free sweetened condensed milk. The texture shifts a bit but the flavor stays indulgent.
- Fruit Infusion: Swirl in roasted peaches or figs with the caramel for a seasonal fruit twist.
- Spiced Caramel: Stir a pinch of cinnamon or cardamom into the caramel sauce for a warm, cozy flavor.
Personally, I love the nutty version, especially after trying it alongside my creamy pink velvet strawberry cheesecake cups—a wonderful way to mix textures and flavors in one summer dessert spread. The variations keep this recipe fresh and adaptable, perfect for whatever mood or occasion you’re cooking for.
Serving & Storage Suggestions
This salted caramel ice cream is best served chilled but not rock-hard—let it sit out for 5-10 minutes to soften slightly for easy scooping. Scoop into bowls or cones, and consider topping with a sprinkle of flaky sea salt or a drizzle of extra caramel sauce for a nice touch.
It pairs beautifully with warm desserts like apple crisp or alongside a simple chocolate cake. For a special dessert board, it’s a perfect companion to pink velvet cookie crumble or those creamy strawberry cream puff bars for a contrast of flavors and textures.
Store leftovers in an airtight container in the freezer for up to 2 weeks. The flavor may deepen over time, but texture can become a bit icy if stored too long. When reheating caramel sauce for drizzling, a quick warm-up in the microwave or on the stovetop will bring it back to pouring perfection.
Nutritional Information & Benefits
This no-churn salted caramel ice cream is indulgent but made from real ingredients, giving you a comforting dessert without artificial additives. One serving (about ½ cup or 120 g) roughly contains:
| Calories | 280 kcal |
|---|---|
| Fat | 18 g |
| Saturated Fat | 11 g |
| Sugar | 25 g |
| Protein | 3 g |
Heavy cream provides a good source of fat-soluble vitamins like A and D, while the caramel’s sea salt adds trace minerals. This recipe is gluten-free by nature and can be adapted for dairy-free diets as mentioned. While it’s a treat, I find it’s worth making at home to control sweetness and enjoy quality ingredients.
Conclusion
This creamy no-churn salted caramel ice cream recipe is one of those rare desserts that feels effortless but tastes like you’ve spent hours in the kitchen. It’s perfect for those moments when you want something homemade yet simple, rich but light, and most importantly, truly satisfying.
Make it your own — try swirling in nuts, chocolate, or fresh fruit, or keep it classic with that perfect balance of sweet and salty. I’ve loved this recipe for years because it reminds me that great food doesn’t have to be complicated to be memorable.
If you give it a try, I’d love to hear how you made it yours or any little twists you added. Sharing those stories is what makes cooking feel like a shared adventure rather than a solo task. Here’s to many more simple and delicious homemade moments!
Frequently Asked Questions
Can I use caramel sauce from the store instead of making my own?
Yes, you can substitute store-bought salted caramel sauce, but homemade caramel adds a fresher, deeper flavor. Just be mindful of the salt levels and sweetness to balance the ice cream.
Do I really need an ice cream maker for this recipe?
Nope! That’s the beauty of this no-churn recipe. The whipped cream and condensed milk base create a creamy texture without any special equipment.
How long does it take for the ice cream to freeze properly?
Plan for at least 6 hours or overnight freezing to ensure it sets up well and is scoopable.
Can I make this recipe ahead for a party?
Absolutely! It holds well in the freezer for up to two weeks. Just remember to let it soften a few minutes before serving.
What’s the best way to store leftovers?
Keep leftovers in an airtight container in the freezer to prevent ice crystals. Adding a piece of parchment paper on top before sealing can help maintain texture.
Pin This Recipe!
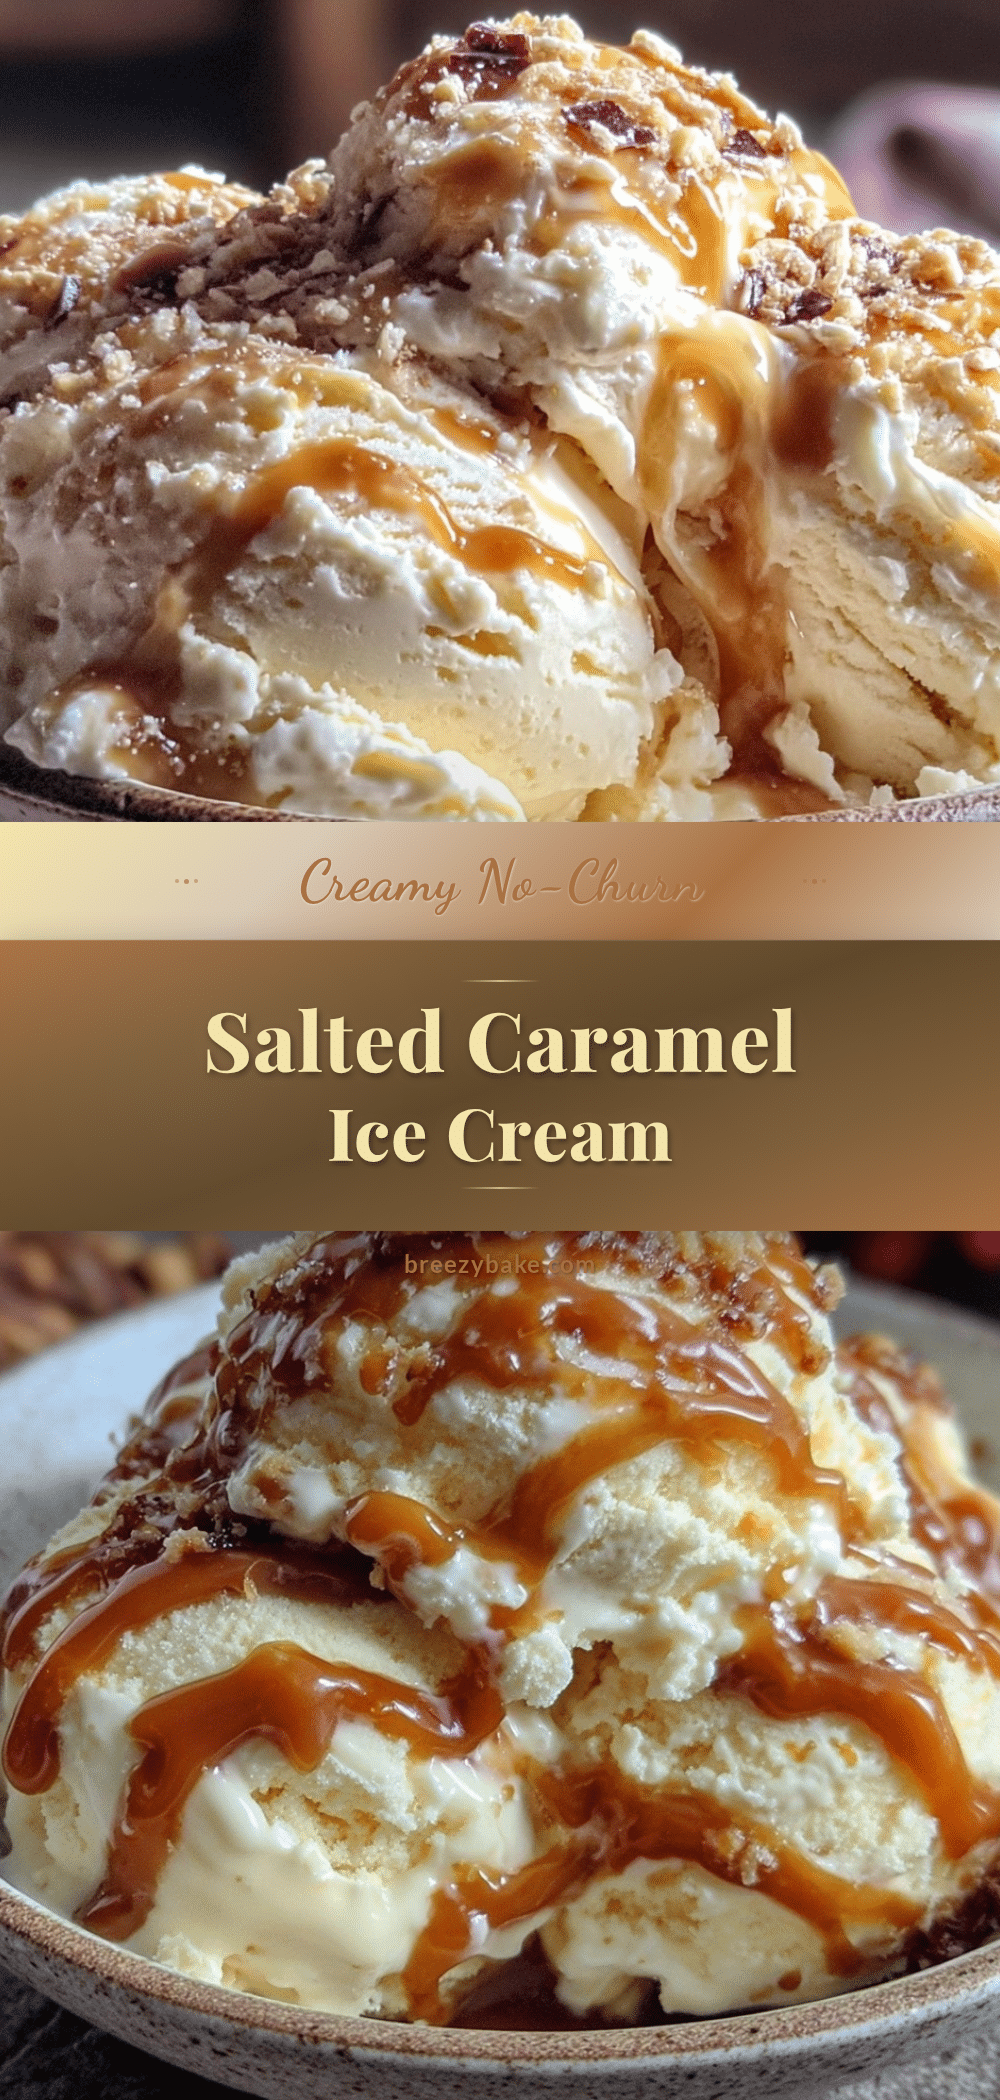
Creamy No-Churn Salted Caramel Ice Cream
A rich and soothing homemade no-churn salted caramel ice cream that combines creamy texture with a perfect balance of sweet and salty caramel. Ready in just 5 minutes of prep time, this easy dessert requires no ice cream maker and uses simple pantry ingredients.
- Prep Time: 5 minutes
- Cook Time: 10 minutes
- Total Time: 6 hours 15 minutes
- Yield: 8 servings 1x
- Category: Dessert
- Cuisine: American
Ingredients
- 14 oz (400 g) sweetened condensed milk
- 2 cups (480 ml) heavy whipping cream, chilled
- 1 cup (200 g) granulated sugar
- 6 tbsp (85 g) unsalted butter
- 1 tsp flaky sea salt (like Maldon)
- 1 tsp vanilla extract
Instructions
- Make the Salted Caramel Sauce (10 minutes): In a medium saucepan over medium heat, add 1 cup (200 g) granulated sugar. Stir constantly as it melts and turns a rich amber color (about 5-7 minutes). Carefully add 6 tbsp (85 g) unsalted butter, stirring until fully combined. Remove from heat and slowly stir in 1 tsp flaky sea salt and 1 tsp vanilla extract. Let the caramel cool for at least 15 minutes until thick but still pourable.
- Whip the Cream (5 minutes): In a large chilled bowl, pour 2 cups (480 ml) heavy whipping cream. Using a hand or stand mixer, whip on medium-high speed until soft peaks form.
- Combine Condensed Milk and Caramel (2 minutes): In a separate bowl, stir together the 14 oz (400 g) can of sweetened condensed milk with about ¾ of the cooled salted caramel sauce, reserving the rest for swirling.
- Fold Together (3 minutes): Gently fold the condensed milk mixture into the whipped cream using a rubber spatula, being careful not to deflate the cream.
- Layer and Swirl (2 minutes): Pour half of the ice cream base into a loaf pan or airtight container. Drizzle half of the reserved caramel over the top, then add the remaining ice cream base. Use a skewer or butter knife to swirl the caramel through the ice cream.
- Freeze (at least 6 hours or overnight): Cover tightly with plastic wrap or an airtight lid. Freeze until firm and scoopable. Let sit at room temperature for 5-10 minutes before serving.
Notes
Use flaky sea salt like Maldon for best flavor. Stop whipping cream at soft peaks to avoid grainy texture. Warm caramel slightly if it hardens before swirling. For dairy-free version, substitute heavy cream with coconut cream and use dairy-free sweetened condensed milk alternative. Variations include adding chocolate swirl, toasted nuts, or fresh fruit.
Nutrition
- Serving Size: ½ cup (120 g)
- Calories: 280
- Sugar: 25
- Fat: 18
- Saturated Fat: 11
- Carbohydrates: 25
- Protein: 3
Keywords: no-churn ice cream, salted caramel, homemade dessert, easy ice cream recipe, no ice cream maker, creamy ice cream, quick dessert


