I was standing in the parking lot of my local hardware store last October when the smell hit me—someone nearby was burning a cinnamon-scented candle, and just like that, I was seven years old again, sitting cross-legged on my aunt Rita’s linoleum kitchen floor. She was pulling a baking sheet from the oven, and that smell—cinnamon and sugar and something toasty and warm—filled her whole tiny apartment. I remember how the seeds would slide around on the pan when she shook them, and how she’d let me taste one before they’d even cooled down, burning my tongue every single time. Honestly, I hadn’t thought about those afternoons in years.
My aunt Rita wasn’t much of a cook, but she had this one thing she made every fall after we’d carved pumpkins together—crispy cinnamon sugar roasted pumpkin seeds. She’d spread newspaper across her counter, and we’d spend an hour picking the orange strings off the seeds, her humming along to the radio, me sneaking raw seeds into my mouth when she wasn’t looking. She passed away a few years back, and I realized I’d never actually made them myself. So there I was, standing in a hardware store parking lot, suddenly desperate for a taste I could almost remember but not quite hold onto.
Maybe you’ve been there—that weird moment when a random smell yanks you back to someone you miss. I bought three pumpkins that afternoon (the cashier definitely thought I was crazy), and I spent the next few days trying to get the recipe right. The first batch was too burnt. The second was too soggy. But the third? That was the one. This recipe for crispy cinnamon sugar roasted pumpkin seeds is my attempt to bottle up those afternoons on Rita’s kitchen floor—and honestly, it’s even better than I remembered. Let me show you how to make them.
Why You’ll Love This Recipe
Let’s be real—most roasted pumpkin seeds are either burnt on the outside or chewy in the middle. I’ve tested this recipe about seven times (my neighbors have become very familiar with little bags of seeds taped to their doors), and I’ve finally cracked the code for that perfect crunch.
- Perfectly Crispy Every Time: The secret is a quick boil before roasting. It sounds weird, I know, but it guarantees that every single seed comes out crunchy, not chewy.
- Simple Ingredients: You probably have everything in your pantry right now. No fancy trips to specialty stores—just pumpkin seeds, butter, cinnamon, sugar, and salt.
- Great for Fall Gatherings: These are perfect for Halloween parties, Thanksgiving snacking, or just munching while you watch a movie on a chilly October evening.
- Crowd-Pleaser: I brought a batch to my book club last month, and they disappeared in fifteen minutes. Even the people who claimed they “didn’t like pumpkin seeds” went back for seconds.
- Unbelievably Addictive: The combination of sweet cinnamon sugar and salty roasted seeds is next-level. You’ve been warned—you will not be able to eat just one handful.
What makes this version different from all the others? It’s the boiling step, honestly. Most recipes skip it, and their seeds end up sad and chewy. Plus, I’ve nailed the ratio of butter to sugar so every seed is coated without being greasy. This isn’t just another pumpkin seed recipe—it’s the only one you’ll ever need.
What Ingredients You Will Need
This recipe uses simple, wholesome ingredients to deliver that irresistible sweet-and-salty crunch. Most of these are pantry staples, which makes this a perfect last-minute snack when the fall craving hits.
- Fresh pumpkin seeds (1½ cups, cleaned and rinsed) — These come straight from your jack-o’-lantern or sugar pumpkin. I prefer seeds from larger carving pumpkins because they’re bigger and have a better crunch. If you’re buying pre-packaged seeds, look for raw, unsalted ones.
- Unsalted butter (3 tablespoons, melted) — I recommend using unsalted so you can control the salt level. Kerrygold is my go-to for the richest flavor, but any good unsalted butter works. If you’re dairy-free, you can swap in coconut oil or a plant-based butter alternative.
- Granulated sugar (2 tablespoons) — Regular white sugar gives the best crunch. I’ve tried this with coconut sugar, and it works, but the texture is slightly less crispy. For a deeper flavor, you can use light brown sugar—just note that the seeds will be a bit stickier.
- Ground cinnamon (1½ teaspoons) — This is where the magic happens. I use Saigon cinnamon when I can find it because it’s warmer and more aromatic than regular cinnamon. Make sure your cinnamon is fresh—if it’s been sitting in your cabinet for three years, it’s time to replace it.
- Fine sea salt (½ teaspoon, plus more for the boiling water) — The salt in the boiling water helps the seeds absorb flavor from the inside out. I use fine sea salt because it dissolves evenly. Avoid coarse salt here—it won’t distribute as well.
- Vanilla extract (½ teaspoon, optional but recommended) — This adds a lovely warmth that complements the cinnamon. I almost always include it, but if you don’t have it on hand, the seeds will still be delicious.
A quick note on pumpkin seeds: if you’re carving pumpkins for Halloween, don’t throw those seeds away! Rinse them in a colander, pick off the biggest orange strings, and spread them on a towel to dry. You can store cleaned seeds in the fridge for up to three days before roasting. If you’re short on time, store-bought raw pumpkin seeds work perfectly too—just make sure they’re not already roasted or salted.
Equipment Needed
- Medium saucepan — For boiling the seeds. Any pot you’d use for pasta will work.
- Colander — For draining and rinsing the seeds.
- Clean kitchen towel or paper towels — For drying the seeds after boiling.
- Mixing bowl — Medium-sized, for tossing the seeds with butter and sugar.
- Baking sheet — A rimmed baking sheet works best to keep seeds from rolling off. I use a standard half-sheet pan.
- Parchment paper or silicone baking mat — Not strictly necessary, but it makes cleanup so much easier. I’ve forgotten parchment before and spent twenty minutes scrubbing caramelized sugar off my pan—learn from my mistakes.
- Measuring spoons — For the sugar, cinnamon, and salt.
- Spatula or wooden spoon — For stirring.
If you don’t have a silicone baking mat, parchment paper is your best friend here. Aluminum foil works in a pinch, but the seeds might stick a little more. And honestly, a good baking sheet makes a difference—thin, flimsy pans can cause uneven browning. I’ve been using the same Nordic Ware sheet for years, and it’s never let me down.
Preparation Method
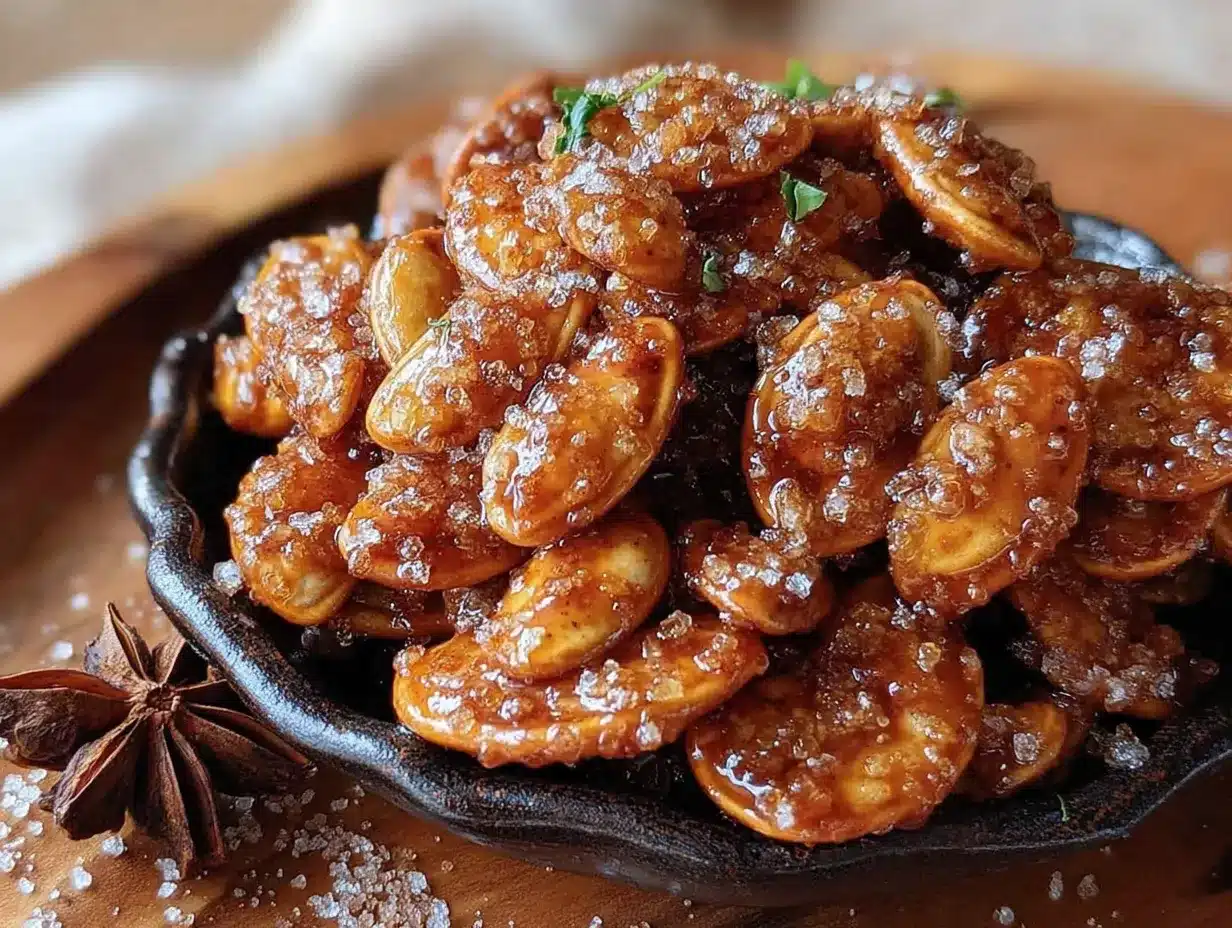
Alright, let’s get to the good part. Here’s how to make the crispiest, most addictive cinnamon sugar pumpkin seeds you’ve ever had.
- Preheat your oven to 300°F (150°C). I know, this seems low, but trust me—low and slow is the secret to crispy seeds. High heat will burn the sugar before the seeds have a chance to dry out properly.
- Clean your pumpkin seeds. If you’re using fresh seeds from a pumpkin, place them in a colander and rinse them under cold water. Pick out the biggest pieces of pumpkin flesh—don’t stress about getting every single string off, but try to remove the large chunks. Pat the seeds dry with a clean kitchen towel or paper towels.
- Boil the seeds. Fill your medium saucepan with 2 cups of water and add 1 teaspoon of salt. Bring it to a rolling boil, then add your cleaned pumpkin seeds. Boil for exactly 10 minutes. I set a timer because I’ve definitely walked away and come back to mushy seeds. This step is non-negotiable—it softens the outer shell just enough that the seeds roast evenly all the way through.
- Drain and dry. Pour the boiled seeds into your colander and let them drain for a minute. Then spread them out on your clean kitchen towel and pat them as dry as you can get them. Don’t rub too hard—you don’t want to damage the seeds—but get off as much moisture as possible. This is the difference between crispy and soggy, I swear.
- Mix the coating. In your medium mixing bowl, combine the melted butter, granulated sugar, ground cinnamon, ½ teaspoon of salt, and vanilla extract if you’re using it. Whisk it together until the sugar starts to dissolve.
- Toss the seeds. Add the dried seeds to the bowl and stir until every single seed is coated. I use a spatula and really get in there—you want that buttery cinnamon mixture on every nook and cranny. Take your time with this step.
- Spread on baking sheet. Line your baking sheet with parchment paper or a silicone mat. Spread the seeds in a single, even layer. Try not to let them overlap too much, or they’ll steam instead of roast. If some are touching, that’s okay, but get them as spread out as you can.
- Roast for 25-30 minutes. Place the baking sheet on the middle rack of your oven. Bake for 25 minutes, then give the seeds a stir with your spatula. Spread them back into an even layer and bake for another 5-10 minutes. You’re looking for a deep golden brown color—they should look toasted and smell incredible. Keep an eye on them during the last 5 minutes because sugar can burn fast.
- Cool completely. This is the hardest part. Let the seeds cool on the baking sheet for at least 15-20 minutes without touching them. They’ll continue to crisp up as they cool. I know it’s tempting to grab a handful right away, but they won’t be crunchy yet. Patience, my friend.
- Break apart and enjoy. Once cooled, the seeds will have formed little clusters. Break them apart with your hands and transfer to a bowl. Try not to eat the entire batch in one sitting (I believe in you).
Cooking Tips & Techniques
I’ve made this recipe more times than I care to admit, and I’ve learned a few things the hard way. Here are my best tips for perfect crispy cinnamon sugar roasted pumpkin seeds every single time.
Don’t skip the boil. I know it seems like an unnecessary step, but it’s the only way to get that perfectly crunchy texture. Without it, the seeds will be chewy on the inside and burnt on the outside. I learned this the hard way with my first batch—they looked beautiful but tasted like sadness.
Dry your seeds thoroughly. After boiling, really take the time to pat them dry. Excess moisture will create steam in the oven, and steam is the enemy of crispy. I spread mine on a towel and let them air-dry for five minutes before I even start mixing the coating.
Watch the oven like a hawk. Every oven runs a little differently. My friend’s oven runs hot, and her seeds are done at 25 minutes. Mine takes the full 30. Check your seeds at 25 minutes and go from there. The difference between perfectly toasted and burnt is about 90 seconds, so stay close.
Let them cool completely. I cannot stress this enough. The seeds will feel soft when they come out of the oven—that’s normal. They crisp up as they cool. If you eat them warm, you’ll think you failed. Give them 20 minutes, and you’ll be rewarded with the crunchiest seeds of your life.
Double the batch. Seriously. These disappear fast. I’ve never made a batch that lasted more than two days in my house. If you’re making them for a party or holiday gathering, I’d recommend at least doubling the recipe. Your future self will thank you.
Variations & Adaptations
One of the best things about this recipe is how easy it is to customize. Here are some variations I’ve tried and loved.
Spicy Cinnamon Sugar: Add ¼ teaspoon of cayenne pepper to the sugar mixture. The heat sneaks up on you and pairs beautifully with the sweet cinnamon. I made this version for a football party, and it was the first thing to disappear from the snack table.
Maple Cinnamon: Replace the granulated sugar with 2 tablespoons of pure maple syrup. Reduce the butter to 2 tablespoons since the syrup adds moisture. The maple flavor is incredible with the cinnamon, and it gives the seeds a slightly different texture—more candied than crispy.
Pumpkin Pie Spice Version: Use 1 teaspoon of pumpkin pie spice instead of straight cinnamon. Add an extra ½ teaspoon of cinnamon to keep that warm flavor prominent. This version tastes like fall in a bowl.
Vegan/Dairy-Free: Substitute the butter with melted coconut oil or your favorite plant-based butter. I’ve used both, and coconut oil gives a subtle tropical note that actually works really well with the cinnamon. Just make sure your sugar is vegan-friendly (most white sugar is, but some brands use bone char in processing).
Less Sugar Option: Cut the sugar down to 1 tablespoon and add an extra ¼ teaspoon of cinnamon. The seeds won’t be quite as crunchy, but they’ll still be delicious. I’ve made this version for my mom, who watches her sugar intake, and she loved them.
Serving & Storage Suggestions
These crispy cinnamon sugar roasted pumpkin seeds are incredibly versatile. Here’s how to serve and store them for maximum enjoyment.
Serving: I like to serve these at room temperature in a big wooden bowl—they look so cozy and autumnal. They’re perfect as a snack on their own, but they also make a fantastic topping for yogurt, oatmeal, or even a simple green salad with apples and goat cheese. Try crushing a few over vanilla ice cream for an easy fall dessert.
Storage: Store your cooled seeds in an airtight container at room temperature. They’ll stay crispy for up to two weeks—if they last that long. I use a mason jar or a glass container with a tight-fitting lid. Do not store them in the refrigerator, as the moisture will make them soft.
Reheating: If your seeds lose their crunch after a few days (this happens in humid weather), spread them on a baking sheet and pop them in a 300°F (150°C) oven for 5 minutes. Let them cool completely, and they’ll be crispy again. I’ve done this multiple times, and it works like a charm.
Gift Giving: These make wonderful homemade gifts during the holiday season. Fill small cellophane bags or mason jars, tie with a ribbon, and attach a little tag with the recipe. I gave these to my neighbors last Thanksgiving, and I had three people ask me for the recipe.
Nutritional Information & Benefits
Pumpkin seeds are actually a nutritional powerhouse, which makes this snack a little easier to feel good about. Here’s the estimated nutrition for a ¼-cup serving (about one handful).
- Calories: Approximately 180
- Protein: 7g
- Fat: 14g (mostly healthy unsaturated fats)
- Carbohydrates: 8g
- Fiber: 2g
- Sugar: 5g
Pumpkin seeds are rich in magnesium, zinc, and healthy fats that support heart health and immune function. The cinnamon adds antioxidants and may help with blood sugar regulation. While this version has added sugar and butter, it’s still a much better option than most packaged snacks. I like to think of these as a treat that happens to have some nutritional benefits—everything in moderation, right?
Dietary Notes: This recipe is naturally gluten-free and can be made dairy-free with a simple swap. It is not suitable for nut-free diets if you’re concerned about cross-contamination with store-bought seeds. Always check labels if you have allergies.
Conclusion
These crispy cinnamon sugar roasted pumpkin seeds are more than just a snack—they’re a little piece of fall that you can hold in your hand. Every time I make them, I think about my aunt Rita and her tiny kitchen, and I smile. That’s what food should do, don’t you think? It should connect us to people and moments we love.
I hope you give this recipe a try. Maybe you’ll make them for a Halloween party, or maybe you’ll make them on a quiet Tuesday night just because. And if you do, I’d love to hear how they turn out. Did you try any fun variations? Did your family devour them in ten minutes? Drop a comment below and let me know—I read every single one. And if you share a photo on Pinterest or Instagram, tag me so I can see your beautiful creations. Happy roasting, friends!
Frequently Asked Questions
Can I use store-bought pumpkin seeds instead of fresh ones?
Absolutely! Just make sure you buy raw, unsalted pumpkin seeds. If they’re already roasted, they won’t absorb the flavors as well, and the texture will be different. I’ve used both fresh and store-bought, and both work great—just skip the cleaning step if you’re using pre-packaged seeds.
Why did my seeds turn out chewy instead of crispy?
This usually happens for one of three reasons: you skipped the boiling step, you didn’t dry them well enough after boiling, or you didn’t let them cool completely before eating. Make sure to boil for the full 10 minutes, pat them very dry, and give them at least 20 minutes to cool on the baking sheet.
Can I make these in an air fryer?
Yes! Air fry at 300°F (150°C) for about 15-18 minutes, shaking the basket halfway through. Keep a close eye on them because air fryers run hot. The texture will be slightly different—a bit crunchier, actually—but they’re delicious.
How long do these stay fresh?
Stored in an airtight container at room temperature, they’ll stay crispy for up to two weeks. If they start to soften, just re-crisp them in a 300°F oven for 5 minutes. I don’t recommend storing them in the fridge, as the moisture will make them soggy.
Can I reduce the sugar without ruining the recipe?
You can cut the sugar down to 1 tablespoon, but the seeds won’t be quite as crunchy and the coating won’t stick as well. I’d recommend adding an extra ¼ teaspoon of cinnamon to compensate for the lost flavor. The seeds will still be tasty—just a little less candied.
Pin This Recipe!
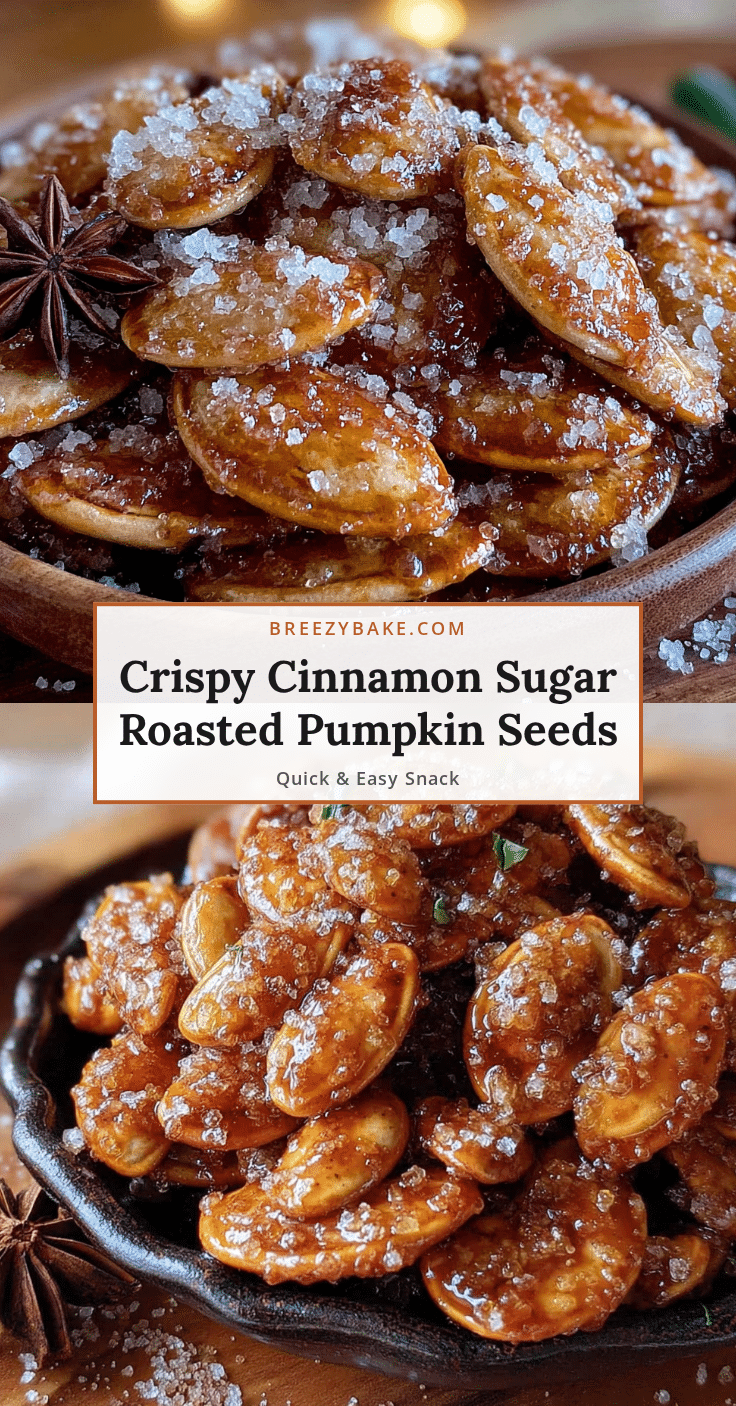
Crispy Cinnamon Sugar Roasted Pumpkin Seeds

Perfectly crispy roasted pumpkin seeds coated in a sweet cinnamon-sugar mixture. This easy recipe uses a quick boiling step to ensure every seed comes out crunchy, not chewy, making it the ultimate fall snack.
- Prep Time: 15 minutes
- Cook Time: 30 minutes
- Total Time: 45 minutes
- Yield: 4 servings 1x
- Category: Snack
- Cuisine: American
Ingredients
- 1½ cups fresh pumpkin seeds, cleaned and rinsed
- 3 tablespoons unsalted butter, melted
- 2 tablespoons granulated sugar
- 1½ teaspoons ground cinnamon
- ½ teaspoon fine sea salt, plus 1 teaspoon for boiling water
- ½ teaspoon vanilla extract (optional but recommended)
Instructions
- Preheat your oven to 300°F (150°C).
- Clean your pumpkin seeds: place them in a colander and rinse under cold water, removing large pieces of pumpkin flesh. Pat dry with a clean kitchen towel or paper towels.
- Boil the seeds: fill a medium saucepan with 2 cups of water and add 1 teaspoon of salt. Bring to a rolling boil, add the cleaned pumpkin seeds, and boil for exactly 10 minutes.
- Drain and dry: pour the boiled seeds into a colander and let drain for a minute. Spread them on a clean kitchen towel and pat as dry as possible without damaging the seeds.
- Mix the coating: in a medium mixing bowl, combine the melted butter, granulated sugar, ground cinnamon, ½ teaspoon of salt, and vanilla extract (if using). Whisk until the sugar starts to dissolve.
- Toss the seeds: add the dried seeds to the bowl and stir until every seed is evenly coated.
- Spread on baking sheet: line a rimmed baking sheet with parchment paper or a silicone baking mat. Spread the seeds in a single, even layer, avoiding overlap as much as possible.
- Roast for 25-30 minutes: place the baking sheet on the middle rack. Bake for 25 minutes, stir the seeds, spread back into an even layer, and bake for another 5-10 minutes until deep golden brown.
- Cool completely: let the seeds cool on the baking sheet for at least 15-20 minutes without touching. They will crisp up as they cool.
- Break apart and enjoy: once cooled, break apart any clusters with your hands and transfer to a bowl.
Notes
Don’t skip the boiling step—it’s essential for crispy seeds. Dry seeds thoroughly after boiling to avoid sogginess. Watch the oven closely during the last 5 minutes as sugar can burn quickly. Let seeds cool completely before eating; they will crisp up as they cool. For best results, double the batch as they disappear fast.
Nutrition
- Serving Size: ¼ cup
- Calories: 180
- Sugar: 5
- Sodium: 150
- Fat: 14
- Saturated Fat: 5
- Carbohydrates: 8
- Fiber: 2
- Protein: 7
Keywords: cinnamon sugar pumpkin seeds, roasted pumpkin seeds, crispy pumpkin seeds, fall snack, Halloween snack, Thanksgiving snack, easy pumpkin seed recipe