For a while, I just accepted that healthy snacks weren’t going to taste good. You know the ones—dry, crumbly things that tasted more like cardboard than food. I’d grab a granola bar or some sad rice cake and tell myself it was fine. But honestly, it wasn’t. I wanted something that actually felt like a treat, not a punishment. Something that could get me through that 3 PM slump when my energy dips and I start eyeing the leftover birthday cake in the break room.
These easy no-bake chocolate peanut butter protein balls came from a place of pure necessity. I was standing in my kitchen one afternoon, staring at a jar of peanut butter and a can of cocoa powder, thinking there had to be a better way. I didn’t want to turn on the oven (it was summer and my apartment was already hot enough), and I didn’t want to spend hours prepping. I just wanted something fast, something satisfying, and something that didn’t taste like I was being healthy.
The first batch I made was a little too sticky. The second was too dry. But the third? That was the one. They held together perfectly, had that rich chocolate flavor I was craving, and the peanut butter gave them this creamy, almost fudge-like texture. I ate three before I even put them in the fridge. My husband walked in, grabbed one, and said, “Wait, these are healthy?” That’s when I knew I had something good.
These protein balls are now a staple in my house. They’re the snack I reach for when I need a quick boost before a workout or a little something sweet after dinner. They’ve saved me from countless trips to the vending machine and more than a few hangry moments. And the best part? They’re so simple that you don’t need any special skills or fancy equipment. Just a bowl, a spoon, and about ten minutes. That’s it.
Why You’ll Love This Recipe
Let me tell you why these little bites have become my go-to snack. I’ve tested this recipe more times than I can count, tweaking the ratios, trying different add-ins, and even getting my picky-eating niece to approve. Here’s what makes them special:
- Quick & Easy: These come together in under 10 minutes. No baking, no waiting for the oven to preheat, no complicated steps. Just mix, roll, and chill. Perfect for those days when you need a snack now.
- Simple Ingredients: You probably already have everything you need in your pantry. Oats, peanut butter, cocoa powder, honey—all basic staples that don’t require a special trip to the store.
- Perfect for Meal Prep: Make a batch on Sunday and you’ve got snacks for the whole week. They’re great for lunchboxes, post-workout fuel, or a quick breakfast when you’re running late.
- Crowd-Pleaser: I’ve brought these to potlucks, family gatherings, and even office parties. They disappear fast. Kids love them, adults love them, and nobody believes they’re actually good for you.
- Unbelievably Delicious: The combination of rich chocolate and creamy peanut butter is a classic for a reason. These taste like a cross between a fudge ball and a peanut butter cup—but without the guilt.
What makes this recipe different from all the other protein ball recipes out there? It’s the texture. I spent a lot of time figuring out the perfect ratio of wet to dry ingredients so these aren’t too sticky, too dry, or too crumbly. They’re just right—firm enough to hold their shape but soft and chewy when you bite into them. Plus, I use a little trick with the oats that makes all the difference. Trust me, once you try these, you won’t go back to store-bought protein bars.
This recipe isn’t just good—it’s the kind that makes you close your eyes after the first bite. It’s comfort food reimagined, healthier but with the same soul-soothing satisfaction. Perfect for impressing guests without stress, or turning a simple snack into something memorable.
What Ingredients You Will Need
This recipe uses simple, wholesome ingredients to deliver bold flavor and satisfying texture without the fuss. Most of these are pantry staples, so you can whip up a batch anytime the craving hits.
- 1 cup rolled oats (use certified gluten-free if needed) – I prefer old-fashioned oats for better texture. Quick oats work too, but the texture will be a bit softer. For a grain-free option, try unsweetened shredded coconut.
- 1/2 cup creamy peanut butter – Natural peanut butter works great, but make sure it’s well-stirred. I’ve had the best luck with brands like Jif Natural or Adam’s. Avoid the super oily stuff that separates too much—it can make the balls too greasy. You can also use almond butter or sunflower seed butter for a nut-free version.
- 1/3 cup honey or maple syrup – Honey gives a slightly thicker texture, while maple syrup adds a hint of caramel flavor. Both work beautifully. If you’re vegan, go with maple syrup. For a lower-sugar option, use sugar-free maple syrup, but you may need to add a tablespoon more oats to compensate for the thinner consistency.
- 1/4 cup unsweetened cocoa powder – I recommend Hershey’s Special Dark or Ghirardelli for a rich, deep chocolate flavor. Dutch-process cocoa will give you a milder, more mellow taste. Don’t skip sifting it if it’s lumpy—nobody wants a pocket of dry cocoa powder in their protein ball.
- 1/4 cup chocolate protein powder – This is optional but adds extra protein and chocolate flavor. I like Orgain Simple or Vega Sport. If you skip it, add an extra 1/4 cup of oats to keep the right texture. Vanilla protein powder works too, but it will change the flavor profile slightly.
- 1/4 cup mini chocolate chips (optional but highly recommended) – These add little pockets of melty chocolate throughout. Use dark chocolate chips for a less sweet option, or white chocolate chips for a fun twist. I’ve also used chopped dark chocolate bars in a pinch.
- 1 teaspoon vanilla extract – Pure vanilla extract is best, but imitation works fine. It rounds out the flavors and makes everything taste more dessert-like.
- Pinch of sea salt – Don’t skip this! Salt enhances the chocolate and peanut butter flavors and balances the sweetness. Flaky sea salt like Maldon is lovely, but regular table salt works too.
A quick note on substitutions: If you’re allergic to peanuts, swap the peanut butter for almond butter or tahini. For a nut-free version, sunflower seed butter is your best bet. Just note that sunflower seed butter can react with the cocoa powder and turn the mixture slightly greenish—it’s totally safe to eat, just not as pretty. And if you’re watching your sugar intake, you can reduce the honey to 1/4 cup and add an extra tablespoon of peanut butter to compensate.
Equipment Needed
You don’t need much for this recipe, which is one of the reasons I love it. Here’s what you’ll need:
- Large mixing bowl – Any bowl will do, but a wide, shallow bowl makes it easier to mix everything together without spilling. I use a ceramic bowl that’s about 10 inches wide.
- Measuring cups and spoons – Accurate measurements are important for getting the texture right. I recommend using dry measuring cups for the oats and cocoa powder, and liquid measuring cups for the honey and peanut butter.
- Rubber spatula or wooden spoon – A rubber spatula is great for scraping the sides of the bowl and getting every last bit of mixture. A wooden spoon works fine too, but you’ll have to work a little harder to incorporate everything.
- Baking sheet or plate – You’ll need something to put the rolled balls on while they chill. A baking sheet lined with parchment paper is ideal, but a dinner plate works in a pinch.
- Parchment paper or wax paper – This prevents the balls from sticking to the baking sheet. If you don’t have either, you can lightly grease the baking sheet with a little oil.
- Refrigerator – The balls need to chill for at least 30 minutes to firm up. If you’re in a hurry, you can pop them in the freezer for 15 minutes instead.
If you don’t have a rubber spatula, your hands actually work really well for mixing everything together. Just make sure to wash them thoroughly first. The warmth of your hands helps the mixture come together nicely. I’ve also used a food processor to make these—just pulse everything until it comes together, then roll into balls. It’s a bit faster, but it also makes the texture more uniform (I prefer the slightly chunkier texture from hand-mixing).
Preparation Method
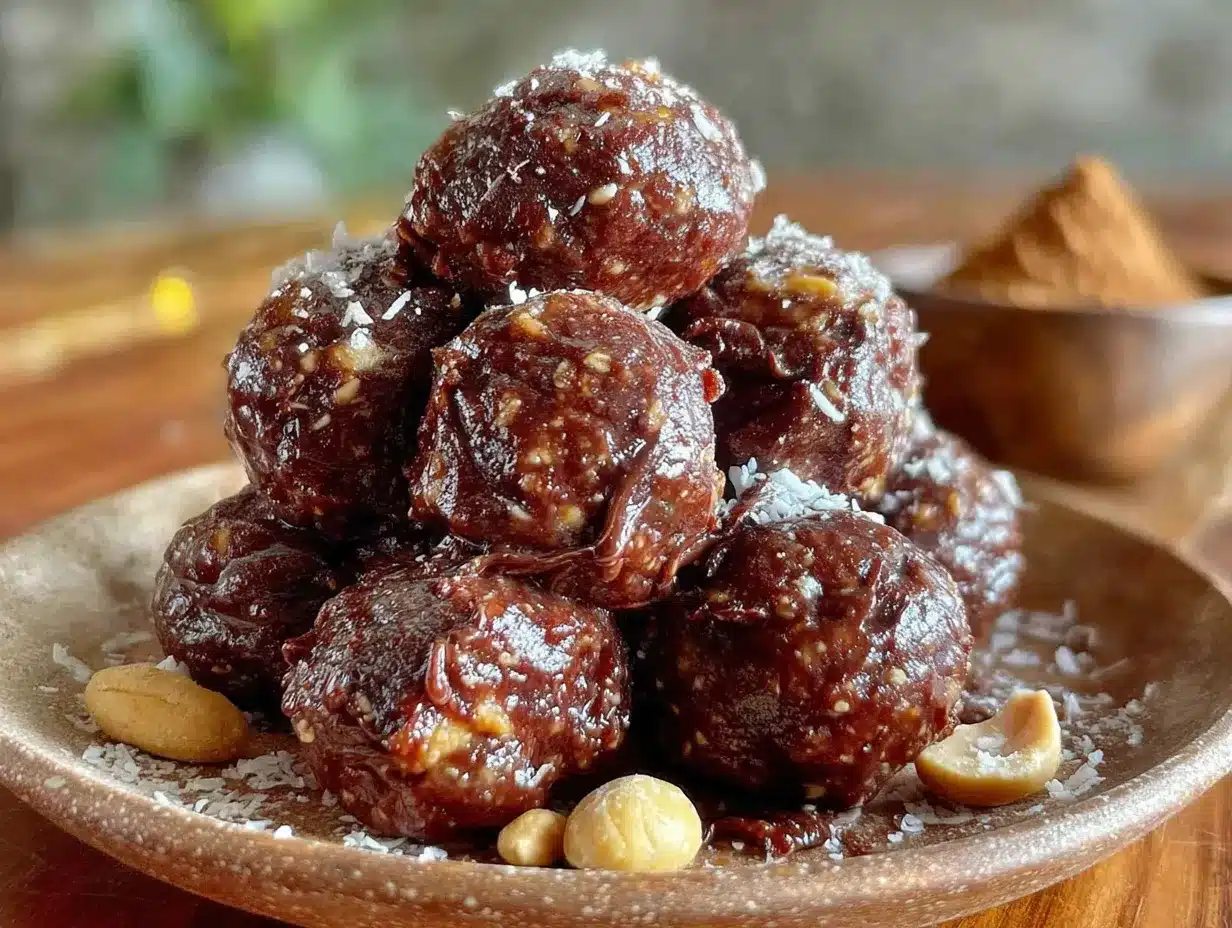
Making these easy no-bake chocolate peanut butter protein balls is almost too simple. Here’s how to do it, step by step.
- Combine the dry ingredients. In a large mixing bowl, add 1 cup rolled oats, 1/4 cup unsweetened cocoa powder, 1/4 cup chocolate protein powder (if using), and a pinch of sea salt. Whisk them together with a fork or small whisk to break up any clumps. This step is important—you don’t want pockets of dry cocoa powder in your finished balls.
- Add the wet ingredients. Add 1/2 cup creamy peanut butter, 1/3 cup honey or maple syrup, and 1 teaspoon vanilla extract to the bowl. If you’re using mini chocolate chips, hold off on adding them for now—we’ll add them in the next step.
- Mix everything together. Use a rubber spatula or wooden spoon to stir everything together. Start by folding the wet ingredients into the dry, scraping the bottom and sides of the bowl as you go. The mixture will look dry and crumbly at first—don’t panic. Keep stirring, and it will eventually come together into a thick, sticky dough. This usually takes about 2-3 minutes of vigorous stirring. If it seems too dry, add a tablespoon of peanut butter or honey. If it’s too sticky, add a tablespoon more oats.
- Fold in the chocolate chips. Once the dough is well combined and uniform in color, fold in 1/4 cup mini chocolate chips (if using). Make sure they’re evenly distributed throughout the mixture. You can also reserve a few to press onto the tops of the balls for a prettier presentation.
- Chill the mixture. This step is optional but highly recommended. Cover the bowl with plastic wrap or a clean kitchen towel and pop it in the fridge for 15-20 minutes. Chilling the mixture makes it much easier to roll into balls without it sticking to your hands. If you’re in a hurry, you can skip this step—just be prepared for slightly stickier hands.
- Roll into balls. Using your hands, scoop out about 1 tablespoon of the mixture and roll it between your palms to form a smooth ball. You should get about 16-18 balls, depending on how big you make them. Place each ball on a baking sheet lined with parchment paper. If the mixture starts sticking to your hands, lightly wet your palms with a little water. This trick works like a charm.
- Chill again. Once all the balls are rolled, place the baking sheet in the refrigerator for at least 30 minutes. This allows them to firm up and hold their shape. If you can’t wait that long, 15 minutes in the freezer will do the trick. I usually let them chill while I clean up the kitchen.
- Enjoy! Once they’re firm, they’re ready to eat. Store any leftovers in an airtight container in the refrigerator for up to two weeks. Or freeze them for up to three months—just let them thaw for a few minutes before eating.
Pro tip: If you want perfectly uniform balls, use a small cookie scoop to portion out the mixture. I use a 1-tablespoon scoop, and it makes the process so much faster. Plus, they look nice and professional when they’re all the same size.
Cooking Tips & Techniques
After making these protein balls more times than I can count, I’ve learned a few tricks that make the process smoother and the results better. Here are my best tips:
- Don’t overmix. Once the dough comes together, stop stirring. Overmixing can make the texture dense and tough. You want the oats to still have a little bit of chewiness to them.
- Use room temperature ingredients. Cold peanut butter is harder to mix. If your peanut butter has been in the fridge, let it sit out for 10-15 minutes before starting. Same goes for honey—if it’s crystallized, warm it up in the microwave for 10 seconds.
- Adjust the consistency as needed. The humidity in your kitchen, the brand of oats you use, and even the type of peanut butter can affect the final texture. Don’t be afraid to tweak the ratios. If the mixture is too dry, add a splash of milk or a little more peanut butter. If it’s too wet, add more oats or protein powder.
- Use a food processor for a smoother texture. If you prefer a more uniform, almost fudge-like texture, pulse the oats in a food processor first until they’re finely ground. Then add the rest of the ingredients and pulse until everything comes together. This gives a completely different texture—more like a truffle than a chunky protein ball.
- Toast the oats first. For a deeper, nuttier flavor, spread the oats on a baking sheet and toast them in a 350°F oven for 8-10 minutes. Let them cool completely before using. This adds a lovely warmth to the flavor. I do this when I’m making a batch for a special occasion.
- Watch out for sticky hands. Rolling the balls can get messy. Keep a small bowl of water nearby and dip your fingers in it before rolling each ball. The water helps prevent the mixture from sticking to your hands without adding too much moisture.
One mistake I made early on was using natural peanut butter that had separated. The oil made the mixture too wet, and the balls wouldn’t hold their shape. Now I always stir my peanut butter thoroughly before measuring. Also, don’t skip the salt! I once forgot to add it, and the balls tasted flat and one-dimensional. That pinch of salt really makes the flavors pop.
Variations & Adaptations
One of the best things about this recipe is how easy it is to customize. Here are some of my favorite variations:
- Vegan Version: Use maple syrup instead of honey, and make sure your chocolate chips and protein powder are vegan-friendly. That’s it! Everything else is already plant-based.
- Nut-Free Version: Swap the peanut butter for sunflower seed butter or tahini. Just keep in mind that sunflower seed butter can turn a little green when combined with cocoa powder (it’s a natural chemical reaction, totally safe). For a completely nut-free option, use WowButter, which is made from soy and tastes very similar to peanut butter.
- Low-Carb Version: Replace the oats with unsweetened shredded coconut or almond flour. Use sugar-free maple syrup and sugar-free chocolate chips. The texture will be a bit different—more dense and fudge-like—but still delicious.
- Add Some Crunch: Fold in 1/4 cup of chopped peanuts, almonds, or walnuts for extra texture. Toasted coconut flakes are also wonderful. I made a batch with crushed pretzels once, and the salty-sweet combo was incredible.
- Flavor Twists: Swap the vanilla extract for peppermint extract for a mint-chocolate version. Or add a tablespoon of instant espresso powder for a mocha kick. For a tropical twist, use coconut extract and add dried pineapple or mango pieces.
- Protein Boost: If you want even more protein, add an extra scoop of protein powder and increase the peanut butter by a tablespoon to keep the texture right. You can also add a tablespoon of chia seeds or flax seeds for fiber and omega-3s.
My personal favorite variation is the “salted caramel” version. I swap the honey for Date Lady caramel sauce (or make my own with dates), add a pinch of flaky sea salt on top, and use dark chocolate chips. It tastes like a fancy dessert, but it’s still packed with protein and good-for-you ingredients.
Serving & Storage Suggestions
These protein balls are incredibly versatile when it comes to serving. Here’s how I like to enjoy them:
- Straight from the fridge: This is my favorite way to eat them. They’re firm, cold, and almost fudge-like. Perfect for a quick snack or a post-workout refuel.
- At room temperature: Let them sit out for 5-10 minutes before eating. They soften up slightly and become chewier. This is how I pack them in lunchboxes.
- Crumbled over yogurt: Crumble one or two balls over a bowl of Greek yogurt with some fresh berries. It’s like a healthy dessert parfait. I’ve also crumbled them over oatmeal for a chocolatey twist.
- With coffee or tea: These are the perfect accompaniment to your morning coffee or afternoon tea. The chocolate and peanut butter flavors pair beautifully with a hot beverage.
Storage Instructions:
- Refrigerator: Store in an airtight container for up to 2 weeks. I like to layer them with parchment paper so they don’t stick together. They actually get better after a day or two—the flavors meld together and the texture becomes even more fudge-like.
- Freezer: These freeze beautifully. Place them in a single layer on a baking sheet and freeze until solid, then transfer to a freezer-safe bag or container. They’ll keep for up to 3 months. I grab one straight from the freezer when I need a quick, cold snack. They thaw in about 5-10 minutes at room temperature.
- Travel: These are great for road trips, hiking, or packing in lunchboxes. Just keep them in a cool place. If it’s hot outside, I recommend packing them in a small cooler with an ice pack to prevent them from getting too soft.
One thing I love about these is that the flavors actually develop and deepen over time. The first day, they’re good. The second day, they’re even better. By day three, they taste like something you’d buy at a fancy bakery. So don’t be afraid to make a big batch—they’ll only get more delicious.
Nutritional Information & Benefits
Here’s the estimated nutritional breakdown for one protein ball (based on 16 balls, using honey, peanut butter, and chocolate protein powder):
- Calories: Approximately 120-140
- Protein: 5-7 grams
- Carbohydrates: 14-16 grams
- Fiber: 2-3 grams
- Sugar: 8-10 grams
- Fat: 6-8 grams
- Iron: 6% of daily value
- Magnesium: 8% of daily value
These little bites pack a surprising nutritional punch. The oats provide complex carbohydrates for sustained energy, while the peanut butter delivers healthy fats and protein to keep you full. Cocoa powder is rich in antioxidants called flavonoids, which can help reduce inflammation and support heart health. The protein powder (if you use it) adds an extra boost for muscle recovery after workouts.
If you’re watching your sugar intake, you can reduce the honey to 1/4 cup. The chocolate chips also add sugar, so you can leave them out or use sugar-free ones. For a lower-calorie option, use powdered peanut butter (like PB2) mixed with a little water—it has significantly less fat and fewer calories than regular peanut butter.
These are also naturally gluten-free if you use certified gluten-free oats, and they can easily be made vegan and dairy-free. Just be mindful of potential allergens: peanuts, tree nuts, oats (for some with celiac disease), and dairy (if using regular chocolate chips).
Conclusion
These easy no-bake chocolate peanut butter protein balls have honestly changed the way I snack. They’re quick, simple, and made with ingredients I always have on hand. No oven required, no complicated steps, and no weird ingredients you can’t pronounce. Just pure, wholesome goodness that tastes like a treat but fuels your body like a real snack.
I love that I can customize them depending on what I’m craving or what I have in my pantry. Some weeks I add coconut flakes, other weeks I throw in some dried cherries. The possibilities are endless, and that’s what makes this recipe so fun. It’s a base you can build on, a starting point for your own creations.
If you give these a try, I’d love to hear how they turn out. Leave a comment below and let me know if you made any fun substitutions or additions. Did you try the mint-chocolate version? The salted caramel one? I’m always looking for new ideas to try myself. And if you’re looking for more healthy snack ideas, check out our healthy chicken veggie skillet wraps for a savory option that’s just as easy to make.
Happy snacking, friends! These little balls of joy are waiting for you.
Frequently Asked Questions
Can I make these without protein powder?
Absolutely! The protein powder is optional. If you skip it, just add an extra 1/4 cup of rolled oats to keep the right texture. They’ll still be delicious and satisfying.
How long do these protein balls last in the fridge?
They’ll keep for up to 2 weeks in an airtight container in the refrigerator. I find they actually taste better after a day or two as the flavors meld together.
Can I freeze these protein balls?
Yes, they freeze beautifully! Place them in a single layer on a baking sheet, freeze until solid, then transfer to a freezer-safe bag. They’ll keep for up to 3 months. Thaw for 5-10 minutes at room temperature before eating.
My mixture is too dry. What should I do?
If the mixture seems too dry and crumbly, add a tablespoon of peanut butter or honey at a time until it comes together. You can also add a splash of milk (dairy or non-dairy) to help bind everything.
Can I use quick oats instead of rolled oats?
Yes, quick oats work fine. They’ll give you a slightly softer texture since they’re more finely processed. If you want a chunkier, more substantial texture, stick with old-fashioned rolled oats.
For another quick and healthy snack idea, don’t miss our chocolate dipped strawberry coconut bars—they’re perfect for summer and just as easy to make as these protein balls!
Pin This Recipe!
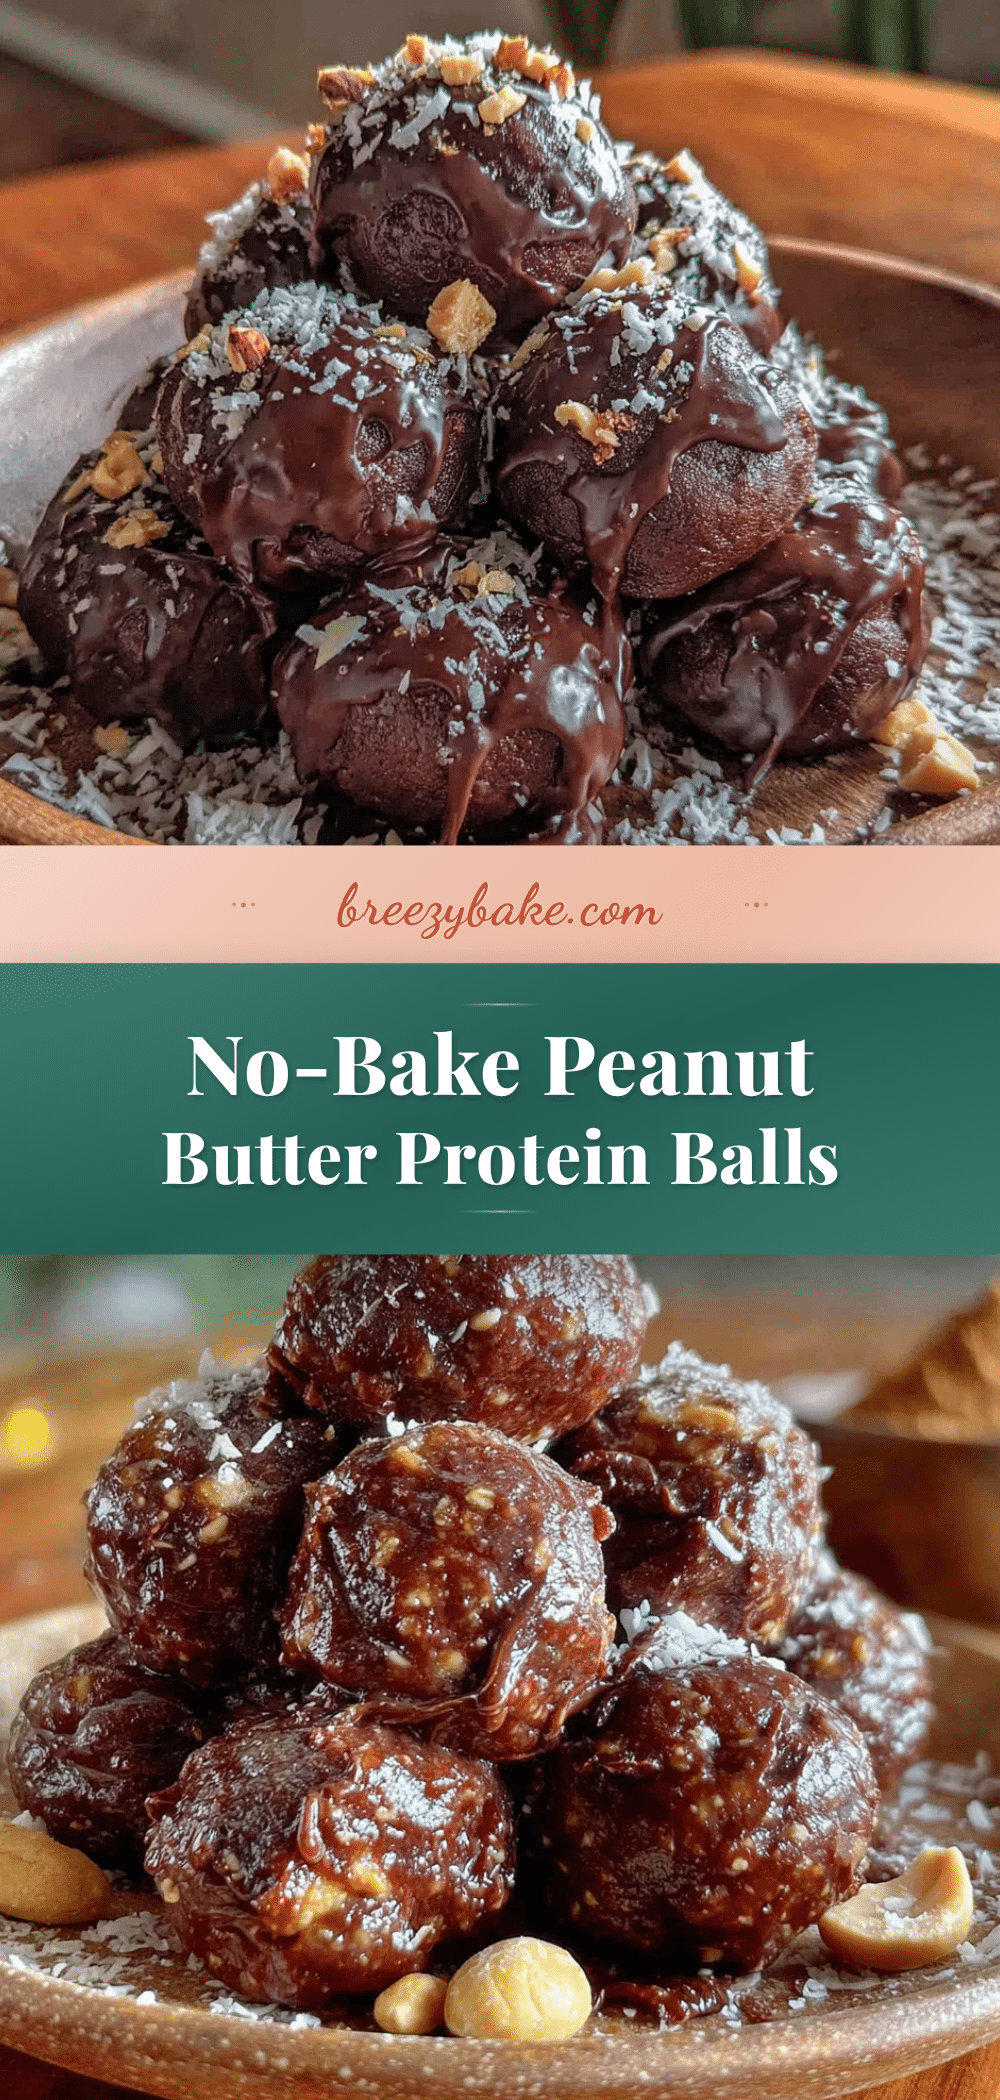
Easy No-Bake Chocolate Peanut Butter Protein Balls

These easy no-bake chocolate peanut butter protein balls are a quick, healthy snack made with simple pantry ingredients. They come together in under 10 minutes and taste like a fudge ball or peanut butter cup without the guilt.
- Prep Time: 10 minutes
- Cook Time: 0 minutes
- Total Time: 40 minutes (including chilling)
- Yield: 16-18 balls 1x
- Category: Snack
- Cuisine: American
Ingredients
- 1 cup rolled oats (use certified gluten-free if needed)
- 1/2 cup creamy peanut butter
- 1/3 cup honey or maple syrup
- 1/4 cup unsweetened cocoa powder
- 1/4 cup chocolate protein powder (optional)
- 1/4 cup mini chocolate chips (optional)
- 1 teaspoon vanilla extract
- Pinch of sea salt
Instructions
- Combine the dry ingredients: In a large mixing bowl, add 1 cup rolled oats, 1/4 cup unsweetened cocoa powder, 1/4 cup chocolate protein powder (if using), and a pinch of sea salt. Whisk together to break up any clumps.
- Add the wet ingredients: Add 1/2 cup creamy peanut butter, 1/3 cup honey or maple syrup, and 1 teaspoon vanilla extract to the bowl. If using mini chocolate chips, hold off on adding them for now.
- Mix everything together: Use a rubber spatula or wooden spoon to stir everything together. Fold the wet ingredients into the dry, scraping the bottom and sides of the bowl. The mixture will look dry and crumbly at first; keep stirring for about 2-3 minutes until it comes together into a thick, sticky dough. If too dry, add a tablespoon of peanut butter or honey. If too sticky, add a tablespoon more oats.
- Fold in the chocolate chips: Once the dough is well combined, fold in 1/4 cup mini chocolate chips (if using). Ensure they are evenly distributed. Reserve a few to press onto the tops of the balls for a prettier presentation.
- Chill the mixture (optional but recommended): Cover the bowl with plastic wrap or a clean kitchen towel and refrigerate for 15-20 minutes. This makes rolling easier.
- Roll into balls: Using your hands, scoop out about 1 tablespoon of the mixture and roll it between your palms to form a smooth ball. You should get about 16-18 balls. Place each ball on a baking sheet lined with parchment paper. If the mixture sticks to your hands, lightly wet your palms with water.
- Chill again: Place the baking sheet in the refrigerator for at least 30 minutes to firm up. Alternatively, freeze for 15 minutes.
- Enjoy! Once firm, they are ready to eat. Store leftovers in an airtight container in the refrigerator for up to two weeks, or freeze for up to three months.
Notes
For a smoother texture, pulse oats in a food processor first. Toast oats for a nuttier flavor. Use room temperature ingredients for easier mixing. If mixture is too dry, add a splash of milk or more peanut butter. If too wet, add more oats or protein powder. Keep a small bowl of water nearby to wet hands when rolling to prevent sticking.
Nutrition
- Serving Size: 1 ball
- Calories: 120140
- Sugar: 810
- Sodium: 5080
- Fat: 68
- Saturated Fat: 12
- Carbohydrates: 1416
- Fiber: 23
- Protein: 57
Keywords: no-bake protein balls, chocolate peanut butter protein balls, healthy snack, easy protein balls, no-bake snack, gluten-free protein balls, vegan protein balls


