My older brother swore he hated bananas for twenty-three years. Twenty-three years of dodging banana splits at birthday parties, pushing fruit salad to the side of his plate, and making that face—you know the one—whenever a banana came within sniffing distance. Then I caught him one Sunday morning, standing over my kitchen counter, pulling chunks off a loaf of this banana bread with his bare hands. He didn’t even see me watching. He just kept eating, one crumbly piece after another, until half the loaf was gone. I didn’t say a word. I just let him have his moment.
Honestly, I made that first loaf for myself. I had three overripe bananas turning into a science experiment on my counter, and I needed them gone. I wasn’t trying to convert anyone. I was just tired of wasting food and wanted something sweet without dragging out my stand mixer. So I grabbed a bowl, a fork, and started mashing. No fancy equipment. No complicated steps. Just me, a bunch of soft bananas, and a craving I couldn’t ignore.
That loaf came out of the oven looking like something from a bakery display—golden brown on top, cracked right down the middle, and smelling like my grandmother’s kitchen. I let it cool for maybe ten minutes before I cut into it. The steam rolled up, and the inside was so tender it practically fell apart under the knife. I took one bite, and I knew this was different. It wasn’t just banana bread. It was the banana bread. The one that makes you close your eyes after the first bite. The one that turns banana-haters into banana-bread-lovers without warning. Maybe you’ve been there, watching someone you love change their mind about a food right in front of you. It’s a quiet kind of victory, and honestly, it never gets old.
Why You’ll Love This Recipe
I’ve tested this recipe more times than I can count, and I mean that literally—I lost track after batch number twelve. But every single time, it turned out exactly the way I wanted: soft, moist, and packed with banana flavor without being heavy. Here’s why this one-bowl banana bread deserves a permanent spot in your recipe rotation.
- Quick & Easy: From start to oven in under 15 minutes. No mixer required, which means less cleanup and more time doing literally anything else.
- Simple Ingredients: You probably have everything in your kitchen right now. Butter, sugar, eggs, flour, baking soda, salt, and those sad bananas sitting on your counter.
- Kid-Approved: My nephew, who once told me he “doesn’t do fruit,” ate three slices in one sitting. If that’s not a win, I don’t know what is.
- Perfect for Busy Mornings: Bake it on Sunday, and you’ve got breakfast or snacks ready all week. It travels well, too—no crumbling apart in lunchboxes.
- Unbelievably Moist: The secret is using really ripe bananas and melted butter. No dry, crumbly loaf here. Just tender, buttery slices that stay soft for days.
What makes this recipe different from all the other banana breads out there? It’s the method. Mixing everything in one bowl with a fork means you can’t overmix the batter. Overmixing is what makes banana bread tough and dense. This gentle approach keeps the crumb light and the texture almost cake-like. Plus, using melted butter instead of creaming cold butter with sugar saves time and gives the bread a richer flavor. I’ve made this for bake sales, school events, and lazy Sunday mornings, and it never fails. It’s comfort food at its simplest—no stress, no fuss, just really good banana bread.
What Ingredients You Will Need
This recipe uses basic pantry staples to create something genuinely special. The magic happens when those overripe bananas finally find their purpose. Here’s everything you’ll need and a few notes on what to look for.
- 3 large ripe bananas, mashed (about 1½ cups) — The riper, the better. Look for bananas with brown spots all over the peel. They should feel soft when you squeeze them. If your bananas aren’t ripe enough, pop them in a 300°F oven for 15 minutes until the skins turn black. Let them cool, then mash.
- ½ cup unsalted butter, melted (1 stick) — I use salted butter sometimes and just skip the added salt. Both work fine. Melt the butter and let it cool for a minute so it doesn’t cook the eggs when you mix them in.
- ¾ cup granulated sugar — You can reduce this to ½ cup if your bananas are extremely sweet. I’ve also used coconut sugar with good results, though the texture is slightly denser.
- 2 large eggs, room temperature — Cold eggs can seize the melted butter. If you forgot to take them out of the fridge, place them in a bowl of warm water for 5 minutes.
- 1 teaspoon vanilla extract — Pure vanilla extract makes a difference, but imitation works in a pinch. I recommend Nielsen-Massey if you want to splurge on the good stuff.
- 1½ cups all-purpose flour — Spoon and level your flour into the measuring cup. Scooping directly from the bag packs in too much flour and makes the bread dry.
- 1 teaspoon baking soda — Make sure it’s fresh. Test it by dropping a little into vinegar—if it fizzes vigorously, you’re good.
- ½ teaspoon salt — Fine sea salt or table salt. If using salted butter, reduce this to ¼ teaspoon.
- Optional mix-ins: ½ cup chocolate chips, chopped walnuts, or blueberries (fresh or frozen — if using frozen, toss them in a tablespoon of flour first to prevent sinking).
One thing I’ve learned after making this dozens of times: the quality of your bananas matters more than anything else. Green bananas won’t give you that deep, caramelized banana flavor. Wait until they’re practically begging to be used. Also, if you’re out of eggs, you can substitute with ¼ cup unsweetened applesauce or a flax egg (1 tablespoon ground flaxseed mixed with 3 tablespoons water).
Equipment Needed
The beauty of this recipe is how little equipment it requires. No stand mixer, no hand mixer, no food processor. Just basic tools you probably already own.
- Large mixing bowl — Any bowl works, but a wide, shallow bowl makes mashing and mixing easier. I use a ceramic bowl that belonged to my grandmother.
- Fork or potato masher — A fork does the job perfectly. A potato masher works faster if you have one.
- 9×5-inch loaf pan — Glass, metal, or ceramic all work. Metal pans give the best browning. If using glass, reduce the oven temperature by 25°F.
- Parchment paper or non-stick spray — Parchment paper with overhanging edges makes lifting the bread out effortless. I use Baker’s Joy spray in a pinch.
- Measuring cups and spoons — For accuracy. Eyeballing it works for some recipes, but baking is a science.
- Cooling rack — Essential for even cooling. Without one, the bottom of the bread gets soggy from trapped steam.
- Rubber spatula — For scraping every last bit of batter into the pan. Waste not, want not.
If you don’t have a loaf pan, you can bake this in an 8×8-inch square pan and reduce the baking time to 35-40 minutes. I’ve even made it in a muffin tin for banana bread muffins—bake for 18-22 minutes. No special equipment required, just a little creativity.
Preparation Method
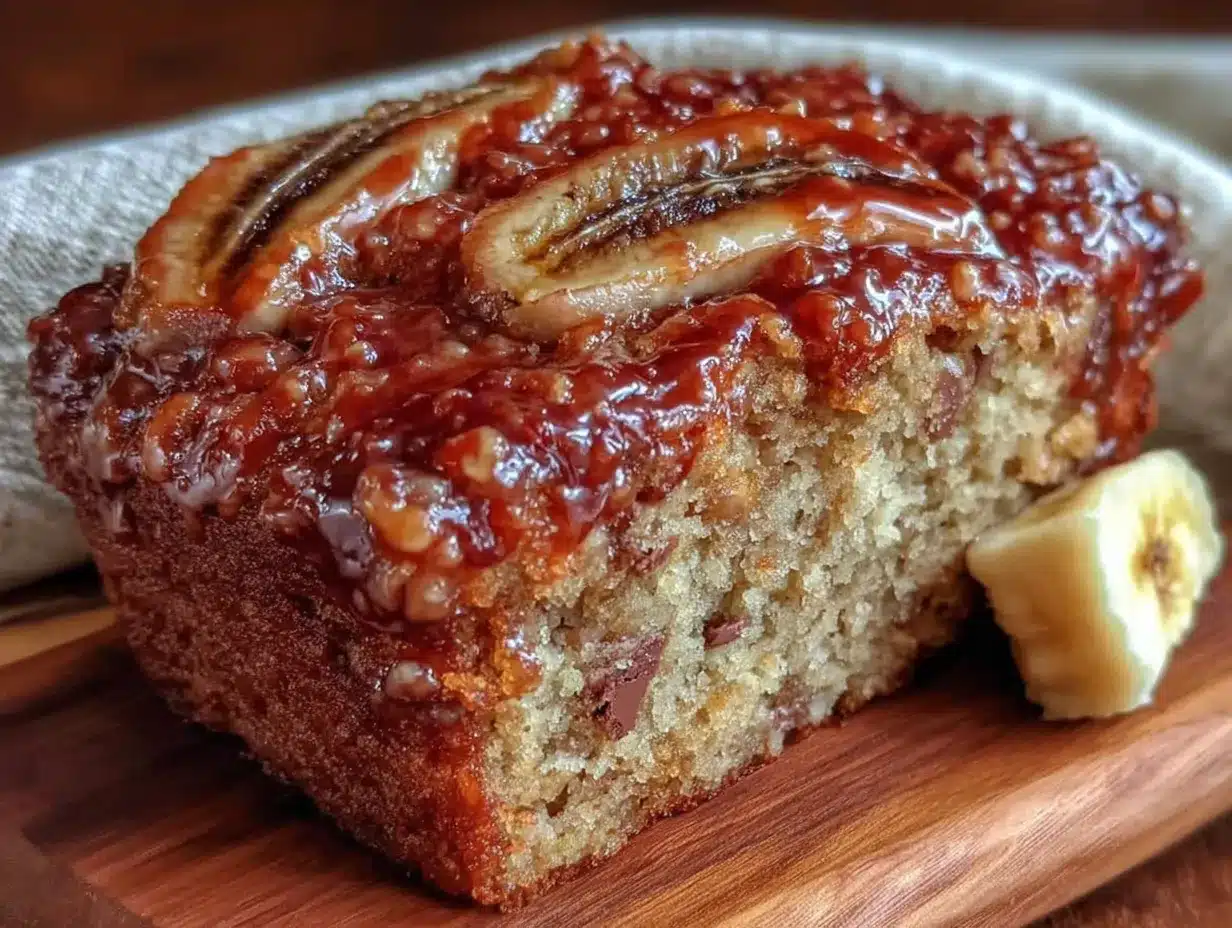
This is where the magic happens. Follow these steps, and you’ll have perfect banana bread every single time. No mixer. No stress. Just a fork and a bowl.
- Preheat your oven to 350°F (175°C). Position the rack in the center of the oven. Line your loaf pan with parchment paper, leaving a 2-inch overhang on the long sides. Spray the exposed ends with non-stick spray.
- Mash the bananas in your mixing bowl. Peel the bananas and drop them into the bowl. Use a fork to mash them until smooth with a few small lumps remaining. You want some texture—completely smooth puree makes the bread denser. This takes about 1 minute.
- Add the melted butter and sugar. Pour in the cooled melted butter and sugar. Stir with the fork until combined. The mixture will look slightly grainy, and that’s fine. Stir for about 30 seconds.
- Add the eggs and vanilla. Crack the eggs directly into the bowl. Add the vanilla extract. Stir until the eggs are fully incorporated and the mixture is smooth and glossy. About 20-30 seconds of stirring. Don’t rush this step—streaks of raw egg in the batter won’t bake evenly.
- Add the dry ingredients. Sprinkle the flour, baking soda, and salt over the wet mixture. Stir gently with the fork until just combined. A few streaks of flour are okay. Overmixing at this stage develops gluten and makes the bread tough. Stop stirring as soon as you can’t see any more dry flour. This takes about 15-20 strokes.
- Fold in any mix-ins. If using chocolate chips, nuts, or fruit, gently fold them in with your rubber spatula. Don’t overmix—just fold until evenly distributed. About 5-6 folds.
- Pour the batter into the prepared pan. Use the spatula to scrape every bit of batter into the pan. Smooth the top gently. Tap the pan on the counter once or twice to release any air bubbles.
- Bake for 50-60 minutes. Place the pan in the center of the oven. Bake until a toothpick inserted in the center comes out clean or with a few moist crumbs attached. The top should be deep golden brown and cracked. If the top is browning too quickly after 40 minutes, tent loosely with foil.
- Cool in the pan for 10 minutes. Place the pan on a cooling rack. Let it sit for exactly 10 minutes—no longer, or the bottom gets soggy.
- Lift the bread out using the parchment overhang. Transfer to the cooling rack and let cool completely before slicing. I know it’s tempting to cut into it warm, but warm banana bread crumbles. Wait at least 1 hour.
One thing I learned the hard way: don’t open the oven door during the first 30 minutes of baking. The bread needs that initial heat to rise properly. I once peeked at 20 minutes, and the loaf sank in the middle. Patience, my friend.
Cooking Tips & Techniques
After more batches than I care to admit, I’ve collected a few tricks that make this recipe foolproof. Some I learned from my failures. Some I stumbled on by accident. All of them work.
Use a kitchen scale for accuracy. Flour is notoriously easy to overmeasure. One cup of all-purpose flour should weigh 120-125 grams. If you scoop directly from the bag, you might be adding 140-150 grams, which throws off the moisture balance. A $10 kitchen scale eliminates the guesswork.
Don’t overmix the batter. This is the number one mistake I see. When you stir flour into wet ingredients, gluten strands form. The more you stir, the more gluten develops, and the tougher your bread gets. Stir until the flour disappears, then stop. It’s okay if the batter looks a little lumpy.
Let the bananas get ugly. I’m serious. The best banana bread comes from bananas that look borderline compost-ready. Black skins, soft spots, that fermented smell—that’s exactly what you want. The starches have converted to sugar, giving you maximum sweetness and banana flavor. I keep a bag of overripe bananas in my freezer at all times. Just thaw them on the counter for an hour before using.
Check for doneness with a thermometer. A toothpick works, but an instant-read thermometer is more reliable. Banana bread is done when the internal temperature reaches 200-205°F (93-96°C). This takes the guesswork out of “clean toothpick” versus “moist crumbs.”
Room temperature ingredients matter. Cold eggs and cold butter don’t emulsify properly with the sugar, leading to a denser crumb. If you forget to set ingredients out, place the eggs in warm water for 5 minutes and microwave the butter in 10-second bursts until just melted, then let it cool.
Let it cool completely. I know, I know. The smell is intoxicating. But slicing warm banana bread is like trying to cut through wet sand. The crumb hasn’t set yet, and you’ll end up with a pile of delicious crumbs instead of neat slices. One hour on the cooling rack. Set a timer if you have to.
Variations & Adaptations
This recipe is incredibly versatile. I’ve played around with it more times than I can count, and here are my favorite variations that actually work.
Chocolate Chip Banana Bread: Fold in ½ cup semi-sweet chocolate chips along with the flour. The chocolate melts into little pockets of gooey goodness. My kids request this version every single time. I’ve also used dark chocolate chips for a less sweet option.
Gluten-Free Banana Bread: Substitute the all-purpose flour with a 1:1 gluten-free baking flour blend. I use King Arthur Measure for Measure or Bob’s Red Mill. Add 1 teaspoon of xanthan gum if your blend doesn’t include it. The texture is slightly more tender, but the flavor is identical.
Vegan Banana Bread: Replace the eggs with ¼ cup unsweetened applesauce or two flax eggs (2 tablespoons ground flaxseed mixed with 6 tablespoons water, let sit for 5 minutes). Use coconut oil or vegan butter instead of dairy butter. The bread is a bit denser but still delicious.
Blueberry Banana Bread: Fold in ½ cup fresh or frozen blueberries. If using frozen, toss them in 1 tablespoon of flour first to prevent them from sinking to the bottom. The burst of tart berries against the sweet banana bread is heavenly.
Spiced Banana Bread: Add 1 teaspoon cinnamon, ½ teaspoon nutmeg, and ¼ teaspoon ground ginger to the flour mixture. This gives the bread a warm, cozy flavor that’s perfect for fall. I sometimes add a pinch of cardamom for a more complex spice profile.
Peanut Butter Banana Bread: Swirl ¼ cup creamy peanut butter into the batter just before pouring it into the pan. Use a knife to create swirls. The peanut butter adds richness and a salty contrast that balances the sweetness.
One of my favorite experiments was adding a streusel topping—¼ cup flour, ¼ cup brown sugar, 2 tablespoons cold butter, and a pinch of cinnamon, mixed until crumbly and sprinkled on top before baking. It adds a crunchy, buttery crust that takes this bread to another level.
Serving & Storage Suggestions
This banana bread is good at every temperature. Warm from the oven, room temperature, even straight from the fridge. But here’s how to make the most of it.
Serving: Slice the bread into 1-inch thick pieces. Serve plain, or spread with salted butter, cream cheese, or a drizzle of honey. For a special treat, toast the slices in a skillet with a little butter until golden brown on both sides. The edges get crispy while the inside stays soft—absolutely divine. It’s also wonderful with a cup of coffee or a glass of cold milk.
Storage: Wrap the cooled loaf tightly in plastic wrap or aluminum foil. Store at room temperature for up to 4 days. Do not refrigerate—the cold air dries out the bread and makes it stale faster. If your kitchen is warm, store it in a cool, dark place like a pantry or bread box.
Freezing: This bread freezes beautifully. Wrap the fully cooled loaf in plastic wrap, then in a layer of aluminum foil, and place in a freezer bag. Freeze for up to 3 months. To thaw, leave it on the counter overnight, still wrapped. You can also freeze individual slices—wrap each slice in plastic wrap, then place in a freezer bag. Grab one slice at a time for quick breakfasts or snacks.
Reheating: Microwave a slice for 15-20 seconds for a warm, fresh-from-the-oven taste. Or toast it in a toaster oven at 350°F for 5 minutes. The texture improves after reheating—the butter melts back into the crumb, and it tastes almost as good as day one.
One thing I love about this recipe: the flavors actually deepen after a day or two. The banana flavor becomes more pronounced, and the texture evens out. I sometimes make it a day ahead on purpose. It’s that good.
Nutritional Information & Benefits
While banana bread is definitely a treat, it does have some redeeming qualities. Here’s a rough breakdown per slice (based on 10 slices, without mix-ins).
| Nutrient | Amount per Slice |
|---|---|
| Calories | 245 |
| Total Fat | 10g |
| Saturated Fat | 6g |
| Cholesterol | 55mg |
| Sodium | 220mg |
| Total Carbohydrates | 36g |
| Dietary Fiber | 1.5g |
| Sugars | 18g |
| Protein | 4g |
Bananas are a good source of potassium, vitamin B6, and vitamin C. They also contain resistant starch, which acts like fiber and supports gut health. The eggs provide high-quality protein, and the butter adds vitamin A. If you use whole wheat pastry flour instead of all-purpose, you’ll get an extra 2 grams of fiber per slice.
For a lighter version, you can reduce the sugar to ½ cup, use applesauce instead of one of the eggs, and swap the butter for coconut oil. The texture changes slightly, but it’s still delicious. This recipe is naturally vegetarian and can be made dairy-free with plant-based butter. It contains gluten, eggs, and dairy, so it’s not suitable for those with allergies to those ingredients.
I personally love that this bread feels indulgent without being over-the-top. One slice satisfies my sweet tooth without sending me into a sugar crash. It’s comfort food that you can feel reasonably good about eating.
Conclusion
This one-bowl banana bread has become a staple in my kitchen for good reason. It’s simple enough for a Tuesday afternoon and special enough for a holiday brunch. It uses ingredients I always have on hand, takes almost no effort, and delivers results that make me look like I spent hours in the kitchen. Plus, it turned my banana-hating brother into a repeat offender. That alone makes it worth baking.
I hope you give this recipe a try and make it your own. Add chocolate chips if that’s your thing. Throw in some walnuts. Swirl in peanut butter. The beauty of this bread is that it’s forgiving—it welcomes experimentation. And if you have kids, let them help. My four-year-old niece loves mashing the bananas and stirring the batter. It’s messy, but it’s worth it.
When you make this banana bread—and I hope you do—come back and tell me how it turned out. Did you add something unexpected? Did your family love it? Did you catch someone eating it straight from the loaf pan? I’d love to hear your stories. Leave a comment below, share a photo, or tag me on social media. Happy baking, friends. You’ve got this.
Frequently Asked Questions
Can I use frozen bananas for this recipe?
Absolutely. Frozen bananas work perfectly. Thaw them completely on the counter, then drain off any excess liquid before mashing. The texture will be slightly softer, but the flavor is even more concentrated. I always keep a stash of frozen overripe bananas in my freezer for exactly this purpose.
Why did my banana bread sink in the middle?
This usually happens for one of three reasons: the oven temperature was too low, the batter was overmixed, or you opened the oven door too early. Make sure your oven is fully preheated to 350°F, stir the batter just until combined, and resist the urge to peek until the 30-minute mark. If it still sinks, check your baking soda for freshness.
Can I make this recipe into muffins instead?
Yes! This batter works beautifully as muffins. Line a 12-cup muffin tin with paper liners and fill each cup about ¾ full. Bake at 350°F for 18-22 minutes, or until a toothpick inserted in the center comes out clean. You’ll get about 12 standard muffins. Reduce the baking time by 5 minutes if making mini muffins.
How do I know when the banana bread is fully baked?
The most reliable method is using an instant-read thermometer. Insert it into the center of the loaf—it should read 200-205°F (93-96°C). If you don’t have a thermometer, insert a toothpick into the center. It should come out clean or with a few moist crumbs attached. Wet batter means it needs more time. The top should also be deep golden brown and cracked.
Can I reduce the sugar in this recipe?
Yes, you can reduce the sugar to ½ cup without significantly affecting the texture. If your bananas are extremely ripe and sweet, you can even go down to ⅓ cup. Just keep in mind that sugar contributes to moisture and browning, so the bread might be slightly less tender and the top won’t brown as deeply. I’ve made it with ½ cup many times, and it’s still delicious.
Pin This Recipe!
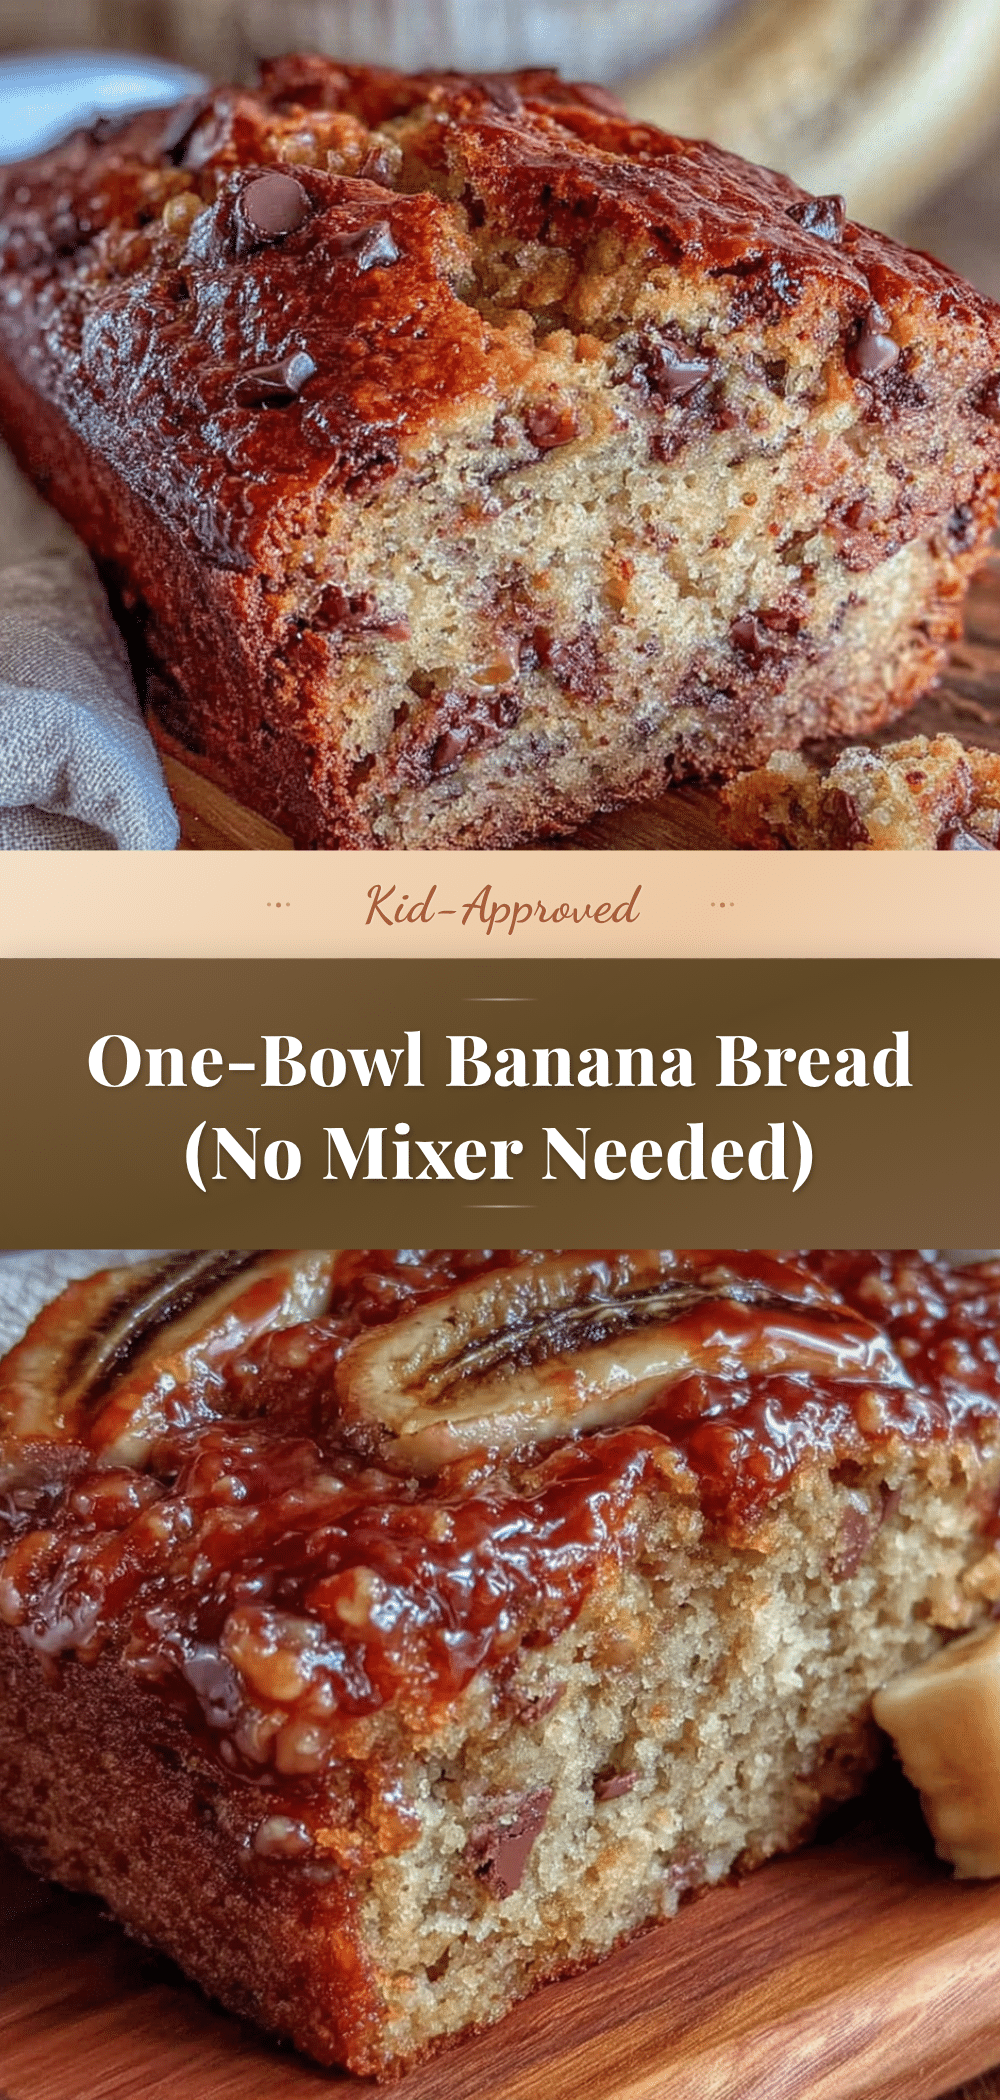
Easy One-Bowl Banana Bread Recipe Kids Love
This incredibly moist and tender banana bread comes together in one bowl with no mixer required. Made with overripe bananas and simple pantry staples, it’s a foolproof recipe that even banana-haters will love.
- Prep Time: 15 minutes
- Cook Time: 55 minutes
- Total Time: 1 hour 10 minutes
- Yield: 10 servings 1x
- Category: Dessert
- Cuisine: American
Ingredients
- 3 large ripe bananas, mashed (about 1½ cups)
- ½ cup unsalted butter, melted (1 stick)
- ¾ cup granulated sugar
- 2 large eggs, room temperature
- 1 teaspoon vanilla extract
- 1½ cups all-purpose flour
- 1 teaspoon baking soda
- ½ teaspoon salt
- Optional mix-ins: ½ cup chocolate chips, chopped walnuts, or blueberries
Instructions
- Preheat your oven to 350°F (175°C). Position the rack in the center of the oven. Line your loaf pan with parchment paper, leaving a 2-inch overhang on the long sides. Spray the exposed ends with non-stick spray.
- Mash the bananas in your mixing bowl. Peel the bananas and drop them into the bowl. Use a fork to mash them until smooth with a few small lumps remaining. This takes about 1 minute.
- Add the melted butter and sugar. Pour in the cooled melted butter and sugar. Stir with the fork until combined. Stir for about 30 seconds.
- Add the eggs and vanilla. Crack the eggs directly into the bowl. Add the vanilla extract. Stir until the eggs are fully incorporated and the mixture is smooth and glossy. About 20-30 seconds of stirring.
- Add the dry ingredients. Sprinkle the flour, baking soda, and salt over the wet mixture. Stir gently with the fork until just combined. A few streaks of flour are okay. This takes about 15-20 strokes.
- Fold in any mix-ins. If using chocolate chips, nuts, or fruit, gently fold them in with your rubber spatula. Don’t overmix—just fold until evenly distributed. About 5-6 folds.
- Pour the batter into the prepared pan. Use the spatula to scrape every bit of batter into the pan. Smooth the top gently. Tap the pan on the counter once or twice to release any air bubbles.
- Bake for 50-60 minutes. Place the pan in the center of the oven. Bake until a toothpick inserted in the center comes out clean or with a few moist crumbs attached. The top should be deep golden brown and cracked. If the top is browning too quickly after 40 minutes, tent loosely with foil.
- Cool in the pan for 10 minutes. Place the pan on a cooling rack. Let it sit for exactly 10 minutes—no longer, or the bottom gets soggy.
- Lift the bread out using the parchment overhang. Transfer to the cooling rack and let cool completely before slicing. Wait at least 1 hour.
Notes
Use very ripe bananas with brown spots for best flavor. Don’t overmix the batter to keep the bread tender. Let cool completely before slicing to prevent crumbling. For best results, use room temperature eggs. The bread can be frozen for up to 3 months.
Nutrition
- Serving Size: 1 slice (1/10 of loa
- Calories: 245
- Sugar: 18
- Sodium: 220
- Fat: 10
- Saturated Fat: 6
- Carbohydrates: 36
- Fiber: 1.5
- Protein: 4
Keywords: banana bread, easy banana bread, one-bowl banana bread, moist banana bread, kid-friendly banana bread, quick bread