The woman at the butcher counter watched me stare at the chicken thighs like they held the secrets to the universe. I was holding a bag of frozen tenders in one hand and a box of breadcrumbs in the other, looking completely lost. She didn’t say anything at first. Then she pointed at the thighs and said, “Those are what you want. They forgive you for everything.” I laughed, put the frozen stuff back, and let her wrap up four bone-in thighs. That was three years ago, and I haven’t bought a bag of frozen chicken since. She was right—chicken thighs are the most forgiving cut of meat in the kitchen. They stay juicy when you overcook them, they take on flavor like a sponge, and they cost half of what breasts do. But here’s the thing: I still wanted them crispy. And for the longest time, that meant heating up a gallon of oil, making a mess, and standing over a sputtering pan like a short-order cook. Not exactly the kind of weeknight energy I was working with.
Then I got an air fryer for my birthday—a gift I honestly wasn’t sure I’d use. It sat in the box for two weeks. But the first time I tried these quick crispy air fryer chicken thighs, I texted the butcher lady a photo. Maybe you’ve been there—staring at your air fryer wondering if it’s actually going to deliver on the promise of crispy skin without the grease pit aftermath. Let me tell you, it does. The skin gets shatteringly crisp, the meat stays tender, and the whole thing happens in about 20 minutes. No flour, no egg wash, no standing guard. Just seasoning, heat, and dinner.
I’ve tweaked the seasoning a dozen times since that first batch. This version uses a simple paprika-garlic blend that works every single time. The recipe stuck with me because it solved a real problem: how to get crispy chicken on a Tuesday without losing my mind. It’s the kind of dinner that makes you feel like you’ve got your act together, even if you’re eating it straight off the cutting board. And honestly? That’s the best kind of meal.
Why You’ll Love This Recipe
Look, I’ve tested a lot of chicken thigh recipes. Some were dry. Some were soggy. Some required a whole production line of bowls and steps that left my kitchen looking like a flour bomb went off. This one is different. It’s the version I keep coming back to because it actually works for real life.
- Quick & Easy: From fridge to plate in about 25 minutes. No marinating, no brining, no complicated steps. Just season, air fry, and eat.
- Simple Ingredients: You probably have everything in your pantry right now. Paprika, garlic powder, salt, pepper, maybe some onion powder if you’re fancy. No trips to the specialty store.
- Perfect for Weeknights: This is the dinner you make when you’re tired, hungry, and out of ideas. It pairs with anything—rice, salad, roasted veggies, or just your hands.
- Crowd-Pleaser: I’ve served these to picky kids, skeptical in-laws, and friends who “don’t really like dark meat.” Every single person went back for seconds.
- Unbelievably Delicious: The skin gets this incredible crispy texture that shatters when you bite into it. The meat underneath stays juicy and flavorful. It’s comfort food that doesn’t take all day.
What makes this recipe different from the dozens of other air fryer chicken recipes out there? Two things. First, the technique: we pat the skin completely dry and season it directly, no oil spray needed. That dry heat is what gives you that crackling crust. Second, the timing: bone-in thighs need exactly the right window to cook through without drying out. I’ve tested this at different temperatures and times, and this sweet spot delivers every time. It’s not just another version—it’s the one that actually works.
This is the kind of recipe that makes you close your eyes after the first bite. It’s comfort food reimagined—healthier, faster, but with the same soul-soothing satisfaction. Perfect for impressing guests without stress, or turning a simple Tuesday into something memorable.
What Ingredients You Will Need
This recipe uses simple, pantry-friendly ingredients to deliver big flavor. Nothing weird, nothing expensive—just honest food that works together. Here’s what you’ll need:
For the Chicken
- 4 bone-in, skin-on chicken thighs (about 1.5 to 2 pounds total) — The bone keeps the meat moist during cooking, and the skin is what gets crispy. I prefer thighs from Bell & Evans or Mary’s for consistent quality, but any brand works.
- 1 tablespoon olive oil — Just enough to help the seasoning stick. You can use avocado oil if you prefer.
- 1 teaspoon kosher salt (or 3/4 teaspoon table salt) — Don’t skip this. Salt is what draws out moisture and helps the skin crisp up.
- 1/2 teaspoon black pepper — Freshly ground if you have it, pre-ground works fine too.
For the Seasoning Blend
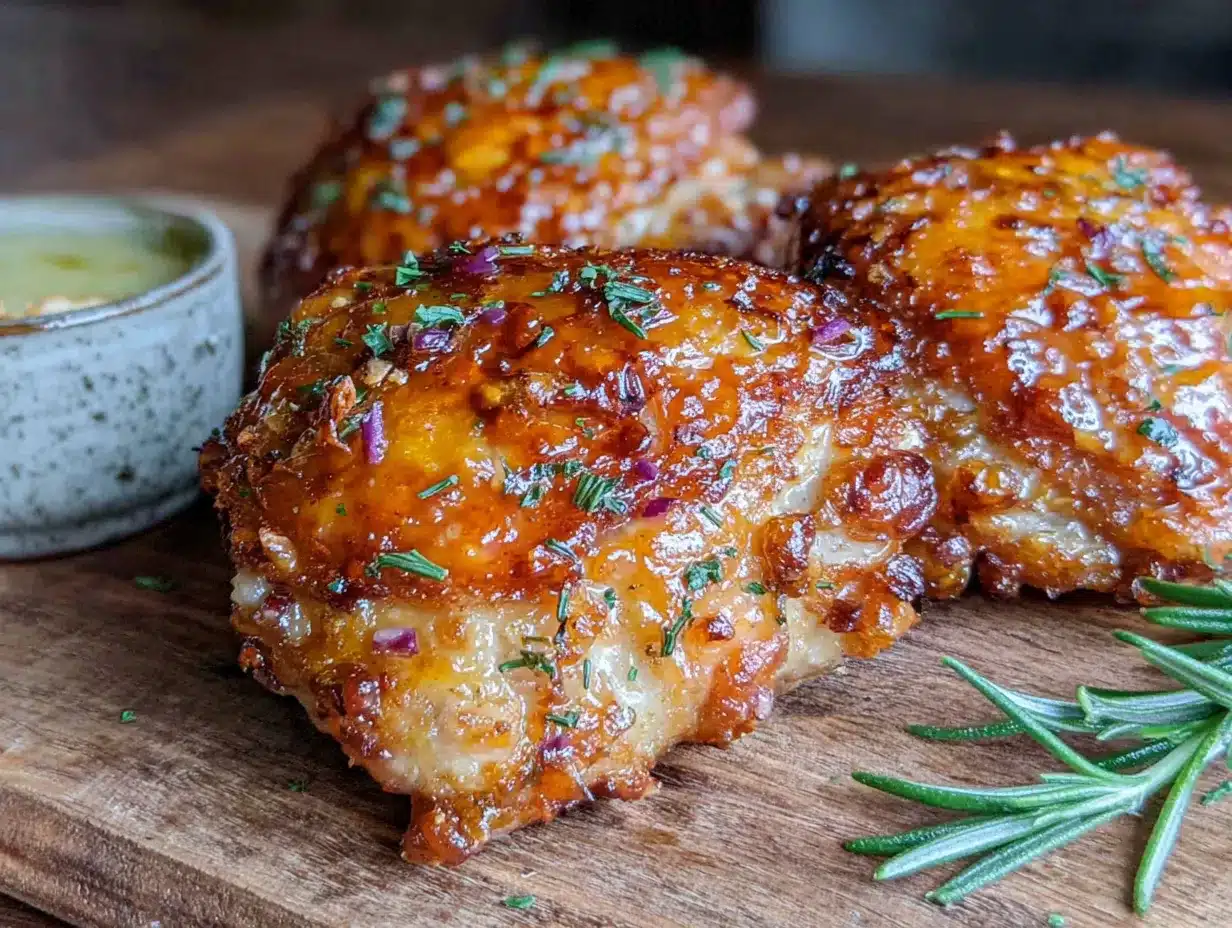
- 1 teaspoon smoked paprika — This gives the chicken that beautiful color and a subtle smoky flavor. Regular paprika works too, but smoked is worth the upgrade.
- 1/2 teaspoon garlic powder — Not garlic salt! Garlic powder distributes evenly and won’t make the chicken too salty.
- 1/2 teaspoon onion powder — Adds depth without being overpowering.
- 1/4 teaspoon cayenne pepper (optional) — For a little heat. Leave it out if you’re feeding kids or sensitive palates.
Ingredient Tips and Swaps
Here’s where experience comes in. I’ve made this recipe with boneless, skinless thighs when that’s all I had in the fridge. It works, but you’ll need to reduce the cooking time to about 12-14 minutes, and you won’t get that crispy skin. If you’re gluten-free, this recipe is naturally safe—no flour or breadcrumbs involved. For a dairy-free option, you’re already set since there’s no dairy in the recipe.
One thing I learned the hard way: don’t use skinless thighs for this recipe. The skin is what creates that crispy exterior. Without it, you’ll end up with tender chicken but no crunch. If skinless is all you have, try my air fryer boneless chicken thighs recipe instead.
For the oil, I’ve tested this with olive oil, avocado oil, and even melted coconut oil. Olive oil gives the best flavor, but avocado oil has a higher smoke point if your air fryer runs hot. Just don’t use butter—it burns at air fryer temperatures and leaves a bitter taste.
Equipment Needed
You don’t need much for this recipe, which is part of why I love it. Here’s what you’ll need:
- Air fryer: Any brand works. I use a 5.8-quart Cosori and it fits 4 thighs comfortably. If yours is smaller, cook in batches—crowding the basket is the #1 reason chicken doesn’t get crispy.
- Tongs: For flipping the chicken halfway through. Metal or silicone, doesn’t matter. Just don’t use plastic—they’ll melt.
- Paper towels: Critical for drying the chicken skin. This step makes or breaks the crispiness.
- Small bowl: For mixing the seasoning blend.
- Cutting board and knife: For trimming excess skin or fat if needed. I like using a Victorinox chef’s knife—it’s affordable and stays sharp.
If you don’t have an air fryer, you can still make these in a convection oven at 400°F for about 25-30 minutes. Place the thighs on a wire rack set over a baking sheet so the hot air circulates underneath. The result won’t be quite as crispy, but it’s close. I’ve also made these in a regular oven at 425°F for 30-35 minutes, flipping once. Not as good as the air fryer, but still delicious.
One budget-friendly tip: you don’t need a fancy air fryer. I started with a $40 model from a discount store, and it worked perfectly for years. Save your money for good chicken instead.
Preparation Method
Let’s get cooking. This whole process takes about 25 minutes from start to finish, and most of that is hands-off cooking time.
- Preheat your air fryer to 400°F (200°C). Most air fryers need about 3-5 minutes to preheat. Do this first so it’s ready when you are. If your air fryer doesn’t have a preheat setting, just run it empty for 3 minutes.
- Pat the chicken thighs completely dry. This is the most important step. Use paper towels and press firmly on both sides until no moisture remains. Wet skin = soggy skin. I learned this the hard way when my first batch came out looking pale and sad. Don’t skip this.
- Trim any excess skin or fat. Some thighs come with big flaps of skin or chunks of fat hanging off. Use kitchen shears or a sharp knife to trim those off. Leave the skin that’s attached to the meat—that’s what gets crispy.
- Mix the seasoning. In a small bowl, combine the smoked paprika, garlic powder, onion powder, cayenne (if using), salt, and pepper. Stir with a fork to break up any clumps.
- Season the chicken. Place the dry thighs in a bowl or on a plate. Drizzle with the olive oil and rub it all over each thigh with your hands. Then sprinkle the seasoning mixture evenly over both sides. Don’t be shy—get it into every crevice. Use all the seasoning; it looks like a lot, but it’s the right amount.
- Place thighs in the air fryer basket. Arrange them skin-side down in a single layer. Leave at least 1/2 inch of space between each thigh. If they’re touching, they won’t crisp evenly. If you need to cook in batches, do it—it’s worth the extra few minutes.
- Cook for 10 minutes at 400°F. Set a timer. Don’t open the basket during this time—you’ll let out all the hot air.
- Flip the thighs. After 10 minutes, use tongs to carefully flip each thigh over. The skin side should be golden brown and starting to crisp. If it looks pale, give it another 2 minutes before flipping.
- Cook for another 8-10 minutes. Flip them skin-side up this time. The total cooking time should be 18-20 minutes for bone-in thighs. The internal temperature should reach 175-185°F (80-85°C) when measured with an instant-read thermometer inserted into the thickest part without touching the bone.
- Rest for 5 minutes. This is crucial. Transfer the thighs to a plate and let them rest. The juices redistribute during this time, making the meat even more tender. If you cut into them immediately, all those juices run out onto the cutting board instead of staying in the meat.
Your chicken is ready when the skin is deep golden brown and crispy to the touch. The meat should pull away from the bone easily with a fork. If the skin isn’t crispy enough for your liking, give them 2 more minutes skin-side up. Every air fryer runs a little differently, so trust your eyes and your thermometer over the timer.
Cooking Tips & Techniques
I’ve made this recipe probably fifty times by now, and I’ve messed it up in almost every way possible. Here’s what I’ve learned so you don’t have to make the same mistakes.
The biggest mistake: overcrowding the basket. I know it’s tempting to cram in as many thighs as possible to get dinner done faster. Don’t do it. The air needs to circulate around each piece of chicken to crisp the skin. When thighs are touching, they steam instead of fry, and you end up with flabby skin. Cook in batches if you need to. The extra 10 minutes is worth it.
Don’t use oil spray. I tried this once—sprayed the thighs with cooking spray instead of rubbing them with oil. The spray burned in the air fryer and left a bitter, chemical taste on the chicken. Stick with regular oil and your hands. It’s more controlled and tastes better.
Let the chicken come to room temperature. If your thighs are straight from the fridge, they’ll take longer to cook and the skin might not crisp as well. Let them sit on the counter for 15-20 minutes while you preheat the air fryer. This small step makes a noticeable difference.
Use a meat thermometer. I know, I know—another gadget. But chicken thighs are forgiving, and you can cook them to 185°F without drying them out. But if you’re new to air frying, a thermometer takes the guesswork out. I use a ThermoPro instant-read model that cost about $15. Best investment I’ve made for my kitchen.
Pat dry again before seasoning. Even after you pat them dry initially, chicken thighs release a little moisture as they sit. Right before you season them, give them one more quick pat with a paper towel. It takes five seconds and makes a real difference in crispiness.
Timing tip: While the chicken cooks, prep your sides. I usually toss together a simple salad or start some rice. The chicken takes 20 minutes, so you can have a complete meal ready in the same time.
Variations & Adaptations
One of the best things about this recipe is how easy it is to change up. Here are some variations I’ve tried and loved:
Spicy Honey Glaze
After the chicken cooks, brush each thigh with a mixture of 2 tablespoons honey and 1/2 teaspoon cayenne pepper. Return to the air fryer for 2 minutes. The honey caramelizes and creates a sticky-sweet-spicy crust. My husband’s favorite version.
Lemon Herb
Swap the smoked paprika for 1 teaspoon dried oregano and 1/2 teaspoon dried thyme. Add the zest of one lemon to the seasoning blend. After cooking, squeeze fresh lemon juice over the top. Bright, fresh, perfect for spring.
BBQ Style
Skip the paprika blend and use 1 tablespoon of your favorite BBQ rub instead. After cooking, brush with BBQ sauce and air fry for 2 more minutes. Tastes like you spent hours smoking them, but it takes 25 minutes.
Dietary Adaptations
This recipe is naturally gluten-free, dairy-free, and low-carb. For a keto-friendly version, use avocado oil instead of olive oil and skip any sweet glazes. For lower sodium, reduce the salt to 1/2 teaspoon and add extra black pepper or garlic powder.
Different Cuts
You can use this same method for drumsticks (cook 20-22 minutes) or chicken wings (cook 15-18 minutes). Just adjust the time based on size. The same seasoning blend works for all of them.
Serving & Storage Suggestions
These chicken thighs are versatile enough to pair with almost anything. Here’s how I like to serve them:
Serving temperature: Hot, straight from the air fryer. The skin is at its crispiest within the first 10 minutes. If you need to hold them, keep them in a warm oven (200°F) on a wire rack, not on a plate where they’ll steam.
What to serve with them: I love these with a simple green salad tossed in lemon vinaigrette—the acidity cuts through the richness of the chicken. Roasted vegetables like broccoli or asparagus work beautifully. For a heartier meal, serve over rice pilaf or mashed potatoes to soak up the juices. In summer, I pair them with grilled corn and tomato salad.
Storage: Leftover chicken thighs keep in the refrigerator for up to 4 days in an airtight container. The skin will soften as they sit, but the flavor stays great.
Reheating: The air fryer is your best friend here. Reheat at 375°F for 3-4 minutes until the skin crisps back up. The microwave works in a pinch, but the skin will be soft. If you’re meal prepping, store the chicken without any sauce and reheat in the air fryer for best results.
Freezing: Cooked chicken thighs freeze well for up to 3 months. Wrap each thigh individually in plastic wrap, then place in a freezer bag. Thaw overnight in the fridge and reheat in the air fryer at 375°F for 5-6 minutes.
Flavor development: Here’s something I discovered by accident—cold leftover chicken thighs are amazing sliced over a salad the next day. The flavors meld overnight, and the cold meat has a different, almost cured texture. Don’t sleep on leftovers.
Nutritional Information & Benefits
Per serving (1 thigh, based on 4 servings):
- Calories: 285
- Protein: 24g
- Fat: 20g (5g saturated)
- Carbohydrates: 1g
- Fiber: 0g
- Sugar: 0g
- Sodium: 620mg
These values are estimates and will vary based on the size of your chicken thighs and exact ingredients used.
Health benefits: Chicken thighs are a great source of high-quality protein, which supports muscle maintenance and keeps you feeling full. They also provide selenium (important for thyroid function) and B vitamins, especially B6 and B12, which support energy metabolism. The skin contains some saturated fat, but it also provides monounsaturated fats, the same heart-healthy type found in olive oil.
Dietary considerations: This recipe is naturally gluten-free, dairy-free, and low-carb. It’s suitable for paleo and whole30 diets if you use compliant seasonings (check your spice blends for additives). For keto, this fits perfectly at about 1g net carbs per serving.
Potential allergens: This recipe contains no common allergens. If you’re using a pre-mixed seasoning, check the label for hidden ingredients.
I’m not a nutritionist, but I’ve learned that cooking at home with whole ingredients is almost always better than anything processed. These thighs are proof that healthy eating doesn’t have to be boring or complicated.
Conclusion
This quick crispy air fryer chicken thighs recipe has become a staple in my kitchen for one simple reason: it works. Every single time. The skin gets that shatteringly crispy texture that makes you feel like a professional chef, the meat stays juicy, and the whole thing comes together in about 25 minutes with minimal cleanup. It’s the kind of recipe that makes weeknight cooking feel effortless, even when you’re exhausted.
I hope you give this a try and make it your own. Maybe you’ll add more cayenne for heat, or swap in your favorite spice blend, or serve it with a side you love. That’s the beauty of a simple recipe—it’s a starting point, not a rulebook. The butcher lady was right: chicken thighs forgive you for everything. And with an air fryer, they reward you with dinner in no time.
If you make these, I’d love to hear how they turned out. Drop a comment below and let me know your favorite way to season them, or tag me in your photos. And if you’re looking for more quick weeknight dinners, check out my air fryer salmon bites for another 15-minute meal. Happy cooking!
Frequently Asked Questions
Can I use boneless, skinless chicken thighs for this recipe?
Yes, but the cooking time will be shorter—about 12-14 minutes total. You won’t get the crispy skin, but the meat will be tender and flavorful. Pat them dry and season the same way.
Do I need to flip the chicken halfway through?
Yes, flipping ensures even cooking and crispiness on both sides. Start skin-side down for the first 10 minutes, then flip skin-side up for the remaining time.
Why is my chicken skin not getting crispy?
Most likely, the skin wasn’t dried well enough before seasoning. Pat it completely dry with paper towels. Also, make sure your air fryer is preheated and the thighs aren’t overcrowded in the basket.
Can I marinate the chicken beforehand?
You can, but it may affect the crispiness. If you marinate, pat the skin dry again before seasoning and cooking. A dry rub works best for crispy skin.
How do I reheat leftovers without losing the crispiness?
Use the air fryer at 375°F for 3-4 minutes. The microwave will make the skin soft. If you don’t have an air fryer, reheat in a 400°F oven on a wire rack for about 8 minutes.
Pin This Recipe!
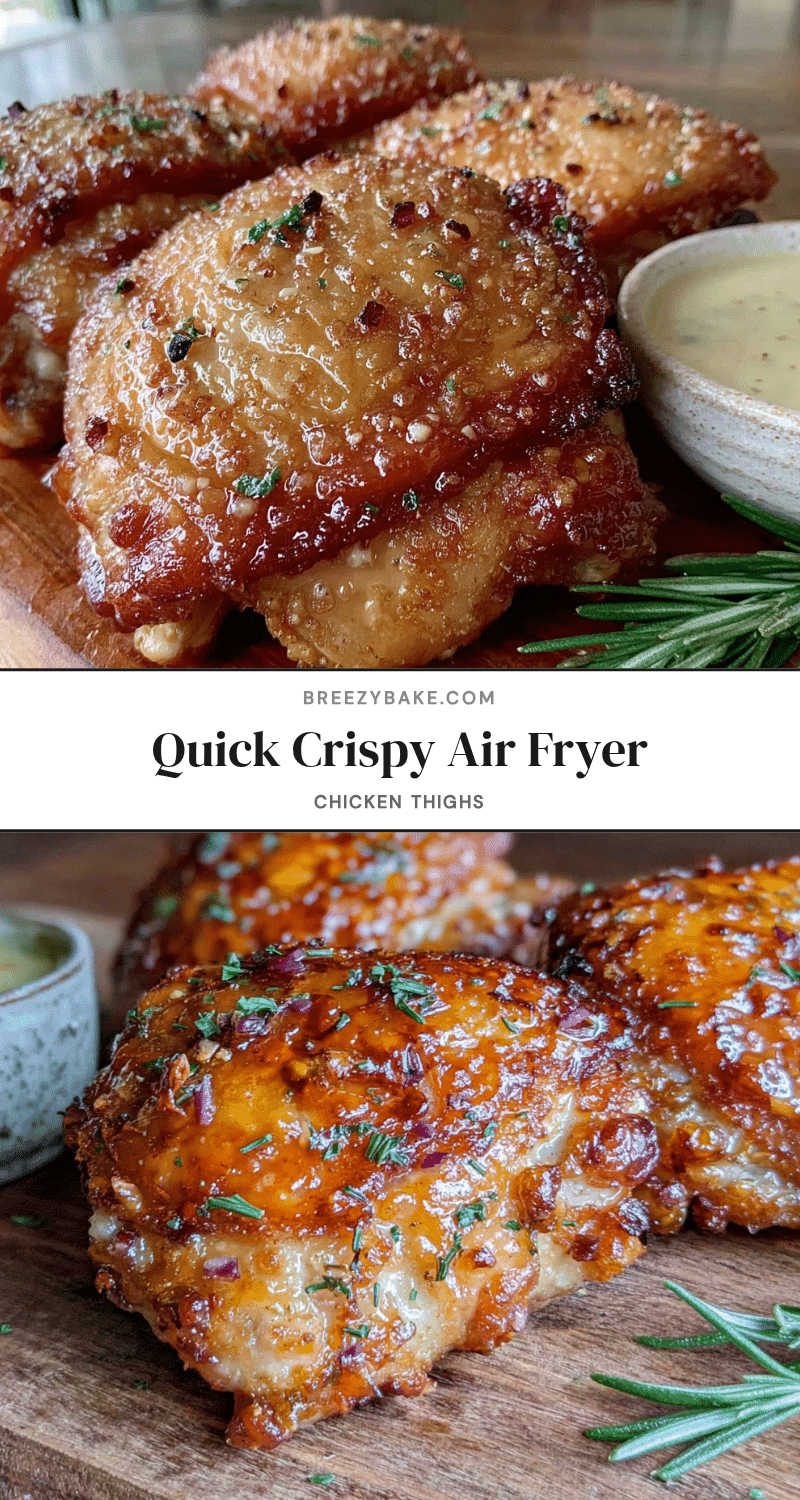
Quick Crispy Air Fryer Chicken Thighs: Easy 20-Minute Recipe

These quick crispy air fryer chicken thighs deliver shatteringly crisp skin and tender, juicy meat in about 20 minutes. Made with simple pantry ingredients, this easy weeknight dinner is naturally gluten-free, dairy-free, and low-carb.
- Prep Time: 5 minutes
- Cook Time: 20 minutes
- Total Time: 25 minutes
- Yield: 4 servings 1x
- Category: Main Course
- Cuisine: American
Ingredients
- 4 bone-in, skin-on chicken thighs (about 1.5 to 2 pounds total)
- 1 tablespoon olive oil
- 1 teaspoon kosher salt (or 3/4 teaspoon table salt)
- 1/2 teaspoon black pepper
- 1 teaspoon smoked paprika
- 1/2 teaspoon garlic powder
- 1/2 teaspoon onion powder
- 1/4 teaspoon cayenne pepper (optional)
Instructions
- Preheat your air fryer to 400°F (200°C). Most air fryers need about 3-5 minutes to preheat. If your air fryer doesn’t have a preheat setting, just run it empty for 3 minutes.
- Pat the chicken thighs completely dry with paper towels. Press firmly on both sides until no moisture remains.
- Trim any excess skin or fat from the thighs using kitchen shears or a sharp knife. Leave the skin that’s attached to the meat.
- In a small bowl, combine the smoked paprika, garlic powder, onion powder, cayenne (if using), salt, and pepper. Stir with a fork to break up any clumps.
- Place the dry thighs in a bowl or on a plate. Drizzle with the olive oil and rub it all over each thigh with your hands. Then sprinkle the seasoning mixture evenly over both sides.
- Arrange the thighs skin-side down in a single layer in the air fryer basket, leaving at least 1/2 inch of space between each thigh. Cook in batches if necessary.
- Cook for 10 minutes at 400°F. Do not open the basket during this time.
- After 10 minutes, use tongs to carefully flip each thigh over. The skin side should be golden brown and starting to crisp.
- Cook for another 8-10 minutes, skin-side up. Total cooking time should be 18-20 minutes. The internal temperature should reach 175-185°F (80-85°C) when measured with an instant-read thermometer inserted into the thickest part without touching the bone.
- Transfer the thighs to a plate and let them rest for 5 minutes before serving.
Notes
Pat the skin completely dry for maximum crispiness. Do not overcrowd the basket—air needs to circulate. Let chicken come to room temperature for 15-20 minutes before cooking. Use a meat thermometer for best results. For boneless, skinless thighs, reduce cooking time to 12-14 minutes (no crispy skin).
Nutrition
- Serving Size: 1 thigh
- Calories: 285
- Sodium: 620
- Fat: 20
- Saturated Fat: 5
- Carbohydrates: 1
- Protein: 24
Keywords: air fryer chicken thighs, crispy chicken thighs, quick chicken recipe, weeknight dinner, gluten-free chicken, low-carb chicken


