My neighbor, an older woman named Clara who grew up on a farm in Vermont, watched me one afternoon as I was wrestling a bag of gluten-free bread crumbs in my kitchen. The window was open, and I was muttering under my breath about how dry and dusty they were. She didn’t say anything at first. Then she just appeared at my screen door with a basket of herbs from her garden—sage, thyme, rosemary—and a worn index card in her hand. “You’re overthinking it,” she said. “Real stuffing doesn’t come from a bag.”
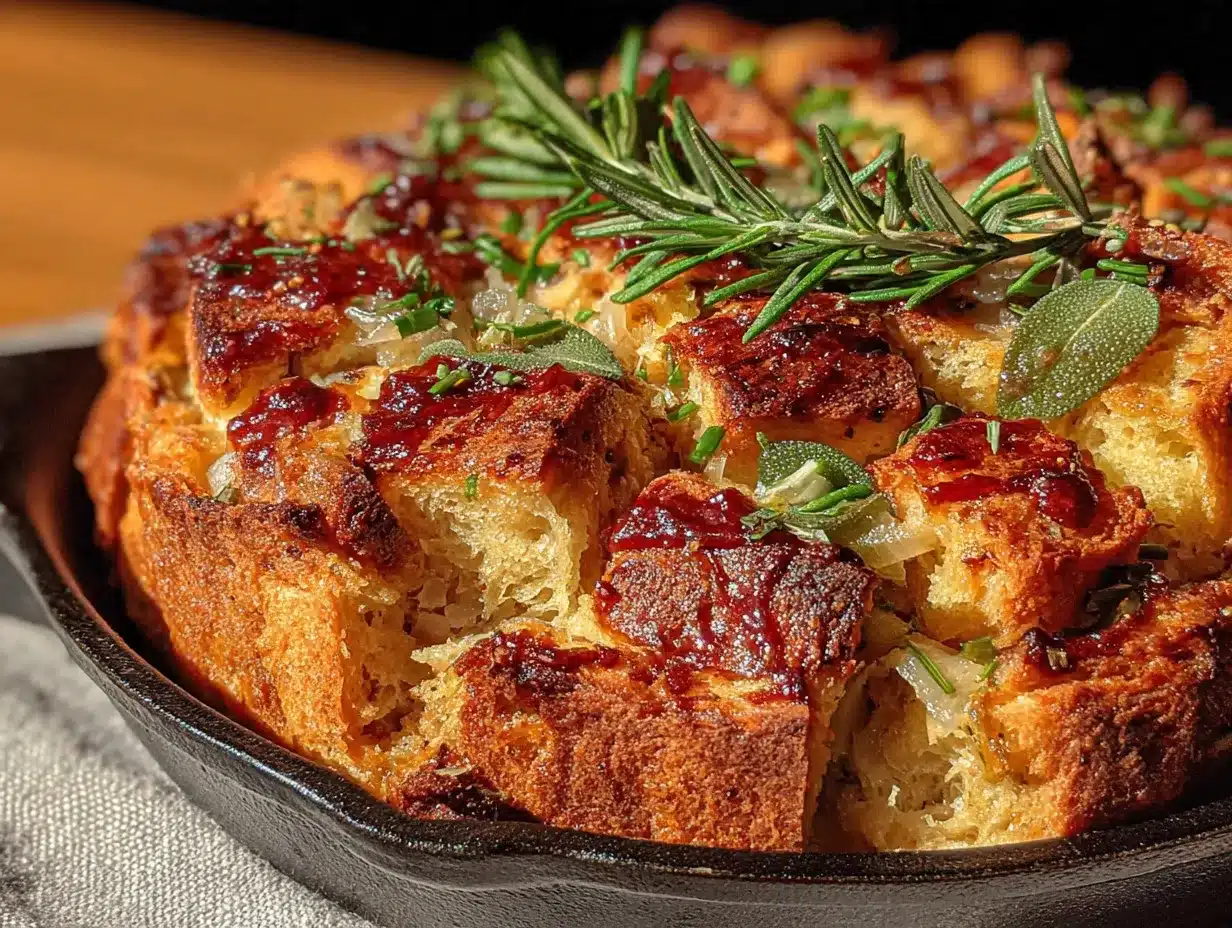
That was three years ago, and I’ve never bought a box of stuffing mix since. Clara’s approach was simple: start with good bread, toast it yourself, and let the herbs do the heavy lifting. I’ve adapted her recipe over time to make it reliably gluten-free—because, honestly, the gluten-free bread landscape has changed a lot since then—and I’ve tweaked the ratios until they’re just right. The result is a Thanksgiving stuffing that’s herb-forward, perfectly moist without being soggy, and sturdy enough to hold its own against a mountain of mashed potatoes and gravy.
This gluten-free herb stuffing has become my signature dish for Friendsgiving and family dinners alike. It’s the one thing people ask me to bring, even the folks who don’t need to eat gluten-free. Maybe you’ve been there—standing in the grocery aisle, staring at boxes of gluten-free stuffing, wondering if any of them will actually taste good. Let me tell you, this recipe is the answer. It’s the kind of side dish that makes everyone at the table happy, and it’s surprisingly easy to pull off once you know a few tricks.
Why You’ll Love This Recipe
I’ve tested this gluten-free herb stuffing at least a dozen times across different ovens, altitudes, and crowd sizes. It’s been approved by my gluten-eating brother-in-law (who asked for seconds), my picky niece (who usually only eats rolls), and my neighbor Clara herself (who admitted it was “pretty good for a city girl’s version”). Here’s what makes it stand out:
- Simple Ingredients : No weird gums, no specialty blends. Just good gluten-free bread, fresh herbs, and pantry staples you already have.
- Make-Ahead Friendly : You can prep this the day before Thanksgiving and just bake it when you’re ready. Total lifesaver for a busy kitchen.
- Crowd-Pleaser : Honestly, nobody will guess it’s gluten-free. The texture is that good—crispy on top, tender in the middle.
- Perfect for Hosting : This stuffing scales beautifully for a big crowd. I’ve made it for 6 and for 20 with equal success.
- Unbelievably Herbaceous : The combination of fresh sage, thyme, and rosemary gives it that classic Thanksgiving aroma that fills your whole house.
What makes this recipe different from other gluten-free stuffings is the bread-toasting technique. Most recipes skip this step or rush it, but drying out the bread properly is the secret to avoiding that gummy, dense texture that plagues so many gluten-free baked goods. I also use a mix of chicken broth and a touch of white wine for depth, which adds a savory richness without overpowering the herbs.
This isn’t just another gluten-free stuffing recipe. It’s the one that makes you close your eyes after the first bite and think, this is what Thanksgiving is supposed to taste like. It’s comfort food reimagined—safe for celiacs, loved by everyone, and easy enough that you’re not stressed out while hosting.
What Ingredients You Will Need
This recipe uses simple, wholesome ingredients to deliver bold flavor and satisfying texture without the fuss. Most of these are pantry staples or easy to find at any grocery store. Here’s what you’ll need:
For the Bread Base
- 1 loaf (about 16 oz / 450 g) gluten-free sandwich bread – I prefer a sturdy white bread or multigrain loaf. Avoid anything too airy or sweet. My go-to is Canyon Bakehouse or Schär for consistent results.
- 4 tablespoons (56 g) unsalted butter – Plus extra for greasing the baking dish. Use dairy-free butter if needed.
- 2 tablespoons (30 ml) olive oil – Adds richness and helps the bread crisp up.
For the Aromatics
- 1 large yellow onion (about 200 g), diced – Sweet onions work too, but yellow gives the best savory flavor.
- 3 celery stalks (about 150 g), diced – Include the leaves if they’re attached; they add extra flavor.
- 4 cloves garlic, minced – Fresh is best here. Pre-minced won’t give the same punch.
For the Herb Mix
- 2 tablespoons fresh sage, finely chopped – About 10-12 large leaves. Dried sage works in a pinch (use 2 teaspoons), but fresh is noticeably better.
- 1 tablespoon fresh thyme leaves – Strip them from the stems. No need to chop further.
- 1 tablespoon fresh rosemary, finely chopped – About 2 sprigs. Go light—rosemary is potent.
- 2 tablespoons fresh parsley, chopped – For a fresh finish at the end.
For the Liquid & Seasoning
- 1 ½ cups (360 ml) low-sodium chicken or vegetable broth – I use chicken broth for richer flavor. Make sure it’s gluten-free—most brands are, but always check the label.
- ¼ cup (60 ml) dry white wine – Optional but recommended. Sauvignon Blanc or Pinot Grigio works well. You can substitute with extra broth.
- 1 large egg, lightly beaten – Helps bind the stuffing together. For vegan, use a flax egg (1 tablespoon flaxseed meal + 3 tablespoons water).
- 1 teaspoon salt – Adjust based on your broth’s saltiness.
- ½ teaspoon black pepper – Freshly ground is best.
- ¼ teaspoon poultry seasoning – A little shortcut that adds depth. Look for a gluten-free blend.
Ingredient tip: If you’re making this for a crowd, double everything. It fits perfectly in a 9×13-inch baking dish. For the bread, day-old or slightly stale gluten-free bread works even better than fresh because it’s already starting to dry out.
Equipment Needed
You don’t need anything fancy for this gluten-free herb stuffing. Here’s what I use:
- Large baking sheet – For toasting the bread cubes. A rimmed sheet works best to prevent cubes from rolling off.
- Large skillet or sauté pan – For cooking the aromatics. A 12-inch pan gives you plenty of room.
- 9×13-inch baking dish – This is the standard size for a full batch. An 8×8-inch works for a half batch.
- Large mixing bowl – For combining everything. Go bigger than you think you need—trust me.
- Sharp knife and cutting board – For dicing the onion, celery, and herbs.
- Wooden spoon or spatula – For stirring the aromatics.
- Measuring cups and spoons – Accuracy matters for the liquid ratio.
If you don’t have a baking sheet, you can toast the bread cubes in a cast-iron skillet. Just work in batches so they brown evenly. And if you’re short on time, you can skip the toasting step and let the bread sit out overnight to dry—I’ve done that when I’m feeling lazy, and it works fine. Budget tip: a basic metal baking sheet costs around $10 and will last for years.
Preparation Method
This gluten-free herb stuffing comes together in about an hour, with most of that time being hands-off. Here’s the step-by-step process:
- Preheat your oven to 300°F (150°C). While it’s heating, cut the gluten-free bread into ½-inch cubes. I leave the crust on—it adds texture and helps the cubes hold their shape. You’ll get about 8-9 cups of cubes from one standard loaf.
- Spread the bread cubes in a single layer on a large baking sheet. Bake for 15 minutes, then stir them around and bake for another 10-15 minutes. They should be dry to the touch and lightly golden, but not browned. Sensory cue: They’ll sound hollow when you tap them. Remove from the oven and let them cool on the sheet. You can do this step up to 2 days ahead—just store the cubes in an airtight container at room temperature.
- Increase the oven temperature to 375°F (190°C). Grease your 9×13-inch baking dish with butter or non-stick spray.
- In a large skillet, melt the butter with the olive oil over medium heat. Add the diced onion and celery. Cook, stirring occasionally, for 8-10 minutes until the vegetables are soft and translucent but not browned. Visual cue: The onion should look glassy and the celery should be tender when pierced with a fork.
- Add the minced garlic, sage, thyme, and rosemary to the skillet. Cook for 1 minute until fragrant. Sensory cue: Your kitchen will smell like Thanksgiving at this point. It’s glorious.
- In a separate bowl or large measuring cup, whisk together the broth, white wine, beaten egg, salt, pepper, and poultry seasoning. Make sure the egg is fully incorporated so it doesn’t scramble later.
- Transfer the toasted bread cubes to a large mixing bowl. Pour the cooked vegetable-herb mixture over the top and toss gently to combine. Then pour the liquid mixture over everything and stir until all the bread cubes are evenly moistened. Warning: Don’t overmix or the bread will break apart. You want some cubes to stay intact for texture.
- Transfer the mixture to your prepared baking dish. Spread it into an even layer. If you like a crispy top, don’t press it down too firmly. For a denser, more traditional stuffing, press it gently with a spatula.
- Cover the dish with foil and bake for 30 minutes. Then remove the foil and bake for another 15-20 minutes until the top is golden brown and crispy. Texture cue: The edges should be slightly crunchy, and the center should feel set when you jiggle the dish.
- Let the stuffing rest for 5-10 minutes before serving. This allows the liquid to settle and makes it easier to scoop. Sprinkle the fresh parsley on top just before bringing it to the table.
Time-saving tip: You can assemble the entire stuffing (steps 1-7) the night before. Just cover the dish and refrigerate. Add about 10 minutes to the covered baking time since you’re starting from cold.
Cooking Tips & Techniques
After making this gluten-free herb stuffing more times than I can count, I’ve learned a few things the hard way. Here are my best tips:
Don’t skip toasting the bread. I know it’s tempting to skip this step, especially when you’re short on time. But gluten-free bread is naturally more moist and dense than regular bread, and if you don’t dry it out first, your stuffing will turn into a sad, gummy mess. I learned this lesson when I was rushing before a Friendsgiving dinner—the stuffing came out more like bread pudding, and not in a good way.
Watch your liquid ratio. Gluten-free bread absorbs liquid differently than wheat bread. Start with the recommended amount, and if the mixture looks dry after adding the broth, add an extra ¼ cup. If it looks soupy, add a handful more bread cubes. The texture should be moist but not swimming. My rule of thumb: When you press a handful of the mixture, it should hold together but still feel light.
Use fresh herbs if you can. Dried herbs work in a pinch, but fresh herbs make a noticeable difference in this recipe. The sage especially—dried sage can taste dusty and one-dimensional, while fresh sage has this bright, almost citrusy note that cuts through the richness of the butter and broth.
Multitask strategically. While the bread is toasting, chop your vegetables and herbs. While the vegetables are cooking, whisk together your liquid mixture. This recipe moves fast once you start, so having everything prepped and measured makes a huge difference. I call this “mise en place for hosting”—it keeps me from burning the garlic while I’m hunting for the measuring spoons.
Don’t overcrowd the baking dish. If you’re doubling the recipe, use two 9×13-inch dishes instead of one giant one. The stuffing needs room to crisp up on top, and if it’s piled too deep, the middle stays mushy while the edges burn. Trust me on this one—I’ve made that mistake at a crowded Thanksgiving, and the center was sadly soggy.
Variations & Adaptations
This gluten-free herb stuffing is flexible enough to adapt to different diets and taste preferences. Here are some variations I’ve tried and loved:
Vegan Version
Replace the butter with vegan butter or olive oil, use vegetable broth instead of chicken broth, and substitute the egg with a flax egg (1 tablespoon flaxseed meal + 3 tablespoons water, let sit for 5 minutes). The texture is slightly less rich, but the herbs still shine beautifully. I made this for a vegan friend last year, and she asked for the recipe before she even finished her plate.
Sausage & Apple Stuffing
Brown ½ pound (225 g) of gluten-free breakfast sausage or Italian sausage in the skillet before cooking the aromatics. Remove the sausage, then proceed with the recipe as written. Add 1 diced apple (Granny Smith or Honeycrisp) along with the onion and celery. The sweetness of the apple balances the savory sausage beautifully. This version is always the first to disappear at our table.
Mushroom & Leek Variation
Sauté 8 oz (225 g) of sliced cremini mushrooms and 2 diced leeks (white and light green parts only) instead of the onion and celery. The mushrooms add an earthy, umami depth that pairs wonderfully with the herbs. This is my go-to for a more elegant Thanksgiving or when I’m serving vegetarians.
Cornbread Stuffing
Swap half of the gluten-free bread cubes for crumbled gluten-free cornbread. The sweetness of the cornbread adds a lovely contrast to the savory herbs. I make a batch of my go-to gluten-free cornbread a day ahead and let it dry out overnight before cubing it.
Slow Cooker Method
If your oven is full of other dishes (hello, Thanksgiving), you can make this stuffing in a slow cooker. Prepare the recipe through step 7, then transfer to a greased slow cooker. Cook on low for 3-4 hours or on high for 1.5-2 hours. Remove the lid for the last 30 minutes to let the top crisp up. The texture is softer than oven-baked, but it’s still delicious and frees up valuable oven space.
Serving & Storage Suggestions
This gluten-free herb stuffing is best served warm, straight from the oven. The contrast between the crispy top and the tender interior is what makes it so satisfying. Here’s how to serve and store it:
Serving temperature: Let the stuffing rest for 5-10 minutes after baking. This helps it set so it doesn’t fall apart when you scoop it. I like to transfer it to a warm serving dish and garnish with a few extra sprigs of fresh thyme and parsley for a pop of color.
What to serve alongside: This stuffing is a natural partner for roast turkey, but it’s also fantastic with roast chicken, pork chops, or even a hearty mushroom wellington. For a full Thanksgiving spread, pair it with mashed potatoes, cranberry sauce, green bean casserole, and plenty of gravy. If you’re hosting a smaller gathering, it’s also delicious with a simple roasted chicken and a side of roasted Brussels sprouts—check out our roasted Brussels sprouts with balsamic glaze for a perfect match.
Storage instructions: Leftover stuffing keeps well in the refrigerator for up to 4 days. Store it in an airtight container. The flavors actually meld and deepen overnight, so leftovers might taste even better the next day. I’ve been known to eat cold stuffing straight from the fridge the morning after Thanksgiving—don’t judge me.
Freezer instructions: You can freeze baked stuffing for up to 3 months. Let it cool completely, then wrap tightly in plastic wrap and foil, or transfer to a freezer-safe container. To reheat, thaw overnight in the refrigerator, then reheat in a 350°F (175°C) oven covered with foil for 20-25 minutes. Uncover for the last 5 minutes to re-crisp the top.
Reheating tips: The microwave works in a pinch, but the oven gives you much better texture. If you’re reheating a small portion, a toaster oven is perfect. Add a splash of broth if the stuffing seems dry before reheating.
Flavor development: One thing I love about this stuffing is that the herb flavors continue to develop over time. Day-old stuffing has a more mellow, integrated herb flavor compared to the bright, punchy taste of freshly baked. Both are delicious, just different.
Nutritional Information & Benefits
Here’s an approximate nutritional breakdown for one serving (about 1 cup, based on 8 servings per batch):
- Calories: 245
- Total Fat: 12g
- Saturated Fat: 5g
- Carbohydrates: 28g
- Fiber: 3g
- Sugar: 4g
- Protein: 6g
- Sodium: 480mg
Health benefits: This gluten-free herb stuffing is surprisingly nutritious for a holiday side dish. The fresh herbs—sage, thyme, and rosemary—are packed with antioxidants and have anti-inflammatory properties. Celery provides fiber and vitamin K, while onions and garlic support immune health. Using gluten-free bread made from whole grains adds extra fiber compared to traditional white bread stuffing.
Dietary considerations: This recipe is naturally gluten-free (as long as you use certified gluten-free bread and broth). It can be made dairy-free and vegan with the substitutions mentioned above. It’s also nut-free and egg-free (with the flax egg substitution). Always check labels on broth and poultry seasoning to ensure they’re certified gluten-free if you’re cooking for someone with celiac disease.
Allergen note: Contains gluten-free grains (depending on the bread used), dairy (butter), and eggs. Adjust as needed for your dietary needs.
Conclusion
This gluten-free herb stuffing has earned its spot at my Thanksgiving table year after year. It’s the recipe I turn to when I want something that feels traditional but works for everyone—the gluten-free guests, the picky eaters, the herb lovers, and the folks who just want a really good side dish. Clara’s original index card is still tucked in my recipe box, stained with butter and sage, and I think of her every time I make it.
I hope you’ll give this stuffing a try, whether you’re hosting a big Thanksgiving dinner or just making a cozy Sunday roast. Don’t be afraid to customize it—swap in your favorite herbs, add sausage if that’s your thing, or make it vegan for your plant-based friends. The beauty of this recipe is that it’s forgiving and adaptable, just like the best holiday traditions.
If you make this gluten-free herb stuffing, I’d love to hear how it turns out! Leave a comment below with your favorite variation, or tag me in your photos on social media. And if you’re looking for more Thanksgiving inspiration, don’t miss our gluten-free pumpkin pie recipe and cranberry sauce with orange zest to complete your holiday menu. Happy cooking, and happy Thanksgiving!
Frequently Asked Questions
Can I make this gluten-free herb stuffing ahead of time?
Absolutely! You can assemble the stuffing completely (through step 7) up to 24 hours in advance. Cover and refrigerate, then bake as directed, adding about 10 minutes to the covered baking time since you’re starting from cold.
What’s the best gluten-free bread to use for stuffing?
I recommend a sturdy gluten-free sandwich bread like Canyon Bakehouse or Schär. Avoid bread that’s very airy, sweet, or has a strong flavor. A plain white or multigrain loaf works best. Day-old bread is ideal because it’s already starting to dry out.
Can I use dried herbs instead of fresh?
Yes, but the flavor won’t be as bright. Use about one-third of the amount called for fresh herbs (so 2 teaspoons dried sage, 1 teaspoon dried thyme, 1 teaspoon dried rosemary). If using dried, add them along with the garlic so they can rehydrate and release their flavor.
Why did my gluten-free stuffing turn out gummy?
This usually happens when the bread isn’t dried out enough before baking. Gluten-free bread has more moisture than regular bread, so toasting is essential. Also, make sure you’re not adding too much liquid—start with the recommended amount and add more only if needed.
Can I cook this stuffing inside a turkey?
I don’t recommend it for food safety reasons. Gluten-free stuffing takes longer to reach a safe internal temperature, which can lead to overcooked turkey. Plus, the texture is better when baked separately in a dish where it can get crispy on top. For that classic stuffed flavor, just add a little turkey drippings to the broth mixture.
Pin This Recipe!
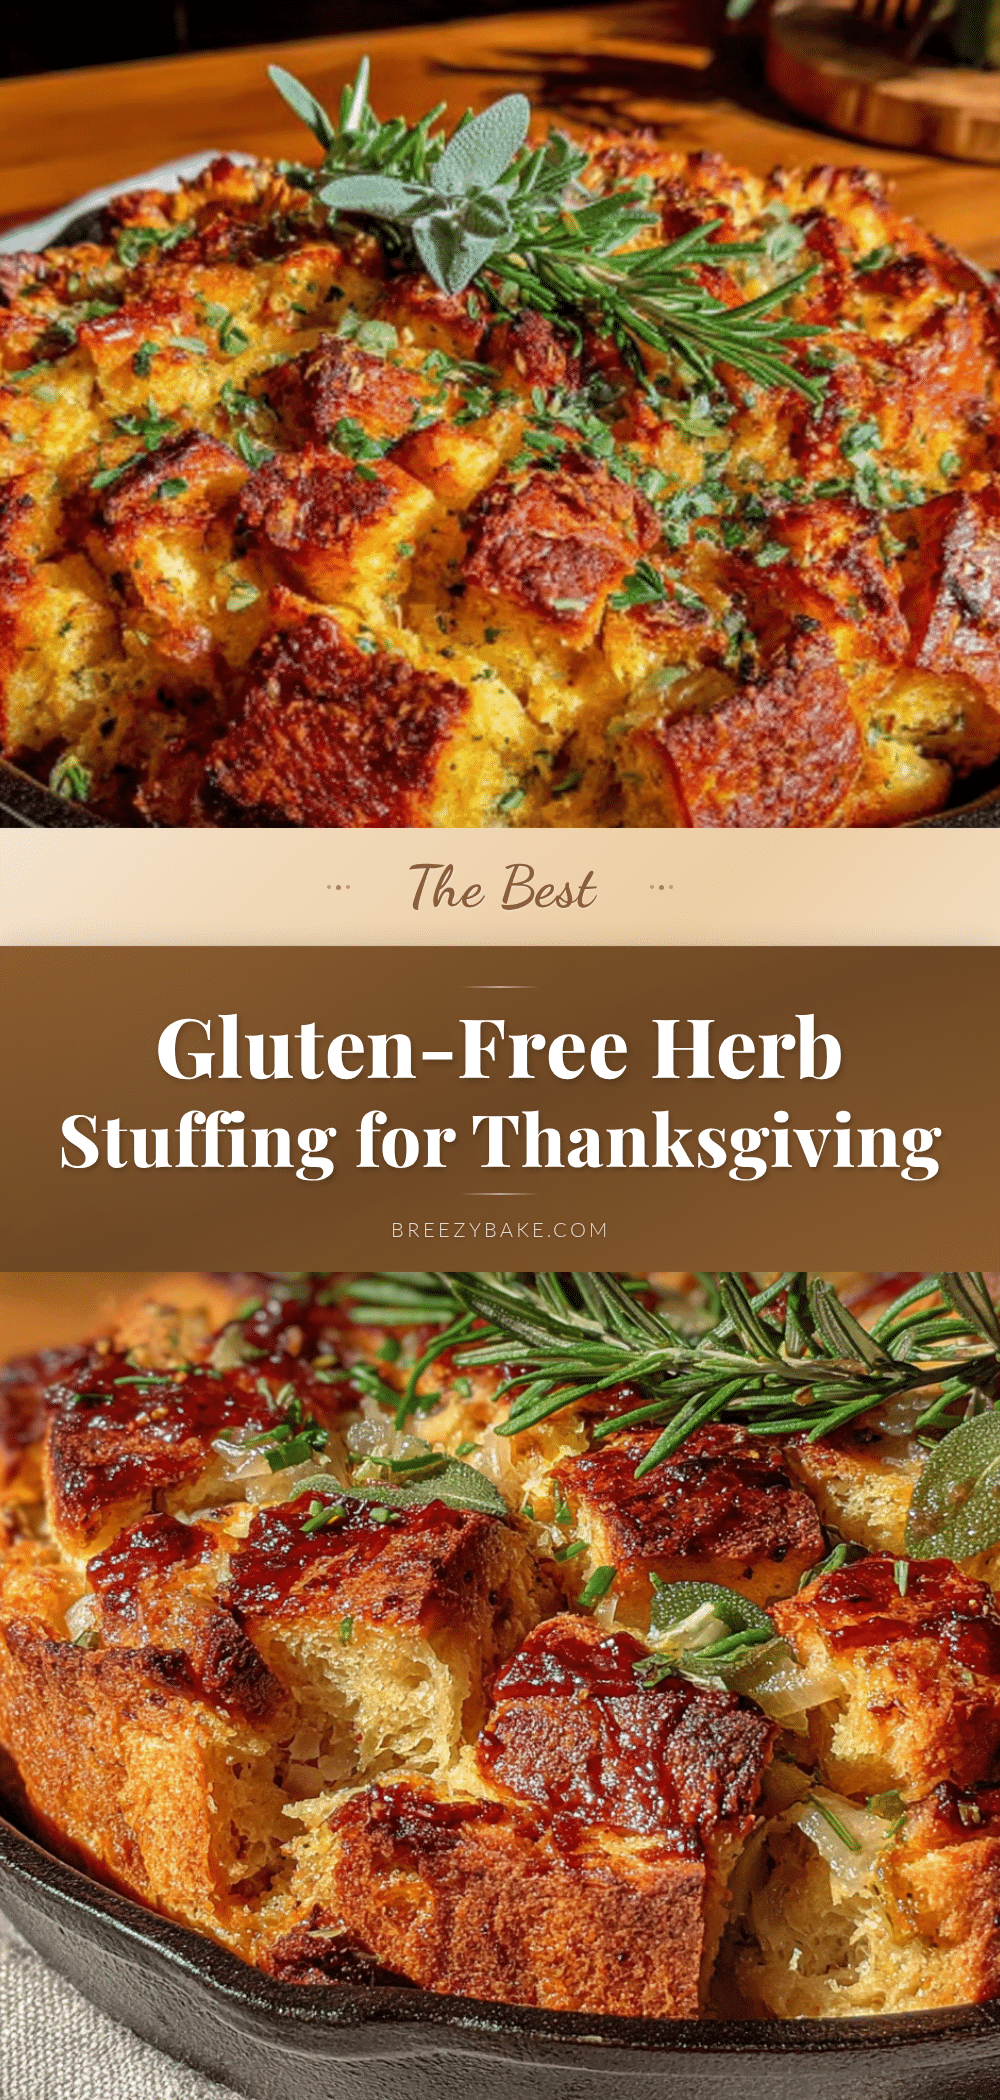
The Best Gluten-Free Herb Stuffing for Thanksgiving

This gluten-free herb stuffing is herb-forward, perfectly moist without being soggy, and sturdy enough to hold its own against a mountain of mashed potatoes and gravy. It’s the kind of side dish that makes everyone at the table happy, and it’s surprisingly easy to pull off once you know a few tricks.
- Prep Time: 20 minutes
- Cook Time: 1 hour 5 minutes
- Total Time: 1 hour 25 minutes
- Yield: 8 servings 1x
- Category: Side Dish
- Cuisine: American
Ingredients
- 1 loaf (about 16 oz / 450 g) gluten-free sandwich bread
- 4 tablespoons (56 g) unsalted butter, plus extra for greasing
- 2 tablespoons (30 ml) olive oil
- 1 large yellow onion (about 200 g), diced
- 3 celery stalks (about 150 g), diced
- 4 cloves garlic, minced
- 2 tablespoons fresh sage, finely chopped
- 1 tablespoon fresh thyme leaves
- 1 tablespoon fresh rosemary, finely chopped
- 2 tablespoons fresh parsley, chopped
- 1 ½ cups (360 ml) low-sodium chicken or vegetable broth
- ¼ cup (60 ml) dry white wine (optional)
- 1 large egg, lightly beaten
- 1 teaspoon salt
- ½ teaspoon black pepper
- ¼ teaspoon poultry seasoning
Instructions
- Preheat your oven to 300°F (150°C). Cut the gluten-free bread into ½-inch cubes (leave the crust on). You’ll get about 8-9 cups of cubes from one standard loaf.
- Spread the bread cubes in a single layer on a large baking sheet. Bake for 15 minutes, then stir and bake for another 10-15 minutes until dry and lightly golden. Remove from oven and let cool. (Can be done up to 2 days ahead; store in an airtight container at room temperature.)
- Increase the oven temperature to 375°F (190°C). Grease a 9×13-inch baking dish with butter or non-stick spray.
- In a large skillet, melt the butter with the olive oil over medium heat. Add the diced onion and celery. Cook, stirring occasionally, for 8-10 minutes until soft and translucent.
- Add the minced garlic, sage, thyme, and rosemary to the skillet. Cook for 1 minute until fragrant.
- In a separate bowl or large measuring cup, whisk together the broth, white wine, beaten egg, salt, pepper, and poultry seasoning until fully incorporated.
- Transfer the toasted bread cubes to a large mixing bowl. Pour the cooked vegetable-herb mixture over the top and toss gently. Then pour the liquid mixture over everything and stir until all bread cubes are evenly moistened. Do not overmix.
- Transfer the mixture to the prepared baking dish and spread into an even layer. For a crispy top, do not press down; for denser stuffing, press gently with a spatula.
- Cover the dish with foil and bake for 30 minutes. Remove foil and bake for another 15-20 minutes until the top is golden brown and crispy.
- Let the stuffing rest for 5-10 minutes before serving. Sprinkle fresh parsley on top just before serving.
Notes
Don’t skip toasting the bread—it prevents a gummy texture. Start with the recommended liquid amount; add extra broth if mixture seems dry, or extra bread cubes if too wet. Fresh herbs are preferred for best flavor. The stuffing can be assembled the night before and refrigerated; add about 10 minutes to covered baking time. For a vegan version, use vegan butter, vegetable broth, and a flax egg (1 tablespoon flaxseed meal + 3 tablespoons water).
Nutrition
- Serving Size: 1 cup
- Calories: 245
- Sugar: 4
- Sodium: 480
- Fat: 12
- Saturated Fat: 5
- Carbohydrates: 28
- Fiber: 3
- Protein: 6
Keywords: gluten-free stuffing, herb stuffing, Thanksgiving stuffing, gluten-free Thanksgiving, gluten-free side dish, herb stuffing recipe