This was supposed to be a classic layered taco dip. I had it all planned out—the refried beans, the seasoned sour cream, the mountain of shredded cheese. It was going to be the centerpiece of our small Halloween gathering, something predictable and reliable. But then, the power flickered. It was a chilly October evening, and the storm outside had knocked out the lights just as I was browning the ground beef. I was standing there in the dark, holding a can of black beans I’d grabbed by mistake, and honestly, I almost just ordered pizza.
I lit a few candles, muttered some not-so-nice words about the weather, and decided to just… pivot. I didn’t have the energy to start over. I had the black beans, some cream cheese, and a bag of tortilla chips. My neighbor, Carol, had just dropped off a tray of those creepy-crawly plastic spiders for the kids, and they were sitting on the counter. I looked at the beans, then at the spiders, and a weird idea started to form. What if the dip itself looked like a mummy? I mean, it was Halloween. Why not lean into the chaos?
The result was nothing like the plan. It was better. The black beans gave it a heartier, cozier feel than the usual ground beef, and the creamy layers wrapped in “bandages” of cheese made everyone laugh. It became the thing people asked for the next year, and the year after that. Maybe you’ve been there—standing in a dim kitchen, holding the wrong ingredient, wondering if you should just give up. Let me tell you, sometimes the best recipes come from those moments of pure, panicked improvisation. This cozy black bean mummy taco dip is proof.
Why You’ll Love This Recipe
I have tested this dip at three different parties now, and it has never failed to disappear. It’s one of those rare recipes that checks every single box for a busy home cook. Let me break down why this one is a keeper.
- Quick & Easy: You can have this on the table in about 20 minutes. It’s perfect for those last-minute Halloween plans or a cozy night in when you want something fun without the fuss.
- Simple Ingredients: No fancy grocery trips needed. You likely already have black beans, cream cheese, and taco seasoning in your pantry. It’s the ultimate “use what you have” recipe.
- Perfect for Halloween: This isn’t just a dip—it’s a centerpiece. The mummy design is so simple to create, but it looks like you spent hours on it. It’s great for parties, potlucks, or even a spooky family dinner.
- Crowd-Pleaser: I’ve seen kids and adults alike go back for thirds. The creamy, savory layers are just so satisfying.
- Unbelievably Delicious: The black beans add a deep, earthy flavor that ground beef just can’t match. It’s comfort food that feels a little bit healthier, too.
What makes this different from other taco dips is the texture. Instead of a chunky, messy pile, you get a smooth, creamy base that holds its shape perfectly. The “bandages” of sour cream and cheese create a fun, clean look that’s easy to slice into. It’s the kind of dip that makes you close your eyes after the first bite—seriously, the flavor combo is next-level cozy.
What Ingredients You Will Need
This recipe uses simple, wholesome ingredients to deliver bold flavor and satisfying texture without the fuss. Most of these are pantry staples, which makes it perfect for a spontaneous Halloween treat.
- For the Base Layer:
- 2 cans (15 oz each) black beans, drained and rinsed (I prefer the Goya brand for their firm texture)
- 8 oz cream cheese, softened to room temperature (adds richness and helps the dip hold its shape)
- 1/2 cup sour cream
- 1 packet (1 oz) taco seasoning (or 2 tablespoons homemade blend)
- 1/2 cup shredded cheddar cheese (for binding the base)
- For the Mummy “Bandages”:
- 1 cup sour cream (for the white stripes)
- 1 cup shredded mozzarella cheese (for a gooey, stretchy texture)
- 1/2 cup shredded cheddar cheese (for color contrast)
- For the Eyes:
- 2 black olives, sliced into rounds (for the pupils)
- 2 small dollops of sour cream (for the eye whites)
- For Serving:
- Tortilla chips (I like Tostitos scoops for the best dipping experience)
- Optional: sliced jalapeños, chopped cilantro, or diced tomatoes for garnish
Ingredient Selection Tips: Look for firm black beans that aren’t too mushy. If you can only find pre-seasoned beans, reduce the taco seasoning slightly to avoid an overly salty dip. For a dairy-free option, use vegan cream cheese and sour cream—it works surprisingly well!
Equipment Needed
You don’t need any fancy gadgets for this recipe, which is part of its charm. Here’s what you’ll need:
- 9-inch round baking dish or pie plate: This gives the mummy a nice, round shape. A square dish works too, but you’ll have to adjust the “bandage” pattern.
- Food processor or potato masher: For mashing the black beans into a smooth paste. I’ve used both, and honestly, a potato masher gives you more control over the texture.
- Mixing bowls: One large bowl for the bean mixture and one small bowl for the sour cream bandages.
- Spatula or offset spatula: For spreading the layers evenly. A rubber spatula works fine in a pinch.
- Piping bag or zip-top bag: For creating the sour cream stripes. A zip-top bag with a small corner snipped off is my go-to—it’s cheap and easy to clean.
- Oven or toaster oven: For baking the dip until bubbly. A toaster oven works great if you’re making a smaller batch.
Budget-Friendly Tip: Don’t have a food processor? No problem. Just dump the beans into a bowl and mash them with a fork. It takes a few extra minutes, but the texture is actually nicer—less pasty, more rustic.
Preparation Method
Alright, let’s get into the nitty-gritty. This dip comes together quickly, so I recommend having all your ingredients prepped before you start. Trust me, it makes the process so much smoother.
- Preheat and Prep (5 minutes): Preheat your oven to 375°F (190°C). Lightly grease your 9-inch baking dish with a little cooking spray or butter. This prevents sticking and makes cleanup easier.
- Mash the Beans (5 minutes): Drain and rinse the black beans thoroughly. Add them to a large mixing bowl. Using a potato masher or fork, mash them until they form a thick, chunky paste. You want some texture here—don’t puree them into baby food. A few whole beans are fine and add a nice bite.
- Mix the Base (3 minutes): Add the softened cream cheese, 1/2 cup sour cream, taco seasoning, and 1/2 cup shredded cheddar cheese to the mashed beans. Stir everything together until it’s well combined. The mixture should be thick and spreadable. Taste it here and adjust the seasoning if needed—I always add a pinch of salt and a dash of cumin.
- Assemble the Base (2 minutes): Spread the bean mixture evenly into the prepared baking dish. Use a spatula to smooth the top. It should be about 1 inch thick. Don’t worry if it’s not perfect—the mummy look is forgiving.
- Create the Mummy “Bandages” (5 minutes): In a small bowl, mix the 1 cup of sour cream with a pinch of salt. Transfer this to a piping bag or a zip-top bag with a tiny corner snipped off. Pipe horizontal stripes across the top of the dip, leaving small gaps for the “eyes.” The stripes don’t have to be straight—mummies are messy, after all! Sprinkle the shredded mozzarella and remaining cheddar cheese over the top, focusing on the gaps between the sour cream stripes.
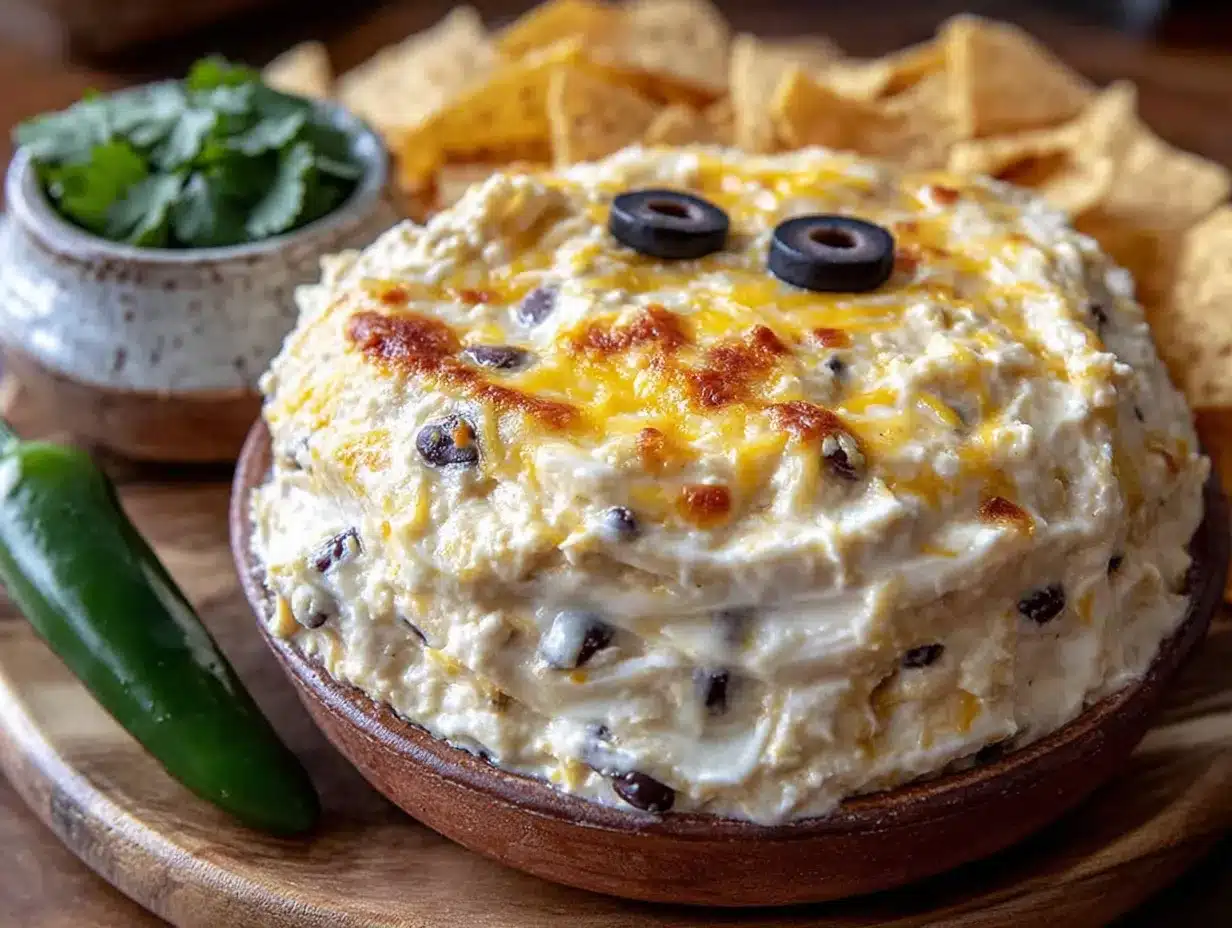
- Add the Eyes (2 minutes): Place two small dollops of sour cream where you want the eyes to be. Set a black olive slice on each dollop to create the pupils. The contrast of the white and black is what makes the mummy face pop.
- Bake (10-12 minutes): Place the dish in the preheated oven. Bake for 10-12 minutes, or until the cheese is melted and bubbly and the edges are just starting to brown. The dip should be hot all the way through. If you want a browner top, switch the oven to broil for the last 1-2 minutes—but watch it closely so it doesn’t burn.
- Rest and Serve (2 minutes): Let the dip cool for 2-3 minutes before serving. This allows the layers to set slightly, making it easier to scoop. Serve immediately with tortilla chips, and watch it disappear.
Sensory Cue: When it’s done, the cheese should be golden and bubbling, and the sour cream stripes will look like white bandages wrapped around a warm, gooey center. The smell is incredible—earthy beans, melted cheese, and warm spices.
Cooking Tips & Techniques
I’ve made this dip about a dozen times now, and I’ve learned a few things the hard way. Here are my top tips for getting it just right.
- Don’t Overmix the Base: When you’re combining the beans and cream cheese, stop as soon as it’s mixed. Overmixing can make the base too dense and pasty. A few lumps are fine—they add character.
- Room Temperature Cream Cheese is Key: Cold cream cheese is a nightmare to mix. It creates lumps that won’t smooth out. Leave it on the counter for 30 minutes before you start, or microwave it for 10-15 seconds if you’re in a rush.
- Pipe the Sour Cream Carefully: If you snip too big a hole in your bag, the stripes will be too thick and look more like blobs than bandages. Start small—you can always make the hole bigger if needed. I learned this the hard way on my first attempt, and my mummy looked like it had been in a food fight.
- Watch the Bake Time: Every oven is different. Start checking at 10 minutes. You want the cheese melted and the edges bubbly, but you don’t want the sour cream to dry out and crack. If it starts to look dry, pull it out immediately.
- Make Ahead Tip: You can assemble the entire dip (without baking) up to 24 hours in advance. Just cover it with plastic wrap and store it in the fridge. When you’re ready, bake it straight from the fridge, adding 5-7 minutes to the bake time.
Variations & Adaptations
One of the best things about this recipe is how flexible it is. Here are a few ways to make it your own.
- Vegetarian & Vegan: This recipe is already vegetarian. For a vegan version, use plant-based cream cheese, sour cream, and shredded cheese. I’ve tried it with Violife brand, and it melts beautifully.
- Spicy Mummy: Add 1/2 cup of diced pickled jalapeños or a chopped chipotle pepper in adobo sauce to the bean mixture. It gives the dip a smoky, spicy kick that pairs perfectly with the creamy top.
- Loaded Mummy: After baking, top the dip with 1/2 cup of diced tomatoes, 1/4 cup of sliced black olives, and a handful of fresh cilantro. It adds a fresh, bright contrast to the rich, warm dip.
- Different Bean Base: Swap the black beans for refried pinto beans or a blend of black beans and corn. The texture will be slightly different, but the flavor is still fantastic.
- Mini Mummy Cups: Instead of a large dish, spoon the mixture into a muffin tin lined with silicone cups. Bake for 8-10 minutes. These are perfect for parties—each person gets their own little mummy!
I once tried a version with sweet potato mixed into the beans. It was a total experiment, and honestly, it was amazing. The sweetness of the potato balanced the smoky taco seasoning perfectly. Don’t be afraid to play around!
Serving & Storage Suggestions
This dip is best served warm, straight from the oven. The cheese is stretchy, the base is creamy, and the chips are perfectly crunchy. Here’s how to make the most of it.
- Serving Temperature: Serve it hot. If it cools down, the cheese will firm up and the dip won’t be as scoopable. I like to place the dish on a small trivet or a folded kitchen towel to keep it warm on the table.
- Presentation: Arrange the tortilla chips around the dip in a circular pattern, like rays of the sun. It makes the mummy look like it’s sitting in a nest of chips. Add a few plastic spiders or fake cobwebs around the platter for a spooky vibe.
- Complementary Dishes: This dip pairs perfectly with a simple side salad or a bowl of chili. For a Halloween party, serve it alongside a batch of spooky guacamole monster dip or some crispy baked chicken wings for a full spread.
- Storage: Leftover dip can be stored in an airtight container in the refrigerator for up to 3 days. The texture will change slightly—the sour cream stripes might get a bit watery—but the flavor is still great.
- Reheating: Reheat in the oven at 350°F (175°C) for 10 minutes, or in the microwave in 30-second bursts. The microwave is faster, but the oven keeps the texture closer to the original.
Flavor Development: Honestly, this dip tastes even better the next day. The flavors meld together overnight, making it richer and more complex. If you can resist eating it all, save some for lunch tomorrow!
Nutritional Information & Benefits
This dip is indulgent, but it also has some surprising health benefits thanks to the black beans. Here’s a rough breakdown per serving (based on 8 servings).
Estimated Nutritional Values (per serving):
- Calories: 285
- Fat: 18g
- Carbohydrates: 20g
- Fiber: 6g
- Protein: 12g
- Sodium: 520mg
Health Benefits: Black beans are packed with fiber and plant-based protein, which help keep you full and satisfied. They’re also rich in antioxidants and minerals like iron and magnesium. The cream cheese and sour cream add calcium, which is great for bone health. While this isn’t a “health food,” it’s a more balanced option than many other party dips.
Dietary Considerations: This recipe is naturally gluten-free and can easily be made vegetarian or vegan as noted above. It contains dairy, so it’s not suitable for those with lactose intolerance unless you use dairy-free alternatives.
Personal Wellness Perspective: I love that this dip feels like a treat but doesn’t leave me feeling heavy or sluggish. The beans add a real substance that makes it feel like a meal, not just a snack. It’s perfect for a Halloween night when you want something fun but still satisfying.
Conclusion
This cozy black bean mummy taco dip is proof that the best recipes often come from happy accidents. It started as a mistake in a dark kitchen, but now it’s a tradition in my home. The creamy, savory layers, the fun mummy design, and the hearty black bean base make it a standout dish for any Halloween gathering. I love how it brings people together—everyone always laughs when they see the mummy face, and then they go quiet as they dig in.
I encourage you to make this your own. Add more spice, swap the beans, or turn it into mini cups. The beauty of this recipe is that it’s forgiving and flexible. If you try it, let me know how it goes! Leave a comment below with your favorite variation, or share a photo of your mummy dip on social media. I’d love to see your spooky creations. Until next time, happy cooking—and happy Halloween!
Frequently Asked Questions
Can I make this dip ahead of time?
Yes! You can assemble the entire dip (without baking) up to 24 hours in advance. Just cover it tightly with plastic wrap and store it in the fridge. When you’re ready, bake it straight from the fridge, adding 5-7 minutes to the bake time.
Can I use ground beef instead of black beans?
Absolutely. Brown 1 pound of ground beef with taco seasoning, then mix it with the cream cheese and sour cream. The texture will be different, but it will still taste amazing. For a fun twist, try using spicy turkey taco meatballs as a topping instead.
How do I make the sour cream stripes look like real bandages?
The key is to pipe them in uneven, slightly overlapping lines. Don’t try to make them perfectly straight—mummies are supposed to look a little messy! Use a piping bag with a small tip for better control.
Can I freeze this dip?
I don’t recommend freezing this dip, as the cream cheese and sour cream can become grainy when thawed. It’s best enjoyed fresh or within a few days of making it.
What if I don’t have a piping bag?
No problem! Use a sturdy zip-top bag and snip a tiny corner off. If you don’t have that either, you can just spoon the sour cream into thin lines and spread them gently with a knife. It won’t be as precise, but it will still look great.
Pin This Recipe!
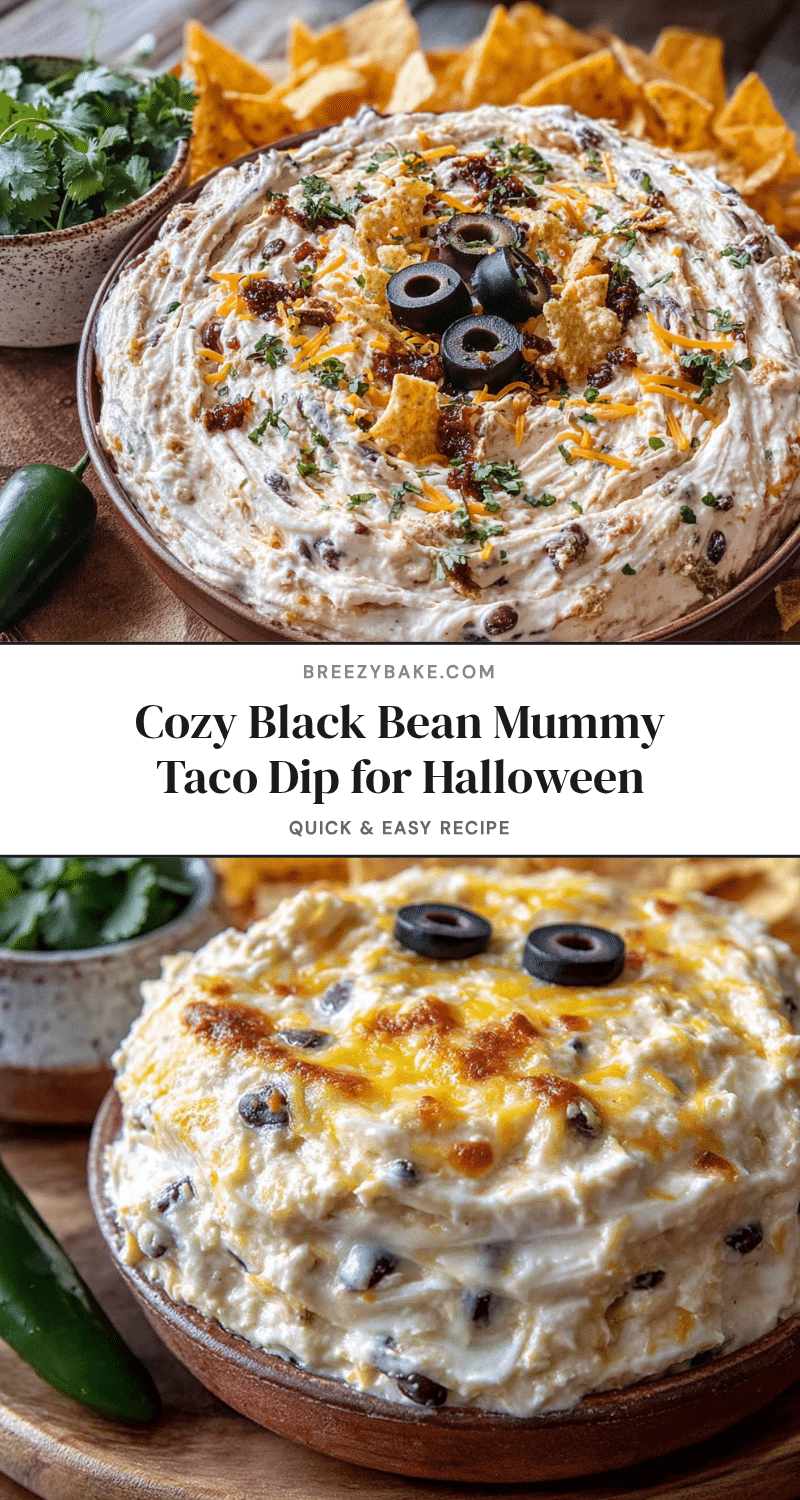
Best Easy Black Bean Mummy Taco Dip for Halloween

A fun and festive Halloween dip made with black beans, cream cheese, and taco seasoning, shaped like a mummy with sour cream bandages and olive eyes. Perfect for parties and quick to prepare.
- Prep Time: 15 minutes
- Cook Time: 12 minutes
- Total Time: 27 minutes
- Yield: 8 servings 1x
- Category: Appetizer
- Cuisine: Mexican-American
Ingredients
- 2 cans (15 oz each) black beans, drained and rinsed
- 8 oz cream cheese, softened
- 1/2 cup sour cream
- 1 packet (1 oz) taco seasoning
- 1/2 cup shredded cheddar cheese
- 1 cup sour cream (for bandages)
- 1 cup shredded mozzarella cheese
- 1/2 cup shredded cheddar cheese (for topping)
- 2 black olives, sliced into rounds
- 2 small dollops sour cream (for eyes)
- Tortilla chips for serving
Instructions
- Preheat oven to 375°F (190°C). Lightly grease a 9-inch round baking dish.
- Drain and rinse black beans. Mash them in a large bowl with a potato masher or fork until chunky.
- Add softened cream cheese, 1/2 cup sour cream, taco seasoning, and 1/2 cup shredded cheddar cheese to the mashed beans. Stir until well combined.
- Spread the bean mixture evenly into the prepared baking dish.
- In a small bowl, mix 1 cup sour cream with a pinch of salt. Transfer to a piping bag or zip-top bag with a small corner snipped off. Pipe horizontal stripes across the top of the dip, leaving gaps for the eyes.
- Sprinkle shredded mozzarella and remaining cheddar cheese over the top, focusing on the gaps between sour cream stripes.
- Place two small dollops of sour cream for the eyes and top each with a black olive slice.
- Bake for 10-12 minutes, until cheese is melted and bubbly. Optionally broil for 1-2 minutes for a browner top.
- Let cool for 2-3 minutes before serving with tortilla chips.
Notes
For best results, use room temperature cream cheese. The dip can be assembled up to 24 hours in advance and baked straight from the fridge, adding 5-7 minutes to the bake time. Leftovers can be stored in the refrigerator for up to 3 days.
Nutrition
- Serving Size: 1 serving
- Calories: 285
- Sugar: 3
- Sodium: 520
- Fat: 18
- Saturated Fat: 10
- Carbohydrates: 20
- Fiber: 6
- Protein: 12
Keywords: Halloween dip, black bean dip, taco dip, mummy dip, easy appetizer, party dip


