My brother-in-law Mark asked why I couldn’t just slice the apples instead of keeping them whole for caramel apples. I started to explain why that wouldn’t work — then stopped. Honestly, I had no good reason. I’d been making whole caramel apples for years, wrestling with sticky messes and watching guests awkwardly try to bite into them without pulling out a tooth. Mark, who barely cooks, just shrugged and said, “Seems easier to eat if they’re sliced.” I wanted to argue, but the man had a point. That Tuesday afternoon, with a bag of Honeycrisps and a batch of homemade caramel cooling on the counter, I decided to try it his way. Let me tell you — it was one of those moments where you realize you’ve been overcomplicating things for way too long. The slices were easier to dip, the caramel clung perfectly to each piece, and the toffee bits stayed put instead of falling off into a pile of wasted goodness. I felt a little sheepish, honestly. Here I was, the one who always gives cooking advice, and my brother-in-law had just revolutionized my fall dessert game with one simple question. These crowd-pleasing caramel apple slices with toffee bits have become my go-to for every gathering since, and I keep making them because they disappear faster than anything else on the table. Maybe you’ve been there too — stuck in a routine, convinced your way is the only way, until someone casually suggests something better.
Why You’ll Love This Recipe
Let me tell you why these caramel apple slices have earned a permanent spot in my hosting rotation. After testing this recipe at five different gatherings last fall, I can honestly say they’re the first thing to vanish every single time.
- Quick & Easy : Comes together in under 20 minutes, which is perfect when guests are about to arrive and you realize you forgot dessert. I’ve been there more times than I’d like to admit.
- Simple Ingredients : You likely have most of these in your kitchen right now. No specialty stores or fancy imports needed — just good apples, caramel, and toffee bits.
- Perfect for Gatherings : These are made for parties, potlucks, and festive get-togethers. They look impressive on a platter but require zero plating skills.
- Crowd-Pleaser : Kids and adults both go crazy for them. I watched my uncle, who claims he doesn’t like sweets, eat four slices at our last family dinner.
- Unbelievably Delicious : The combination of crisp apple, creamy caramel, and crunchy toffee bits creates this texture party in your mouth that’s next-level comfort food.
What makes these different from every other caramel apple recipe out there? It’s the slicing method, honestly. By cutting the apples first, you get better caramel coverage on every piece, and the toffee bits actually stick instead of falling off. Plus, guests can grab a slice without committing to an entire apple — which means they try one, love it, and come back for more. This recipe isn’t just good — it’s the kind that makes you close your eyes after the first bite. It’s perfect for impressing guests without stress, or turning a simple fall afternoon into something memorable.
What Ingredients You Will Need
This recipe uses simple, wholesome ingredients to deliver bold flavor and satisfying texture without the fuss. Most of these are pantry staples, especially if you keep apples and caramel on hand during the fall season.
- 4 large apples — Honeycrisp or Granny Smith work best (Honeycrisp for sweetness, Granny Smith for tart contrast). Look for firm apples without bruises or soft spots.
- 1 package (14 ounces) soft caramel candies — I prefer Kraft Caramels for consistent melting, but any brand works. Unwrap them before you start to save time.
- 2 tablespoons heavy cream — This thins the caramel for easier dipping. You can substitute whole milk in a pinch, but the texture won’t be quite as creamy.
- 1 teaspoon vanilla extract — Pure vanilla adds depth to the caramel. Imitation works fine, but pure is noticeably better here.
- ½ cup toffee bits — Heath Bits ‘O Brickle are my go-to. They add that perfect crunch and buttery flavor.
- ¼ cup chopped peanuts (optional) — Adds extra crunch and a savory note. Leave them out if you’re serving to people with nut allergies.
- ¼ cup mini chocolate chips (optional) — Because chocolate and caramel belong together. Semi-sweet balances the sweetness nicely.
- ¼ cup crushed graham crackers (optional) — For a s’mores-inspired twist that kids absolutely love.
- Popsicle sticks or skewers — These make the slices easy to pick up and eat. You can find them at any grocery store near the baking supplies.
For the best results, use room temperature apples — cold apples can cause the caramel to seize up and become grainy. If your apples are straight from the fridge, let them sit on the counter for 30 minutes before you start. I also recommend unwrapping all the caramels before you begin, because once that caramel starts melting, you won’t want to stop to unwrap more.
Equipment Needed
You don’t need fancy equipment for this recipe, which is part of why I love it. Here’s what you’ll need:
- Sharp knife and cutting board — A good chef’s knife makes clean slices. Dull knives crush the apple flesh and make the slices look ragged.
- Medium saucepan — For melting the caramel. A heavy-bottomed pan prevents scorching.
- Wooden spoon or silicone spatula — For stirring the caramel. Silicone is easier to clean, trust me.
- Parchment paper or wax paper — For placing the finished slices. Parchment is non-stick and makes cleanup a breeze.
- Baking sheet — To hold the parchment and catch any drips. A rimmed baking sheet works best.
- Popsicle sticks or skewers — These make serving neat and easy. I prefer the flat popsicle sticks because they don’t roll around.
- Small bowls — For holding your toppings. This makes the dipping process organized and less messy.
If you don’t have popsicle sticks, you can use wooden skewers cut in half, or even sturdy toothpicks for smaller slices. I’ve also used chopsticks in a pinch — they work surprisingly well. A tip I learned the hard way: lightly grease your parchment paper with a thin layer of butter or cooking spray. It prevents any caramel that drips through from sticking, and makes cleanup almost effortless.
Preparation Method
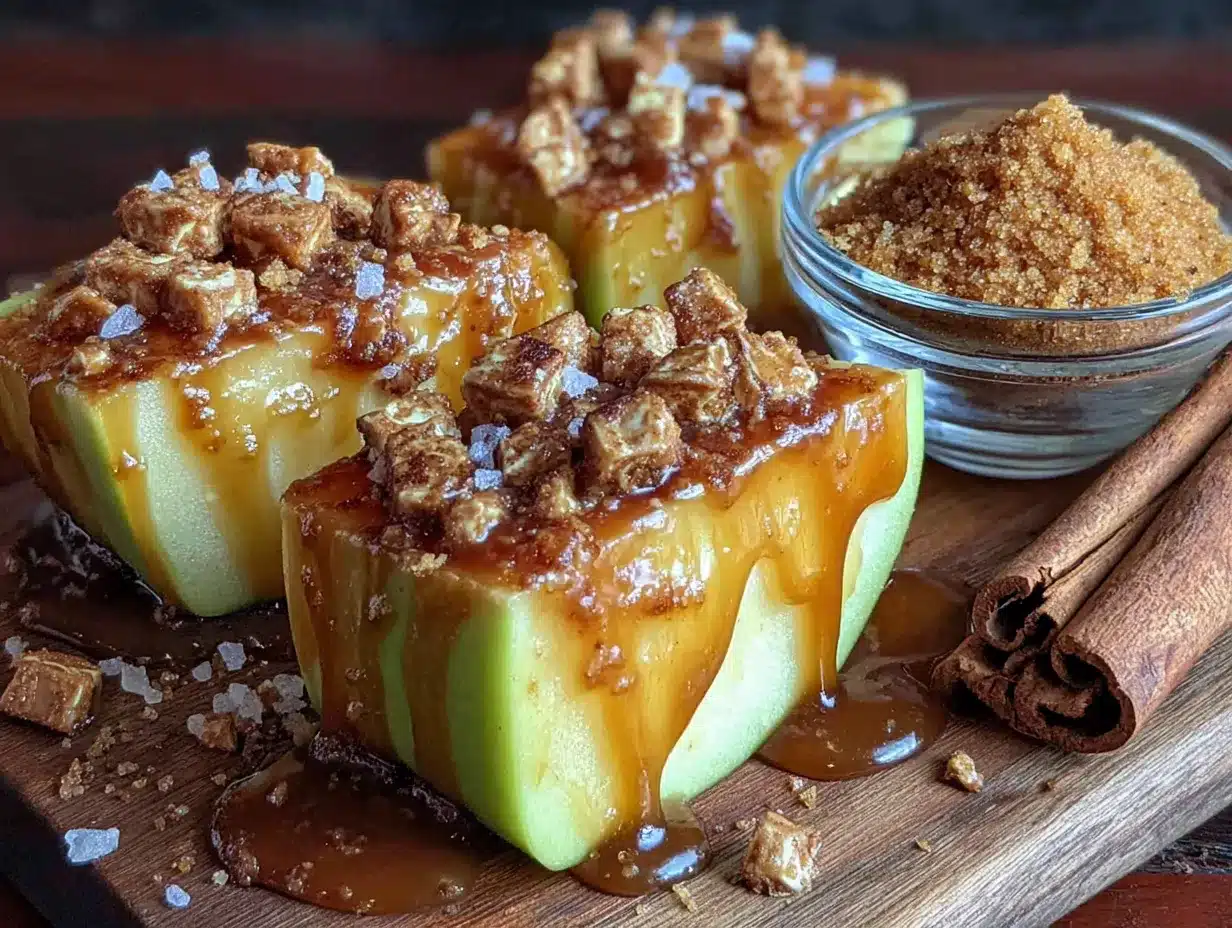
Follow these steps carefully, and you’ll have the most beautiful caramel apple slices your guests have ever seen.
- Prepare the apples (5 minutes): Wash and thoroughly dry your apples. Moisture is the enemy of caramel — it makes it slide right off. Slice each apple into 8 equal wedges, cutting through the core. Use a small paring knife to remove the seeds and the tough core piece from each wedge. You want clean, uniform slices that are about ½ inch thick at the widest part. Place the slices on a parchment-lined baking sheet and pat them dry again with a paper towel. Sensory cue: The apple slices should feel dry to the touch, not slippery or wet.
- Insert the sticks (2 minutes): Gently push a popsicle stick into the bottom (the pointed end) of each apple slice, about halfway up. Don’t push too hard or the slice will split. If you’re having trouble, use the tip of a knife to make a small pilot hole first. Pro tip: Insert the stick at a slight angle for better stability when dipping.
- Prepare your toppings (3 minutes): Spread your toffee bits, chopped peanuts, mini chocolate chips, and crushed graham crackers in separate shallow bowls. You want each topping in an even layer so the slices can be pressed directly into them. Place these bowls near your dipping station for easy access.
- Melt the caramel (5 minutes): Unwrap all the caramel candies and place them in a medium saucepan with the heavy cream. Heat over medium-low heat, stirring constantly with a wooden spoon or silicone spatula. The caramel will start to soften and melt after about 3 minutes. Keep stirring until completely smooth — this usually takes about 5 minutes total. Remove from heat and stir in the vanilla extract. Sensory cue: The caramel should be thick but pourable, like warm honey. It should coat the back of a spoon but still drip off slowly. Warning: Don’t rush this step with high heat — burnt caramel is bitter and ruins the whole batch.
- Dip the apple slices (10 minutes): Working with one slice at a time, hold it by the popsicle stick and dip it into the warm caramel. Tilt the pan slightly to pool the caramel, and rotate the slice to coat it evenly. Lift it out and let the excess caramel drip back into the pan for about 5 seconds. Troubleshooting: If the caramel starts to thicken as it cools, return the pan to low heat for 30 seconds and stir. Don’t microwave it — that can create hot spots that burn the caramel.
- Add the toppings (5 minutes): Immediately after dipping, press the caramel-coated side of the apple slice into your chosen topping. For toffee bits, press gently to make sure they stick. Work quickly — the caramel sets fast, especially if your apples are cool. Personal tip: I like to do a half-and-half approach — dip one side in toffee bits and the other in chocolate chips for a beautiful two-tone effect.
- Set and serve (10-15 minutes): Place each finished slice back on the parchment-lined baking sheet, making sure they don’t touch each other. Let them set at room temperature for about 10-15 minutes, or until the caramel is firm to the touch. If you’re in a hurry, you can pop them in the refrigerator for 5 minutes. Sensory cue: The caramel should be firm enough that it doesn’t stick to your finger when touched, but still soft enough to bite through easily.
Cooking Tips & Techniques
After making these caramel apple slices for countless gatherings, I’ve learned a few things the hard way. Let me save you some trouble.
The biggest mistake I made: The first time I tried this, I used cold apples straight from the fridge. The caramel seized up almost immediately, creating a thick, clumpy mess that wouldn’t coat the slices evenly. I ended up with half-coated apples and a pan of ruined caramel. Now I always let my apples come to room temperature first — it makes a world of difference.
Timing is everything: I like to prep everything before I start melting the caramel. Have your apples sliced, sticks inserted, and toppings ready in bowls. Once that caramel is melted, you need to work quickly. I learned this after my first batch of caramel started setting while I was still fumbling with the toppings. Now I set up an assembly line: dipped slices go straight from the caramel to the toppings, then to the baking sheet.
The perfect caramel consistency: If your caramel is too thick, add another tablespoon of cream. If it’s too thin, let it simmer for another minute or two. The ideal texture is warm maple syrup — thick enough to coat, but thin enough to drip slowly. I always test a small apple slice first before dipping the whole batch.
Multitasking strategy: While the caramel is melting, I arrange my topping bowls in the order I’ll use them. Toffee bits go first since they’re the star, then chocolate chips, then peanuts. This way I’m not hunting for the right bowl while caramel is dripping everywhere. Trust me, your countertop will thank you.
Variations & Adaptations
One of the best things about this recipe is how easy it is to customize. Here are some variations I’ve tried and loved:
Dietary adaptations: For a dairy-free version, use dairy-free caramel candies (they exist!) and coconut cream instead of heavy cream. The texture is slightly different but still delicious. For a nut-free version, skip the peanuts and use extra toffee bits or crushed pretzels instead. I made this for a school event once and it was a huge hit with kids who have nut allergies.
Seasonal twists: In the fall, I add a pinch of cinnamon and nutmeg to the caramel before dipping. It gives the slices a warm, spiced flavor that pairs perfectly with apple cider. In the summer, I swap the toffee bits for crushed graham crackers and drizzle with melted white chocolate — it tastes like a s’mores apple slice, and it’s ridiculously good.
Flavor variations: My personal favorite variation is the “salted caramel” version. After dipping the slices in caramel and adding toffee bits, I sprinkle a tiny pinch of flaky sea salt on top. The salt cuts through the sweetness and makes the flavors pop. I also tried a “turtle” version once — caramel, pecans, and a drizzle of dark chocolate. It was gone in five minutes.
Different cooking methods: If you don’t want to use the stovetop, you can melt the caramel in the microwave. Place the unwrapped caramels and cream in a microwave-safe bowl and heat in 30-second intervals, stirring between each, until smooth. It takes about 2 minutes total. Just be careful not to overheat it — caramel can burn quickly in the microwave.
Serving & Storage Suggestions
These caramel apple slices are best served at room temperature, which makes them perfect for parties. Arrange them on a large platter in a circular pattern, with the sticks pointing outward like spokes on a wheel. It looks beautiful and makes it easy for guests to grab one without touching the others.
What to serve alongside: These pair beautifully with a warm apple cider or hot chocolate. For a more indulgent dessert table, serve them alongside a plate of chewy brownie bites or cinnamon sugar pretzel bites for a fall-themed spread that will impress any crowd. I also like to put out small bowls of extra toppings so guests can customize their own slices.
Storage instructions: If you have leftovers (which rarely happens in my house), store them in an airtight container in the refrigerator for up to 3 days. Place a sheet of parchment paper between layers to prevent sticking. The apples will release some moisture over time, so they’re best eaten within 24 hours for maximum crunch.
Reheating tips: These are meant to be eaten cold or at room temperature, so no reheating is needed. If the caramel feels too firm straight from the fridge, let the slices sit at room temperature for 10-15 minutes before serving. The caramel will soften slightly and become perfectly chewy again.
How flavors develop: Interestingly, these slices actually taste better after about an hour of sitting. The caramel absorbs a tiny bit of apple juice, creating a more integrated flavor. I often make them a couple hours before guests arrive, and they’re always perfect by the time people start eating.
Nutritional Information & Benefits
While these are definitely a treat, they do offer some nutritional benefits worth mentioning. One serving (approximately 2 slices) contains roughly:
- Calories: 280-320
- Carbohydrates: 45g
- Fiber: 4g
- Sugar: 32g
- Fat: 12g
- Protein: 3g
Health benefits of key ingredients: Apples are packed with fiber and vitamin C, and the pectin in apple skins is great for gut health. The toffee bits add a small amount of calcium from the butter, and if you use dark chocolate chips, you’ll get some antioxidants too. The caramel, while indulgent, does contain a bit of calcium and protein from the dairy.
Dietary considerations: This recipe is vegetarian-friendly. For a gluten-free version, ensure your toffee bits are certified gluten-free (most are, but check the label). The recipe contains dairy and may contain nuts depending on your toppings. If you’re serving a crowd with diverse dietary needs, set up a topping bar so everyone can customize their own slices.
Conclusion
These crowd-pleasing caramel apple slices with toffee bits have become my signature fall dessert, and for good reason. They’re simple enough to make on a Tuesday night but impressive enough to serve at your biggest holiday gathering. The combination of crisp apple, creamy caramel, and crunchy toffee bits is honestly unbeatable — and the slicing method makes them so much easier to eat than traditional caramel apples.
I love that this recipe came from my brother-in-law’s simple question. It reminds me that sometimes the best cooking advice comes from unexpected places, and that being open to new ideas — even from someone who rarely cooks — can lead to something truly special. Whether you stick with the classic toffee bits or experiment with my salted caramel or turtle variations, I hope these slices become a favorite in your home too.
Have you tried these caramel apple slices? I’d love to hear how they turned out — drop a comment below and let me know which topping combination was your favorite. And if you have your own twist on this recipe, please share it! Happy cooking, friends.
Frequently Asked Questions
Can I use pre-made caramel sauce instead of caramel candies?
You can, but the texture will be different. Pre-made caramel sauce is thinner and won’t set as firmly, so it will run off the apple slices more easily. If you use it, chill the slices for at least 30 minutes before serving to help the caramel set. The caramel candies give a thicker, chewier coating that works much better for this recipe.
How far in advance can I make these caramel apple slices?
I recommend making them no more than 4-6 hours before serving. The apples start to release moisture after that, which can make the caramel slide off. If you need to make them a day ahead, store them in the refrigerator and let them sit at room temperature for 15 minutes before serving. The texture won’t be quite as perfect, but they’ll still be delicious.
What are the best apples for caramel apple slices?
Honeycrisp and Granny Smith are my top choices. Honeycrisp apples are sweet and juicy, which pairs beautifully with the rich caramel. Granny Smith apples are tart and firm, providing a nice contrast to the sweetness. Fuji and Gala also work well, but stay away from Red Delicious — they’re too soft and mealy for this recipe.
Why is my caramel not sticking to the apple slices?
This usually happens because the apples are too cold or too wet. Make sure your apples are at room temperature and completely dry before dipping. Any moisture on the apple surface creates a barrier that prevents the caramel from adhering. Pat the slices dry with a paper towel right before dipping for best results.
Can I freeze caramel apple slices?
I don’t recommend freezing them. The apples become mushy and watery when thawed, which ruins the texture completely. These are best enjoyed fresh, within 24 hours of making them. If you have leftovers, store them in the refrigerator and eat them within 2-3 days — they won’t be as crunchy, but they’ll still taste great.
Pin This Recipe!
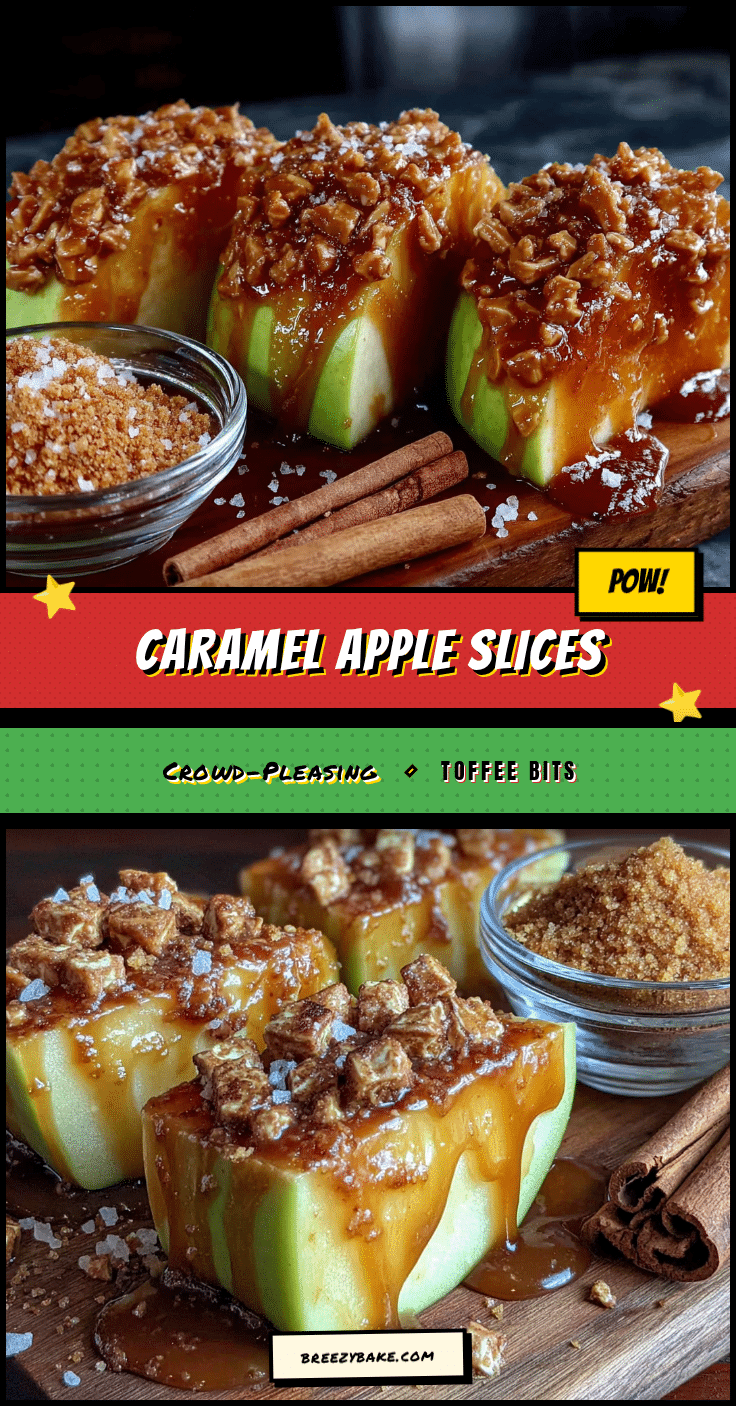
Best Easy Caramel Apple Slices with Toffee Bits

These crowd-pleasing caramel apple slices with toffee bits are easier to eat than traditional caramel apples, with perfect caramel coverage and crunchy toppings that actually stick. Ready in under 20 minutes, they’re the perfect fall dessert for gatherings.
- Prep Time: 10 minutes
- Cook Time: 5 minutes
- Total Time: 15 minutes
- Yield: 8 servings 1x
- Category: Dessert
- Cuisine: American
Ingredients
- 4 large apples (Honeycrisp or Granny Smith)
- 1 package (14 ounces) soft caramel candies (e.g., Kraft Caramels)
- 2 tablespoons heavy cream
- 1 teaspoon vanilla extract
- ½ cup toffee bits (e.g., Heath Bits ‘O Brickle)
- ¼ cup chopped peanuts (optional)
- ¼ cup mini chocolate chips (optional)
- ¼ cup crushed graham crackers (optional)
- Popsicle sticks or skewers
Instructions
- Wash and thoroughly dry the apples. Slice each apple into 8 equal wedges, cutting through the core. Remove seeds and tough core pieces from each wedge. Place slices on a parchment-lined baking sheet and pat dry again.
- Gently push a popsicle stick into the bottom (pointed end) of each apple slice, about halfway up. Insert at a slight angle for stability.
- Spread toffee bits, chopped peanuts, mini chocolate chips, and crushed graham crackers in separate shallow bowls.
- Unwrap caramel candies and place in a medium saucepan with heavy cream. Heat over medium-low heat, stirring constantly, until completely smooth (about 5 minutes). Remove from heat and stir in vanilla extract.
- Working one slice at a time, hold by the popsicle stick and dip into warm caramel. Tilt the pan to coat evenly, then let excess drip back into the pan for about 5 seconds.
- Immediately press the caramel-coated side into your chosen topping. Work quickly as caramel sets fast.
- Place finished slices on parchment-lined baking sheet without touching. Let set at room temperature for 10-15 minutes until caramel is firm but still soft enough to bite.
Notes
Use room temperature apples to prevent caramel from seizing. Dry apples thoroughly before dipping. Work quickly once caramel is melted. For best results, make no more than 4-6 hours before serving. Store leftovers in an airtight container in the refrigerator for up to 3 days.
Nutrition
- Serving Size: 2 slices
- Calories: 300
- Sugar: 32
- Sodium: 150
- Fat: 12
- Saturated Fat: 6
- Carbohydrates: 45
- Fiber: 4
- Protein: 3
Keywords: caramel apple slices, toffee bits, easy dessert, fall dessert, party dessert, apple recipe, caramel apples


