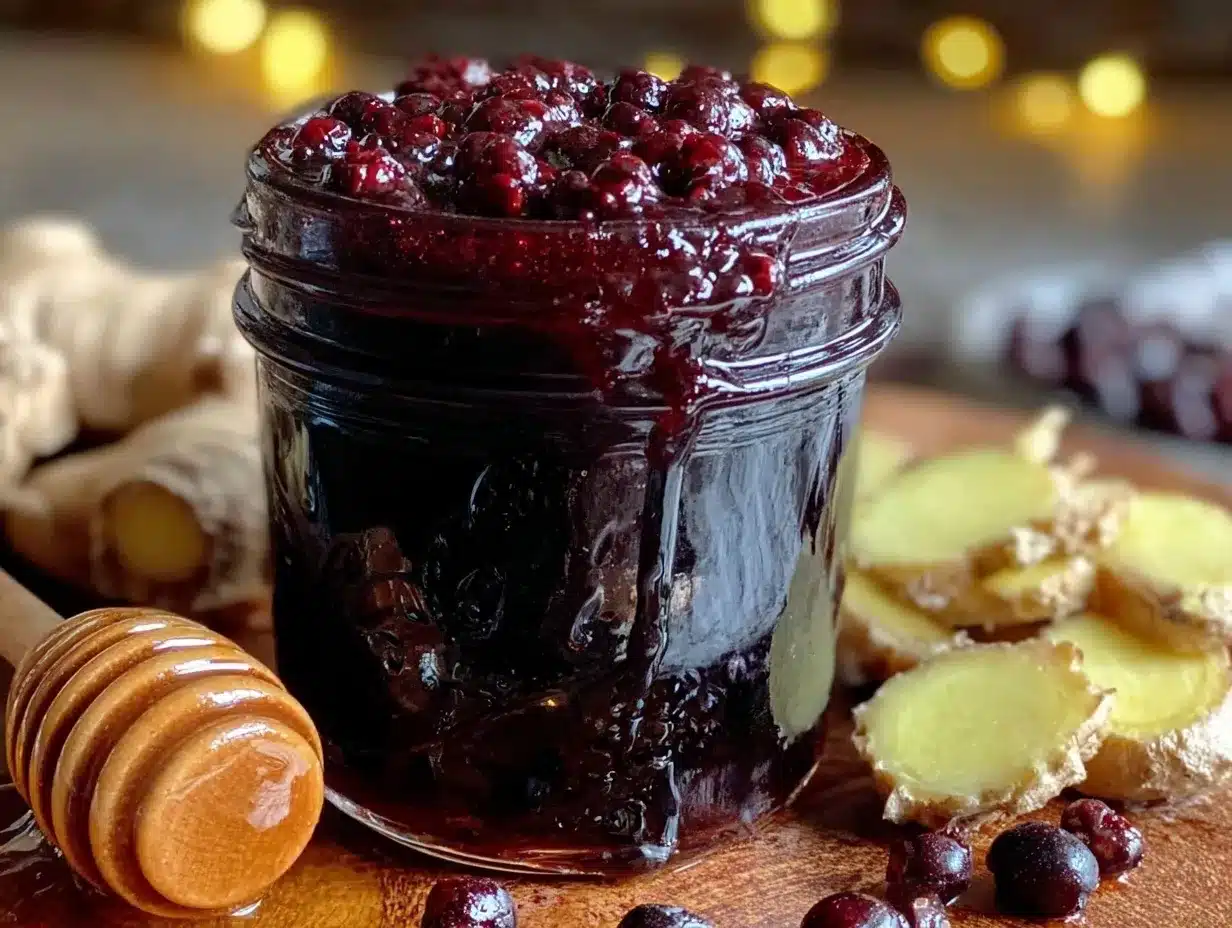
Deep, glossy, and just a touch thick—that’s the syrup’s texture, and that’s the whole point. When I first made this healthy homemade elderberry syrup with ginger and clove, it was that sticky, rich pour that captivated me before anything else. The way it clung to the back of a spoon, shimmering dark purple with flecks of spice, made me trust it would pack a punch—not just in flavor but in soothing power. I remember stirring the bubbling pot, the syrup slowly thickening to a luscious consistency that promised comfort with every drop.
There’s something about the way elderberry syrup feels between your fingers or on your tongue that makes you slow down and pay attention. It’s not just a liquid; it’s a texture that carries warmth, spice, and a hint of earthy sweetness. Honestly, it’s this physical quality that had me hooked first—before the zing of ginger or the subtle bite of clove even came into play.
This recipe didn’t just appear overnight. I stumbled on elderberries during a chilly fall weekend, curious about natural ways to boost immunity without resorting to pills or powders. After a few trial batches (some too thin, others too bitter), I landed on this version. The balance of ginger and clove creates a syrup that’s smooth but layered, thick but pourable, familiar yet surprising. It’s the kind of homemade remedy that feels personal and intentional, not just a quick fix.
What stuck with me most was how this syrup became a quiet ritual—adding a spoonful to tea, drizzling over yogurt, or even a swift shot when the sniffles start creeping in. It’s not just a recipe; it’s a little act of care you can make from scratch, with ingredients you can trust. That’s why this elderberry syrup recipe still sits on my shelf, ready to soothe and support whenever the season calls for it.
Why You’ll Love This Healthy Homemade Elderberry Syrup with Ginger and Clove
After a few rounds of testing (and yes, plenty of tasting), this elderberry syrup recipe became my go-to for natural wellness and cozy vibes. Here’s why I think you’ll enjoy making and using it:
- Quick & Easy: You can whip this up in under 45 minutes, ideal for those moments you want a homemade immune boost without fuss.
- Simple Ingredients: Elderberries, fresh ginger, and whole cloves—nothing fancy or hard to find, just real food you can pronounce.
- Perfect for Seasonal Wellness: Use it during cold and flu season, or any time you want to support your immune system naturally.
- Crowd-Pleaser: The gentle sweetness with a warming spice kick makes it a hit with both kids and adults, even those wary of herbal syrups.
- Unbelievably Delicious: The syrup’s texture and flavor combo feels like a hug in a jar—comforting, smooth, and a little zesty.
This isn’t your run-of-the-mill elderberry syrup. The ginger adds a fresh, spicy brightness that cuts through the syrup’s natural richness, while the cloves bring a subtle earthiness and complexity. I’ve found that using whole cloves, rather than ground, helps keep the flavor balanced without bitterness. Plus, simmering the berries gently lets the syrup thicken naturally, so you get that satisfying, velvety texture.
Honestly, this recipe became a staple because it’s both nurturing and practical. No weird additives, just the kind of homemade goodness that feels like it was made with care. I even started pairing it with some of my favorite healthy bites, like the healthy chicken veggie skillet wraps, to keep meals both tasty and wellness-focused. It’s a simple syrup that quietly supports your day and tastes like it.
What Ingredients You Will Need
This healthy homemade elderberry syrup recipe uses straightforward, wholesome ingredients to pack a flavorful and immune-boosting punch without complicated steps or fancy additives. Most are pantry staples or easy to find at your local market, making this recipe accessible and flexible.
- Dried elderberries: 1 cup (about 50 grams) – These are the star of the syrup. I recommend checking for organic, high-quality dried elderberries like those from Herb Pharm for the best potency.
- Fresh ginger root: 2 tablespoons, peeled and thinly sliced – Adds a spicy zing that complements the elderberries and warms the syrup.
- Whole cloves: 5-6 – These little buds bring aromatic depth and subtle earthiness. Whole cloves are preferred to avoid overpowering the syrup.
- Water: 4 cups (about 950 ml) – The base for simmering and extracting flavors.
- Raw honey: 1/2 cup (about 170 grams) – For natural sweetness and added antimicrobial benefits. Use local raw honey if possible.
- Fresh lemon juice: 2 tablespoons – Adds brightness and helps balance the syrup’s sweetness while preserving freshness.
If you want to tweak or substitute, here are a few tips:
- Use maple syrup instead of honey if vegan or allergic.
- For a gluten-free option (though it naturally is), verify your dried elderberries and honey sources.
- If fresh ginger isn’t available, ginger powder (about 1 teaspoon) can work, but the flavor won’t be as vibrant.
Equipment Needed
Luckily, you don’t need a ton of specialized gear for this elderberry syrup recipe. Most of what you need is probably already in your kitchen:
- Medium saucepan: A 3 to 4-quart pan works best to simmer the berries and spices.
- Fine mesh strainer or cheesecloth: To strain out the elderberries and spices for a smooth syrup texture.
- Spoon or spatula: For stirring gently during simmering.
- Measuring cups and spoons: For precise ingredient amounts.
- Glass jar or bottle: For storing the finished syrup. I prefer glass because it’s easy to clean and doesn’t retain flavors.
If you don’t have cheesecloth, a clean thin kitchen towel or even a coffee filter can do the trick for straining. Just be patient with the liquid draining. I’ve tried plastic strainers before but found they don’t catch the tiny elderberry seeds as well, leaving the syrup gritty.
Preparation Method
- Combine elderberries, ginger, cloves, and water: In your medium saucepan, add 1 cup dried elderberries, 2 tablespoons thinly sliced fresh ginger, 5-6 whole cloves, and 4 cups (950 ml) of water. Give it a gentle stir to mix everything evenly. This step sets the stage for flavor extraction.
- Bring to a boil, then simmer: Place the saucepan over medium-high heat and bring to a rolling boil. Once boiling, reduce the heat to low, cover partially, and let it simmer gently for 45 minutes to 1 hour. You’ll notice the liquid turning a deep purple-red and thickening slightly, which is exactly what you want. Stir occasionally but gently to avoid breaking up the elderberries too much.
- Strain the syrup: Remove the saucepan from heat. Using a fine mesh strainer or cheesecloth over a large bowl or pitcher, carefully pour the berry mixture through to separate the liquid from the solids. Press the solids lightly with the back of a spoon to extract as much syrup as possible without forcing pulp through.
- Add honey and lemon juice: While the syrup is still warm (not hot), stir in 1/2 cup raw honey and 2 tablespoons fresh lemon juice. Mixing at this temperature helps the honey dissolve and preserves its beneficial properties. If the syrup is too hot, the honey’s enzymes might degrade.
- Cool and store: Let the syrup cool to room temperature, then pour into a clean glass jar or bottle. Seal tightly and refrigerate. The syrup should keep for up to 3 weeks in the fridge. Shake gently before each use as natural settling can occur.
Pro tip: If you want a thicker syrup, you can simmer it a bit longer before adding the honey, but be careful not to over-reduce or it may become too sticky. Also, avoid boiling after adding honey to keep its health benefits intact.
Cooking Tips & Techniques
Making elderberry syrup is pretty forgiving but here are some tips to get the texture and flavor just right:
- Simmer low and slow: The key to a smooth, rich syrup is gentle simmering rather than a hard boil. This helps extract the elderberry goodness without breaking the berries into a gritty mess.
- Use whole cloves: Ground cloves can quickly overpower the syrup and add bitterness. Whole cloves infuse flavor more subtly and are easier to strain out.
- Don’t skip straining well: Elderberries have tiny seeds that can be hard and unpleasant if left in the syrup. Strain carefully with cheesecloth or a fine strainer to keep the texture silky.
- Add honey off heat: Adding honey while the syrup is too hot kills some of its beneficial enzymes. Stir it in once the syrup is warm but no longer boiling to keep the health benefits.
- Watch your simmer time: I learned the hard way that simmering too long makes the syrup too thick and sticky—hard to pour and measure. Around 45 minutes works well for a pourable syrup.
When I first made elderberry syrup, I tried blending the berries before straining, but that left a cloudy syrup with a grainy mouthfeel. Straining whole with gentle pressing gives you a much nicer consistency. Also, labeling your syrup with the date is helpful—mine usually lasts about three weeks refrigerated before flavor starts to fade.
Variations & Adaptations
This elderberry syrup recipe is super adaptable depending on your taste preferences or dietary needs:
- Spice it up: Add a cinnamon stick or a slice of fresh turmeric root for extra warmth and anti-inflammatory benefits.
- Vegan-friendly: Swap honey for maple syrup or agave nectar to keep it plant-based without losing sweetness.
- Boost with vitamin C: Stir in a teaspoon of powdered vitamin C or rosehip powder after straining for an extra immune kick.
- Try fresh elderberries: If you find fresh elderberries in season, use about 2 cups, but cook gently to avoid bitterness. Frozen elderberries also work well.
- Adjust thickness: For a syrupy glaze or drizzle, reduce simmering liquid by 10-15 minutes longer. For a thinner tonic, add a little water after straining.
For a personal twist, I once infused a batch with fresh lemon balm leaves while simmering—it added a lovely herbal note that mellowed the spices. If you like experimenting with flavors, this recipe can be a great base for custom blends.
Serving & Storage Suggestions
This elderberry syrup is wonderfully versatile in how you serve and store it.
- Serving temperature: Best served at room temperature or slightly warmed. I often mix a tablespoon into hot water or tea for a soothing drink.
- Presentation ideas: Drizzle over yogurt or oatmeal for a fruity-spicy kick, or stir into smoothies for added depth. It also makes a nice glaze for roasted vegetables or chicken, pairing well with the healthy chicken veggie breakfast bake cups I enjoy on busy mornings.
- Storage: Keep the syrup refrigerated in a sealed glass jar for up to 3 weeks. For longer storage, you can freeze it in ice cube trays and thaw as needed.
- Reheating: Warm gently in a small saucepan or microwave before using if you prefer it warm. Avoid boiling to protect honey’s enzymes.
- Flavor development: The syrup flavors deepen after a day or two in the fridge, so it often tastes even better the next day.
Nutritional Information & Benefits
This homemade elderberry syrup is naturally nutrient-rich, offering a range of health benefits:
- Antioxidants: Elderberries are packed with anthocyanins, which help fight free radicals and support immune health.
- Anti-inflammatory: Ginger and cloves both contain compounds that reduce inflammation and soothe the digestive system.
- Immune support: Combined, these ingredients can help reduce the severity and duration of colds and flu symptoms, according to some studies.
- Natural sweetener: Using raw honey adds antimicrobial properties and avoids processed sugars.
- Dietary considerations: Gluten-free, dairy-free, and can be vegan if using maple syrup instead of honey.
From a wellness perspective, this syrup feels like a little daily boost you can make yourself—no mystery ingredients, just nature’s best working together. It’s a gentle way to care for your body during the colder months or anytime you need a soothing tonic.
Conclusion
If you want a simple, soothing, and real-food remedy, this healthy homemade elderberry syrup with ginger and clove is a solid choice. It’s not just about the flavor or the immune benefits; it’s about the texture and warmth that make each spoonful feel like a small act of kindness to yourself. I love how easy it is to make and how it fits naturally into my routine, whether stirred into tea or drizzled over breakfast.
Feel free to tweak the spices or sweeteners to suit your taste—it’s forgiving and adaptable. If you try this recipe, I’d love to hear how you customize it or what you pair it with. Sharing those little kitchen experiments always makes this process feel more connected and fun.
Here’s to health and homemade comfort, one spoonful at a time.
Frequently Asked Questions about Healthy Homemade Elderberry Syrup
How long does homemade elderberry syrup last?
Stored in a sealed glass jar in the refrigerator, the syrup typically stays fresh for up to 3 weeks. For longer storage, freezing in ice cube trays is a great option.
Can I use fresh elderberries instead of dried?
Yes! Use about double the amount of fresh elderberries (around 2 cups). Simmer gently to avoid bitterness and follow the same process for straining and sweetening.
Is this syrup safe for kids?
Generally, yes—elderberry syrup is popular for children’s immune support. However, it’s best to consult your pediatrician, especially for children under one year or with allergies.
Can I make this syrup vegan?
Absolutely. Simply replace the raw honey with maple syrup or agave nectar to keep it plant-based without sacrificing sweetness.
What’s the best way to take elderberry syrup?
Many take 1 tablespoon daily as a preventative measure or 1 tablespoon 3-4 times daily at the first sign of symptoms. You can take it straight, mix it into tea, or drizzle over foods.
Pin This Recipe!
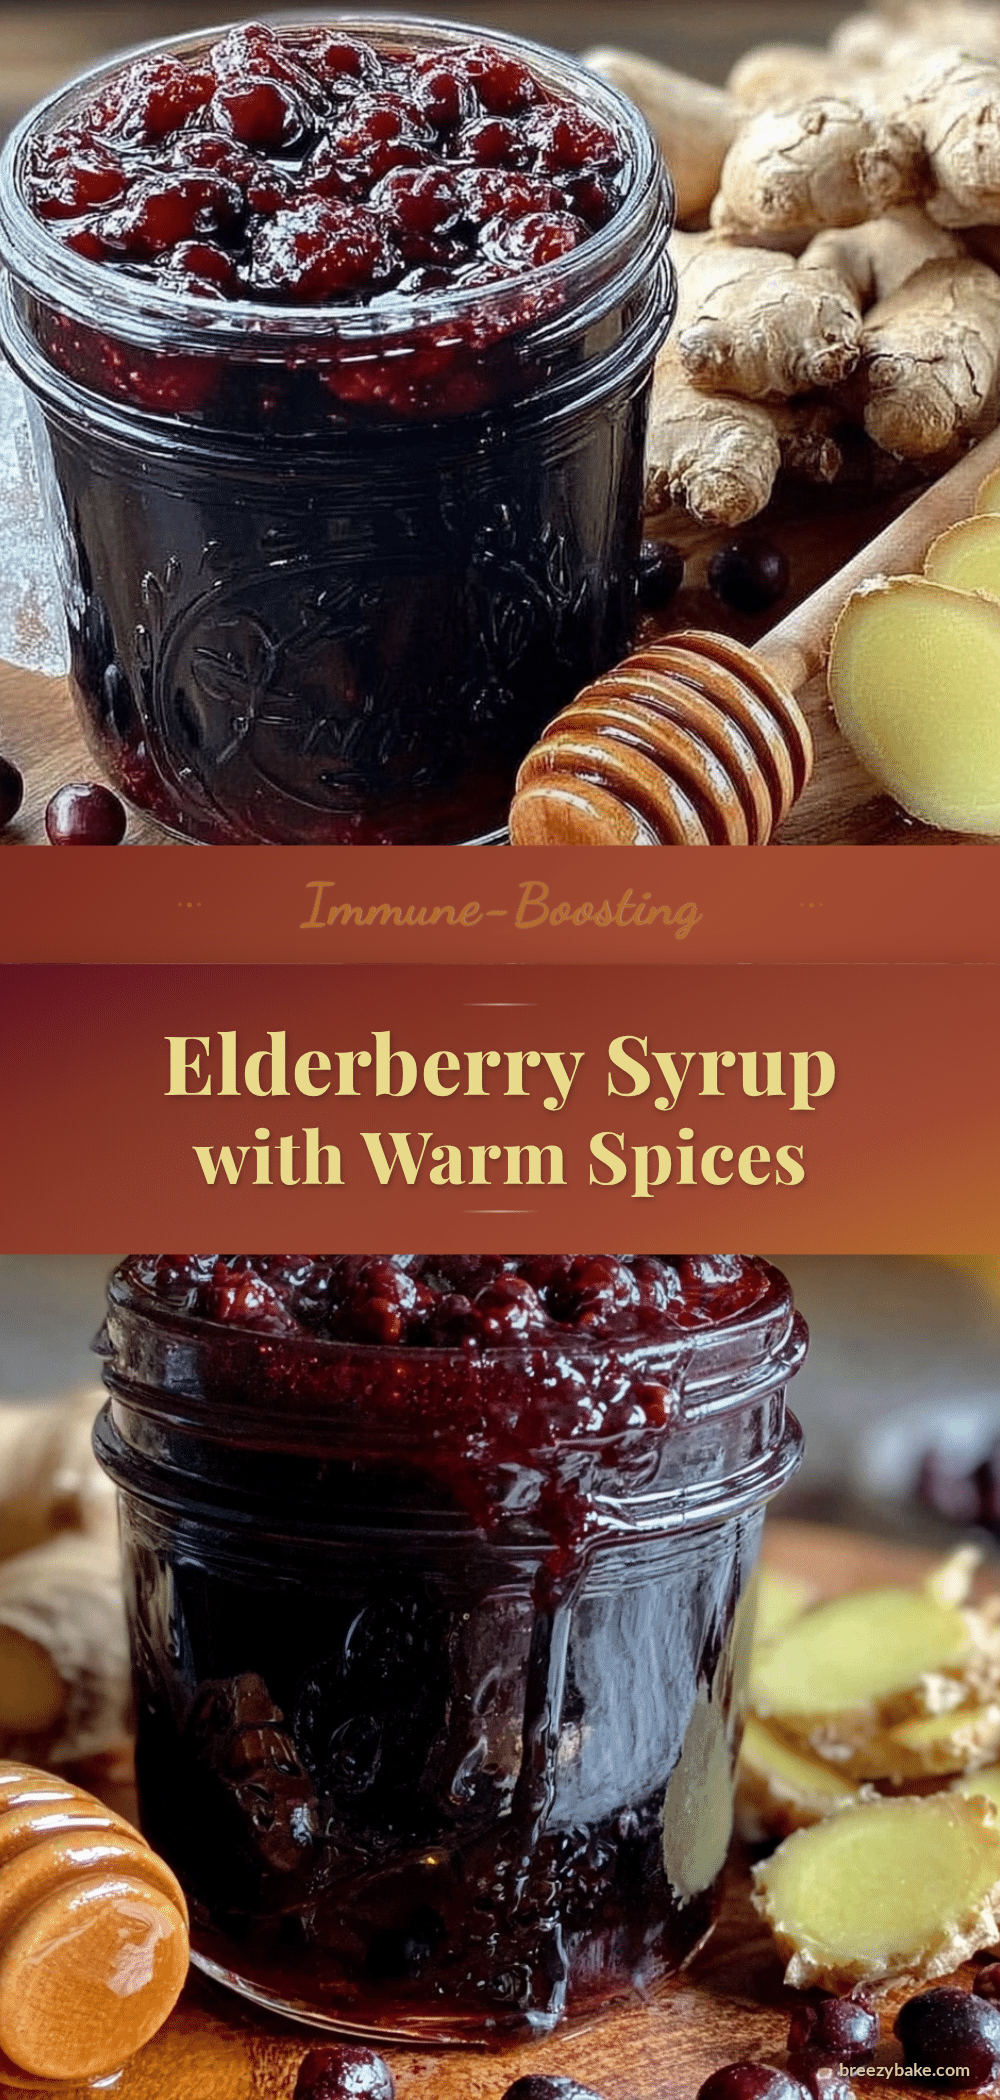
Healthy Homemade Elderberry Syrup Recipe with Ginger and Clove for Immunity Boost
A nourishing elderberry syrup with ginger and clove that offers a natural immune boost with a smooth, rich texture and warming spice notes. Perfect for seasonal wellness and easy to make at home.
- Prep Time: 10 minutes
- Cook Time: 45 minutes
- Total Time: 55 minutes
- Yield: About 1.5 cups syrup (approximately 12 servings of 1 tablespoon each) 1x
- Category: Health Tonic
- Cuisine: American
Ingredients
- 1 cup dried elderberries (about 50 grams)
- 2 tablespoons fresh ginger root, peeled and thinly sliced
- 5–6 whole cloves
- 4 cups water (about 950 ml)
- 1/2 cup raw honey (about 170 grams)
- 2 tablespoons fresh lemon juice
Instructions
- Combine elderberries, ginger, cloves, and water in a medium saucepan. Stir gently to mix.
- Bring to a rolling boil over medium-high heat, then reduce heat to low, partially cover, and simmer gently for 45 minutes to 1 hour, stirring occasionally.
- Remove from heat and strain the mixture through a fine mesh strainer or cheesecloth into a bowl or pitcher. Press solids lightly to extract syrup without forcing pulp through.
- While syrup is still warm (not hot), stir in raw honey and fresh lemon juice until dissolved.
- Let syrup cool to room temperature, then pour into a clean glass jar or bottle. Seal tightly and refrigerate. Shake gently before each use.
Notes
Simmer gently to avoid breaking berries into a gritty texture. Use whole cloves to prevent bitterness. Add honey off heat to preserve enzymes. Store refrigerated up to 3 weeks or freeze in ice cube trays for longer storage. Shake before use as natural settling occurs.
Nutrition
- Serving Size: 1 tablespoon (about
- Calories: 40
- Sugar: 9
- Sodium: 1
- Carbohydrates: 11
- Fiber: 1
Keywords: elderberry syrup, homemade syrup, immune boost, ginger syrup, clove syrup, natural remedy, elderberry recipe, wellness syrup


